Playing Catchup

After 2+ years, some Catchup might be necessary...
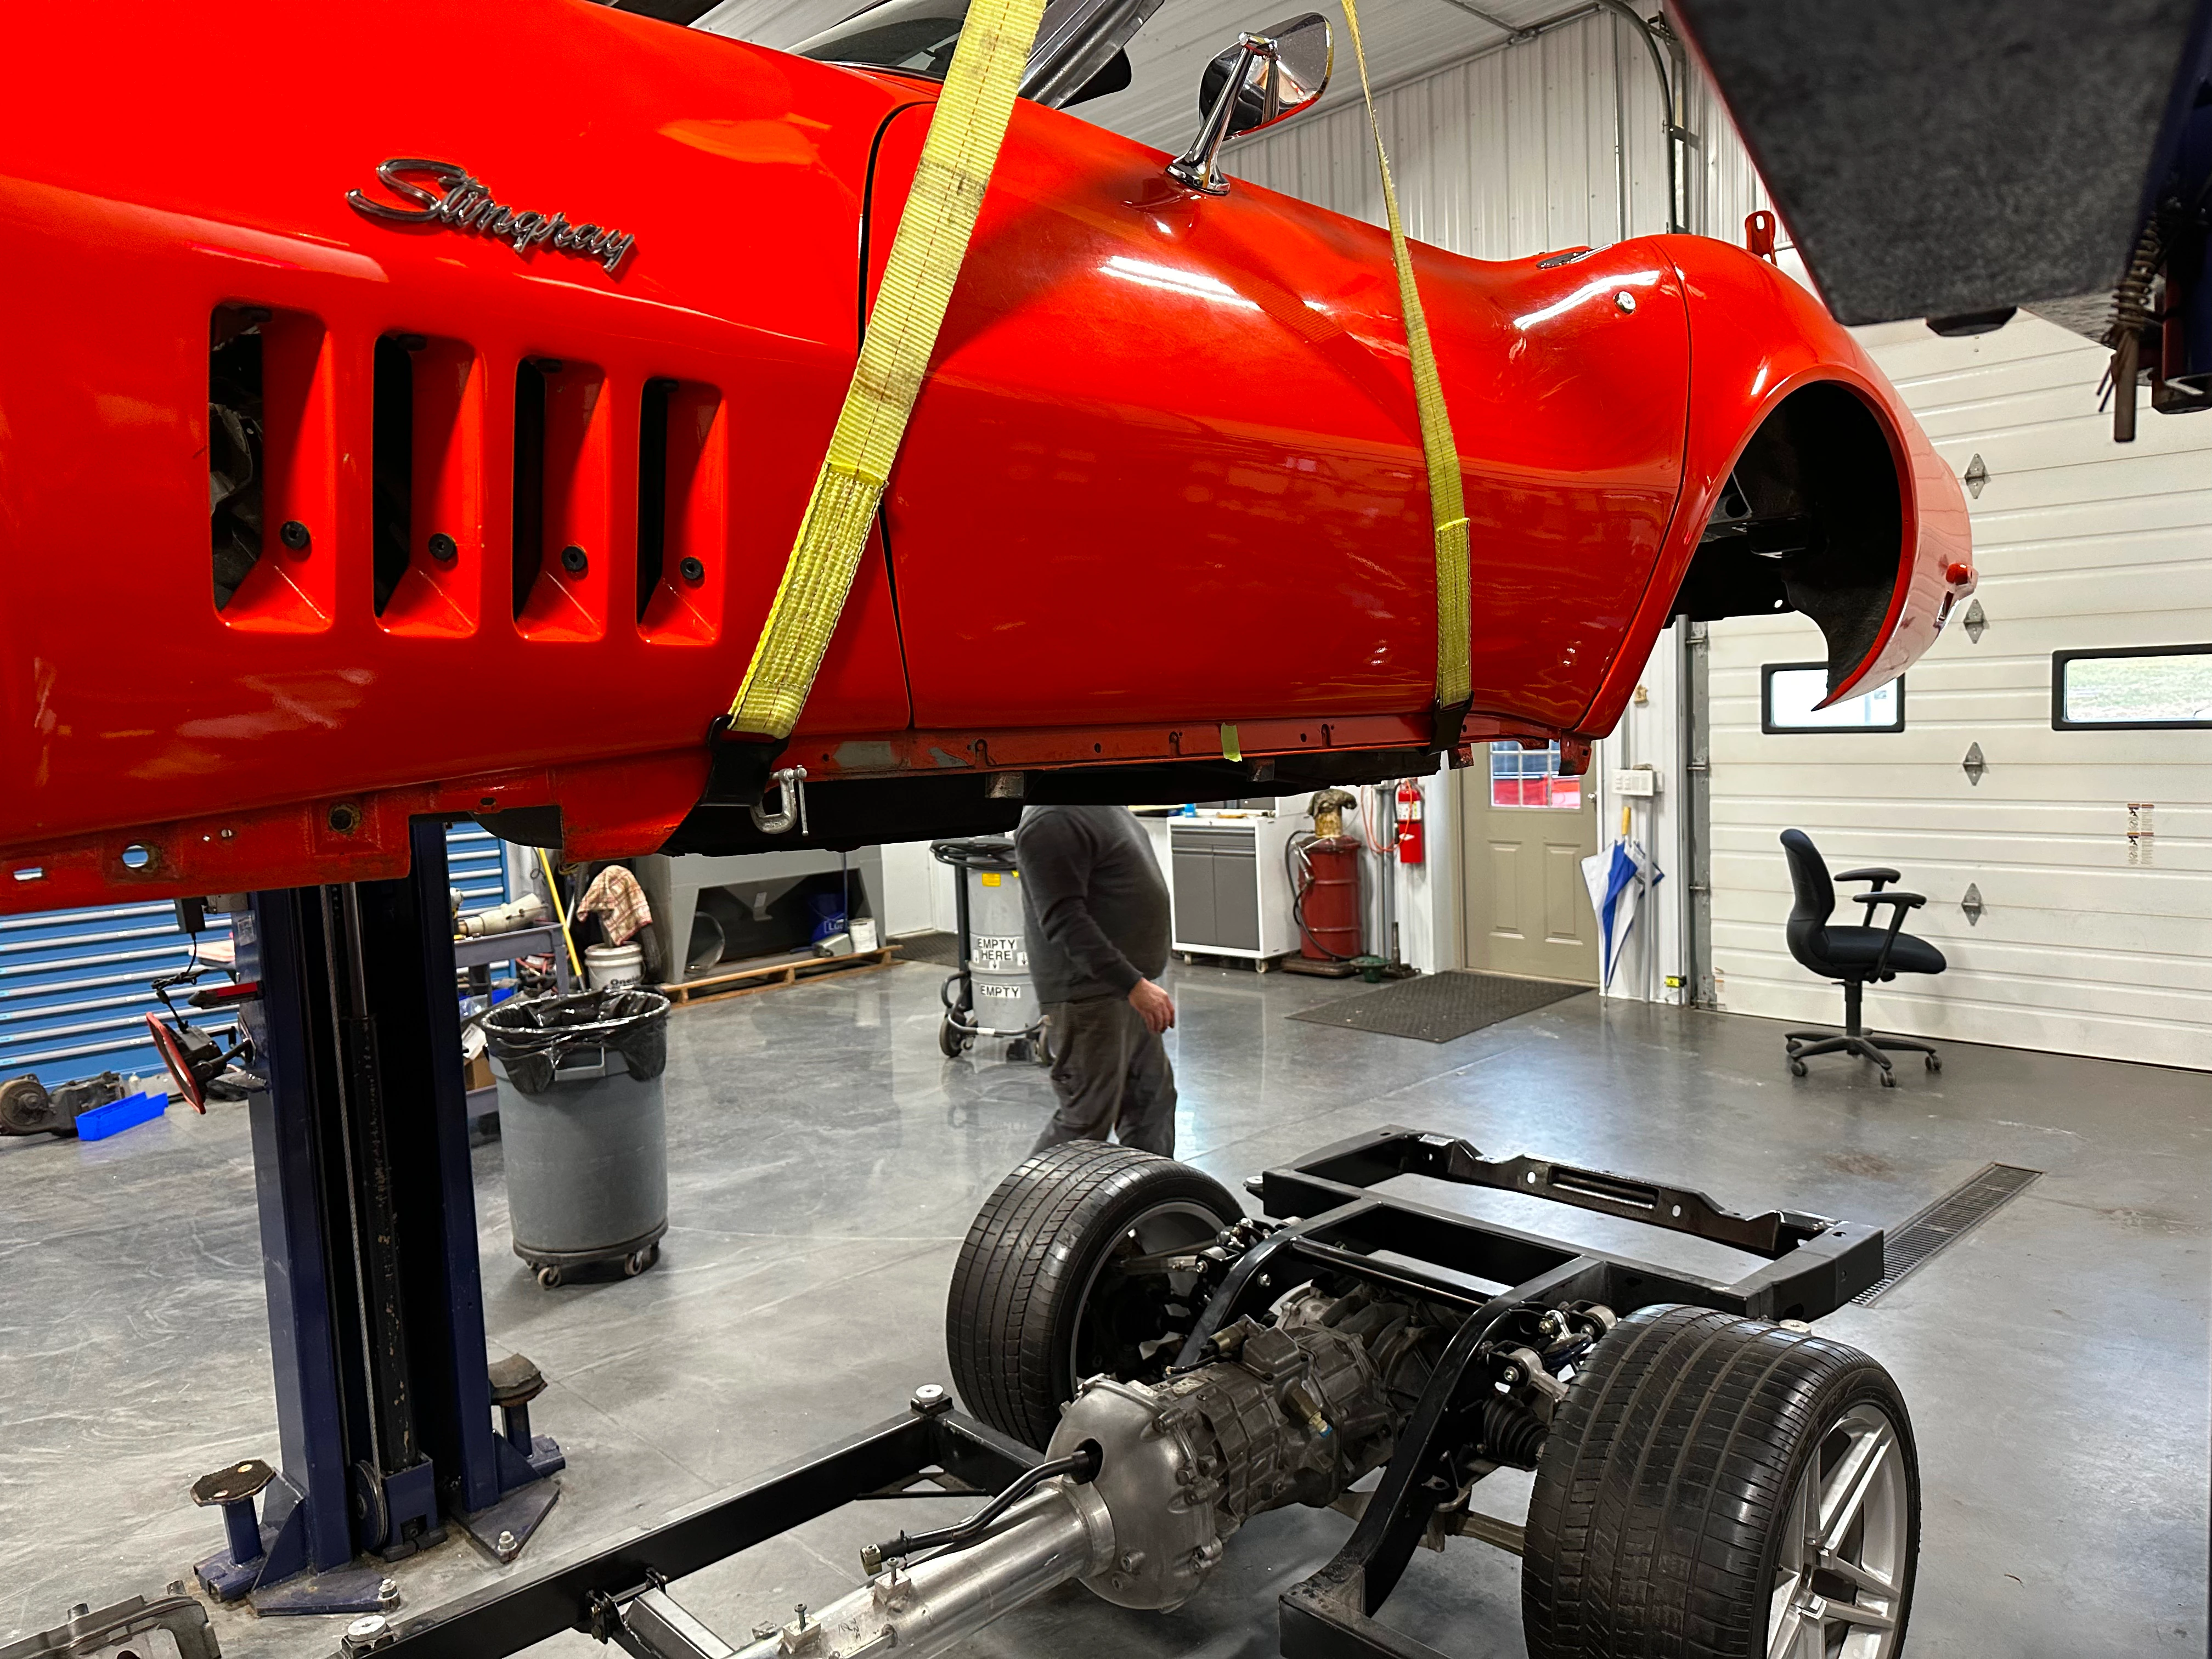
I have neglected to update this page for over 2 years. We haven't worked on the car continuously in that time, too many side projects and distractions have come up.
For the sake of time this is going to be mostly pictures and only a bit of text to explain what's going on. These pictures begin in early February 2024 and run until late May 2026. I will split them up by topic rather than by chronological order.
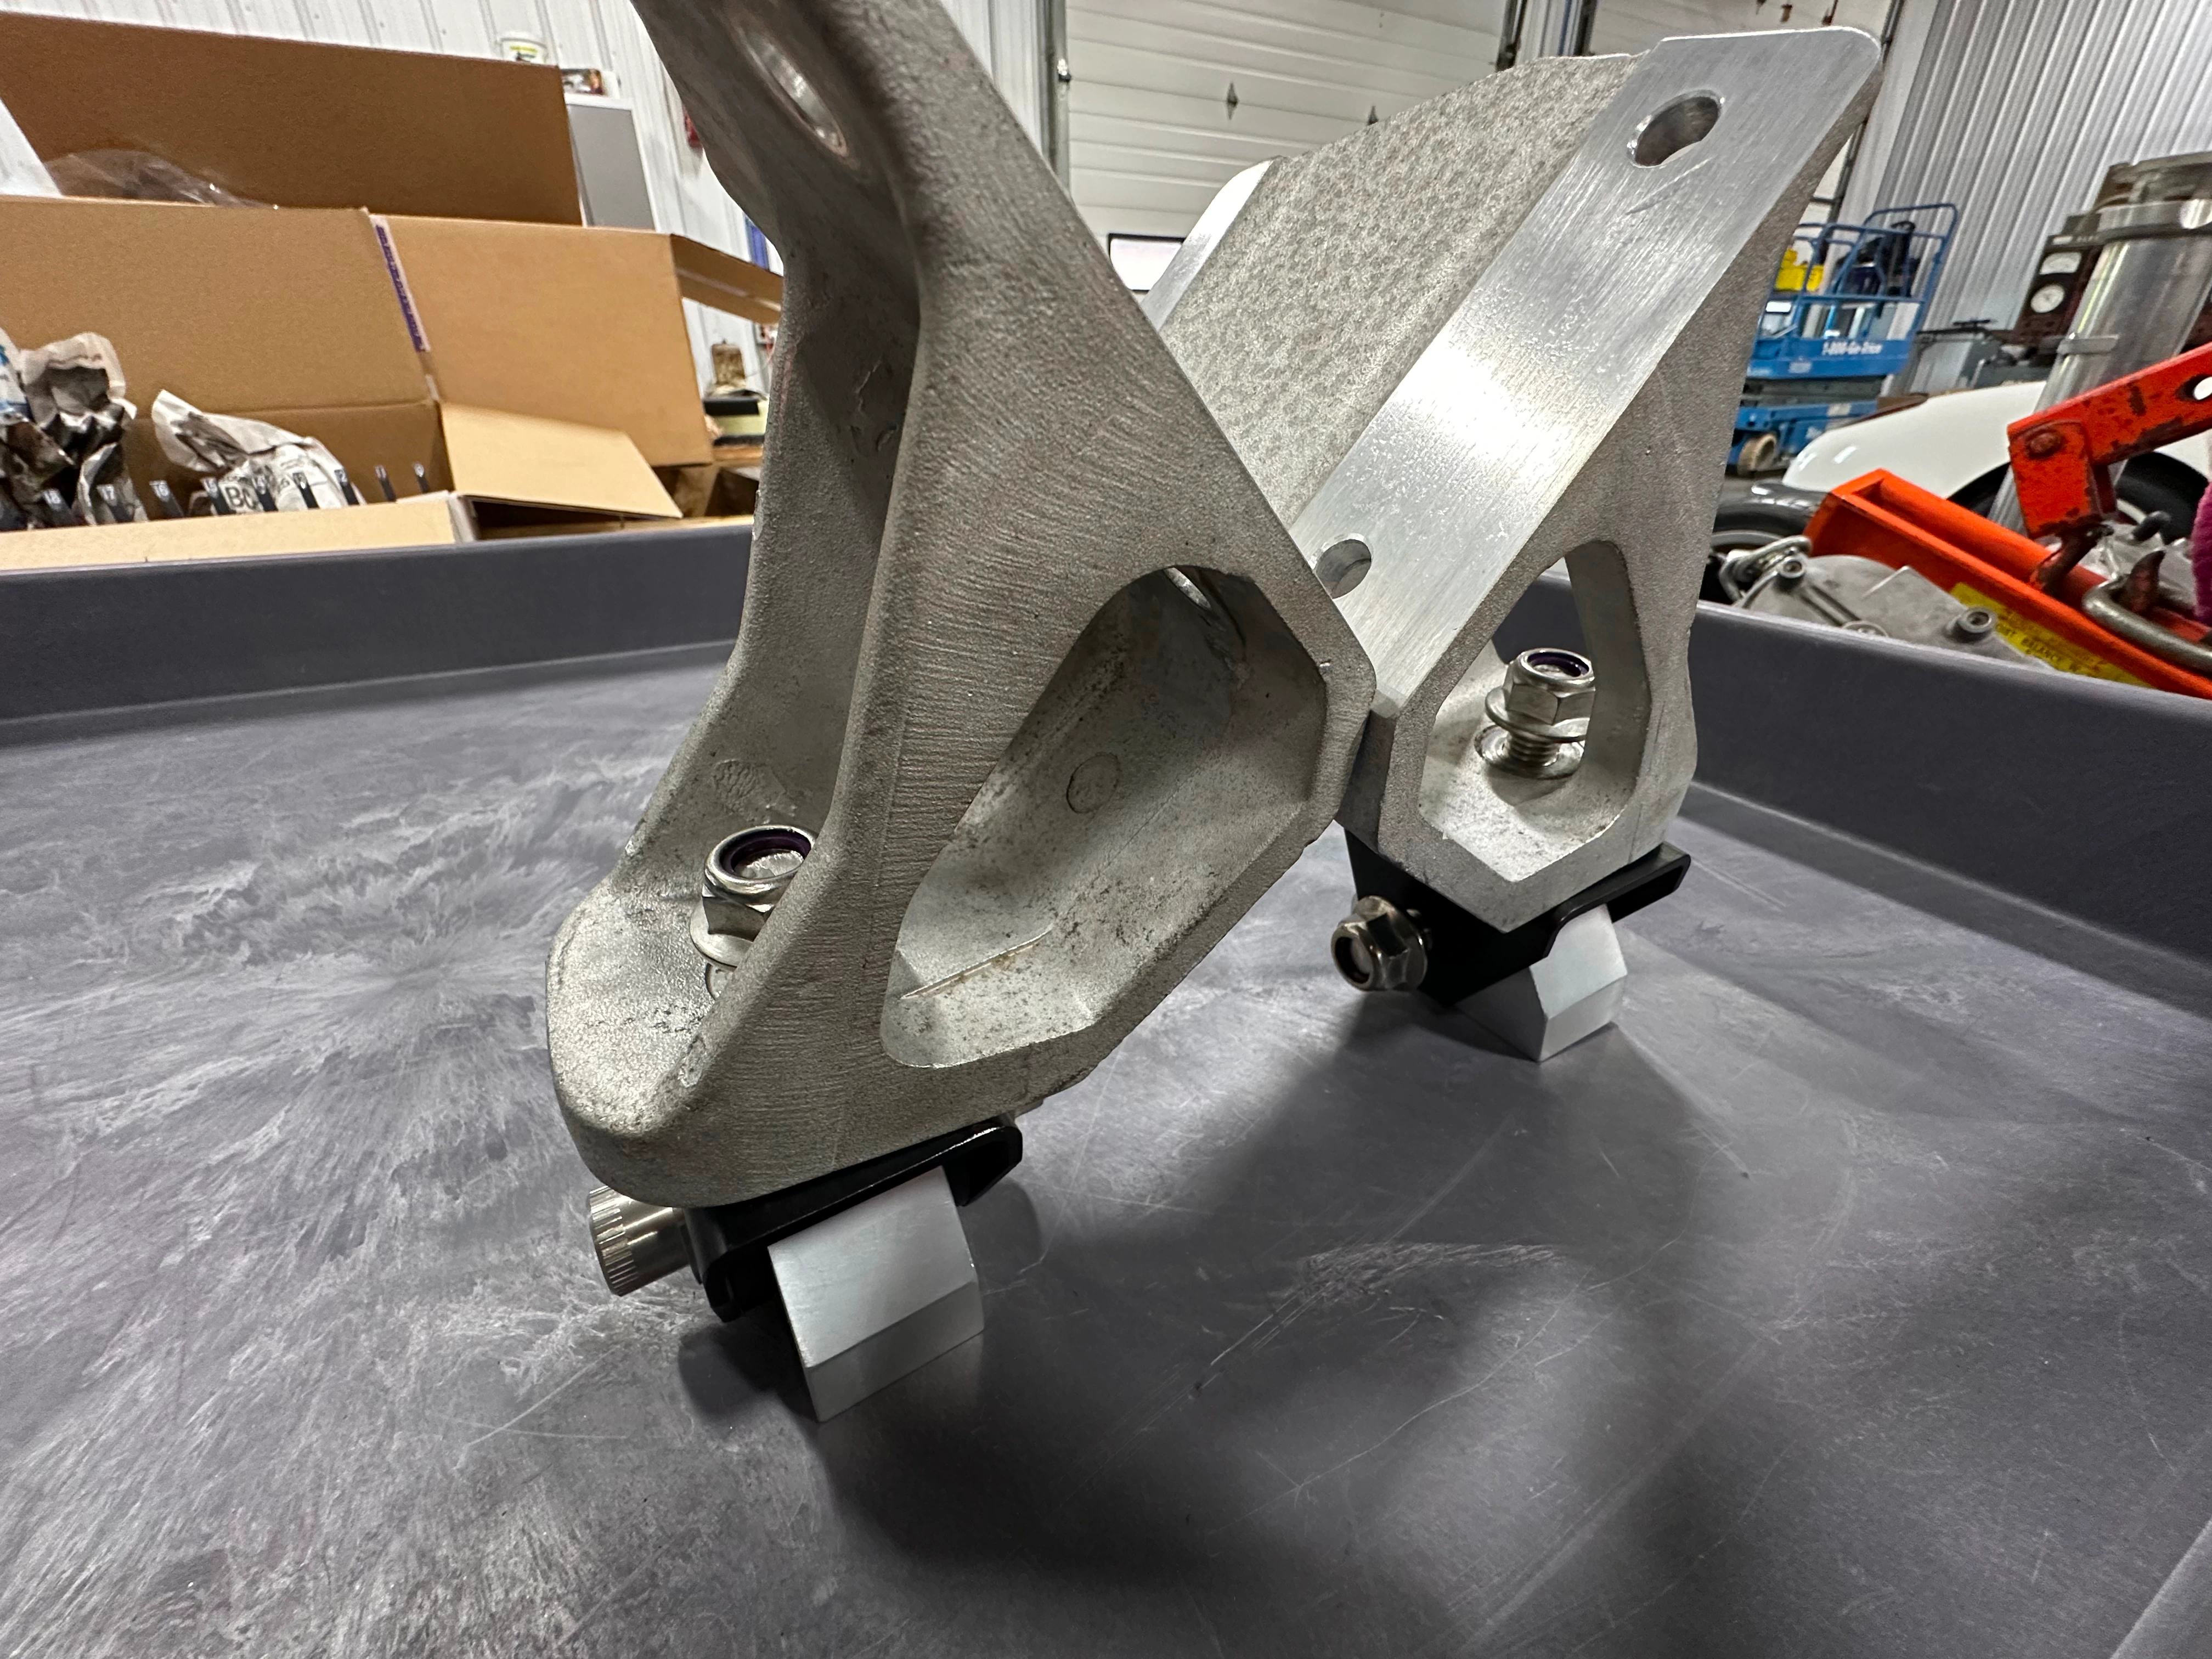
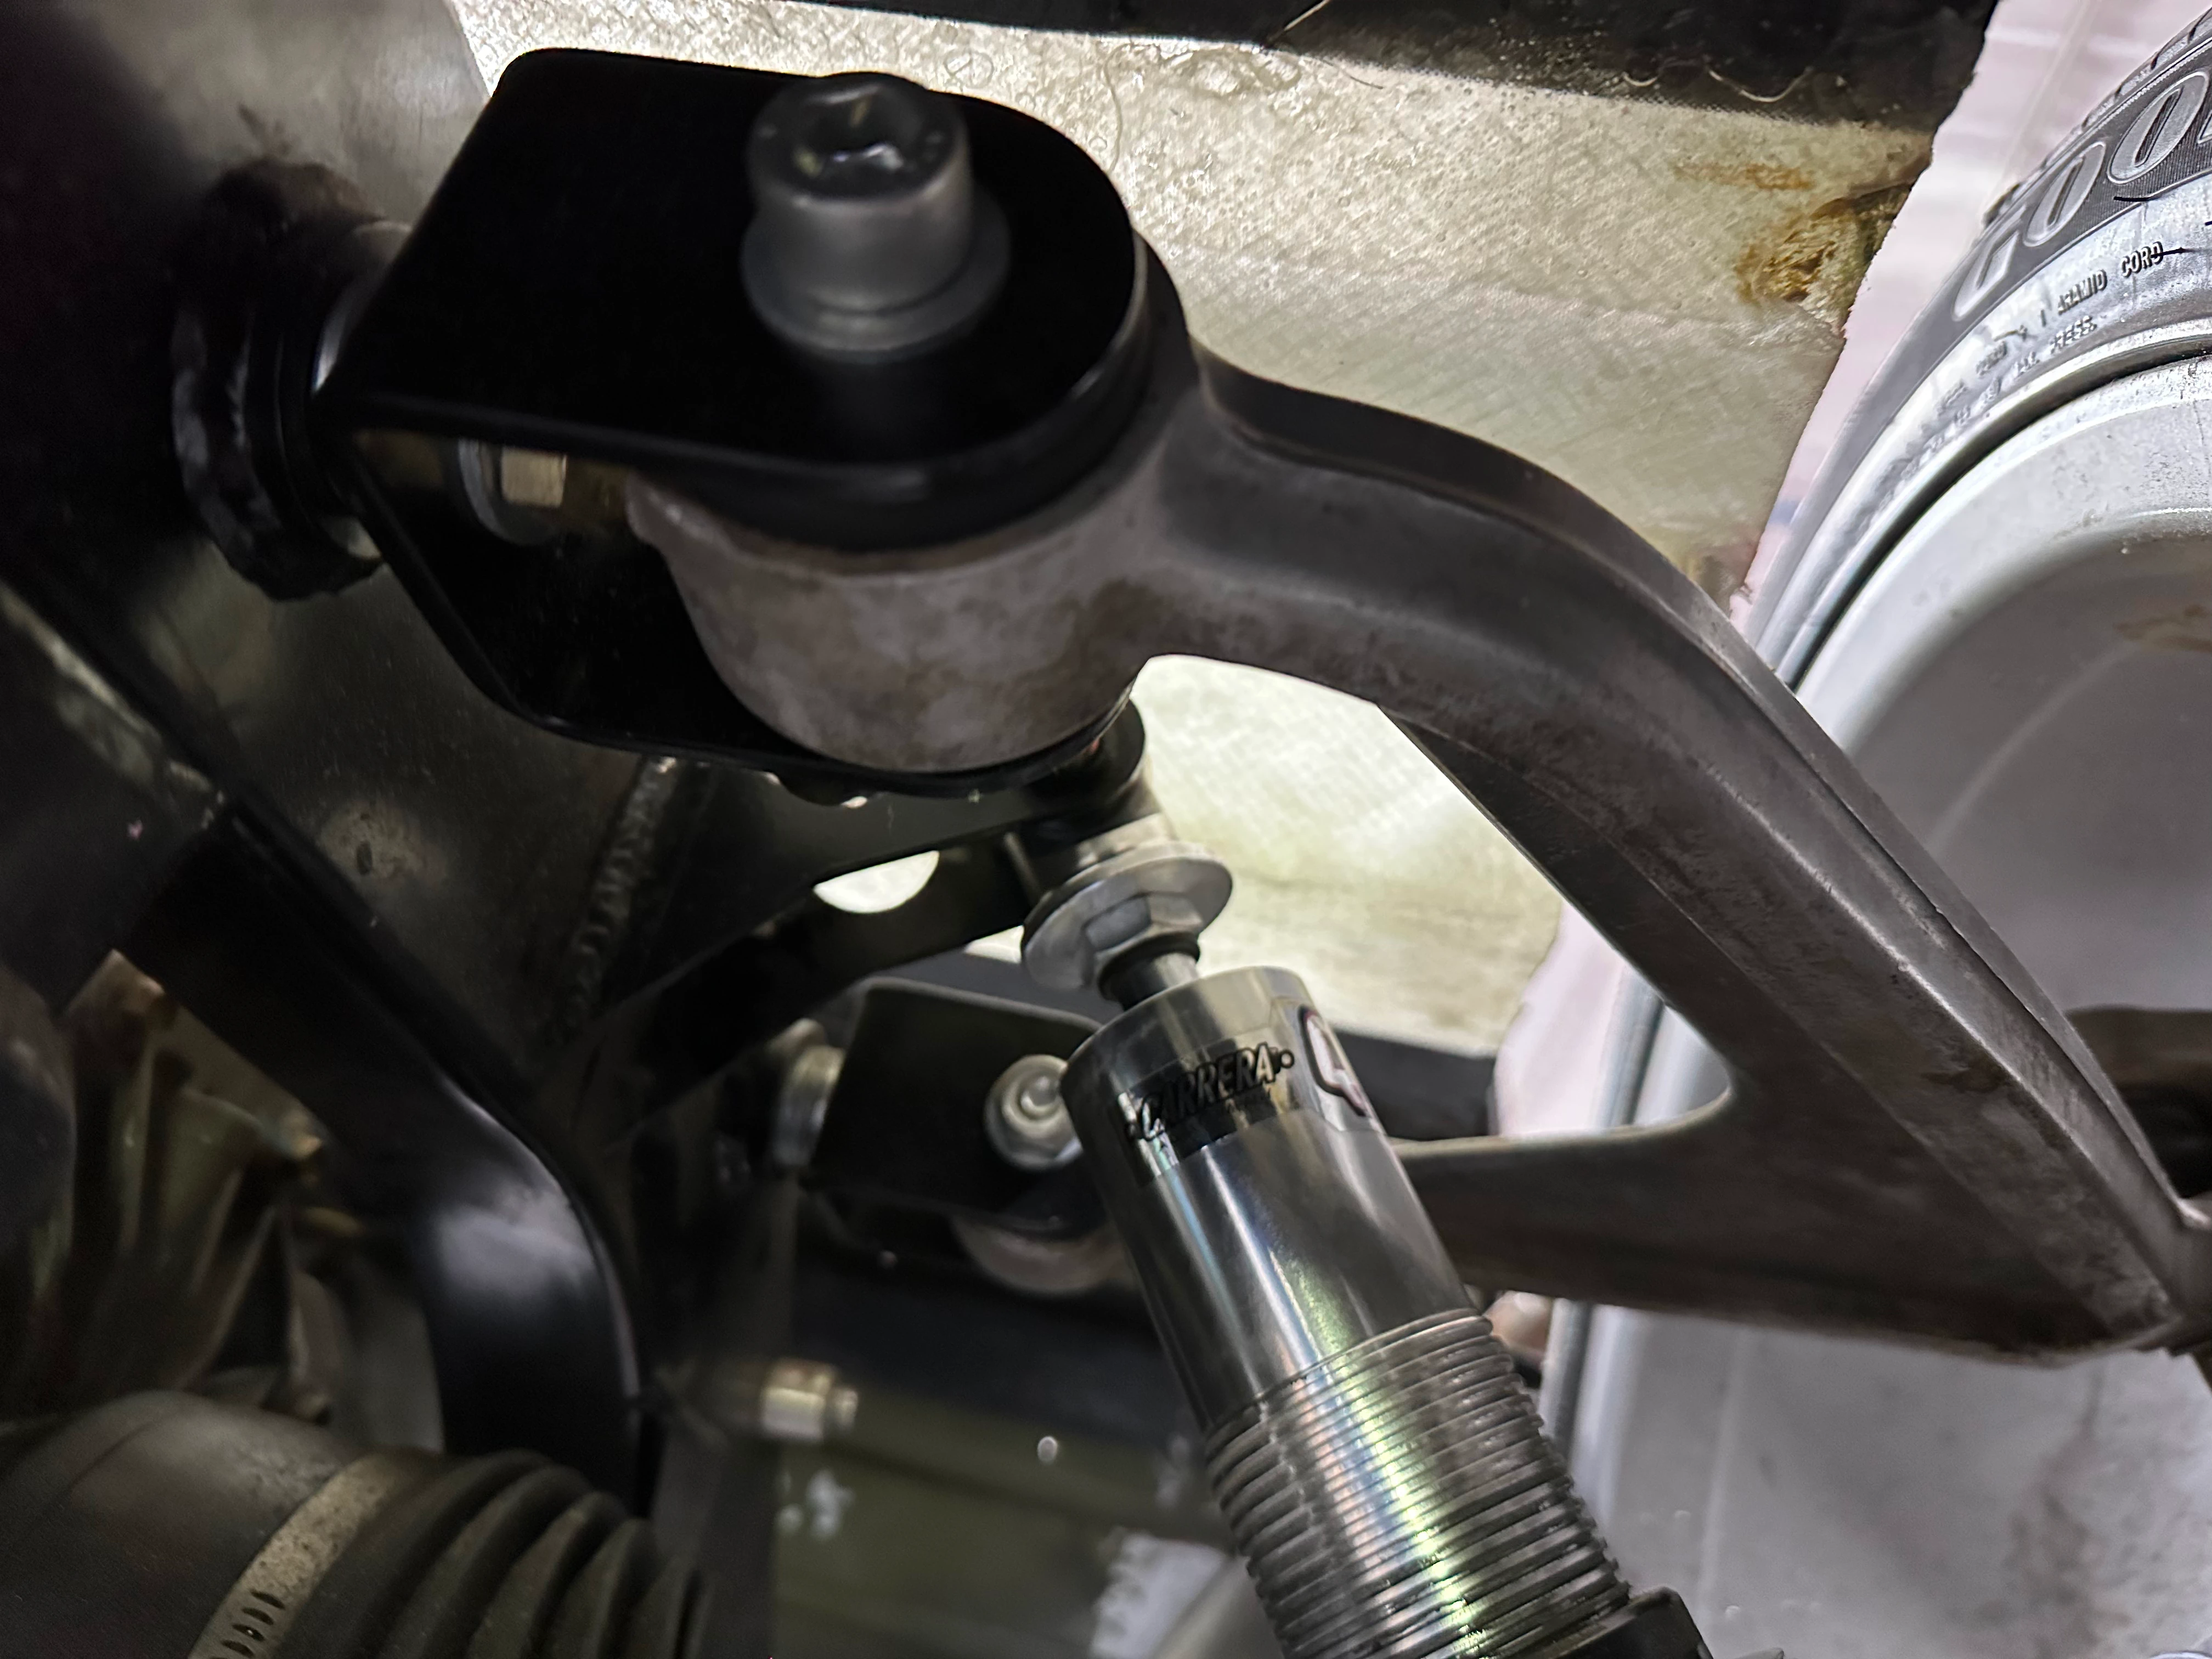
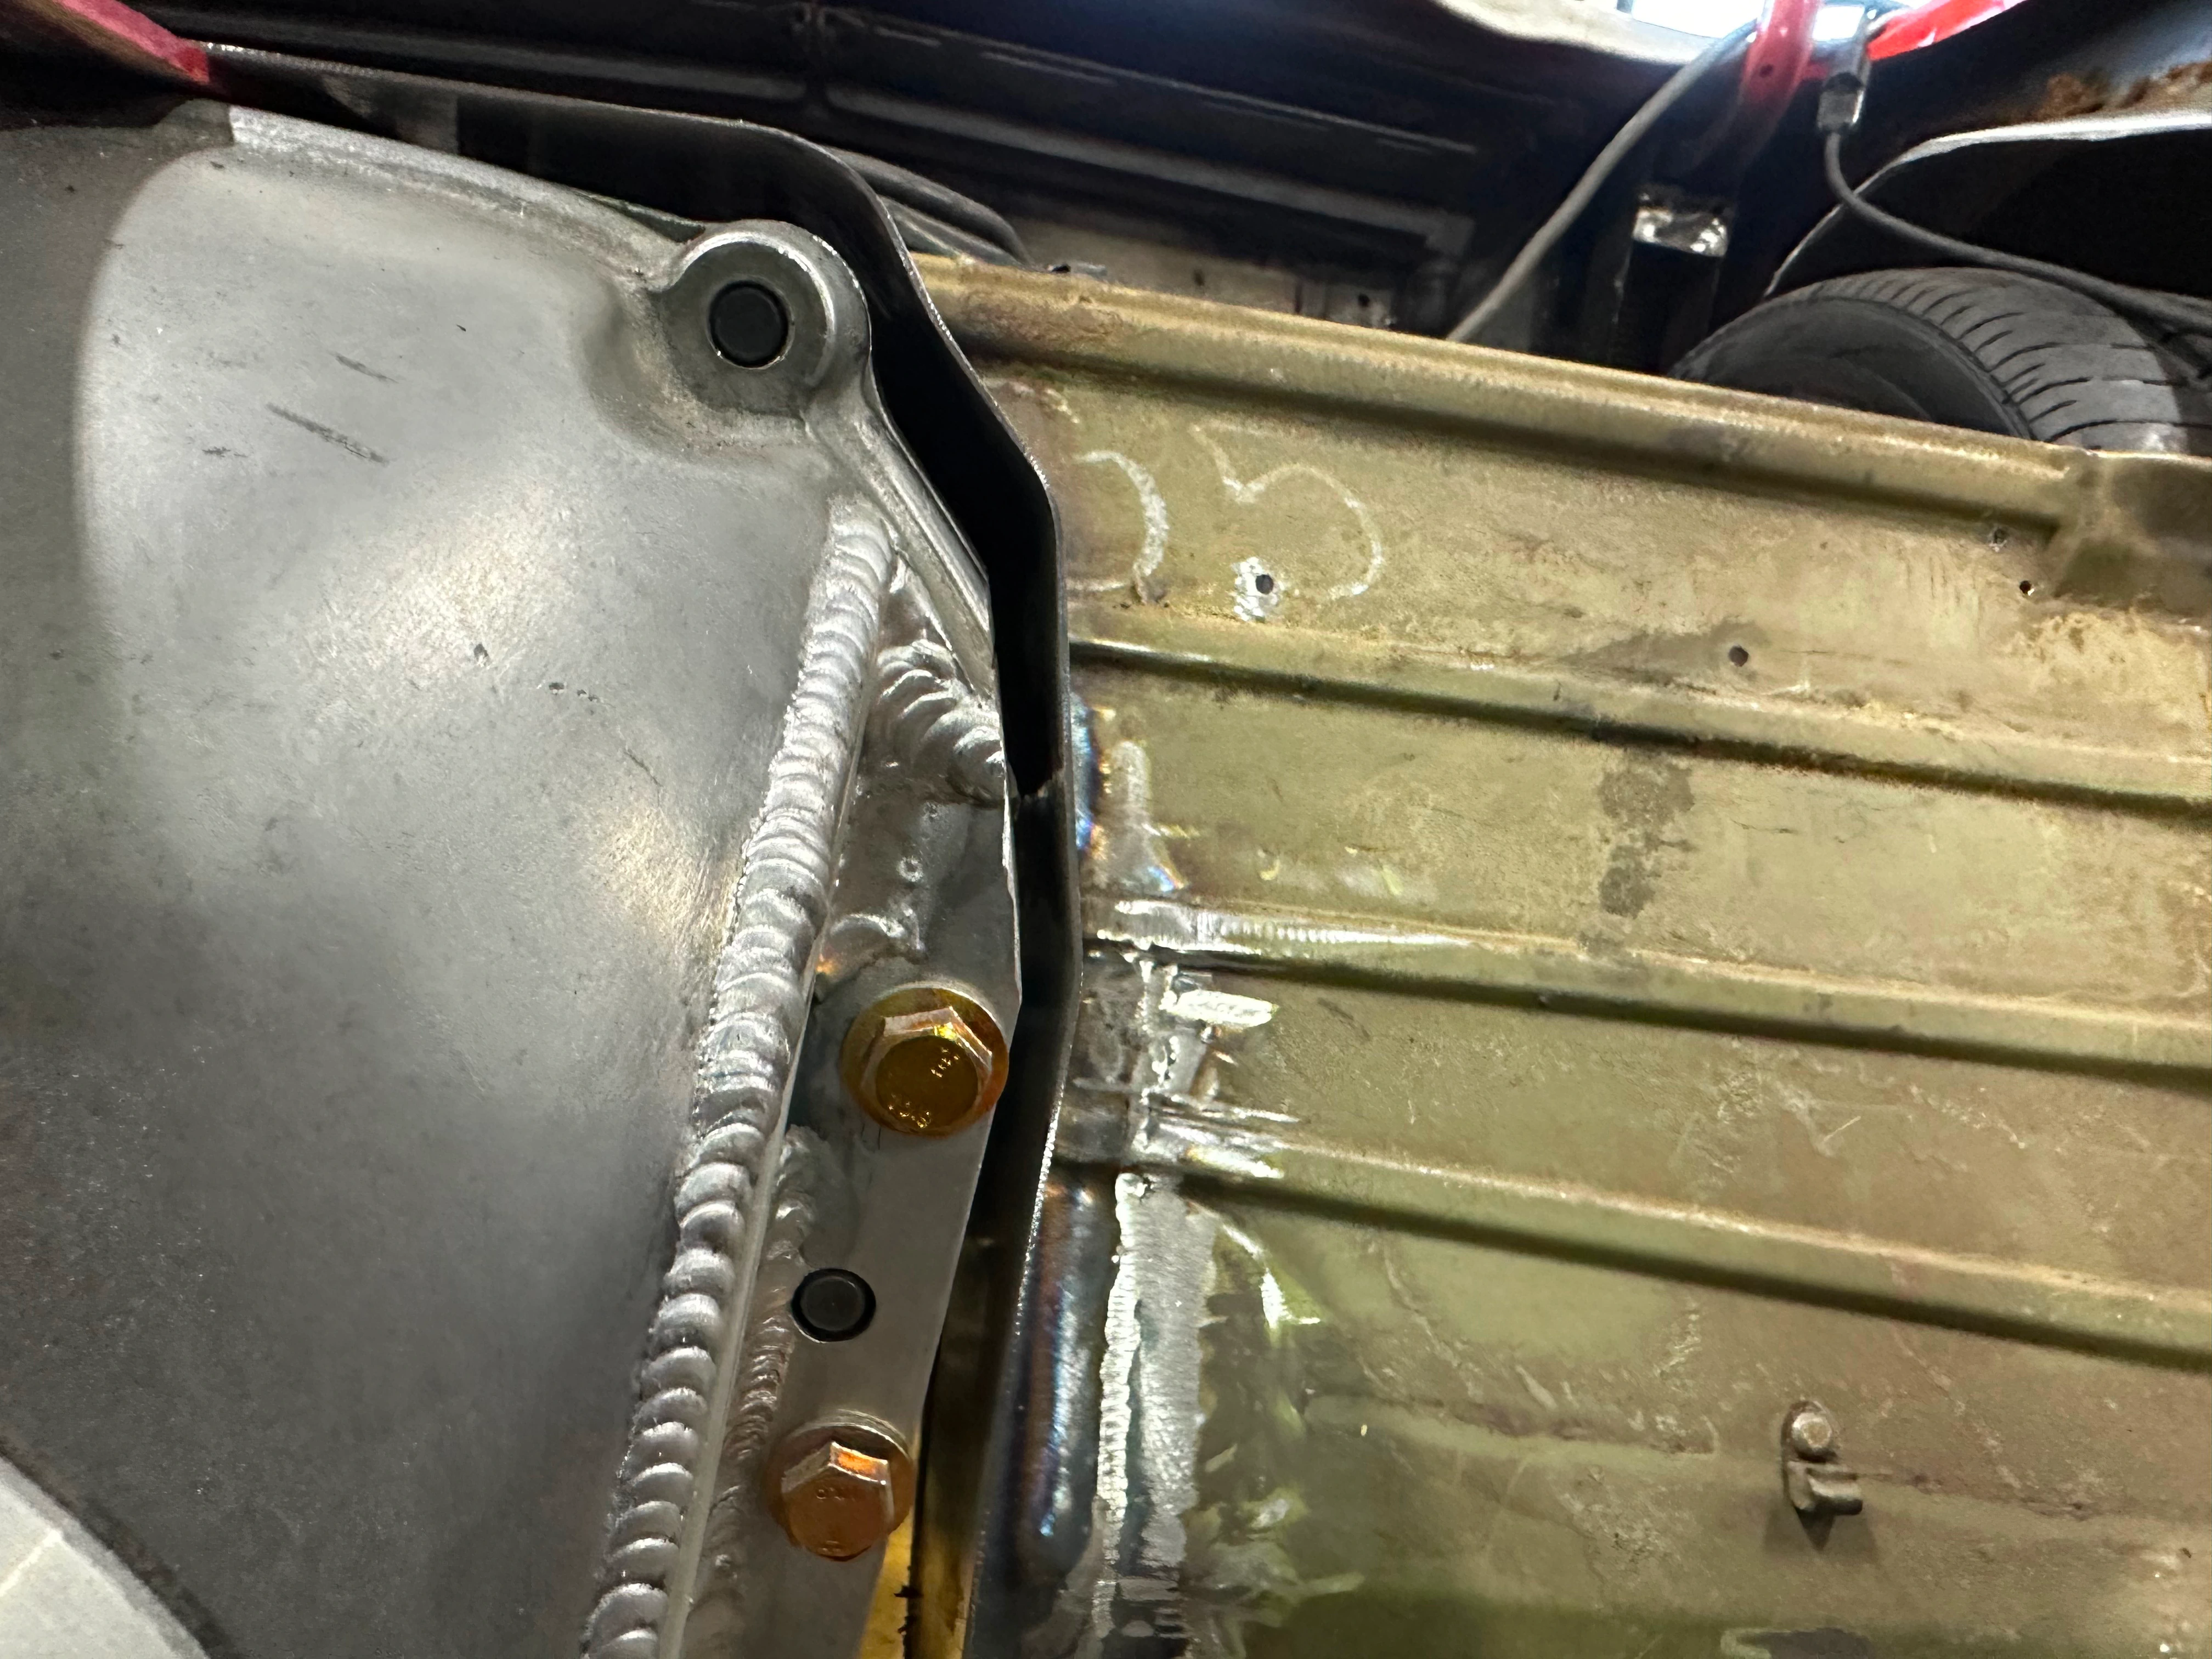
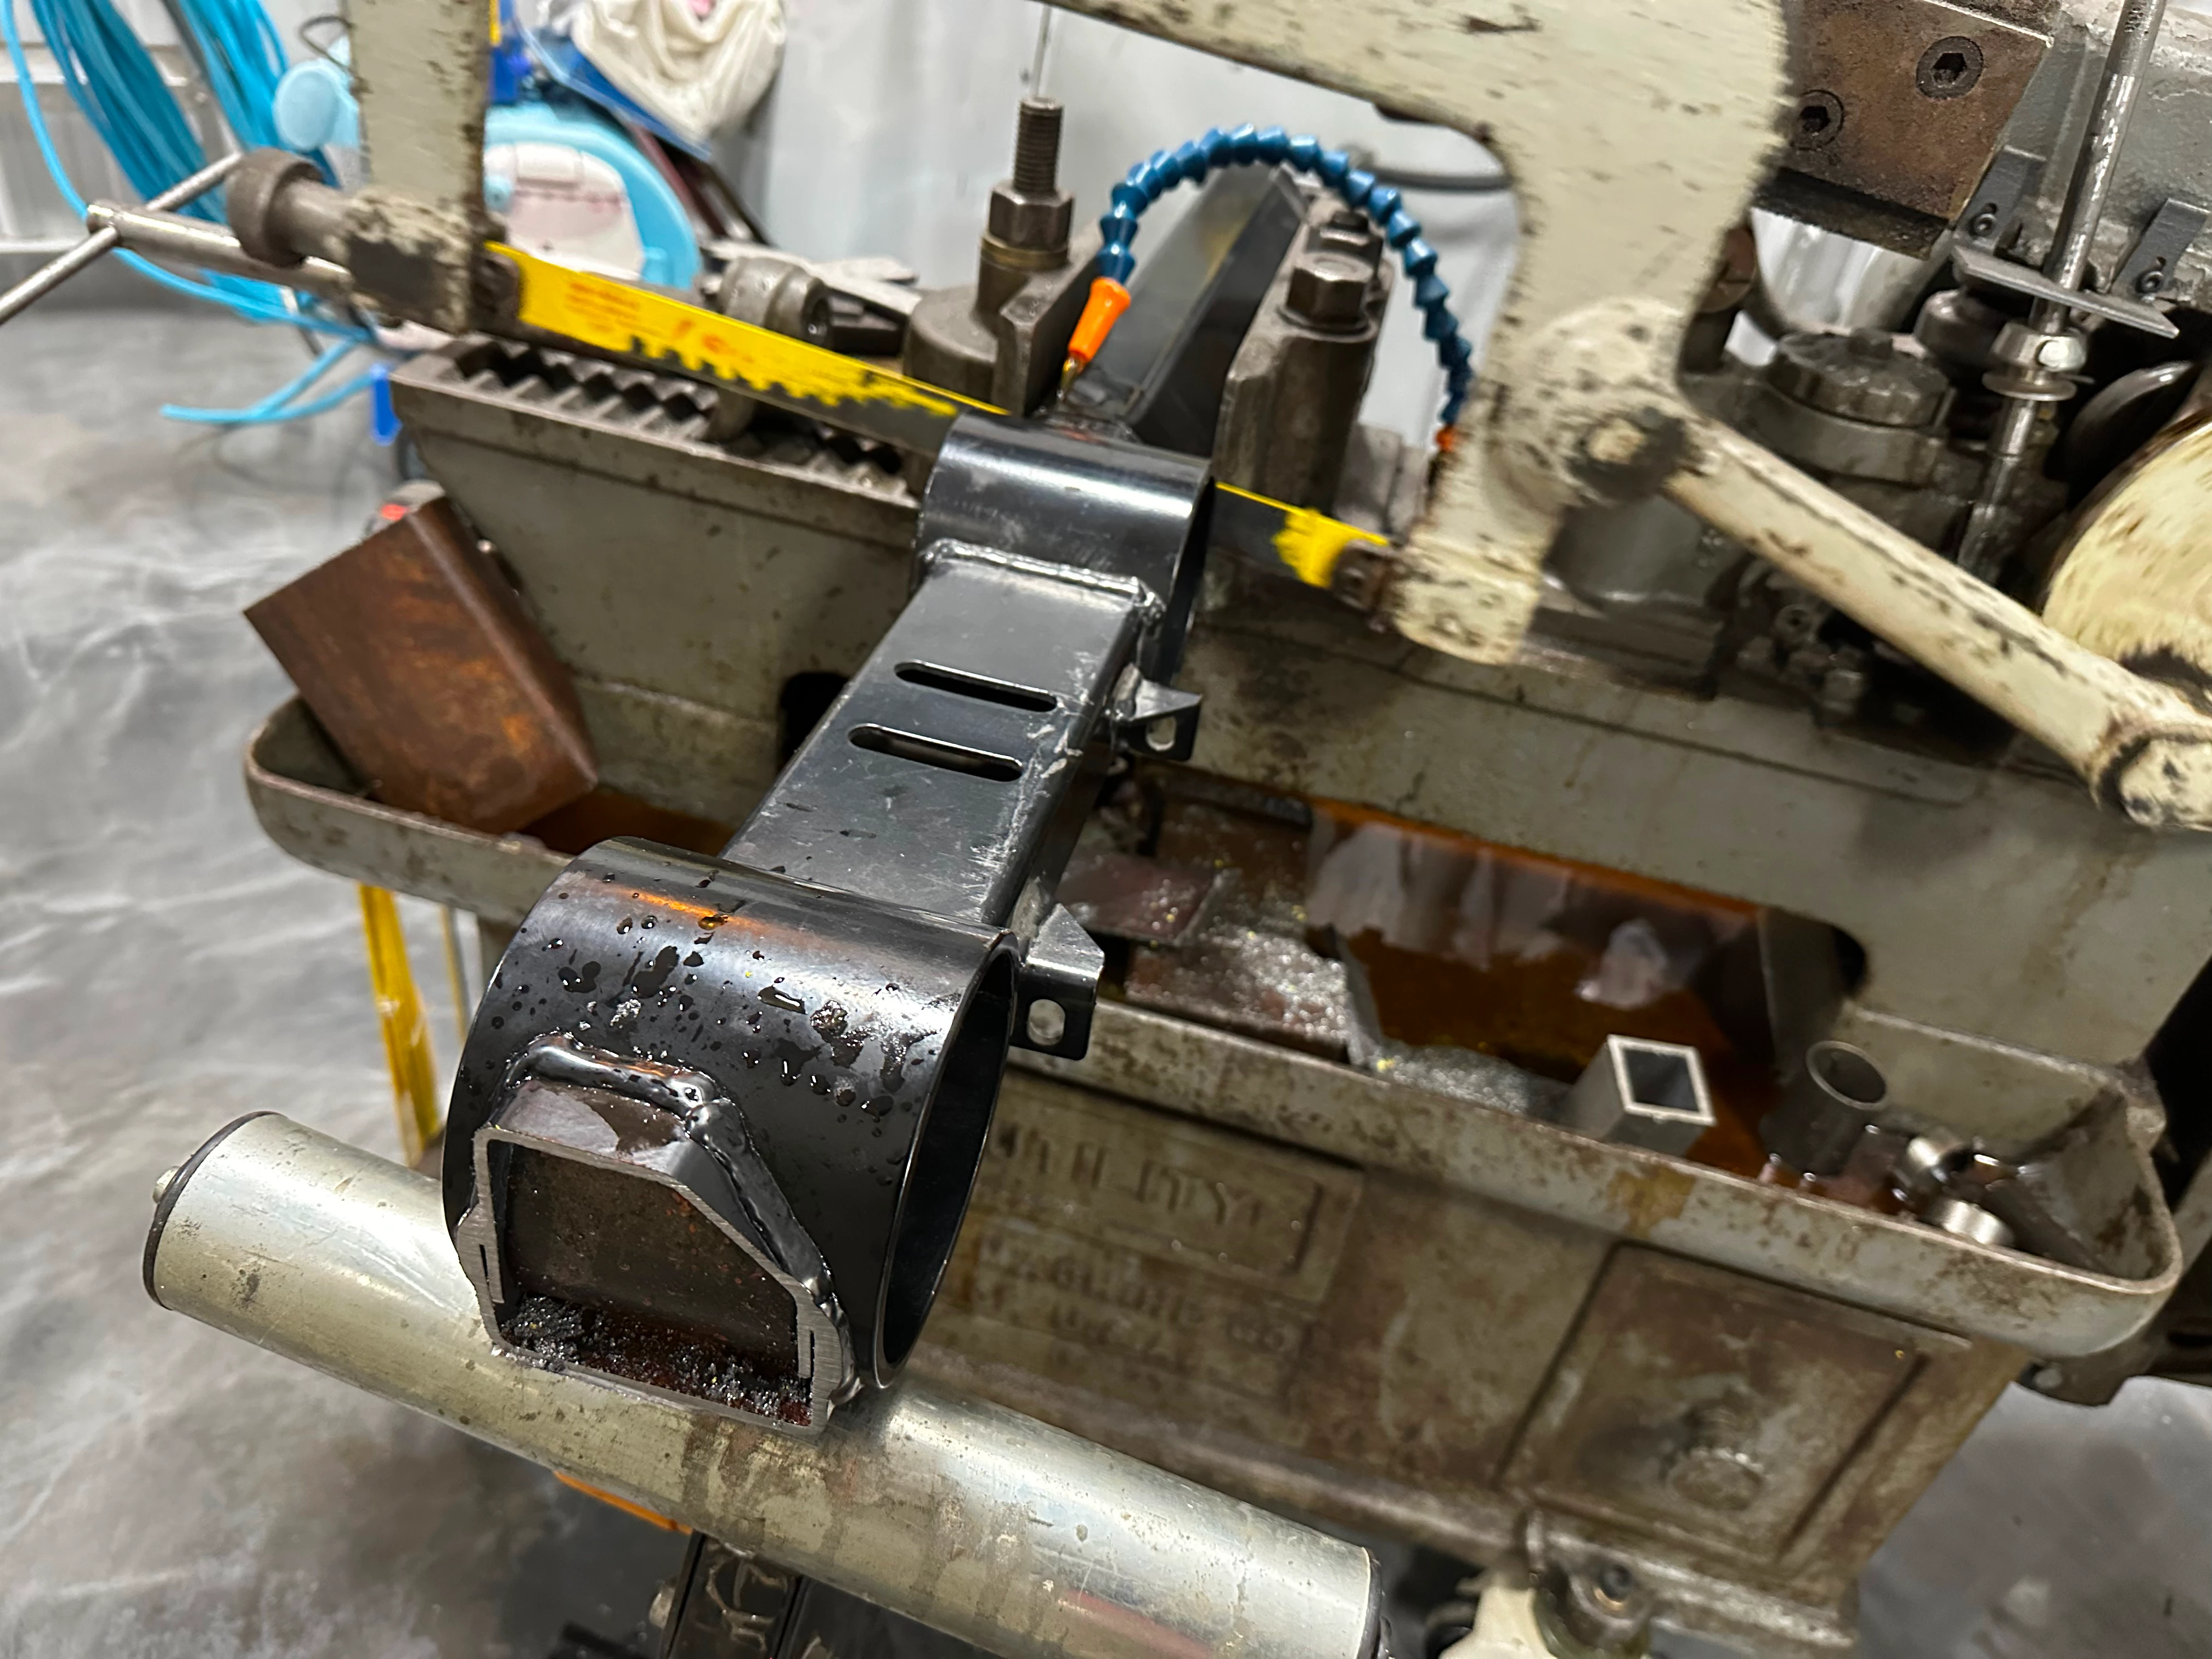
Transaxle Mount
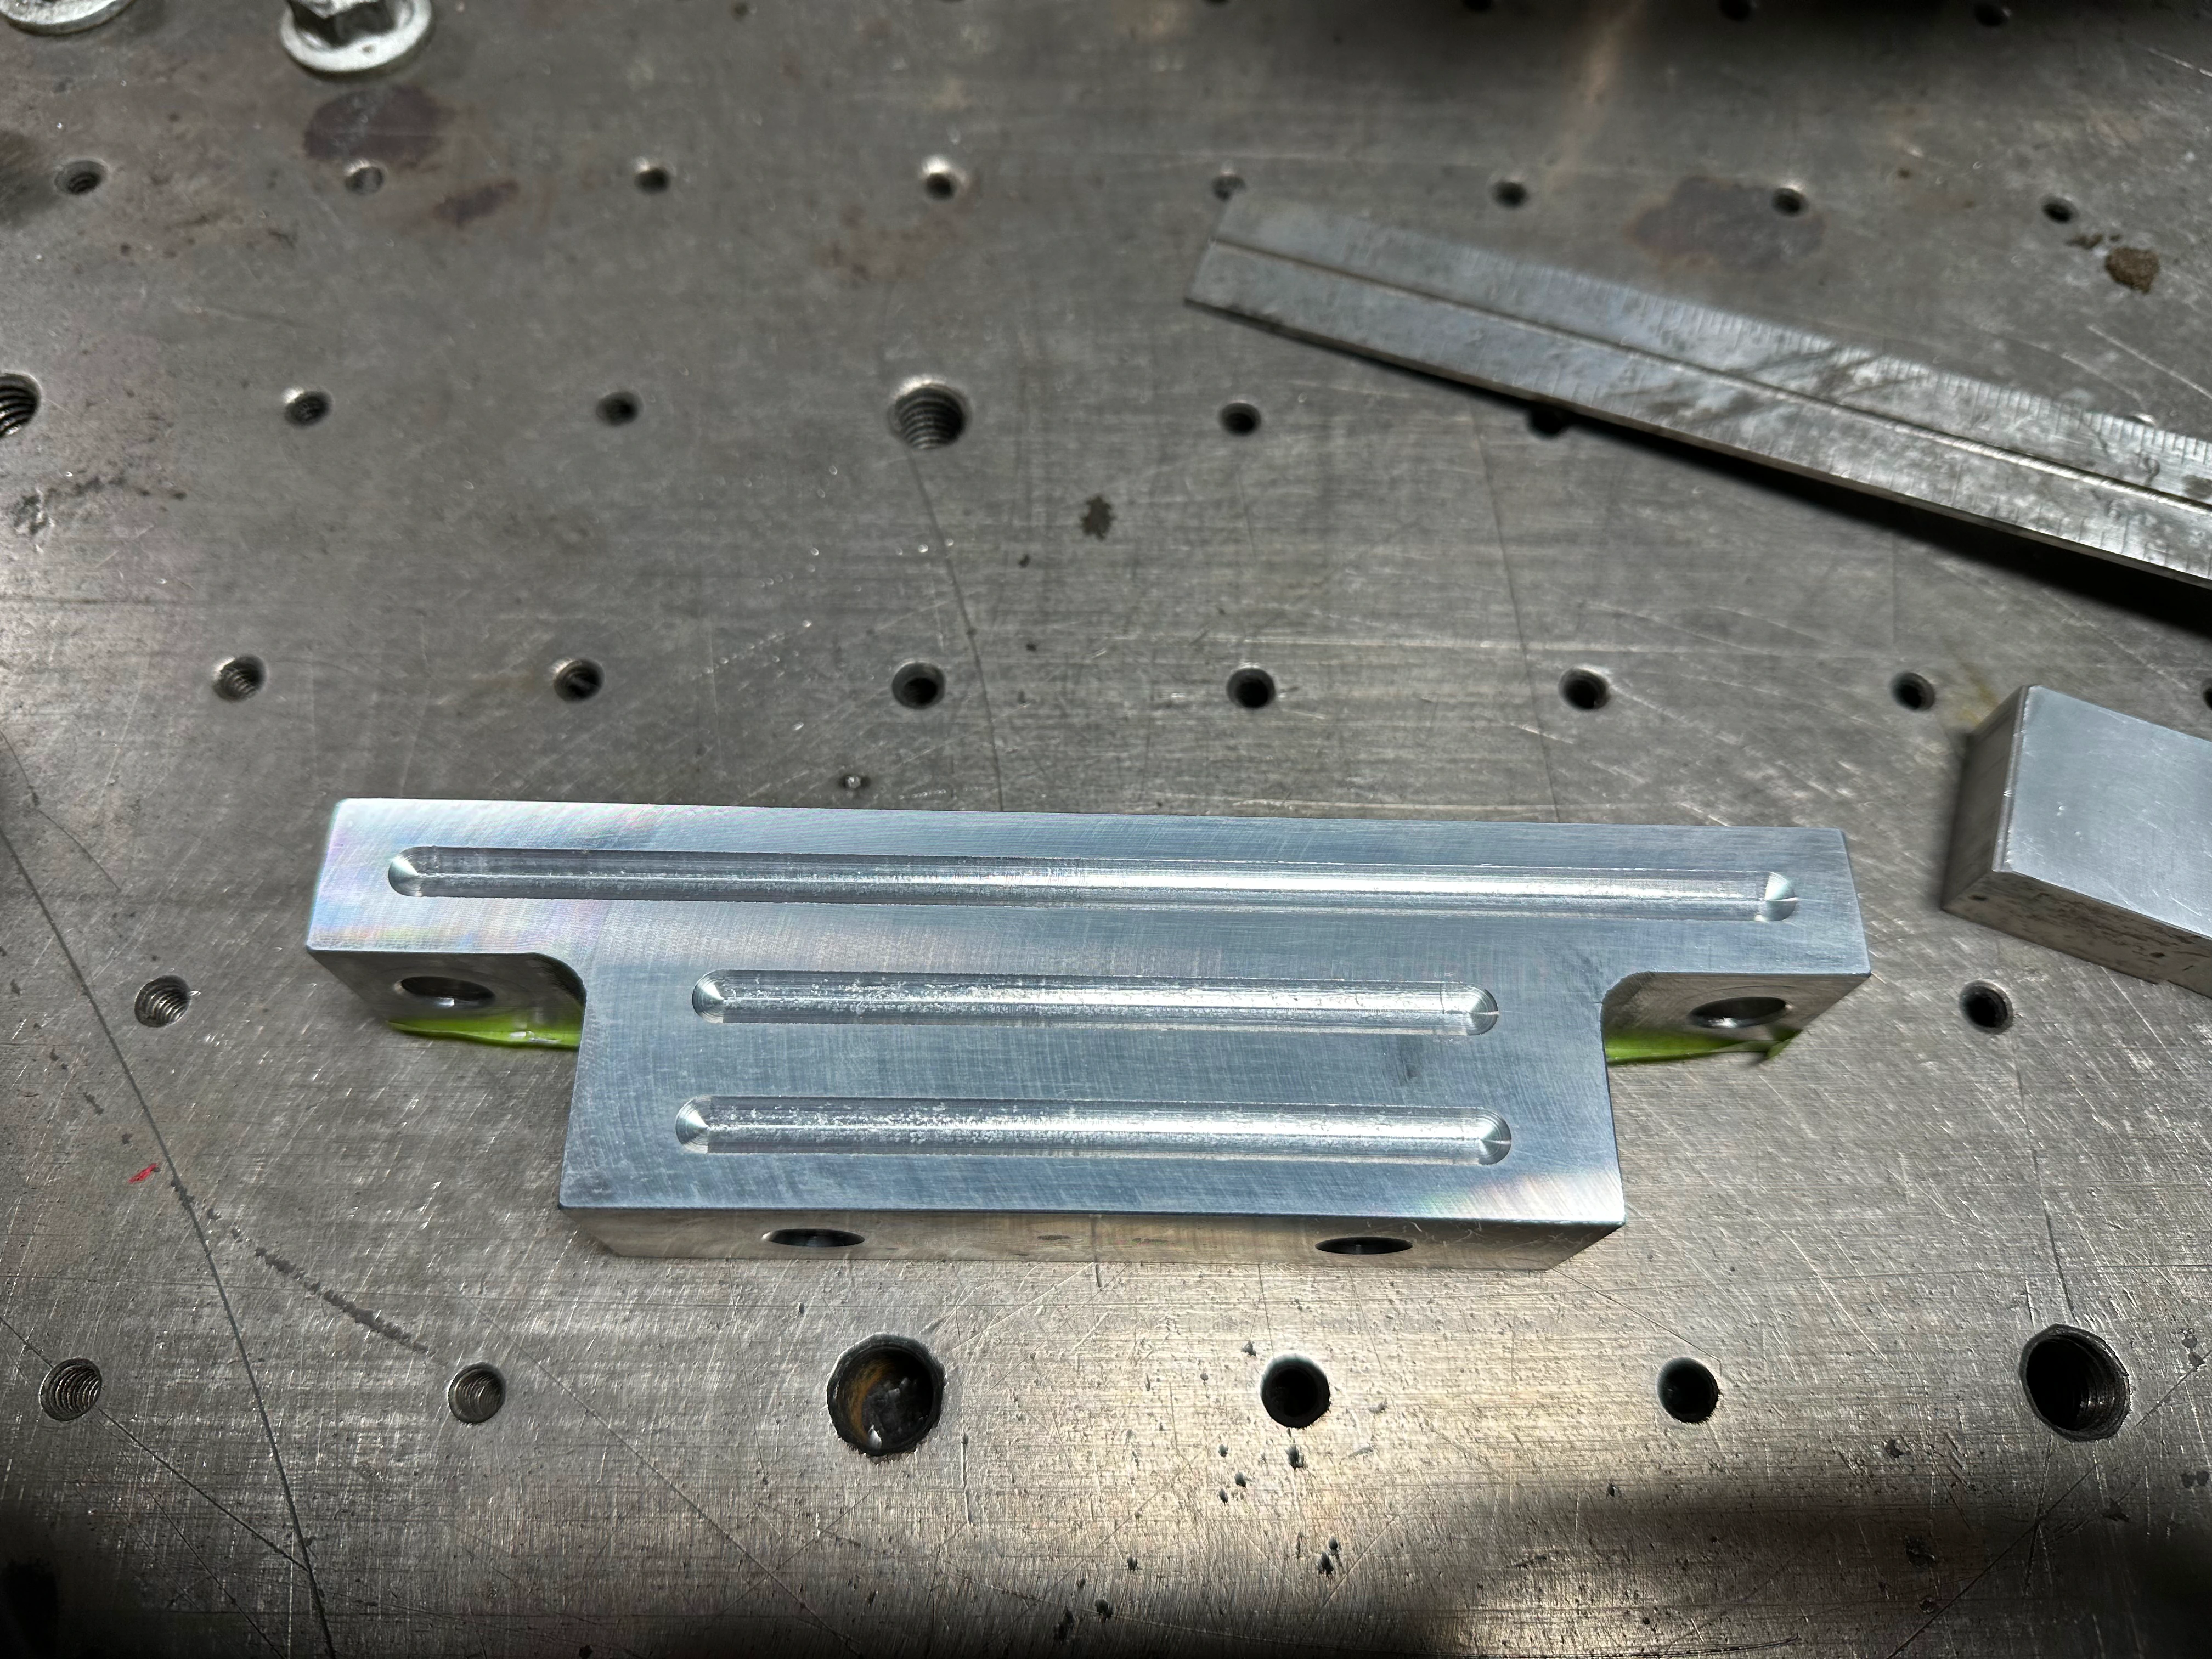
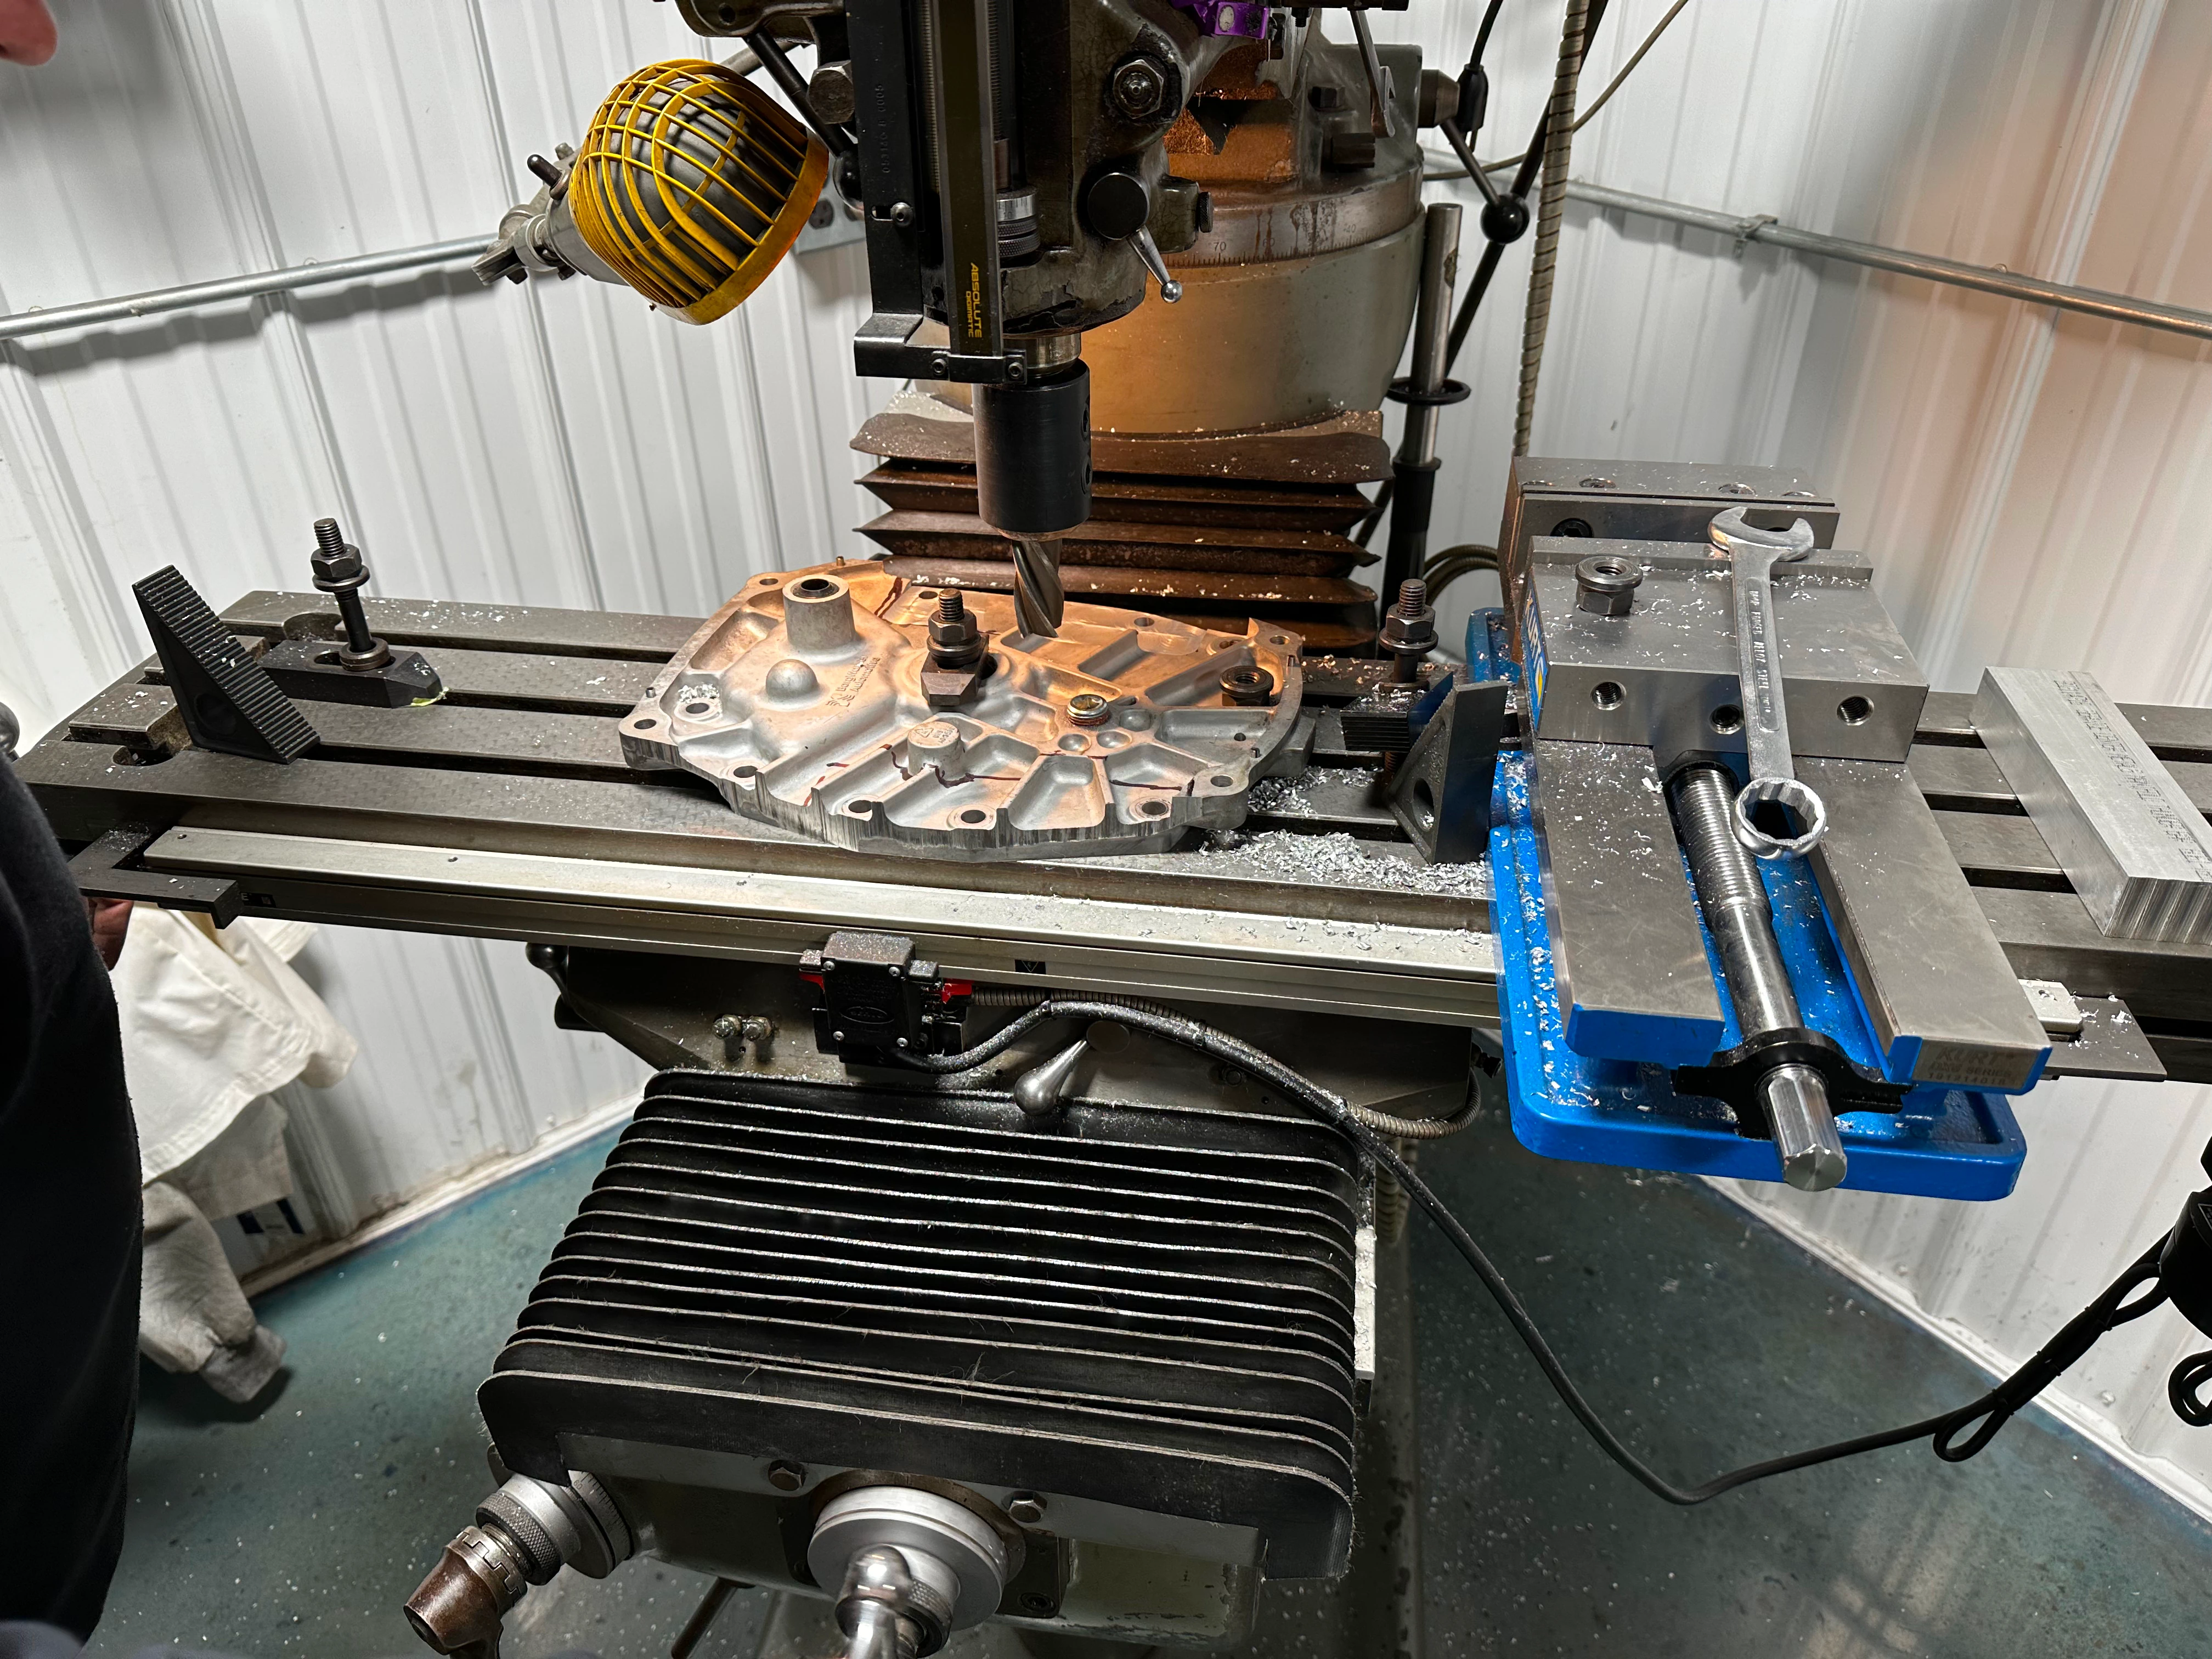
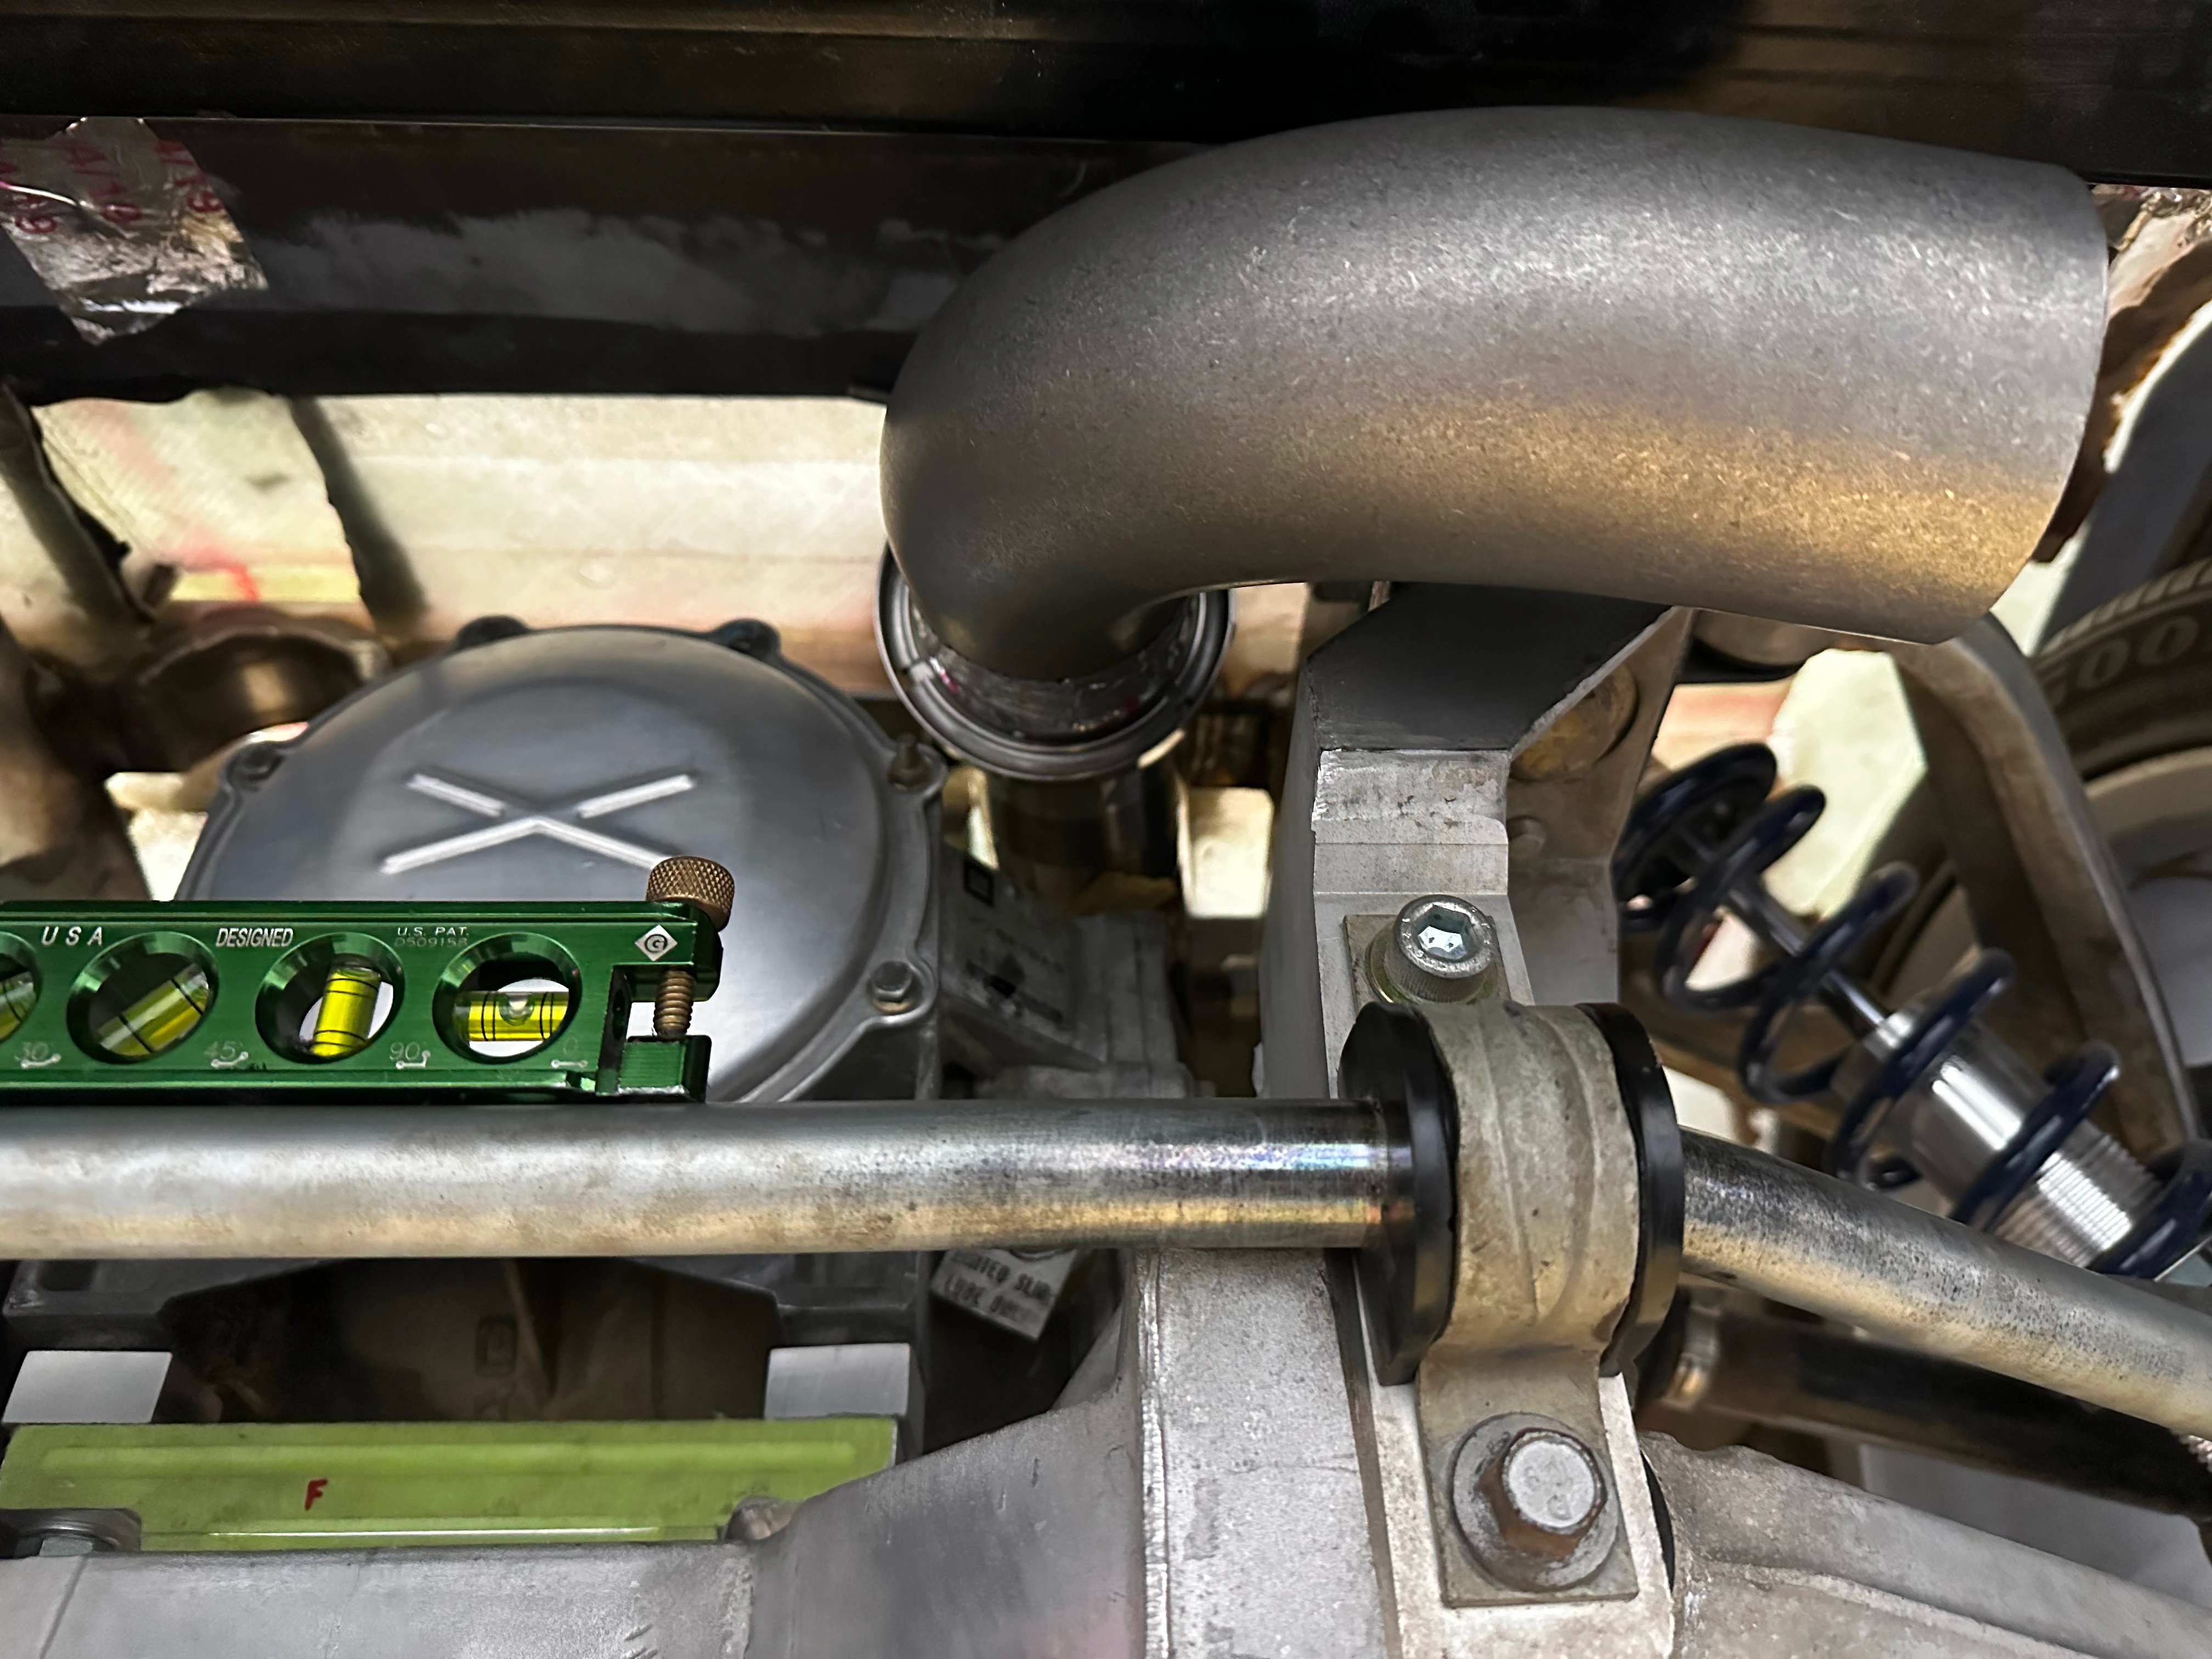
The transaxle mount was a bit too tall so I made a new one.
The cradle is angled so I had to mill it and drill holes at a matching angle so the transaxle would sit level relative to the frame.
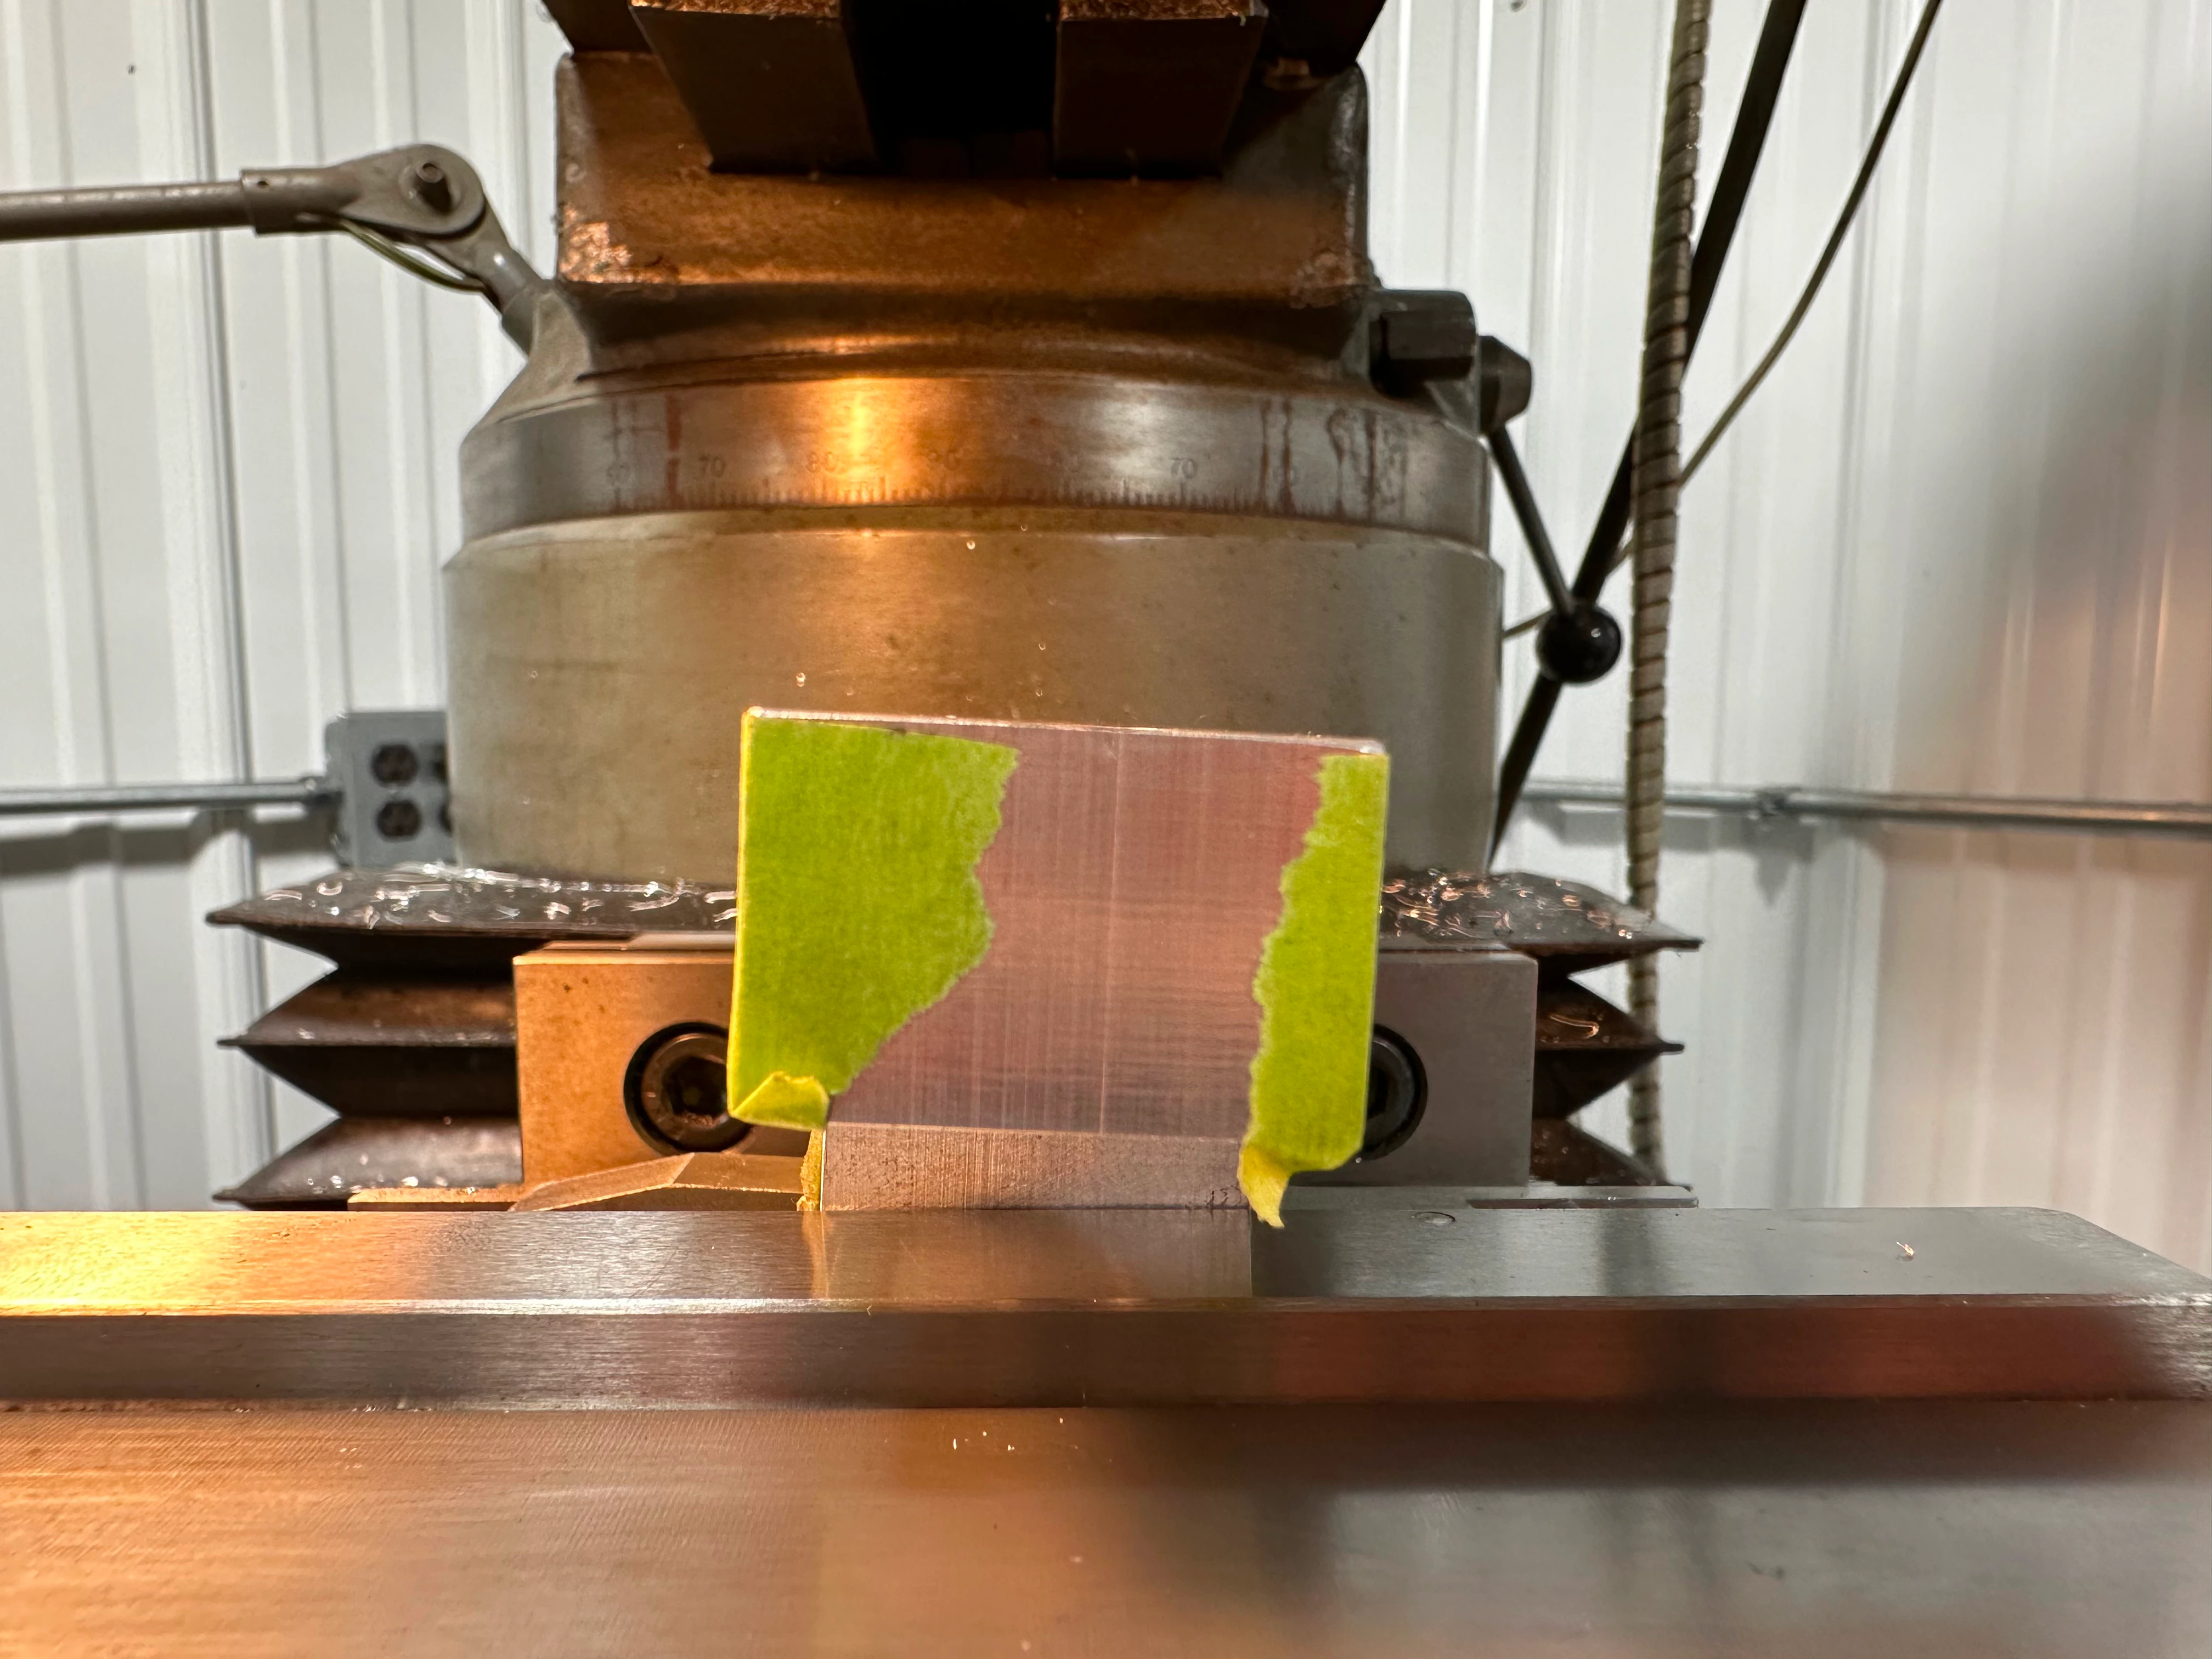
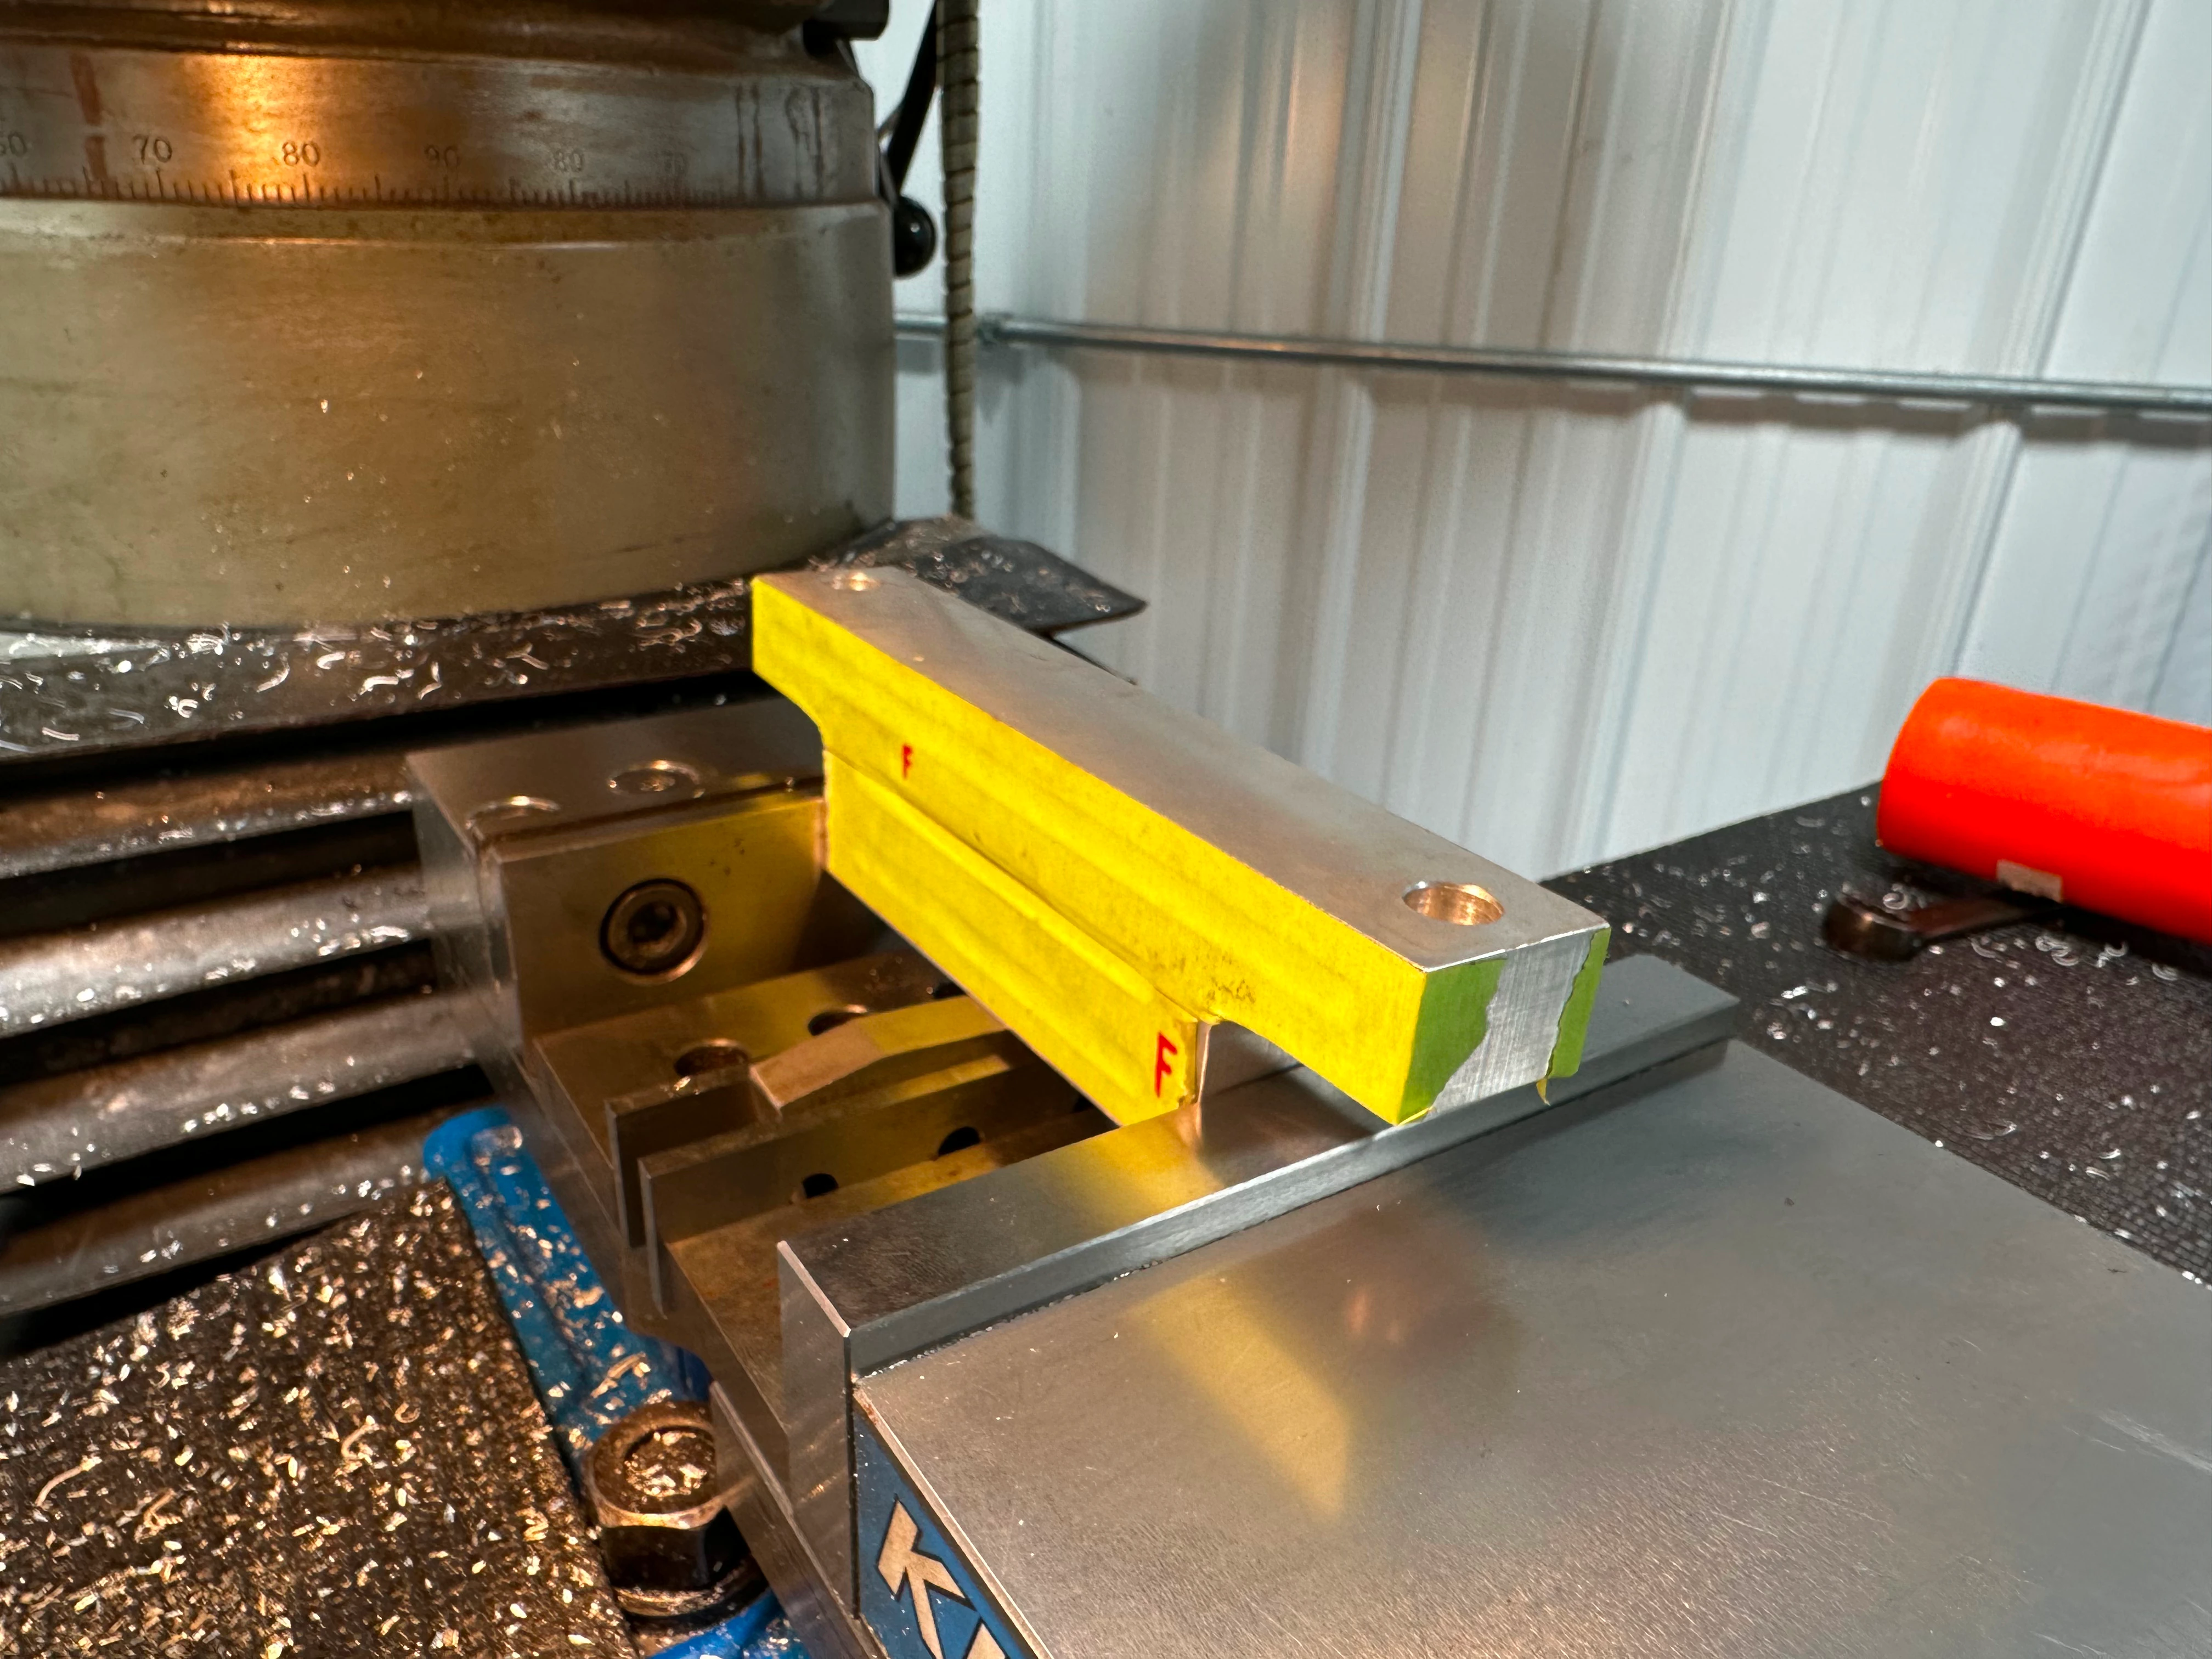
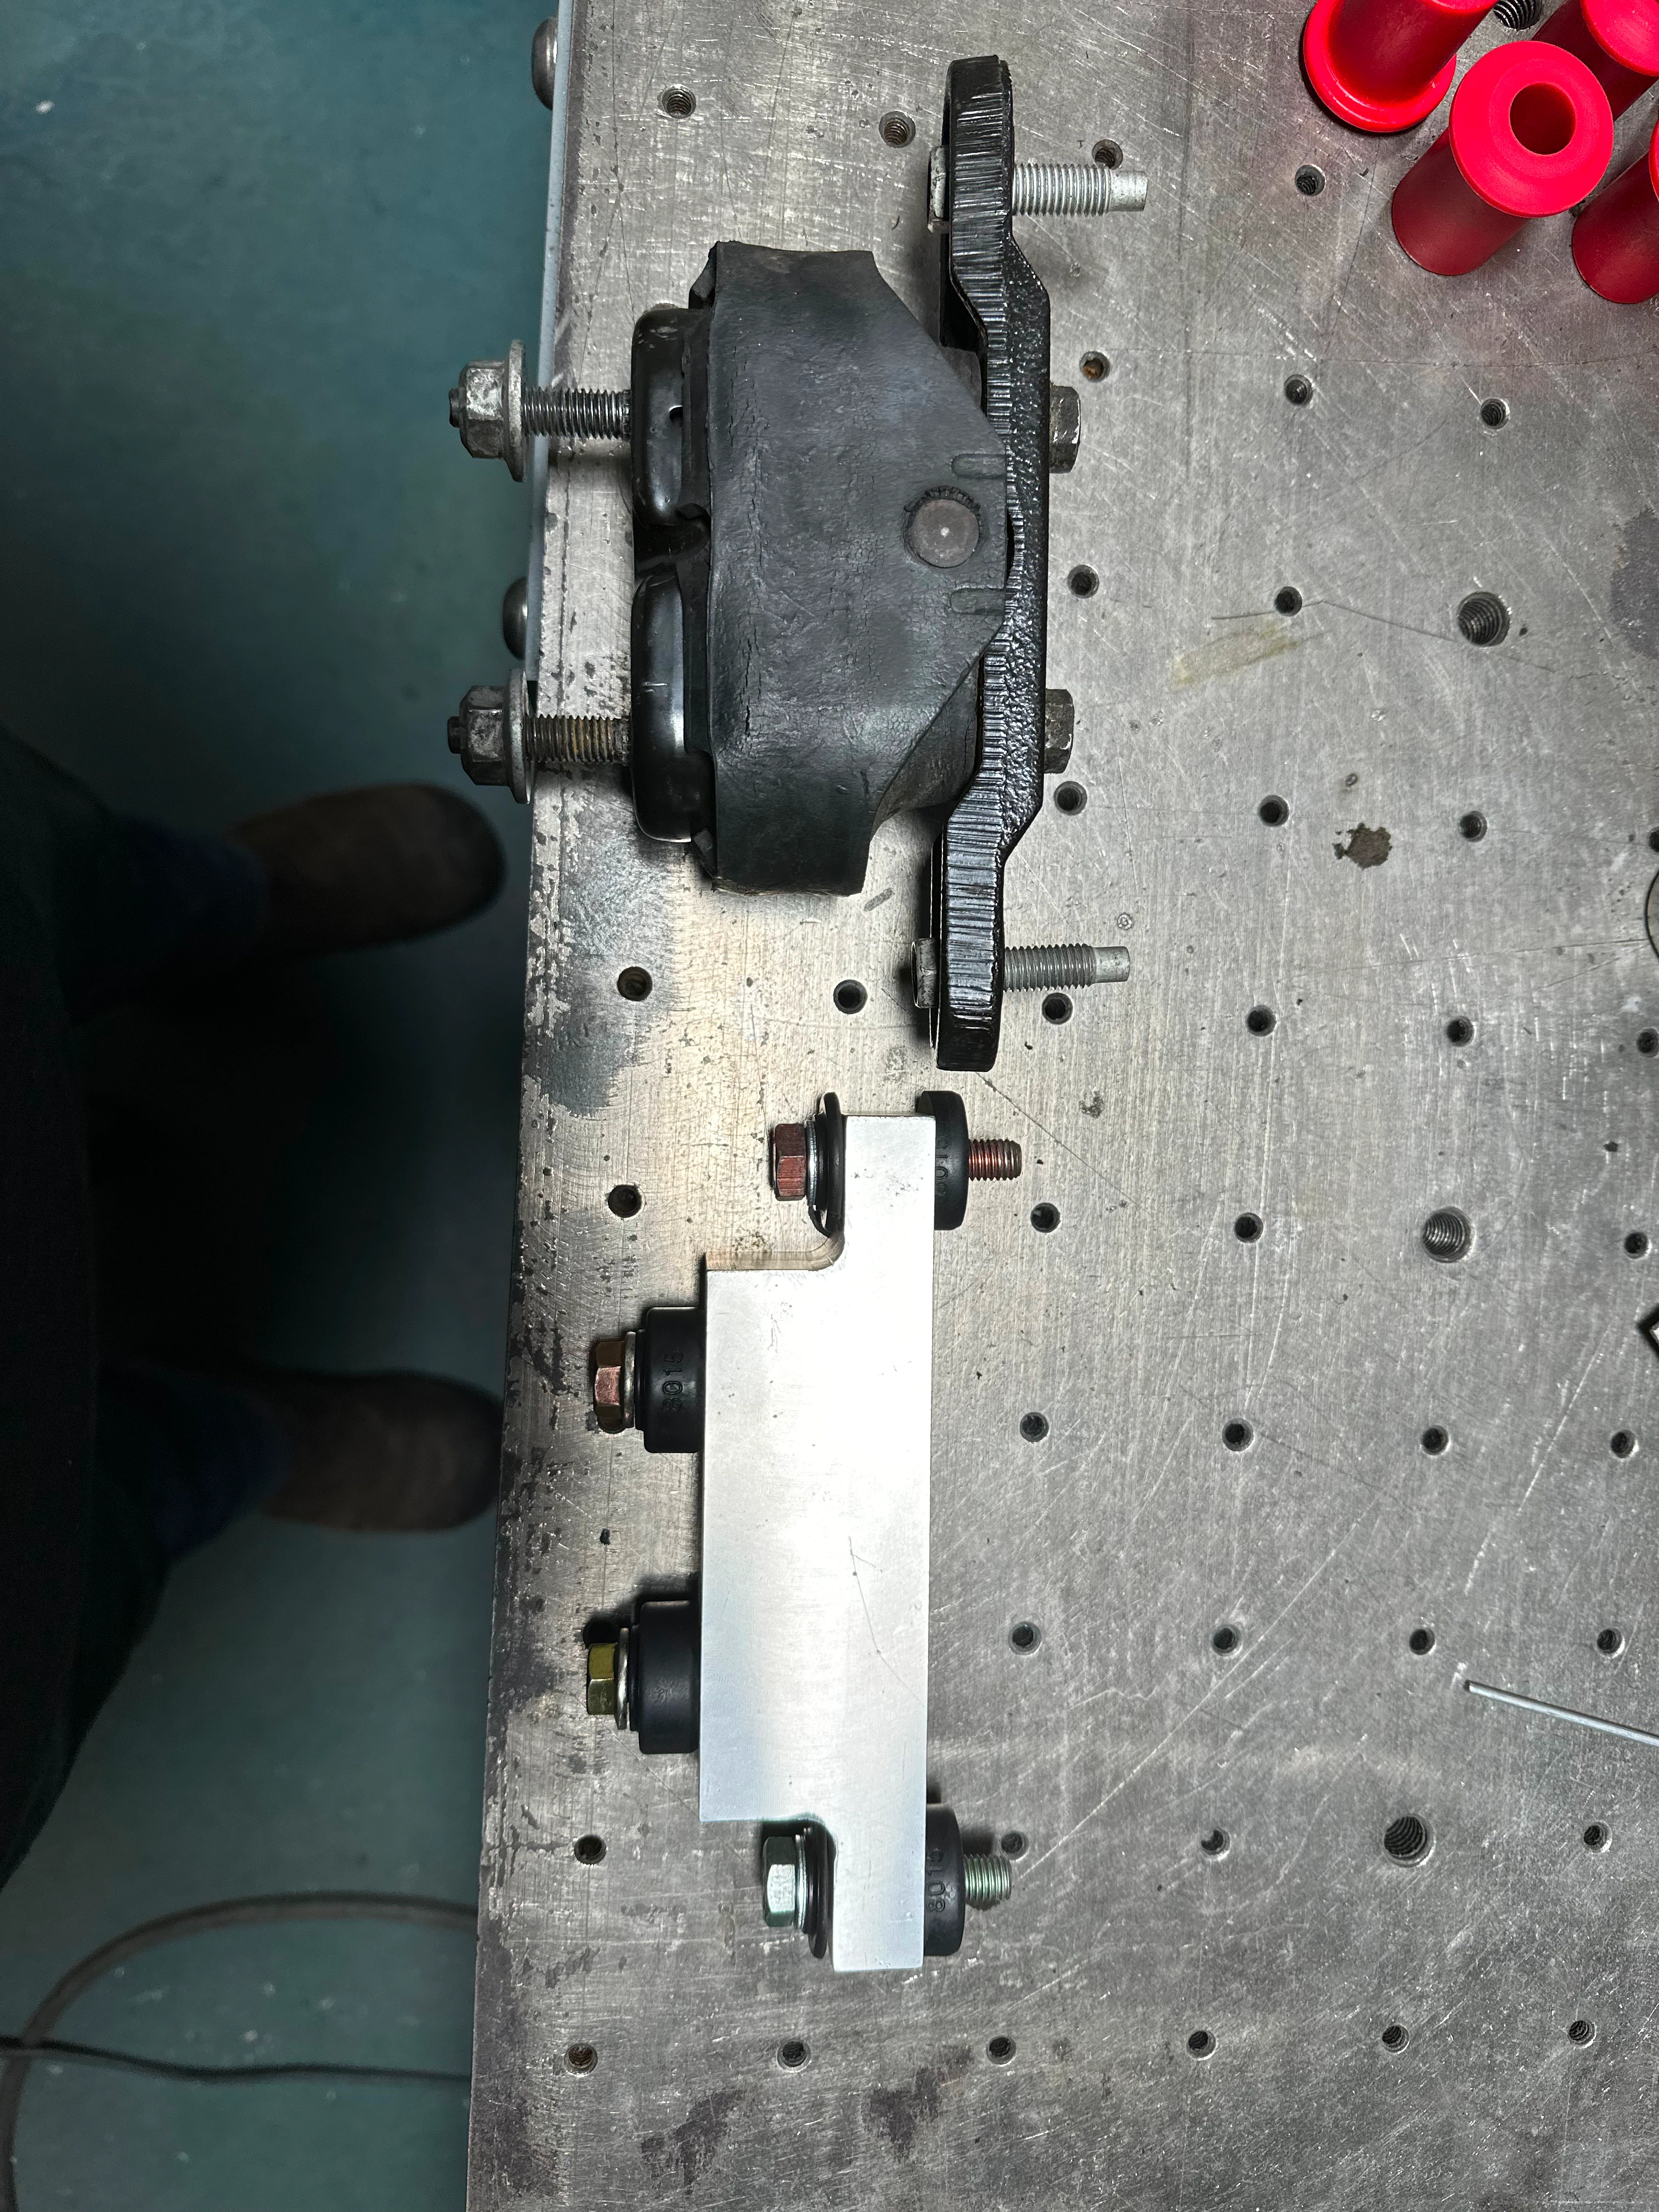
A little bit of artistic touch to make it pop.
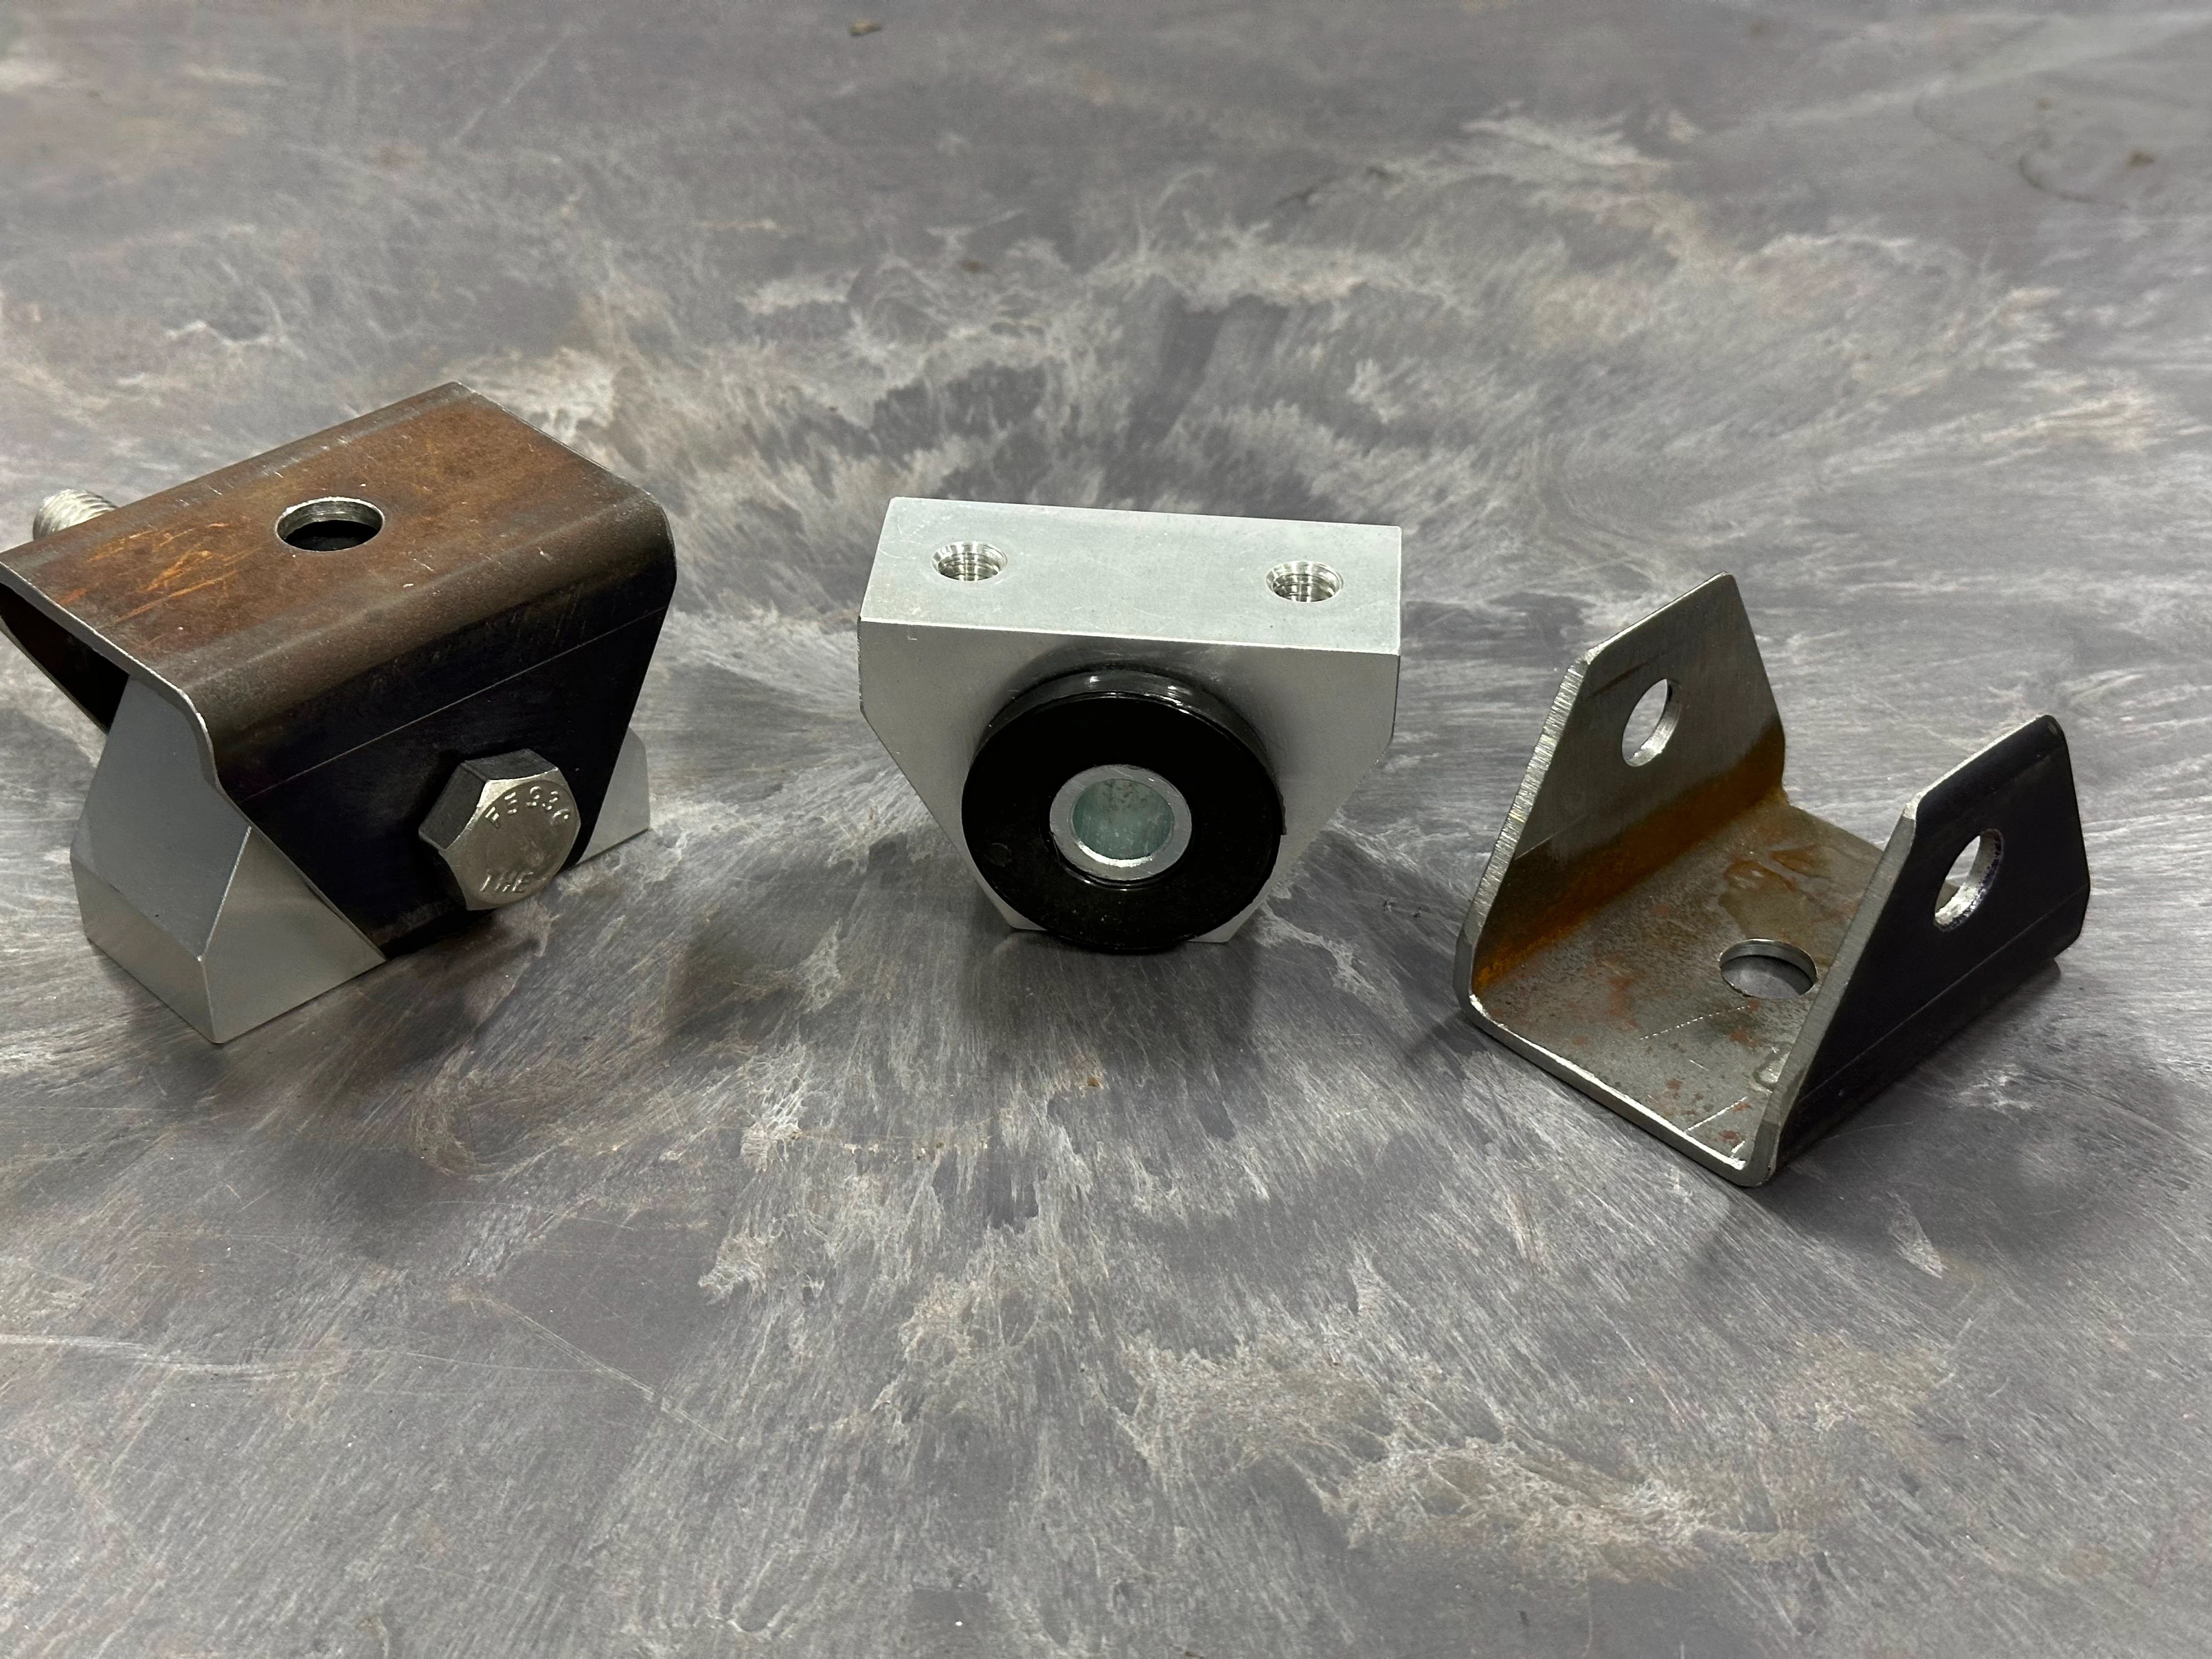
Engine Mounts
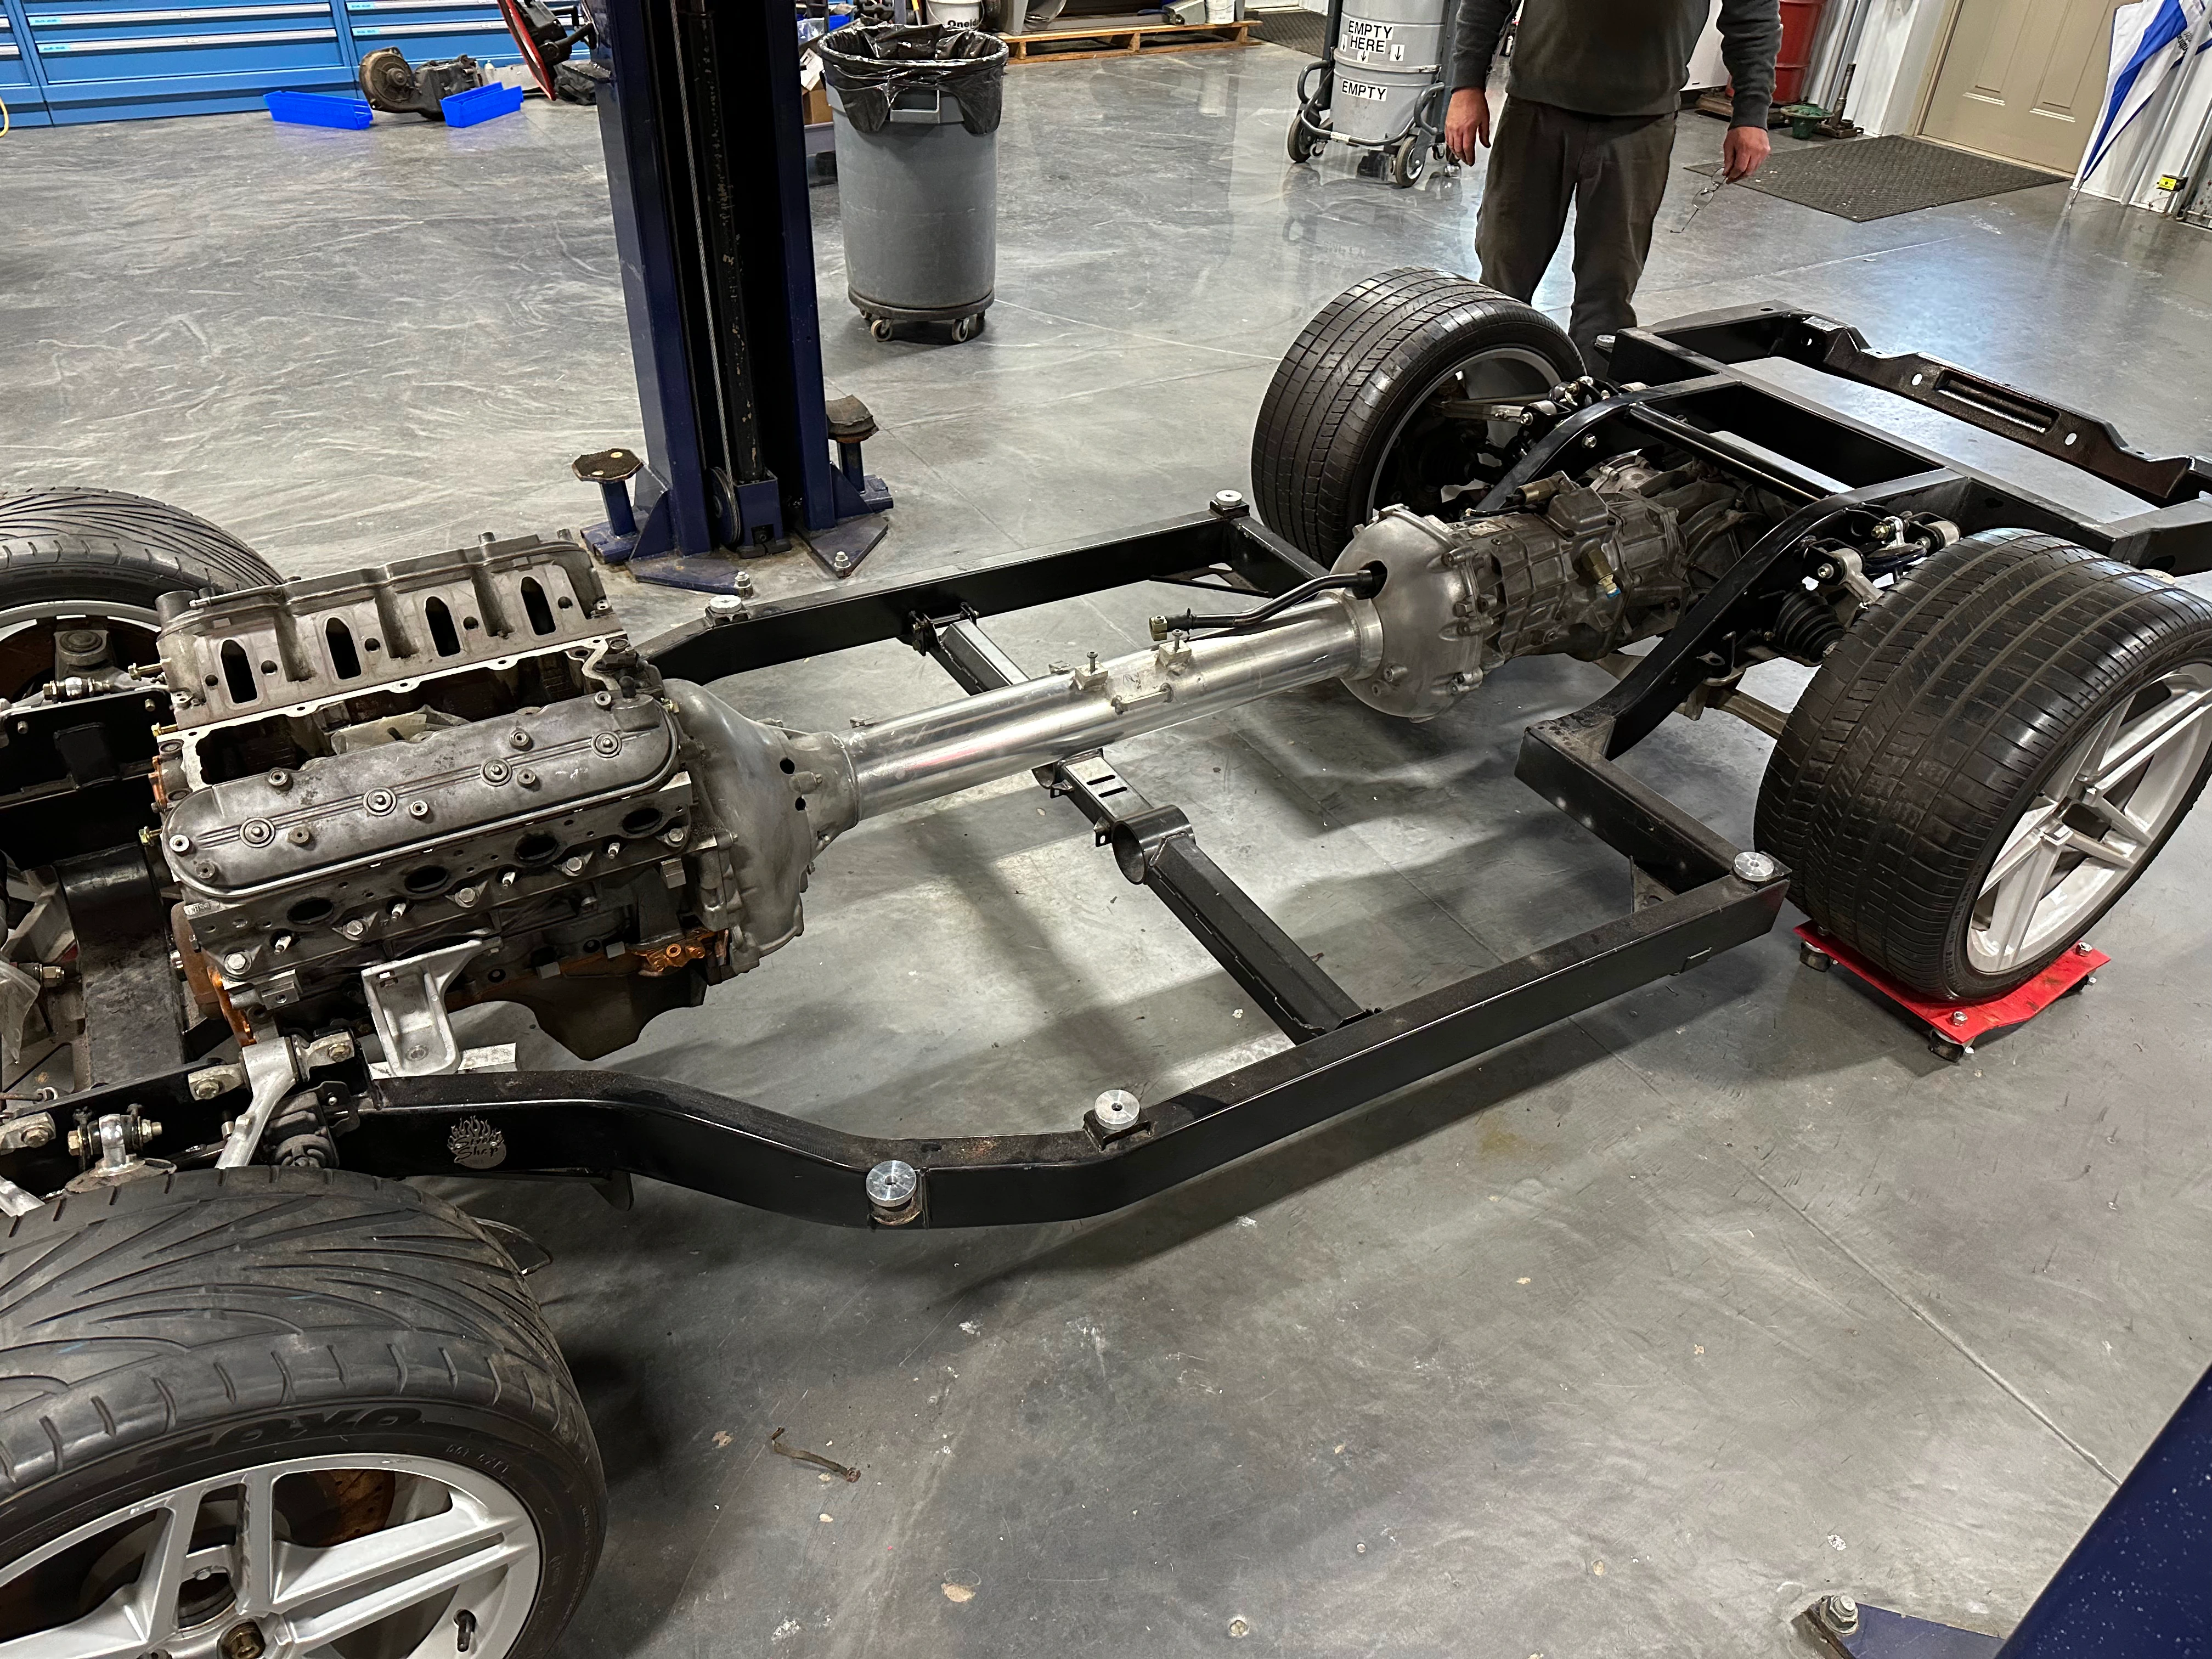
The engine mounts were also too tall. We set the engine on blocks to get a better idea of the height we needed. We also made a cardboard mock-up of a battery to test different homes for it.
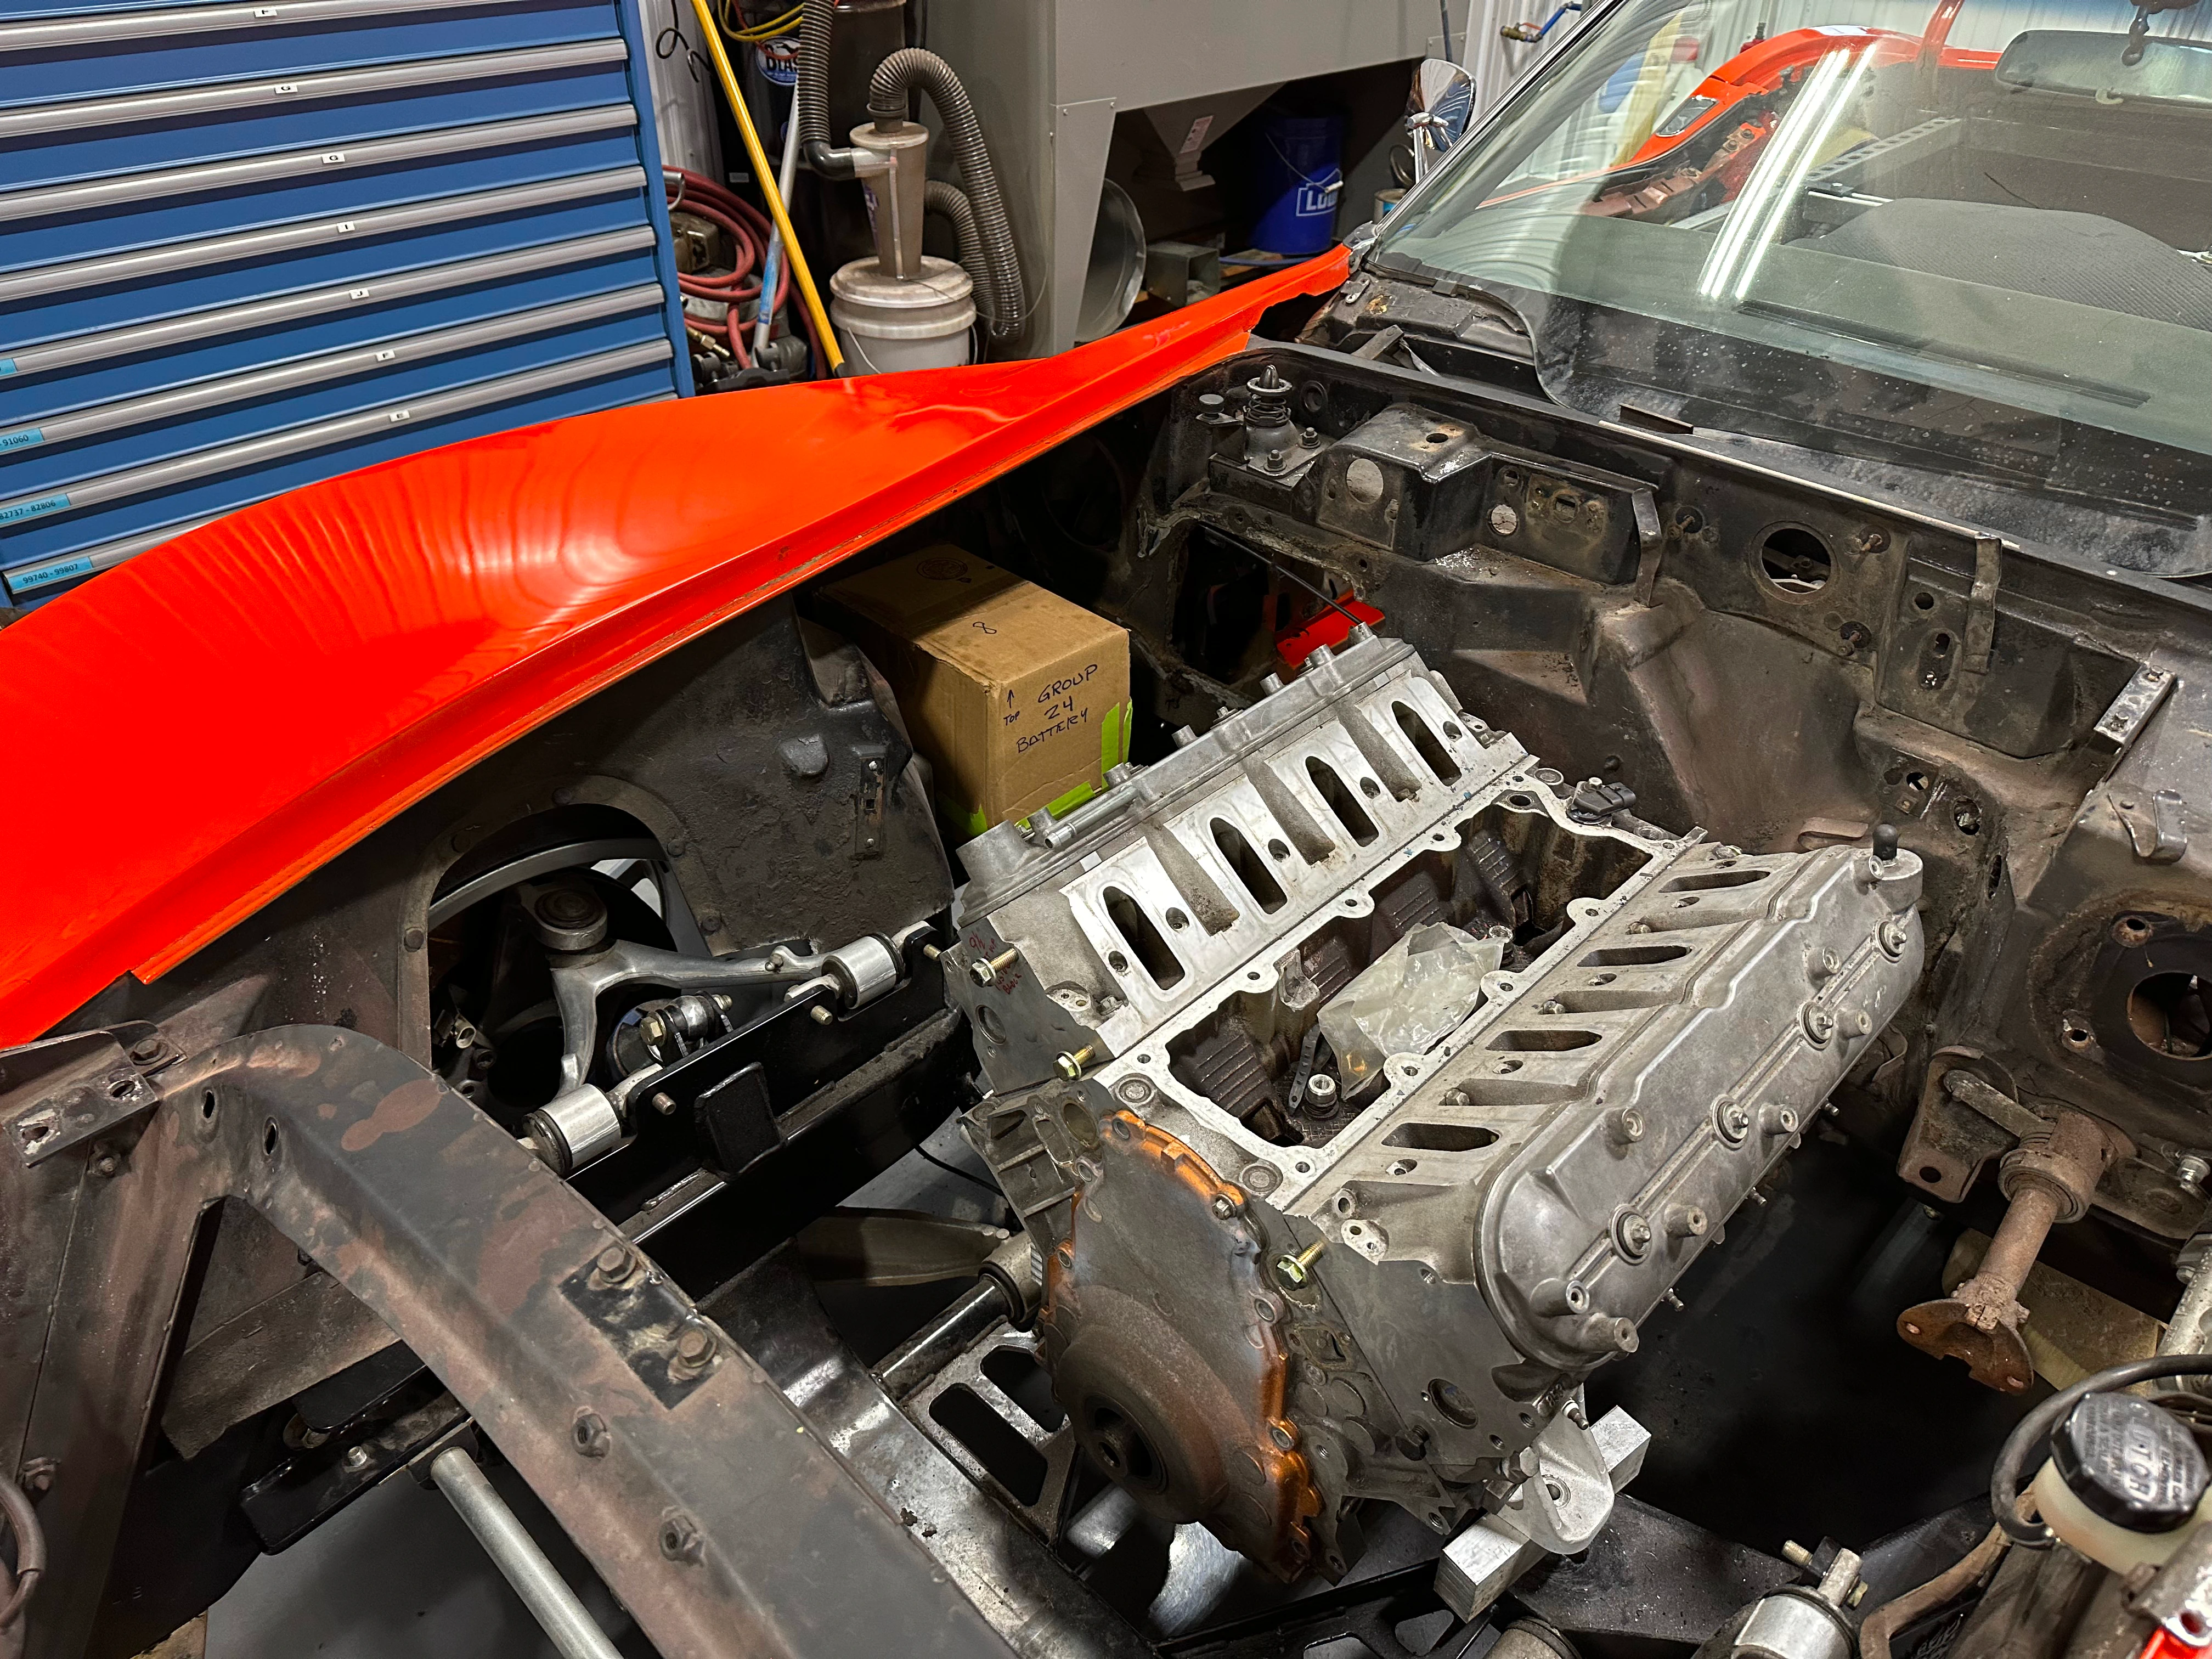


If I remember correctly, we dropped the engine about 1/4" to 3/8" and the transaxle about 1/8". This is the bulk of the weight of the car so dropping it should lower the center of the gravity of the car, and give us some extra clearance along the torque tube.
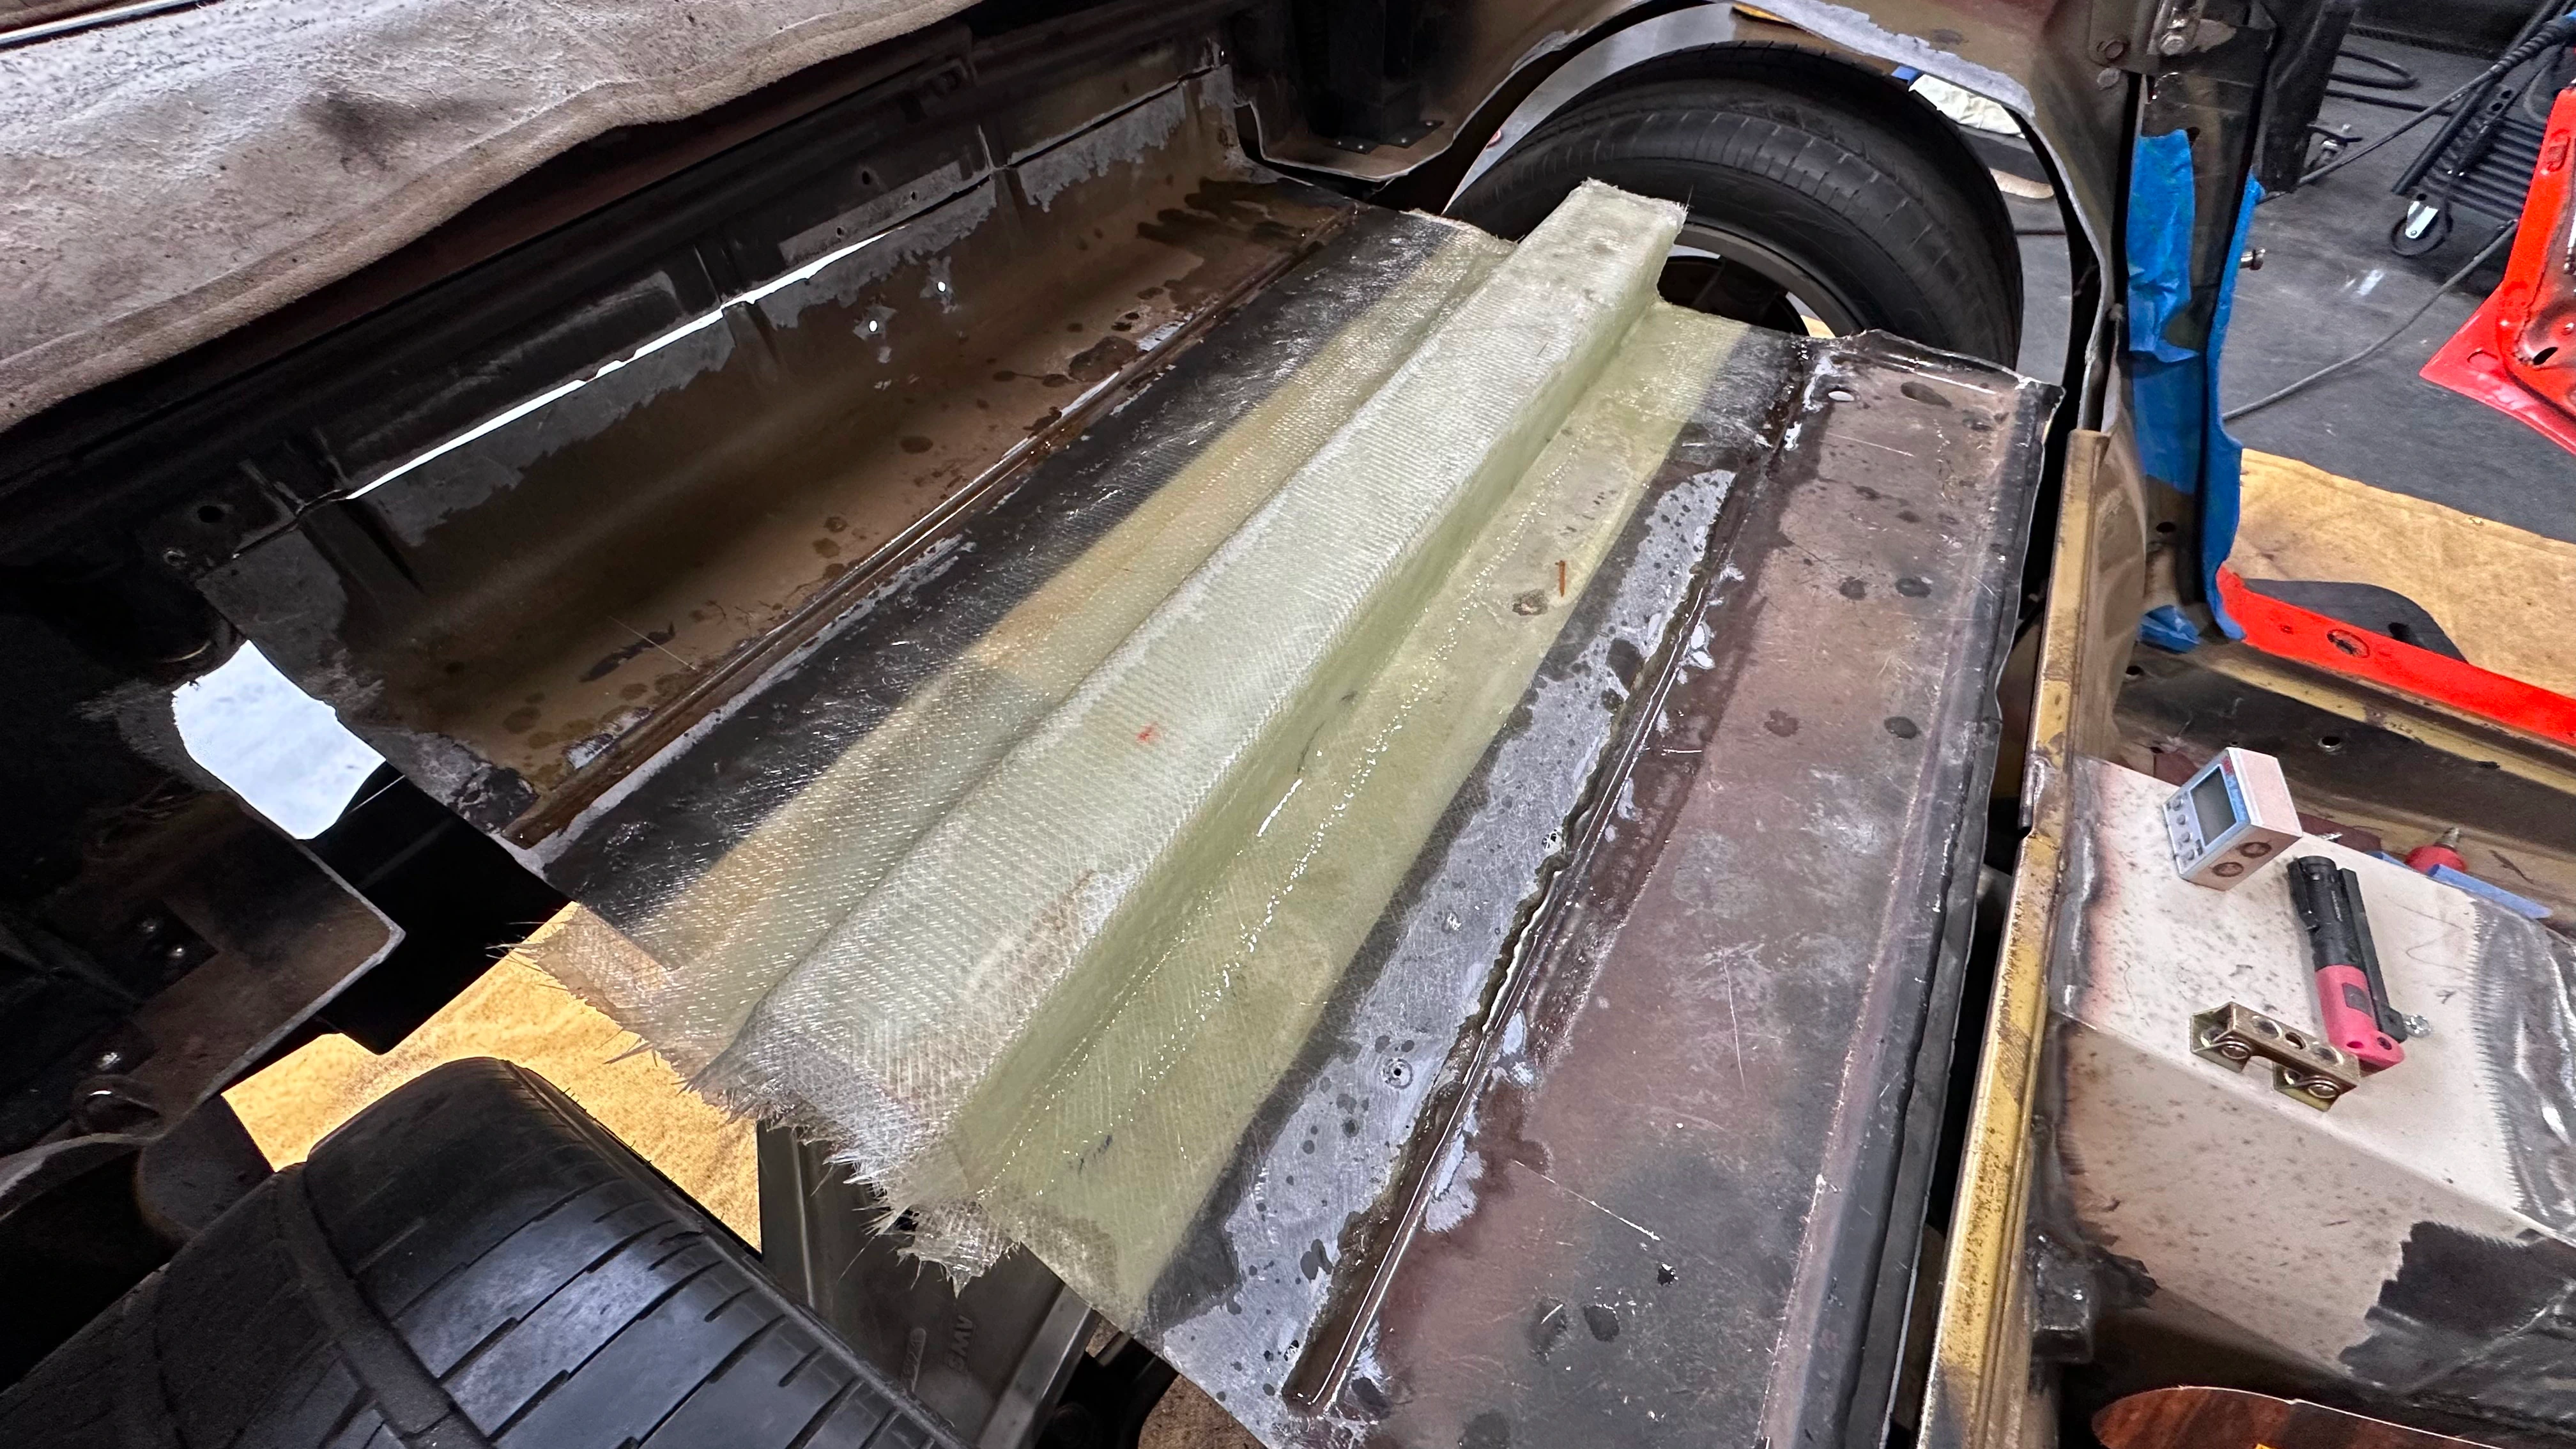
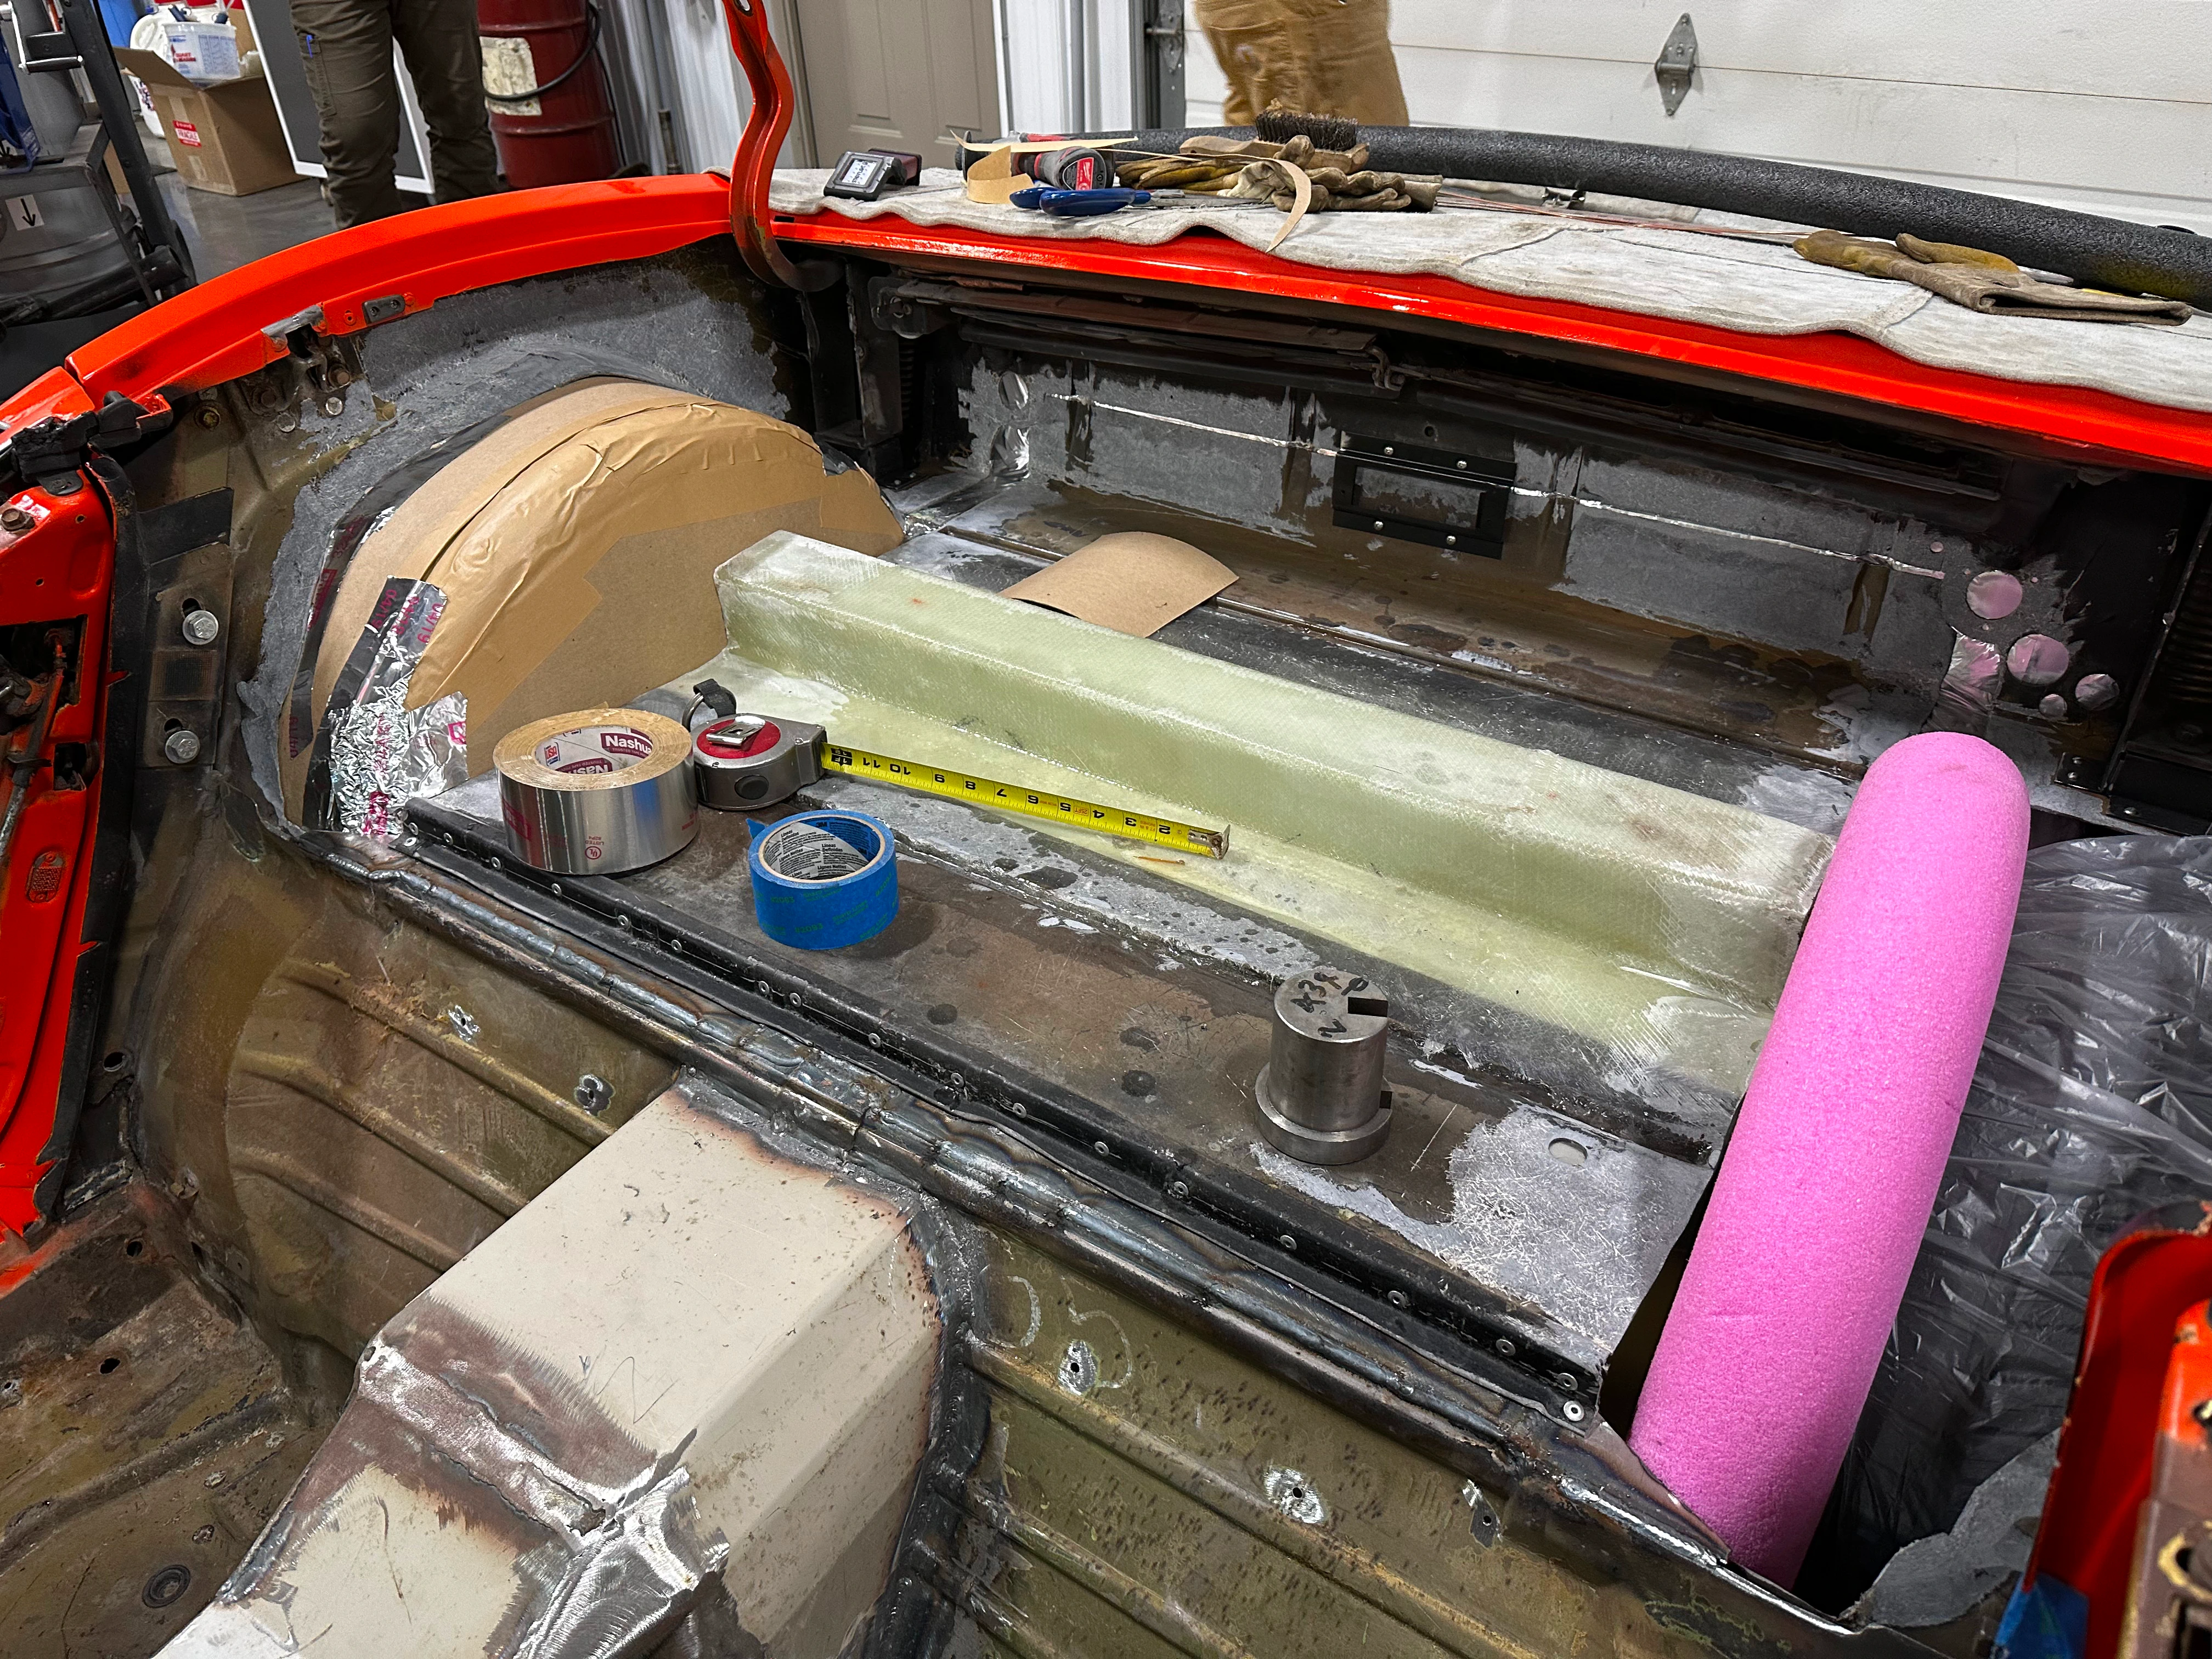
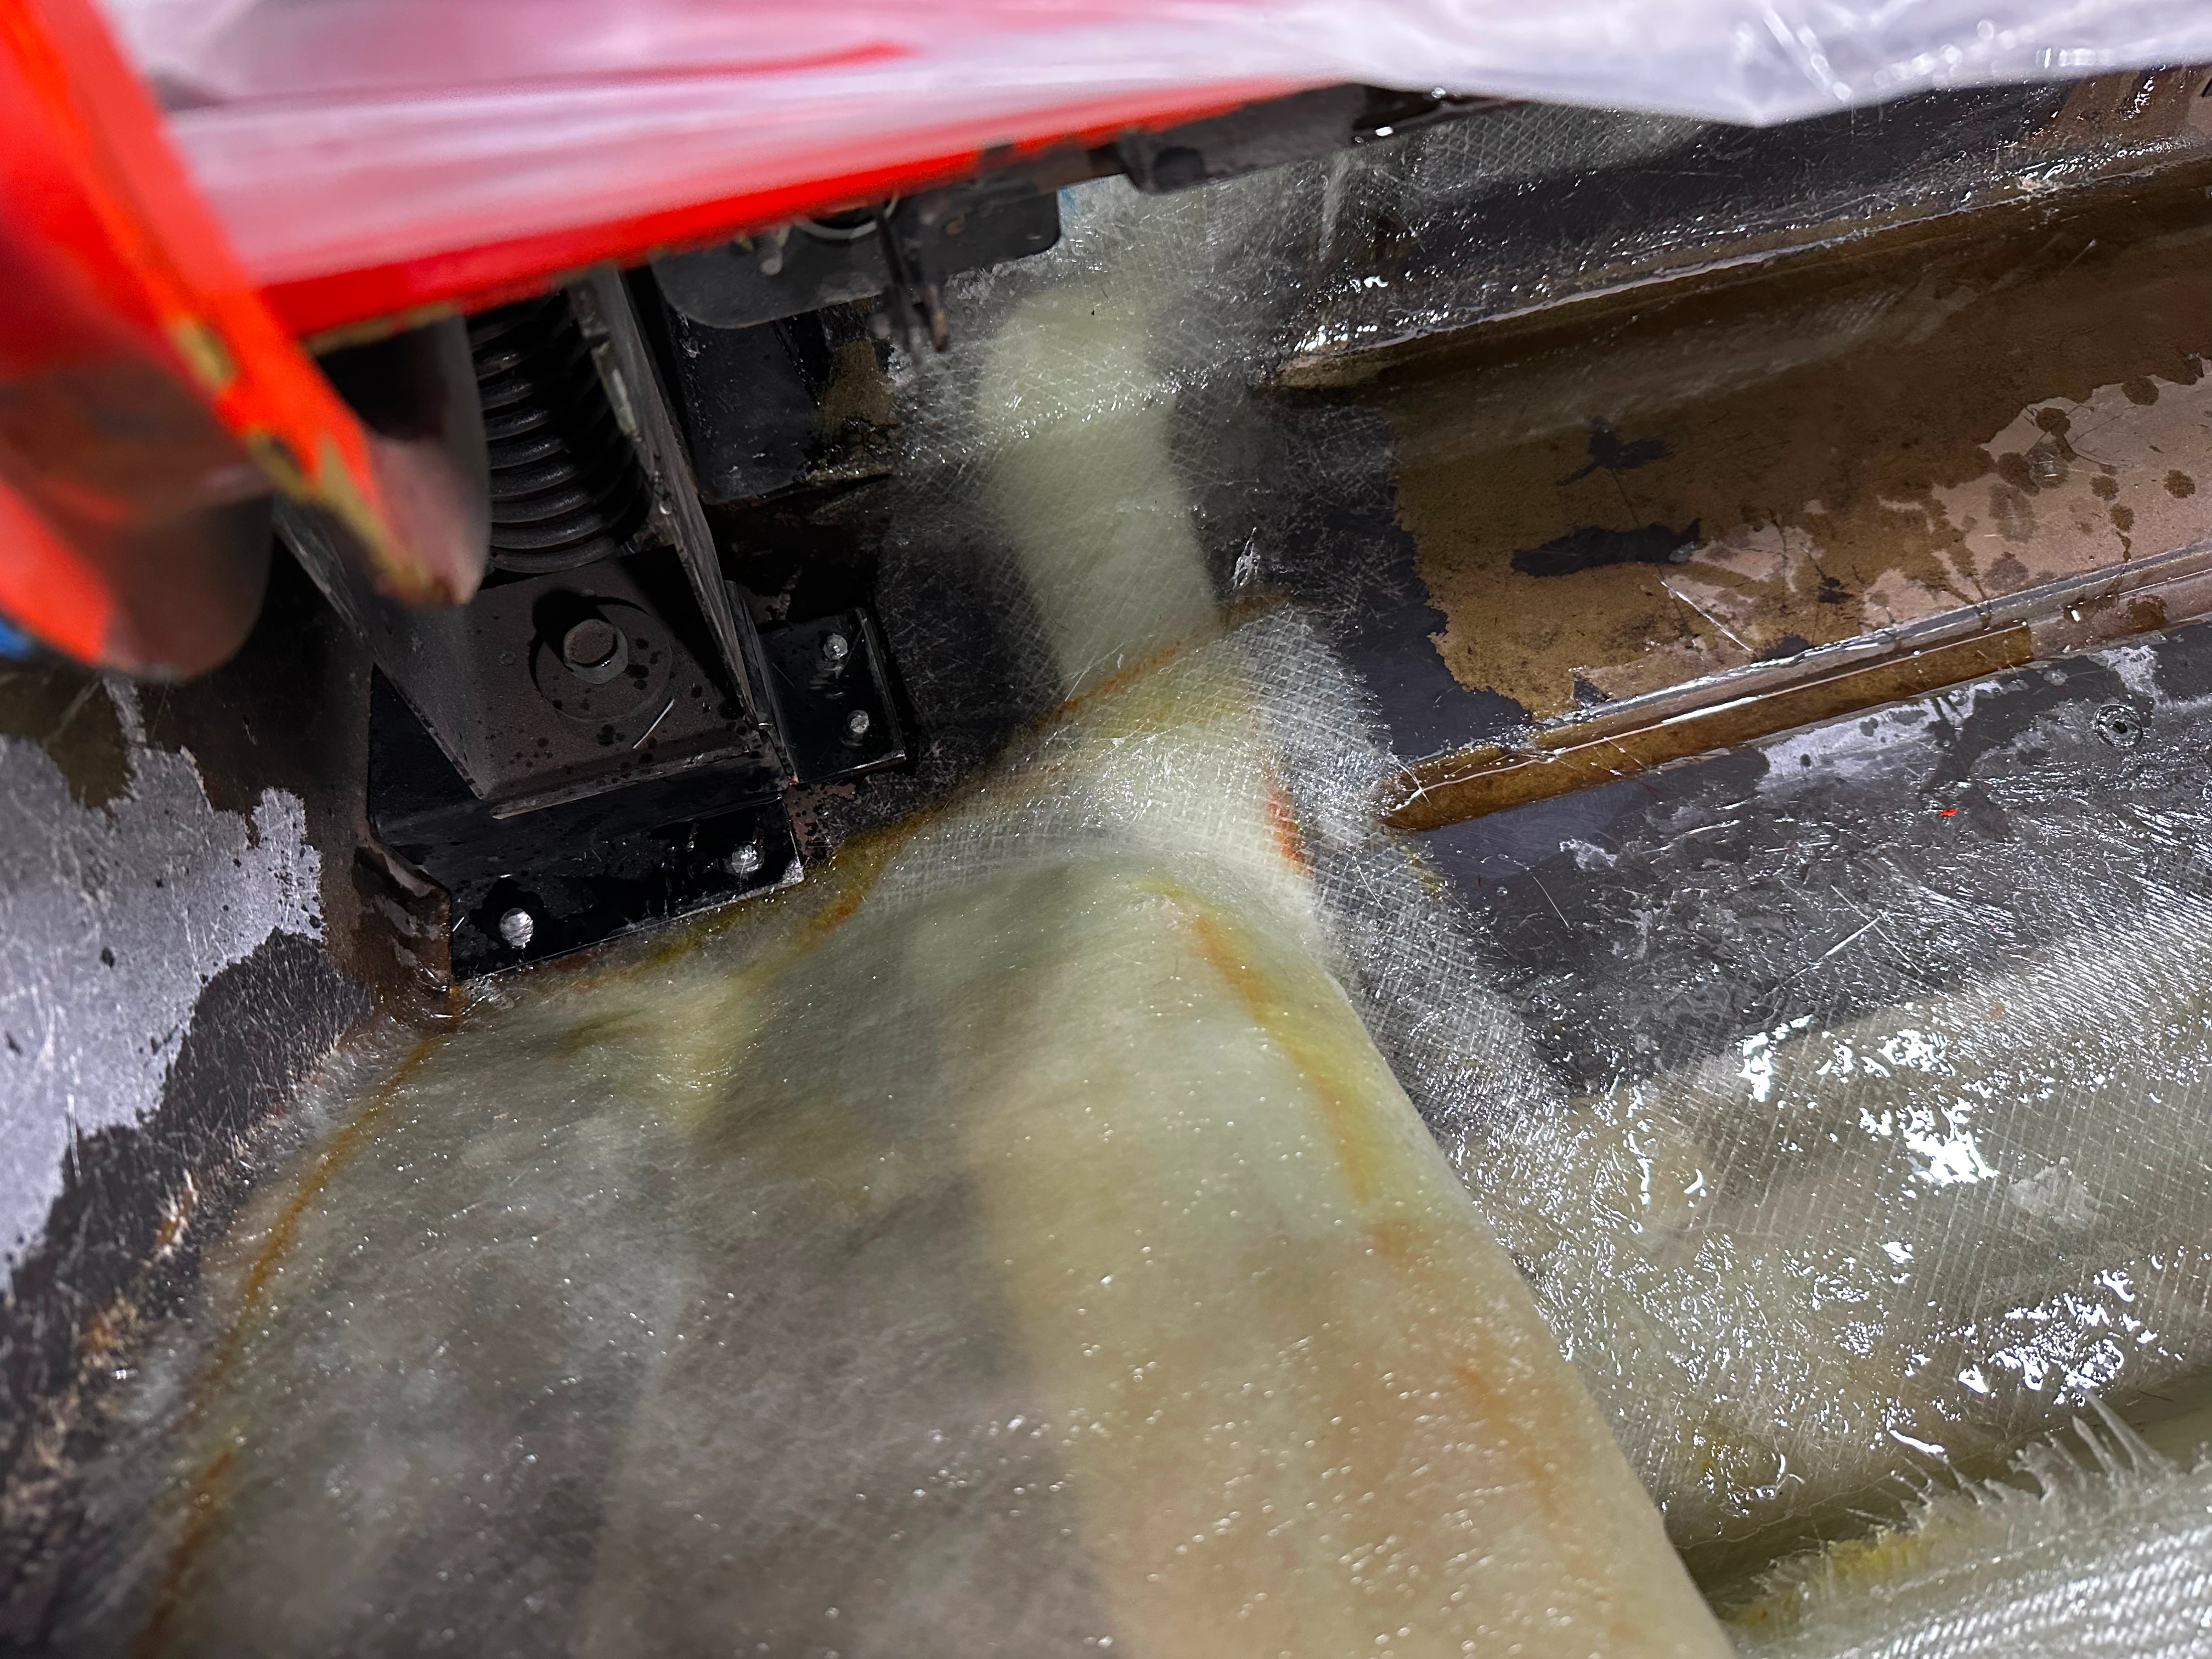
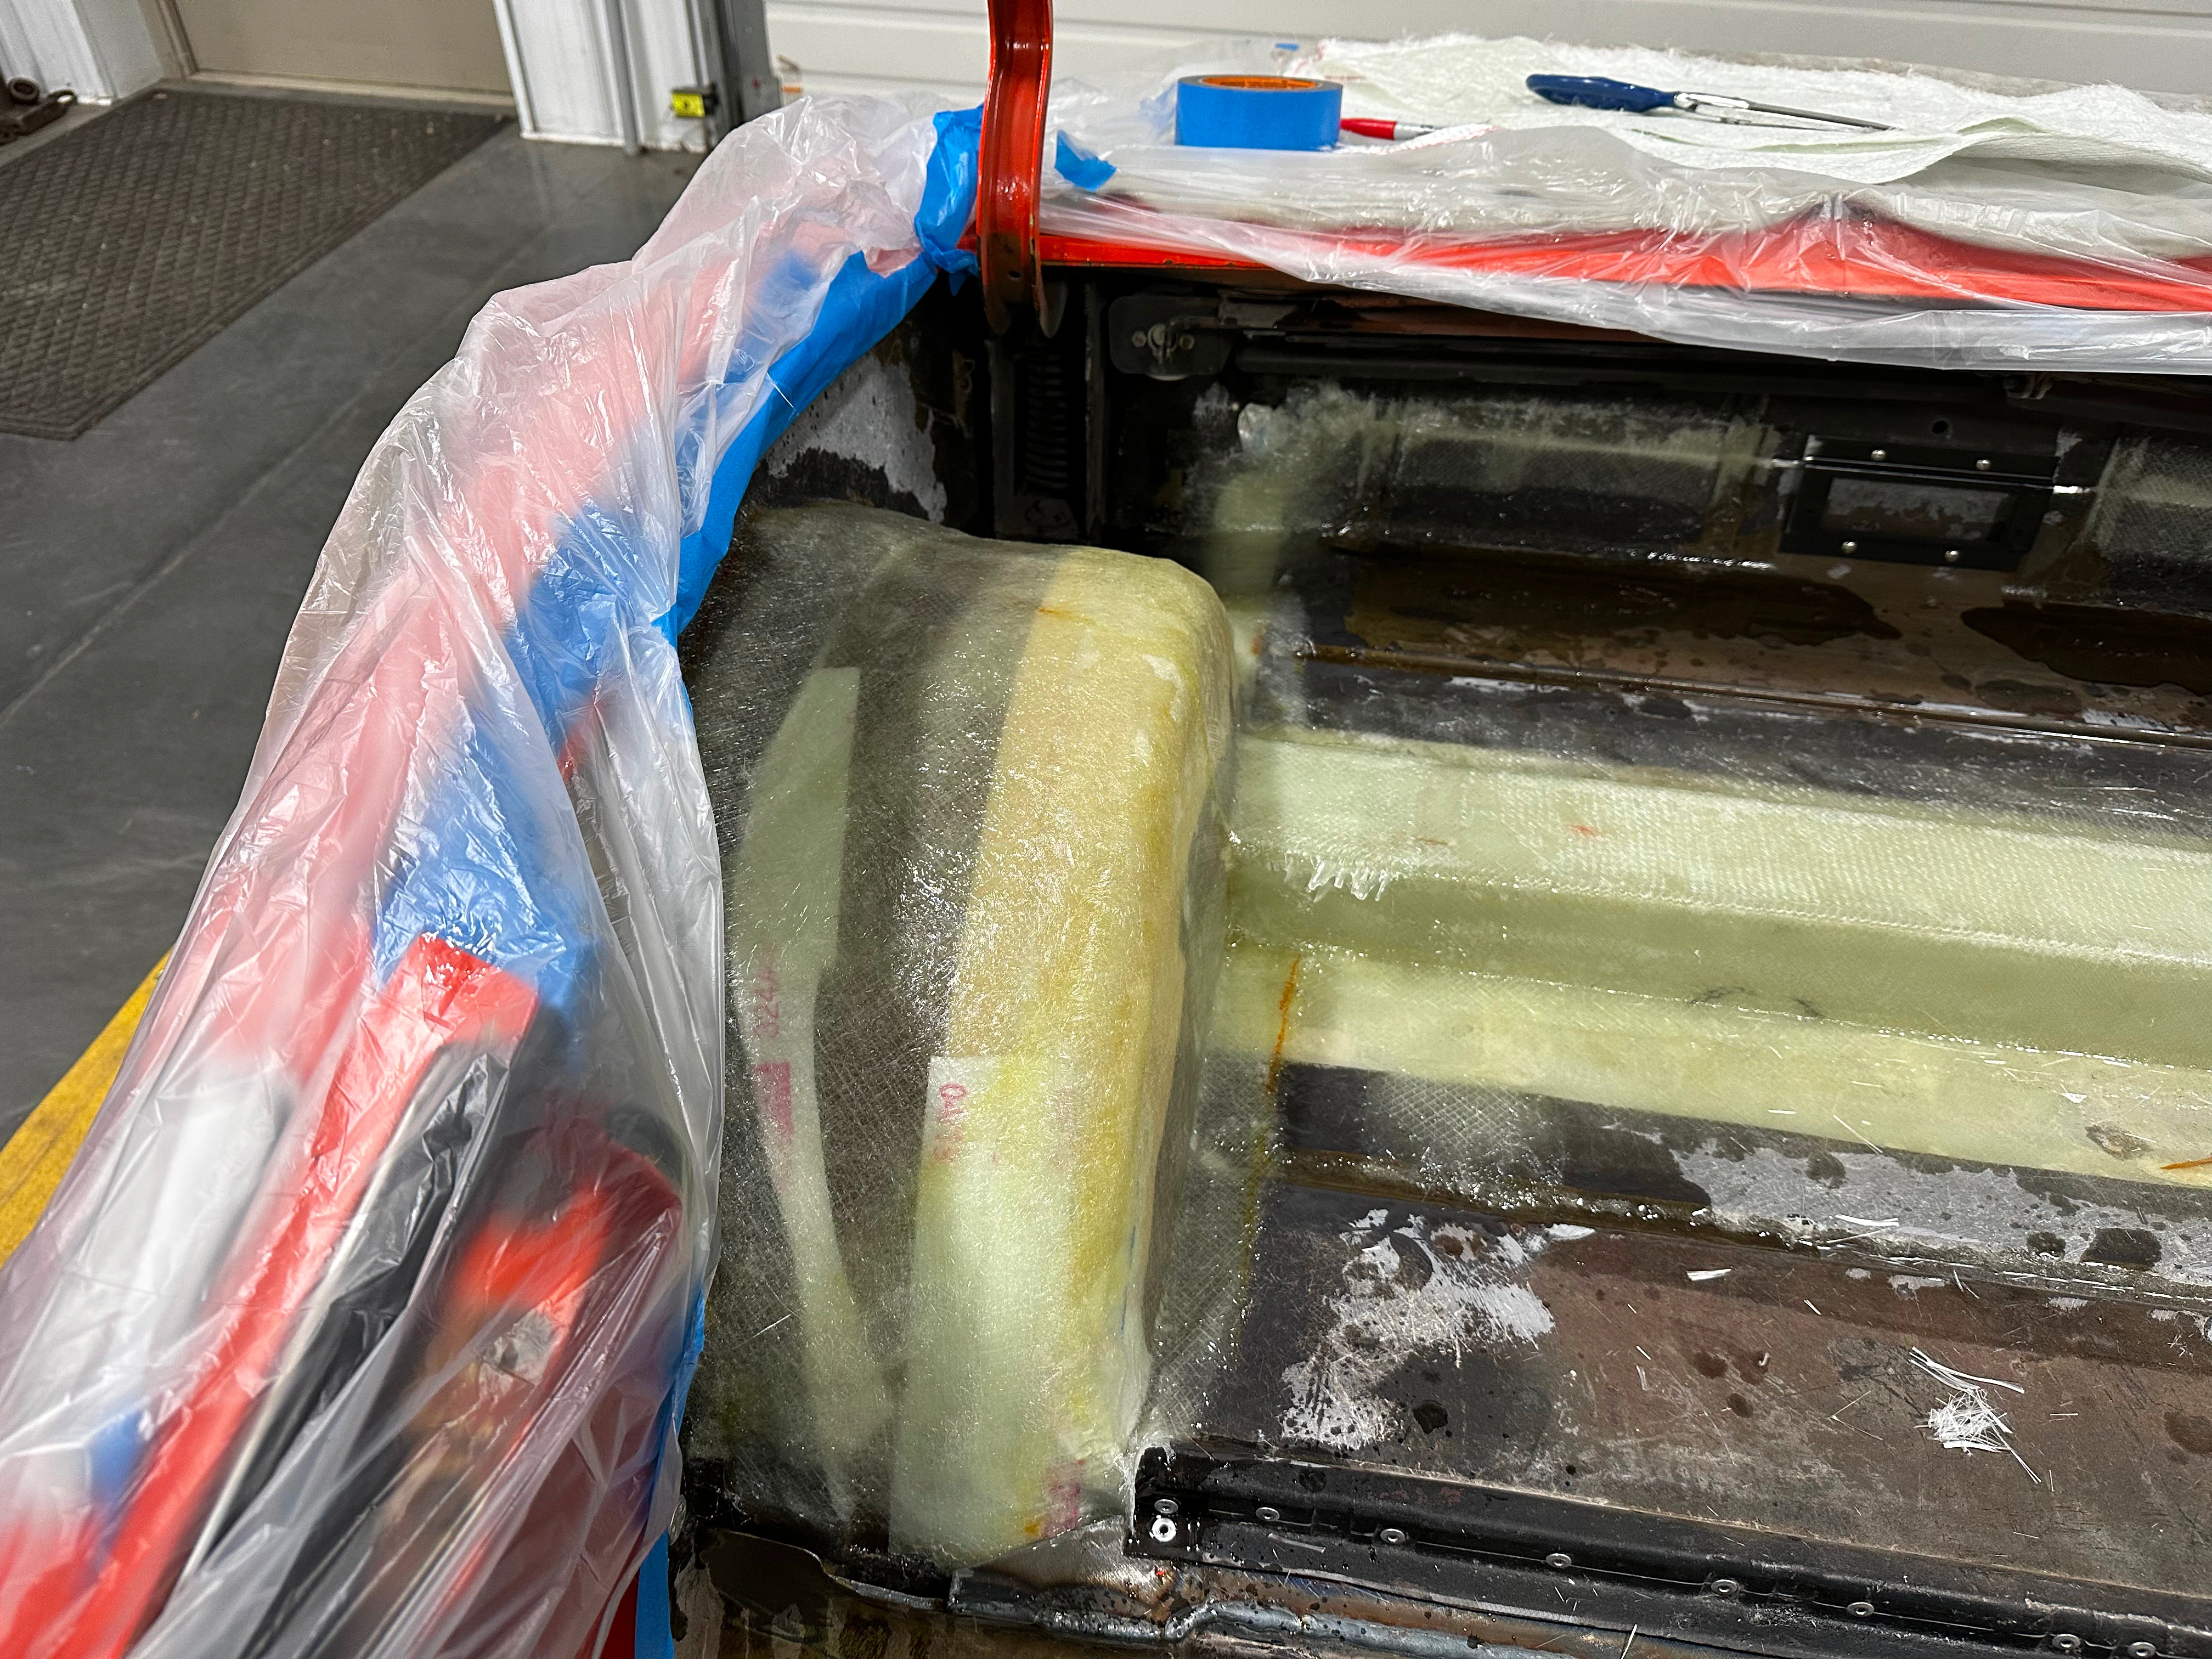
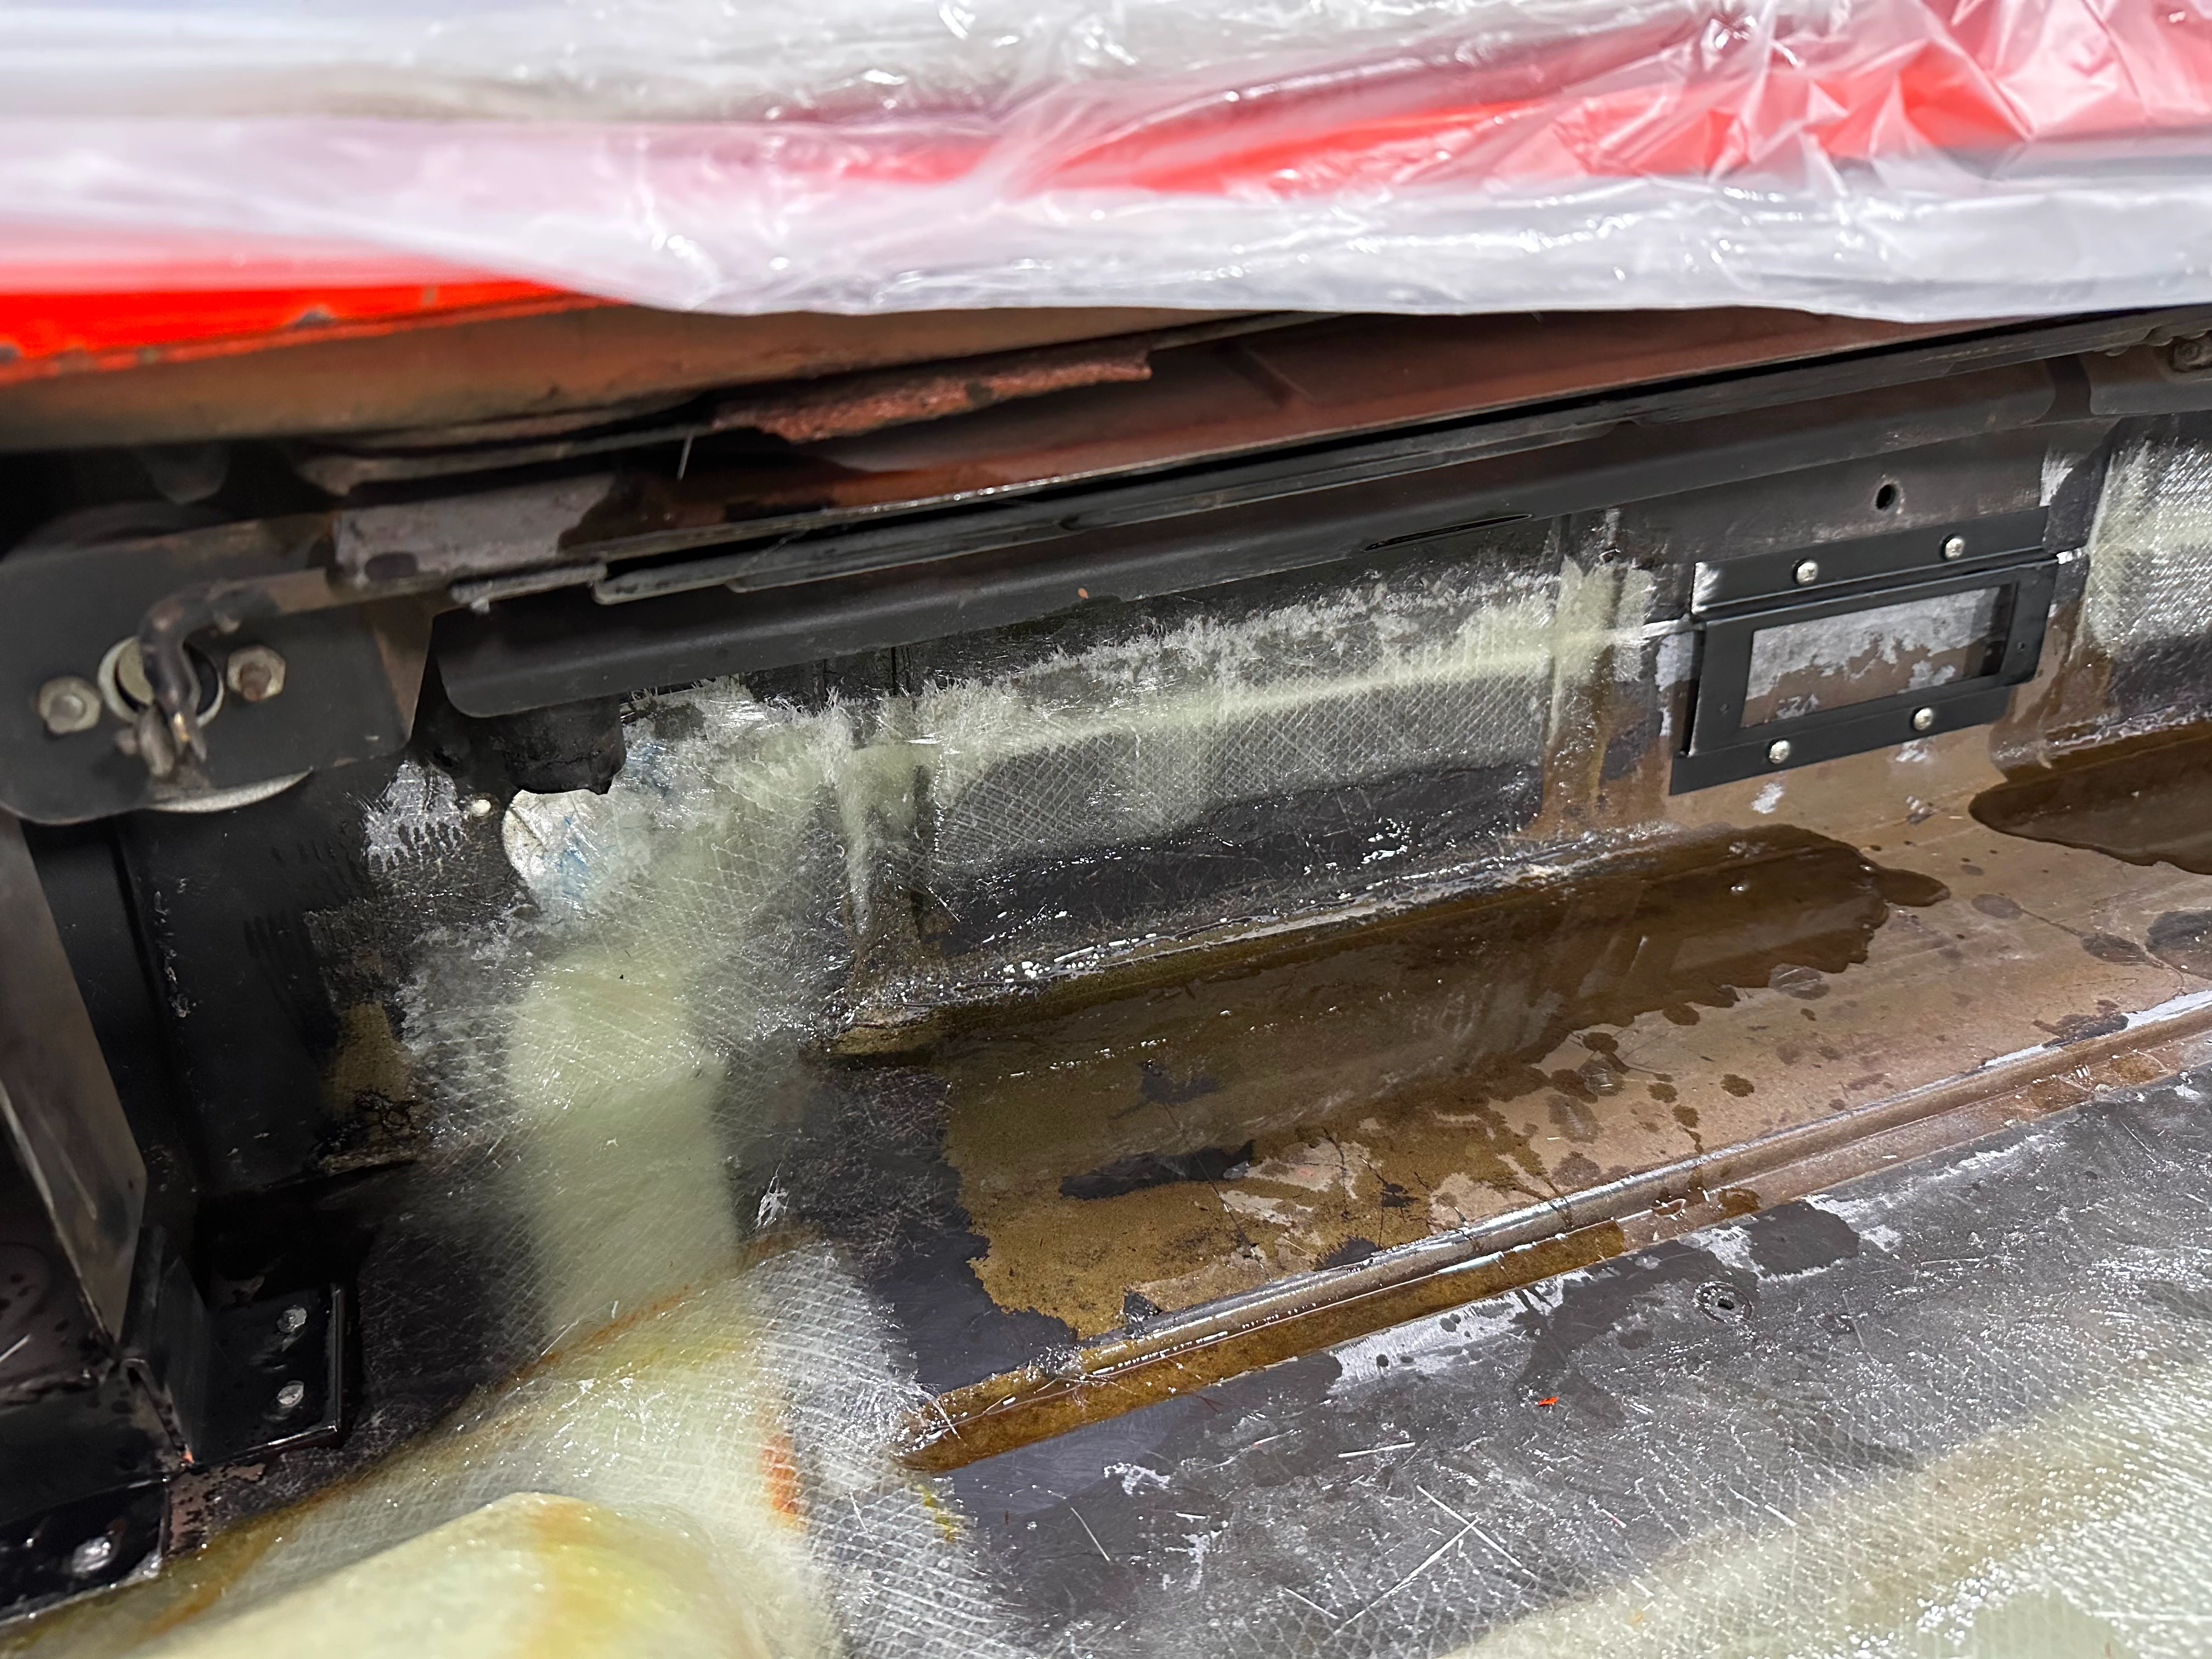
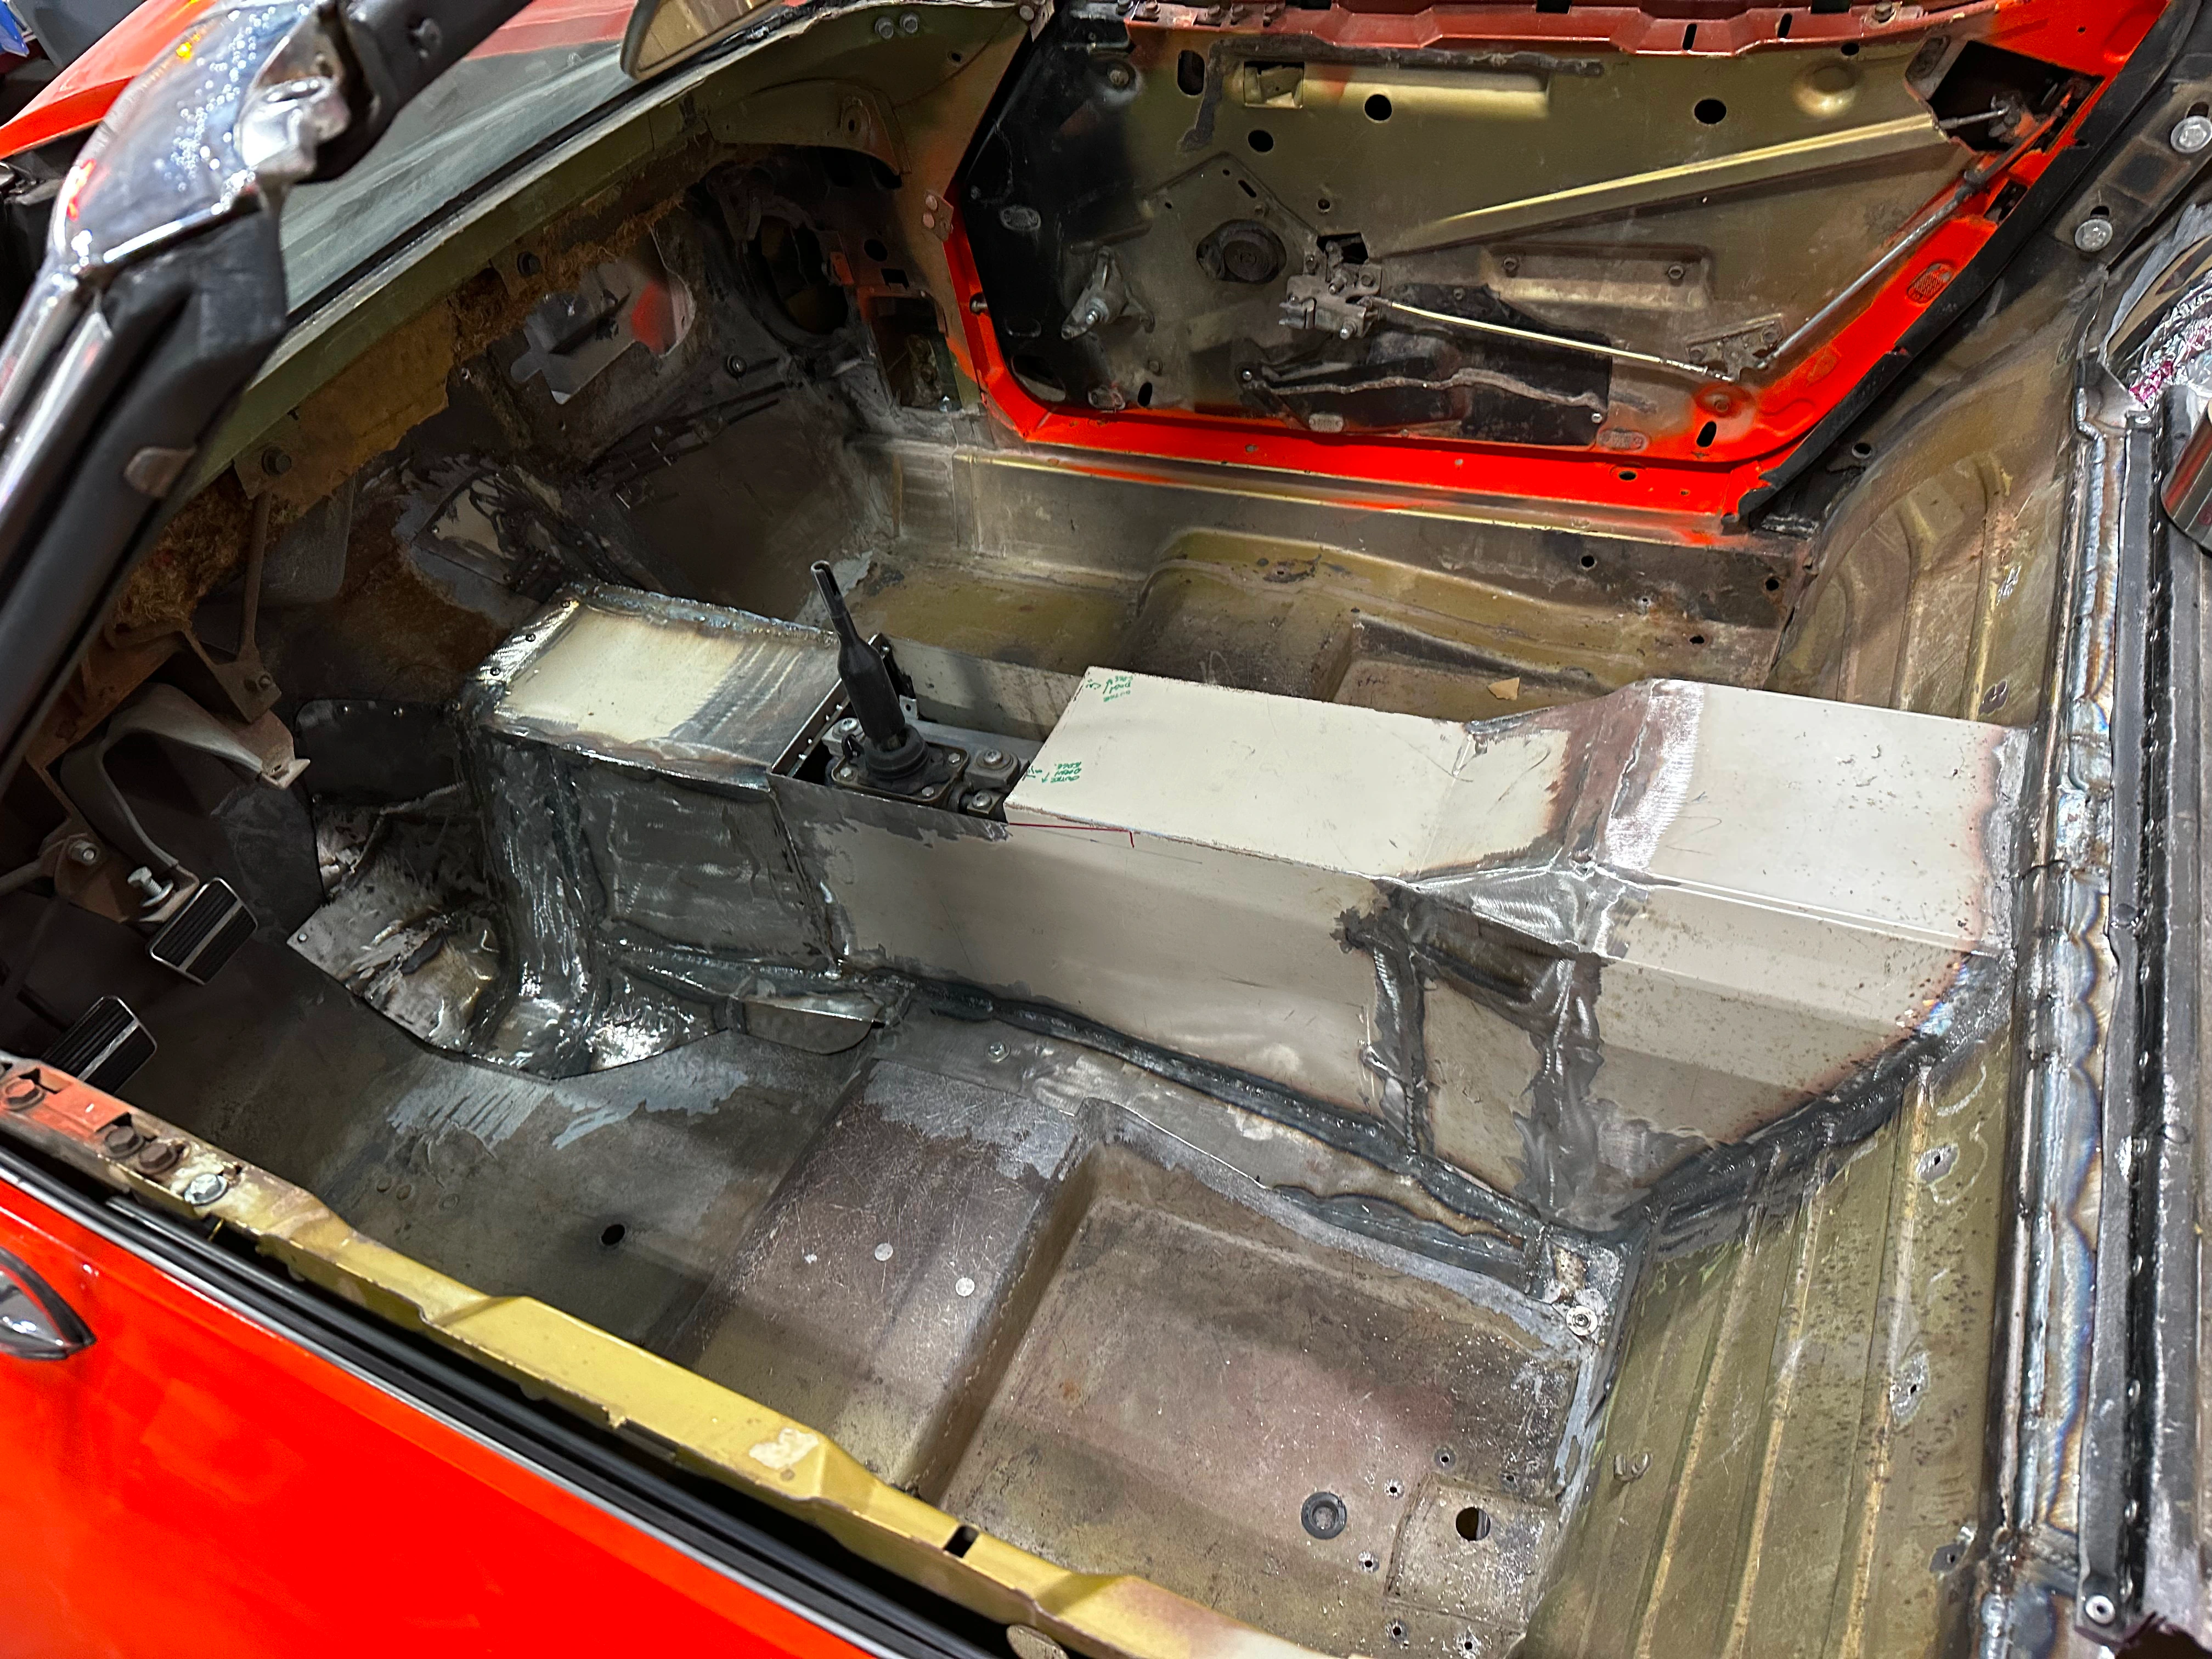
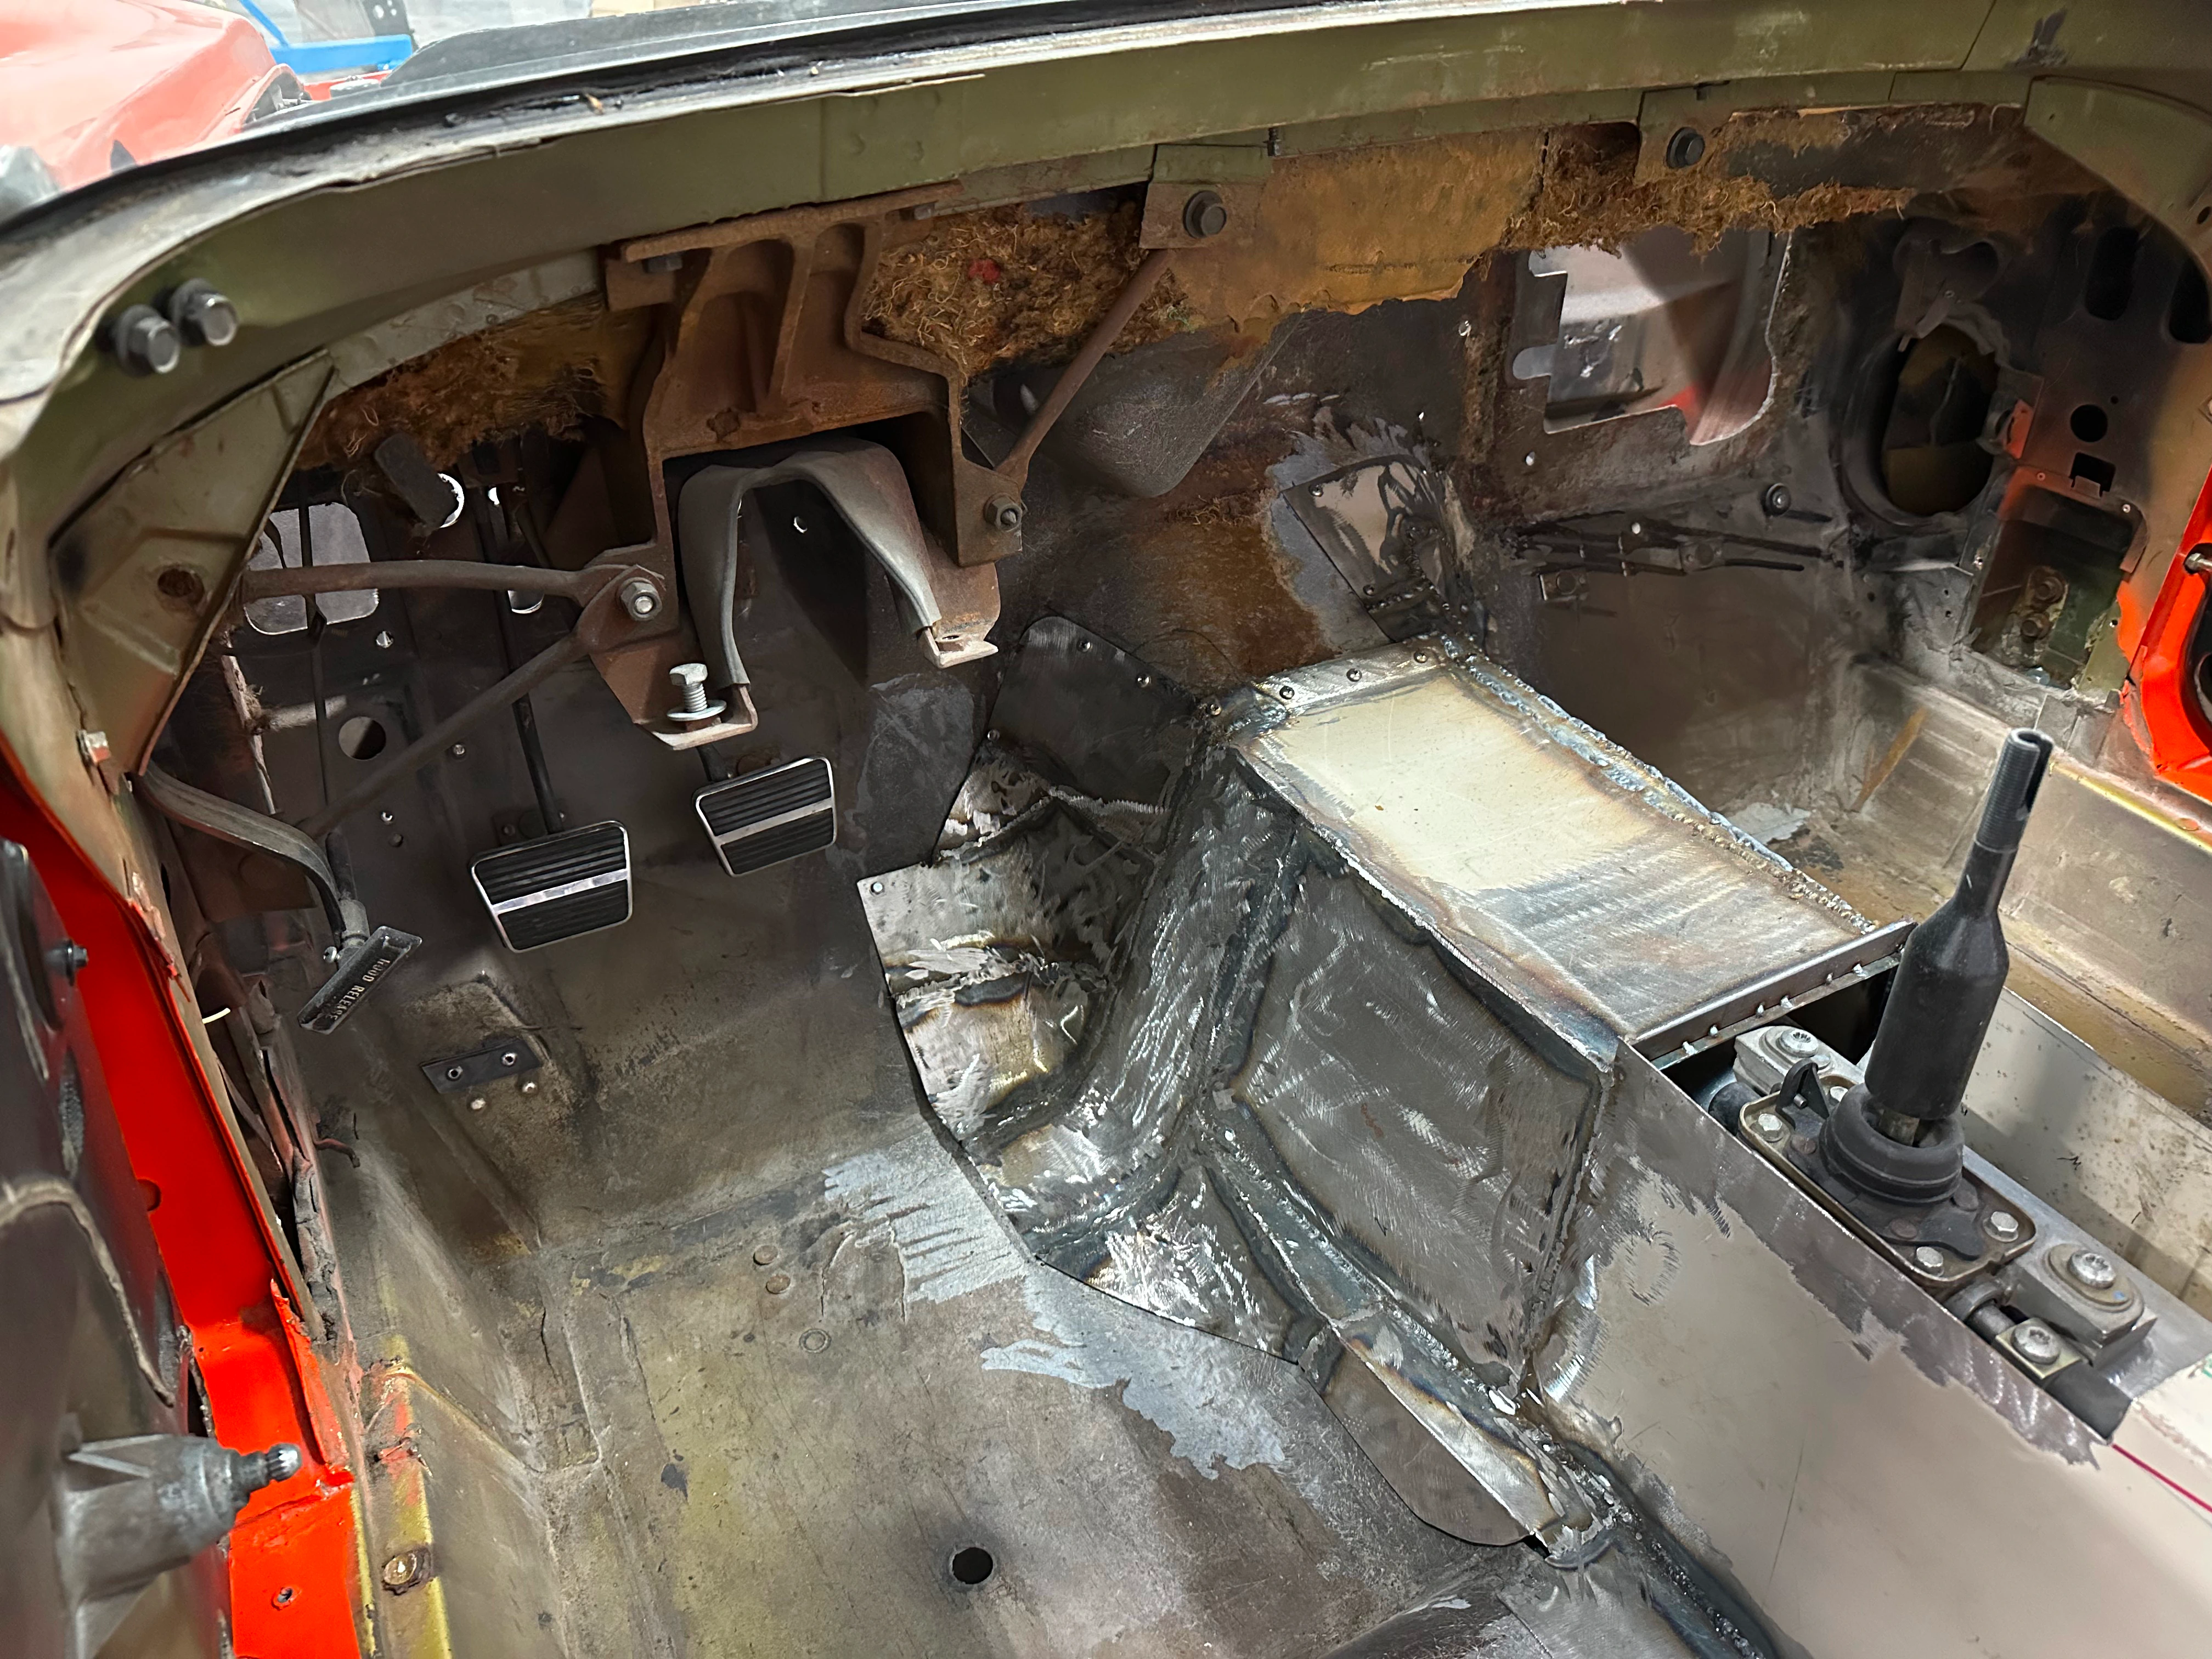
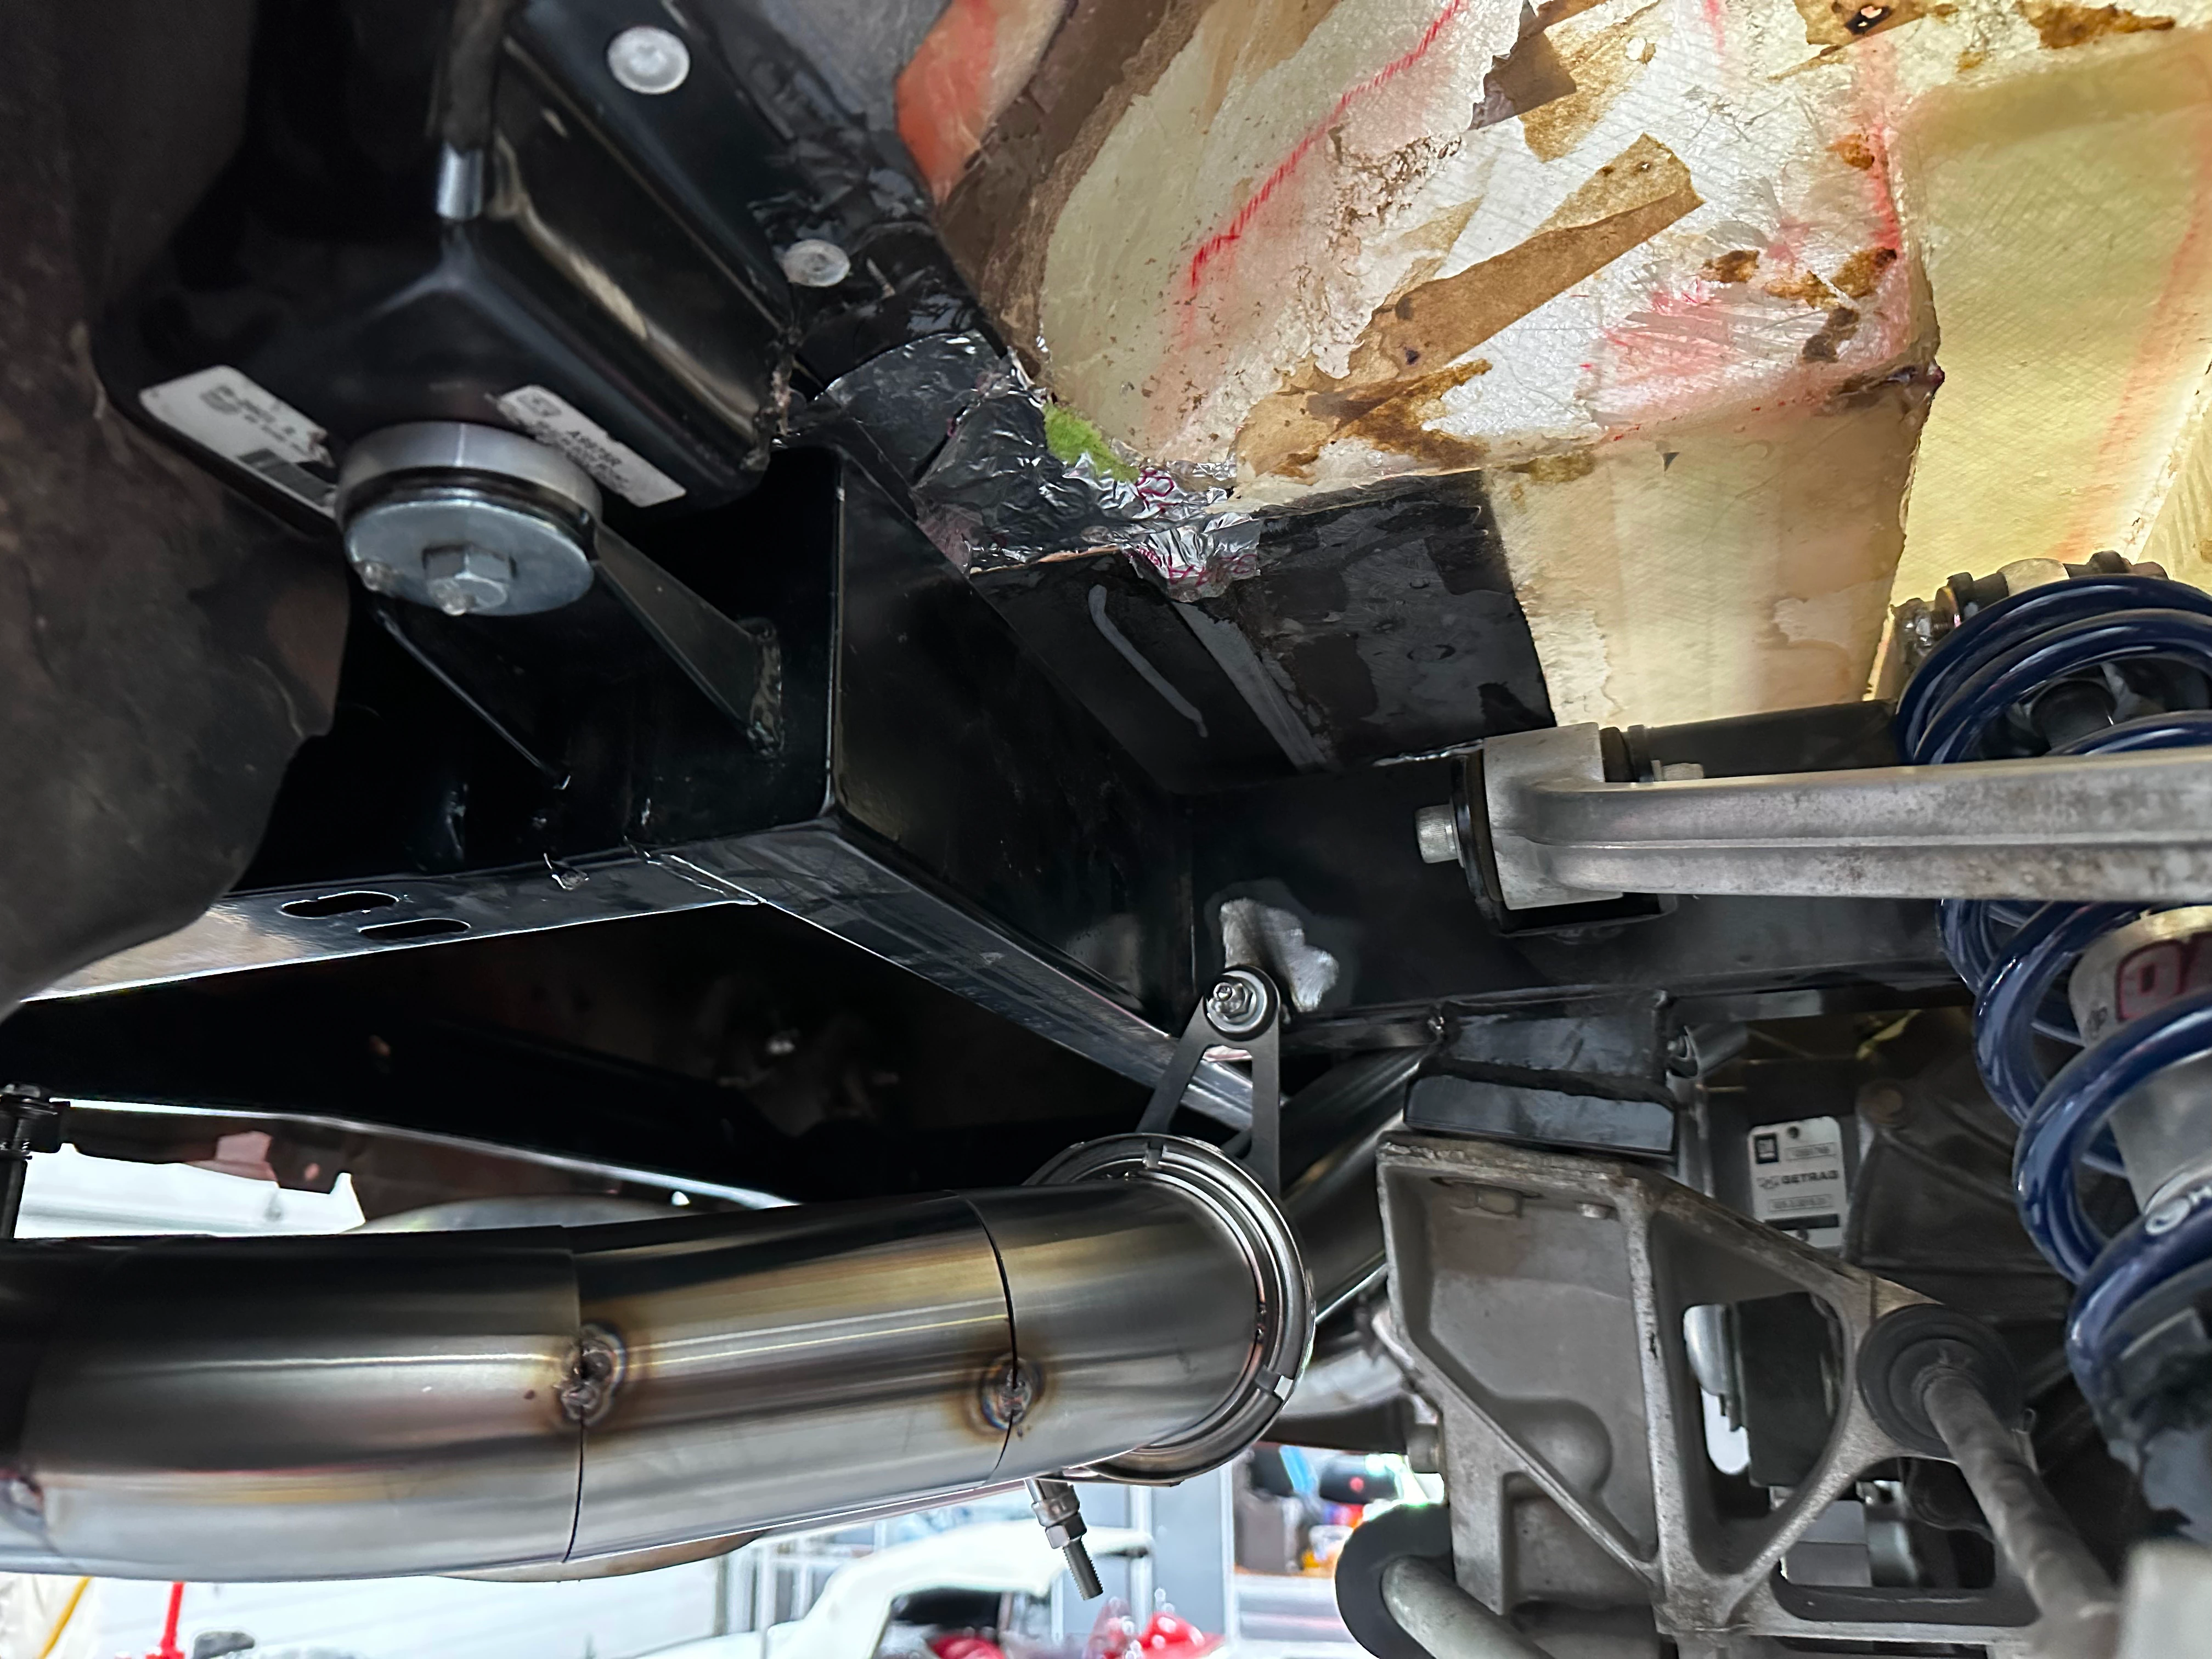
Rear Floor
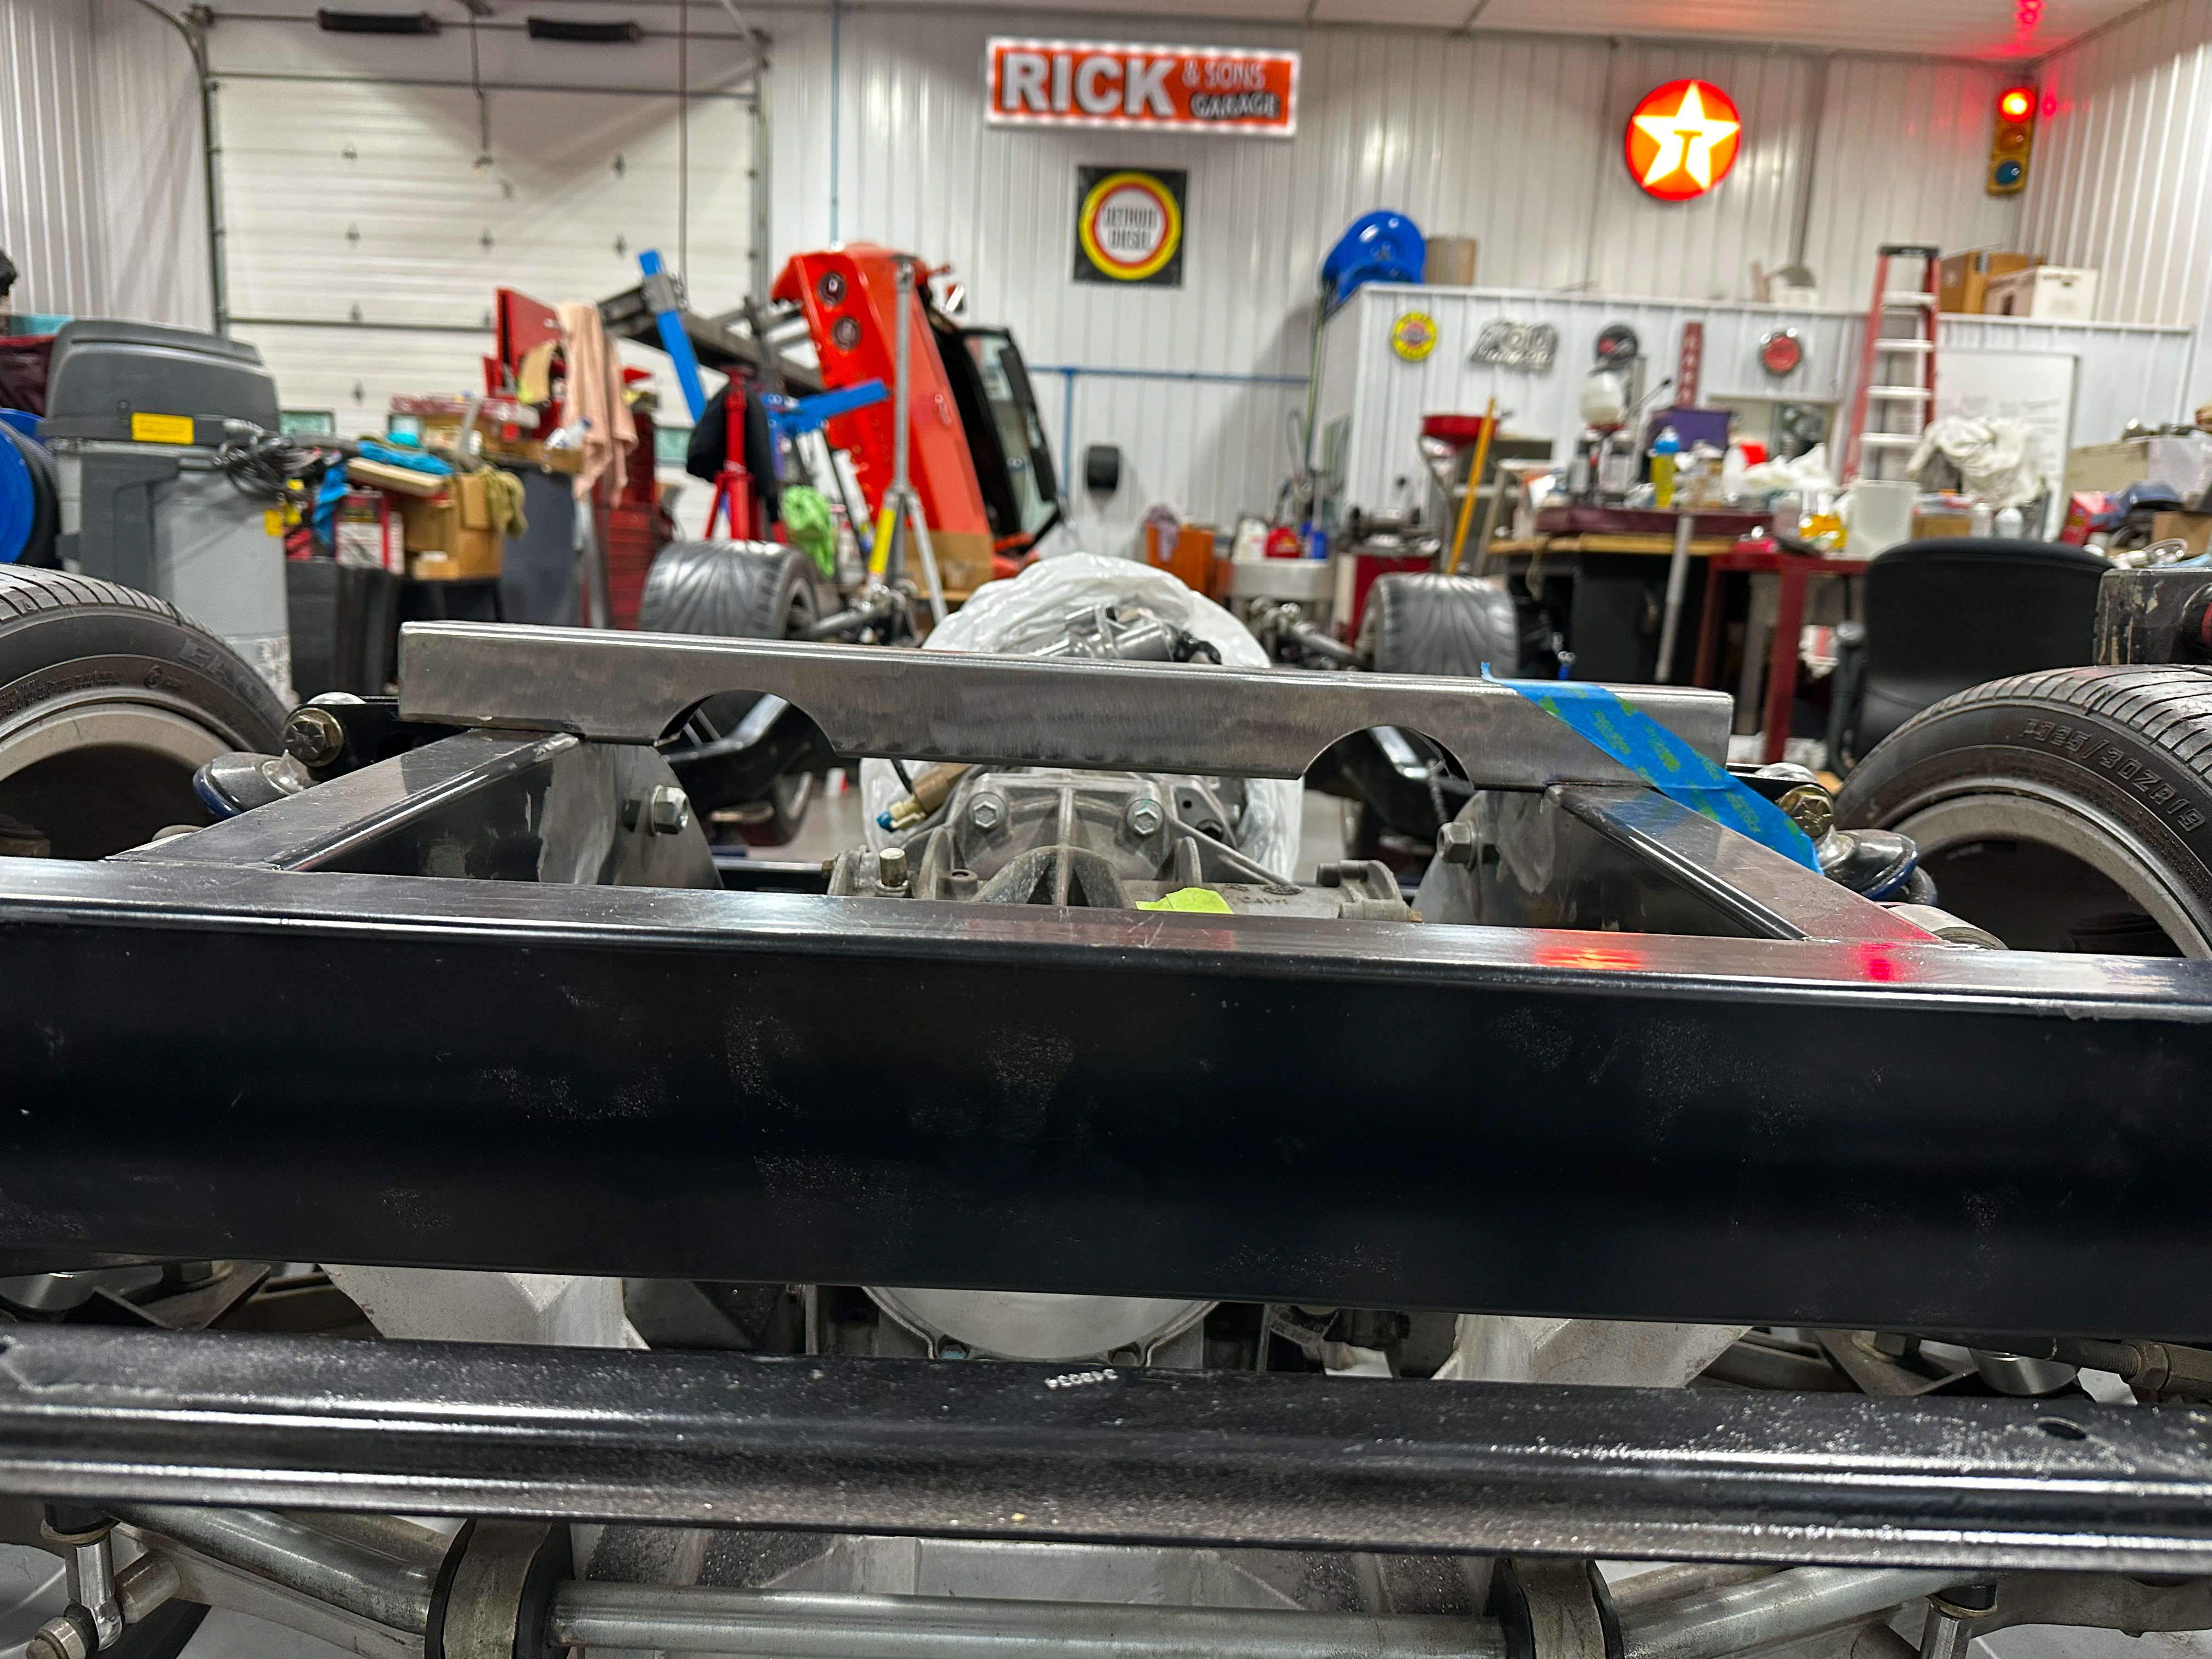
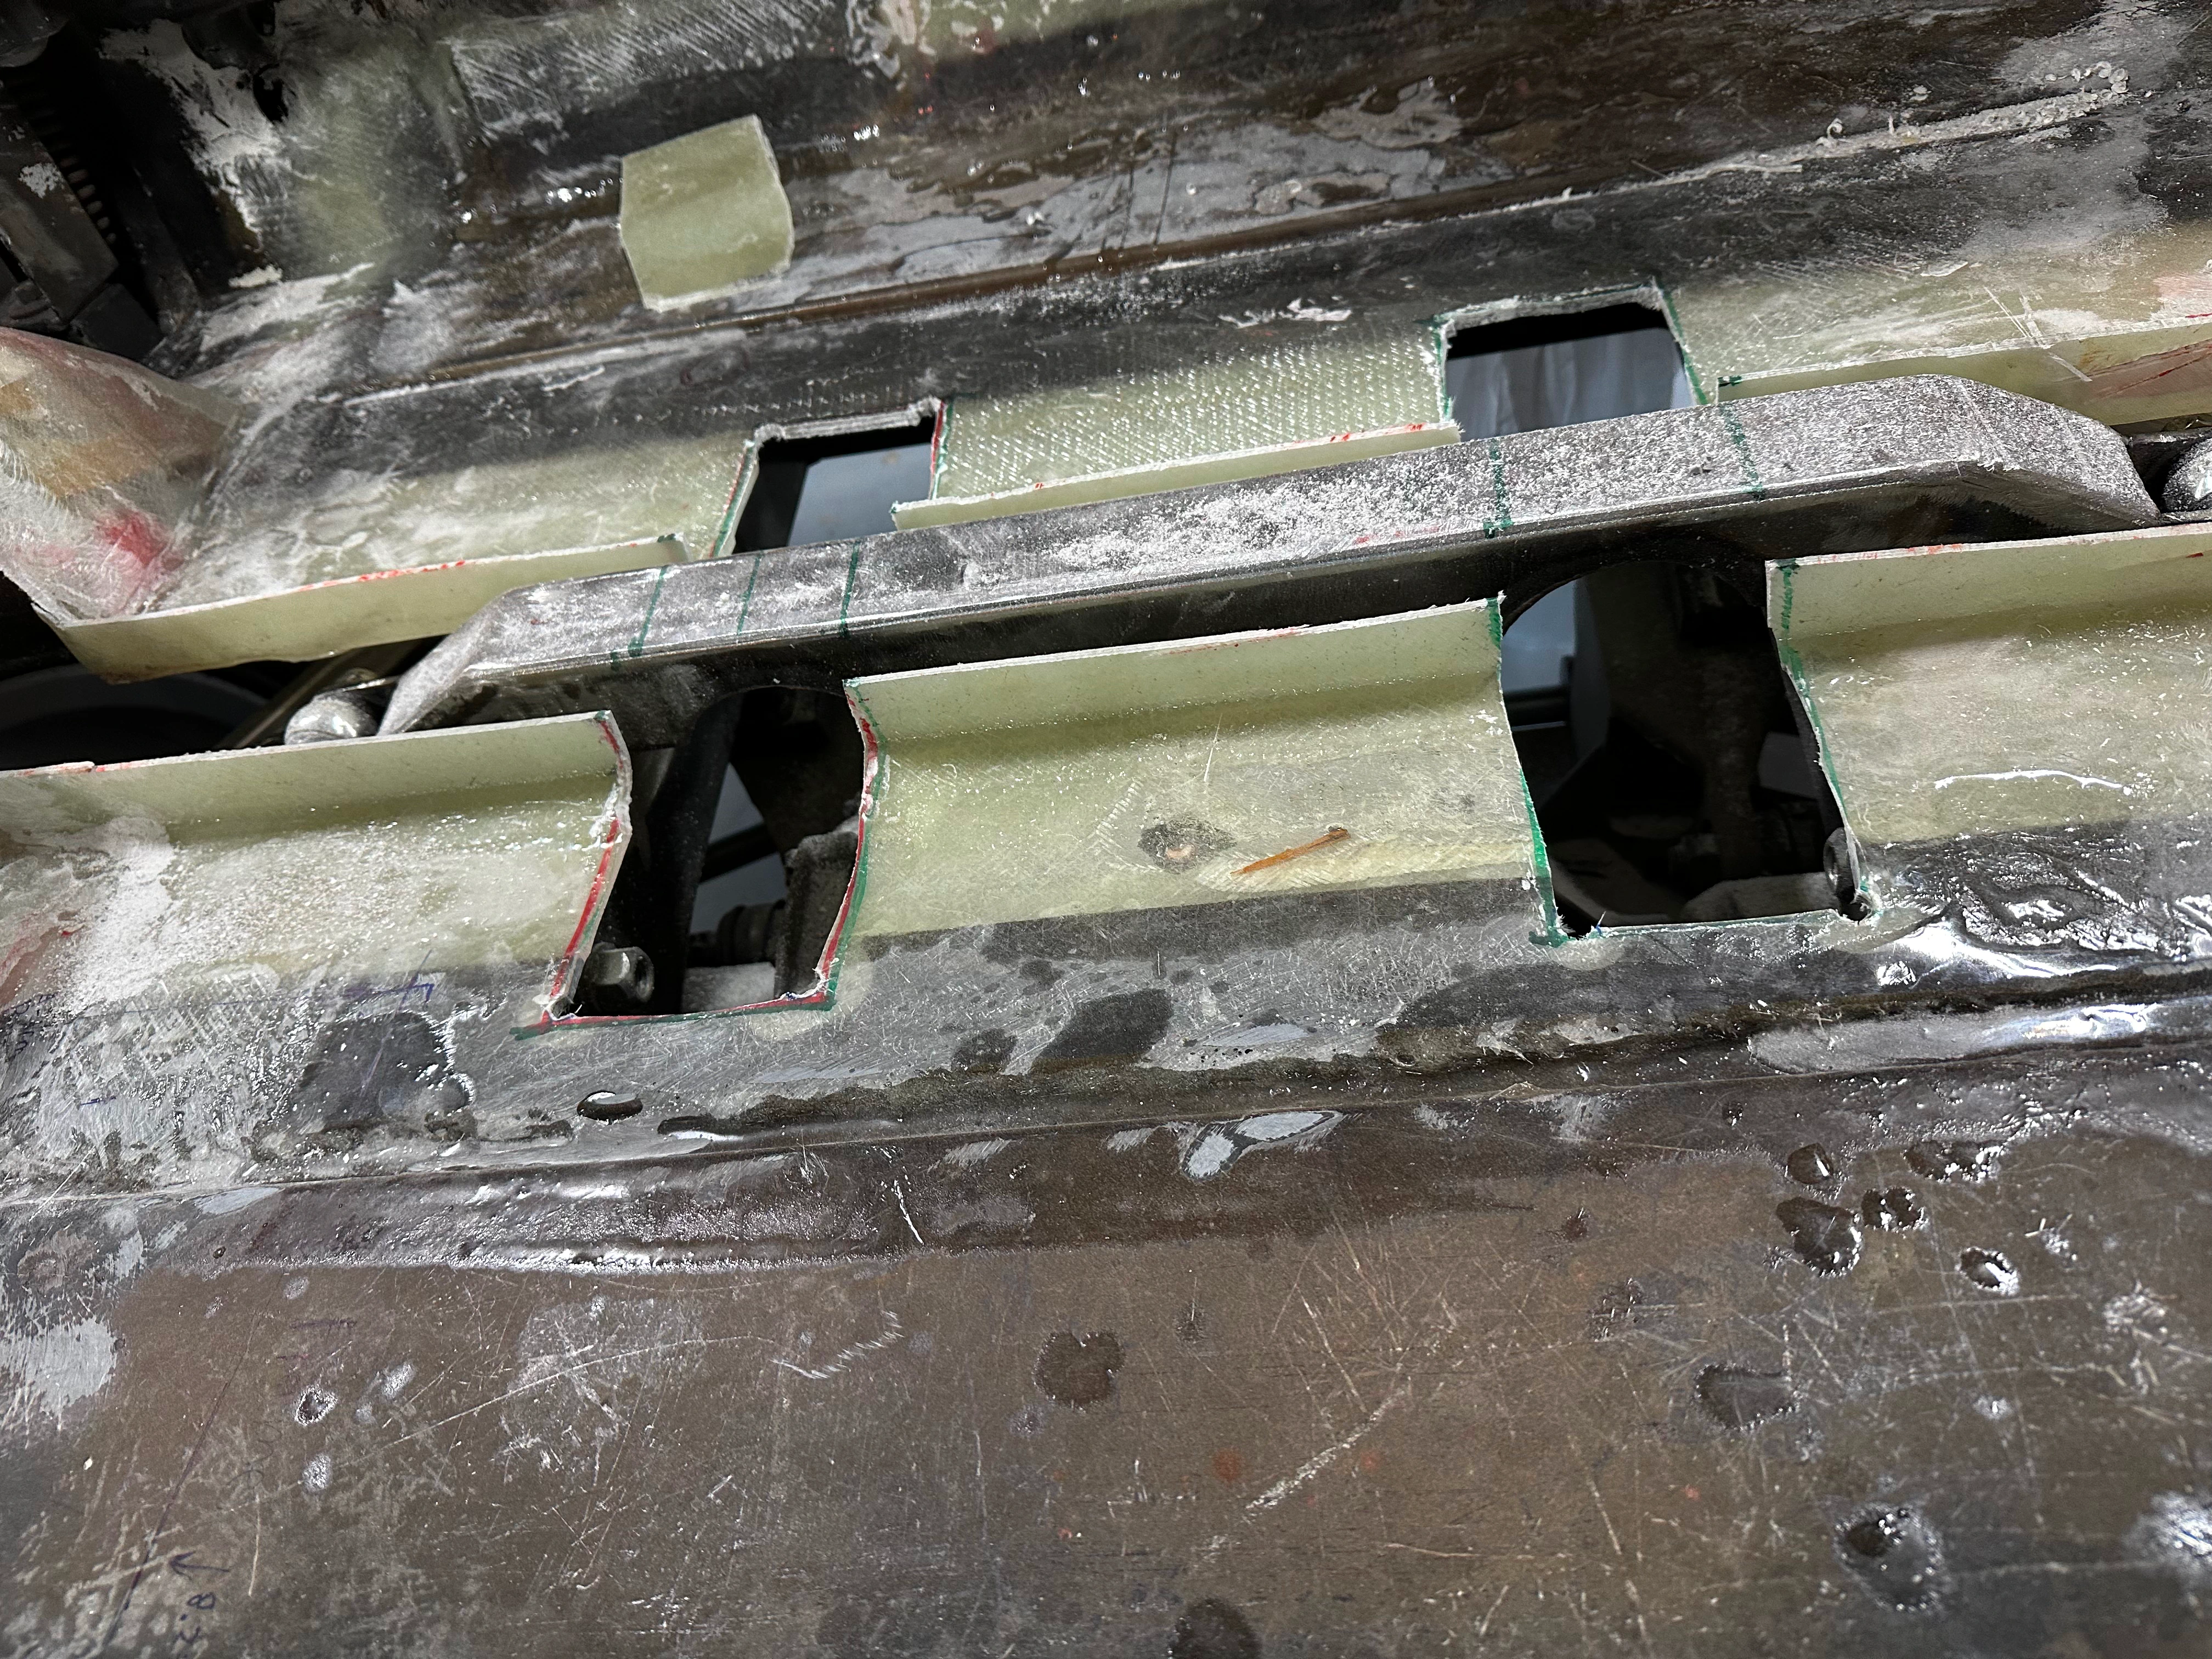
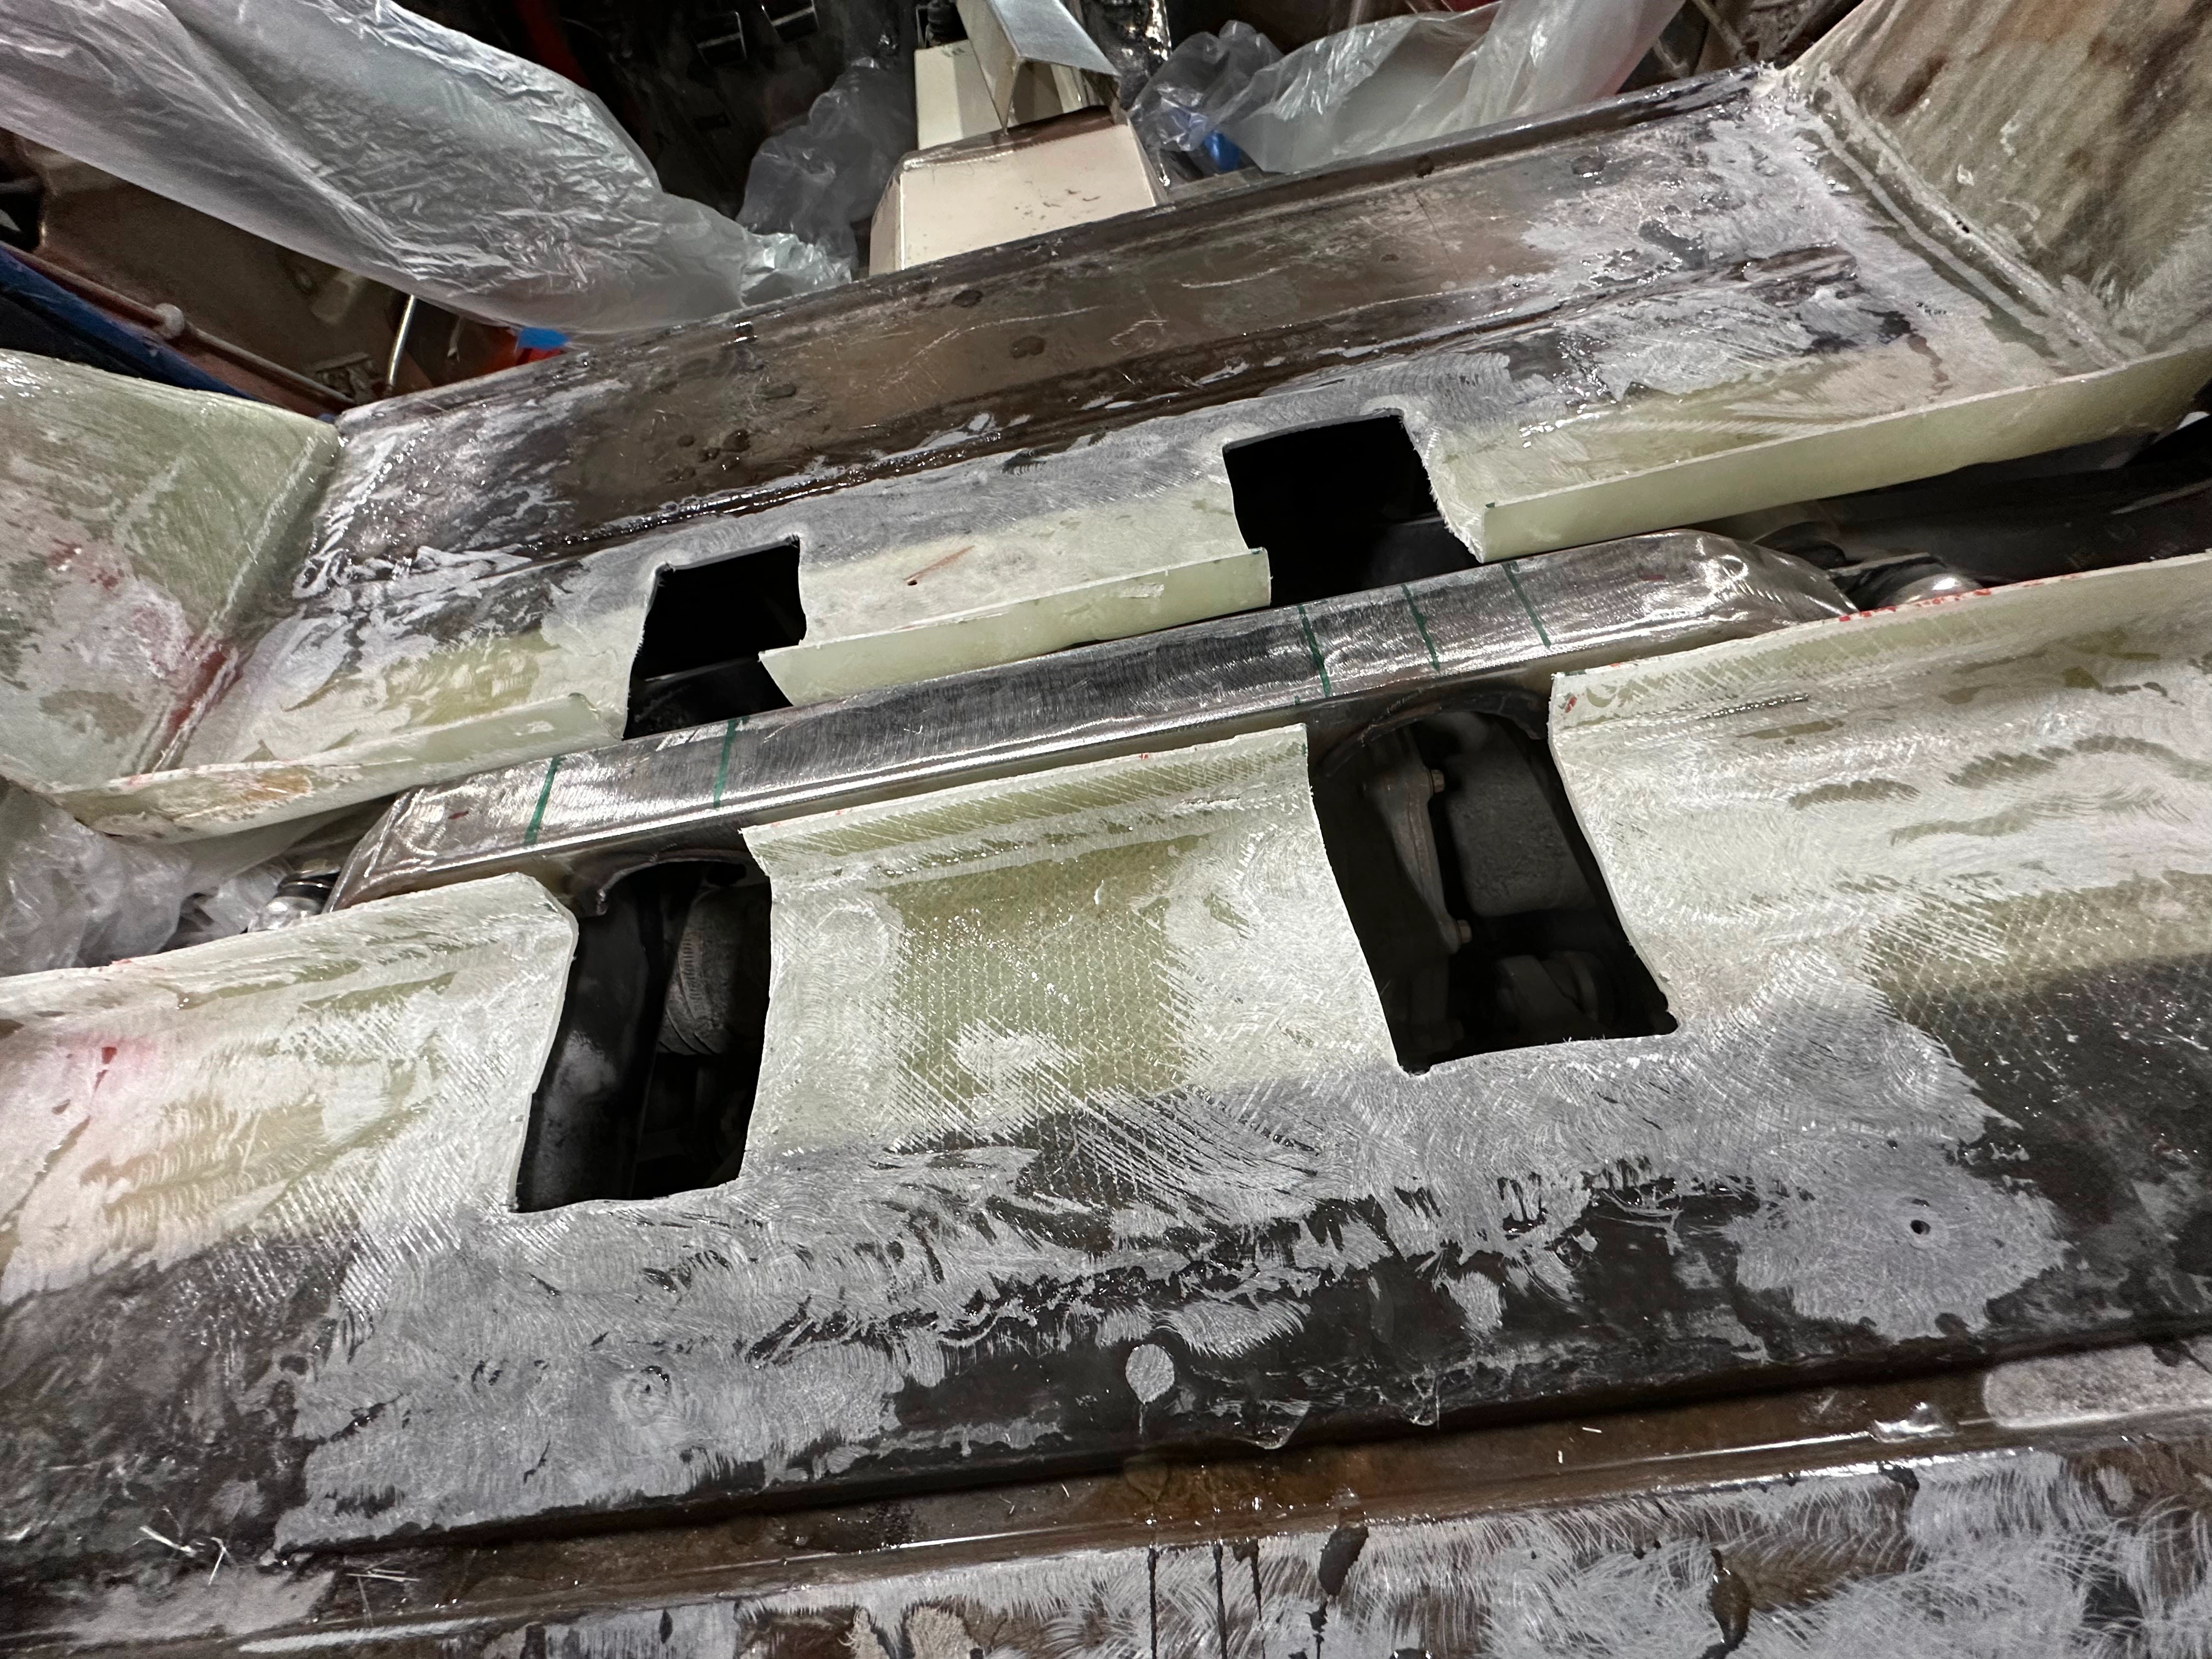
One of the larger jobs was replacing the rear floor that we had cut out. We also needed to raise the crossmember above the differential. We needed this space to run the exhaust, so we provided clearance holes there.
We reused some of the rear floor and split it to make room for the new crossmember. Then we jigged it and built a hump for the new crossmember.
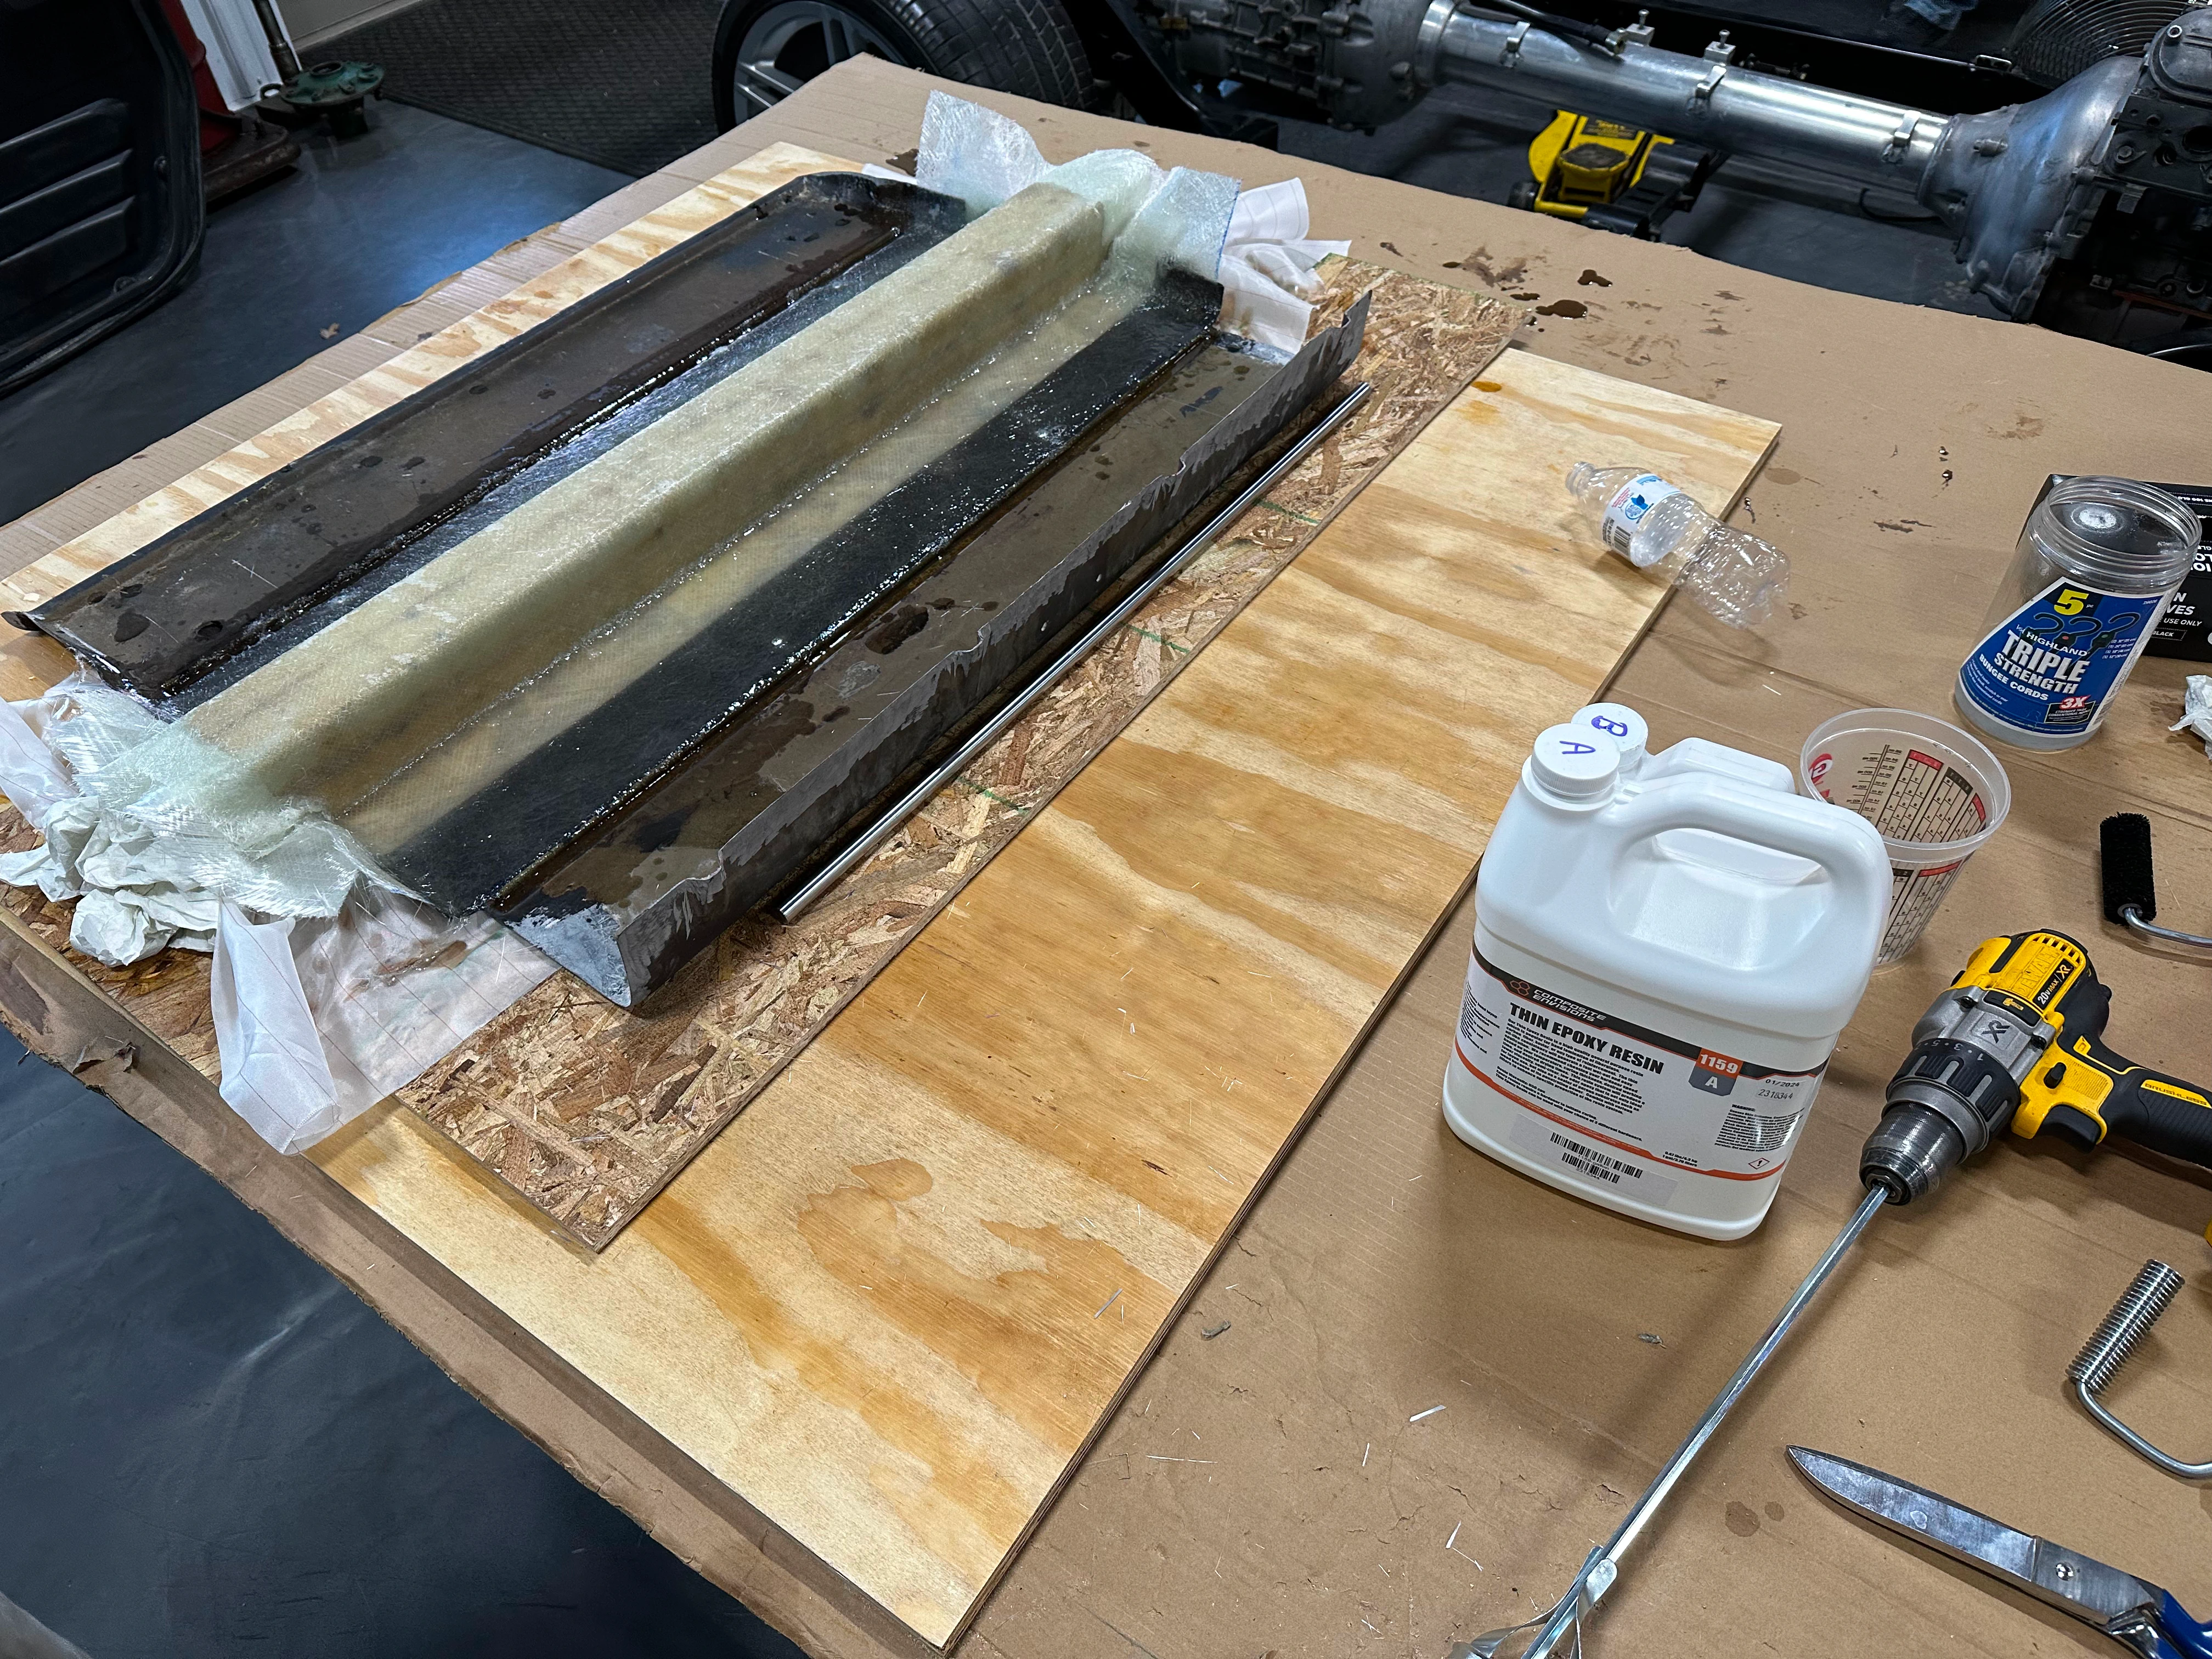
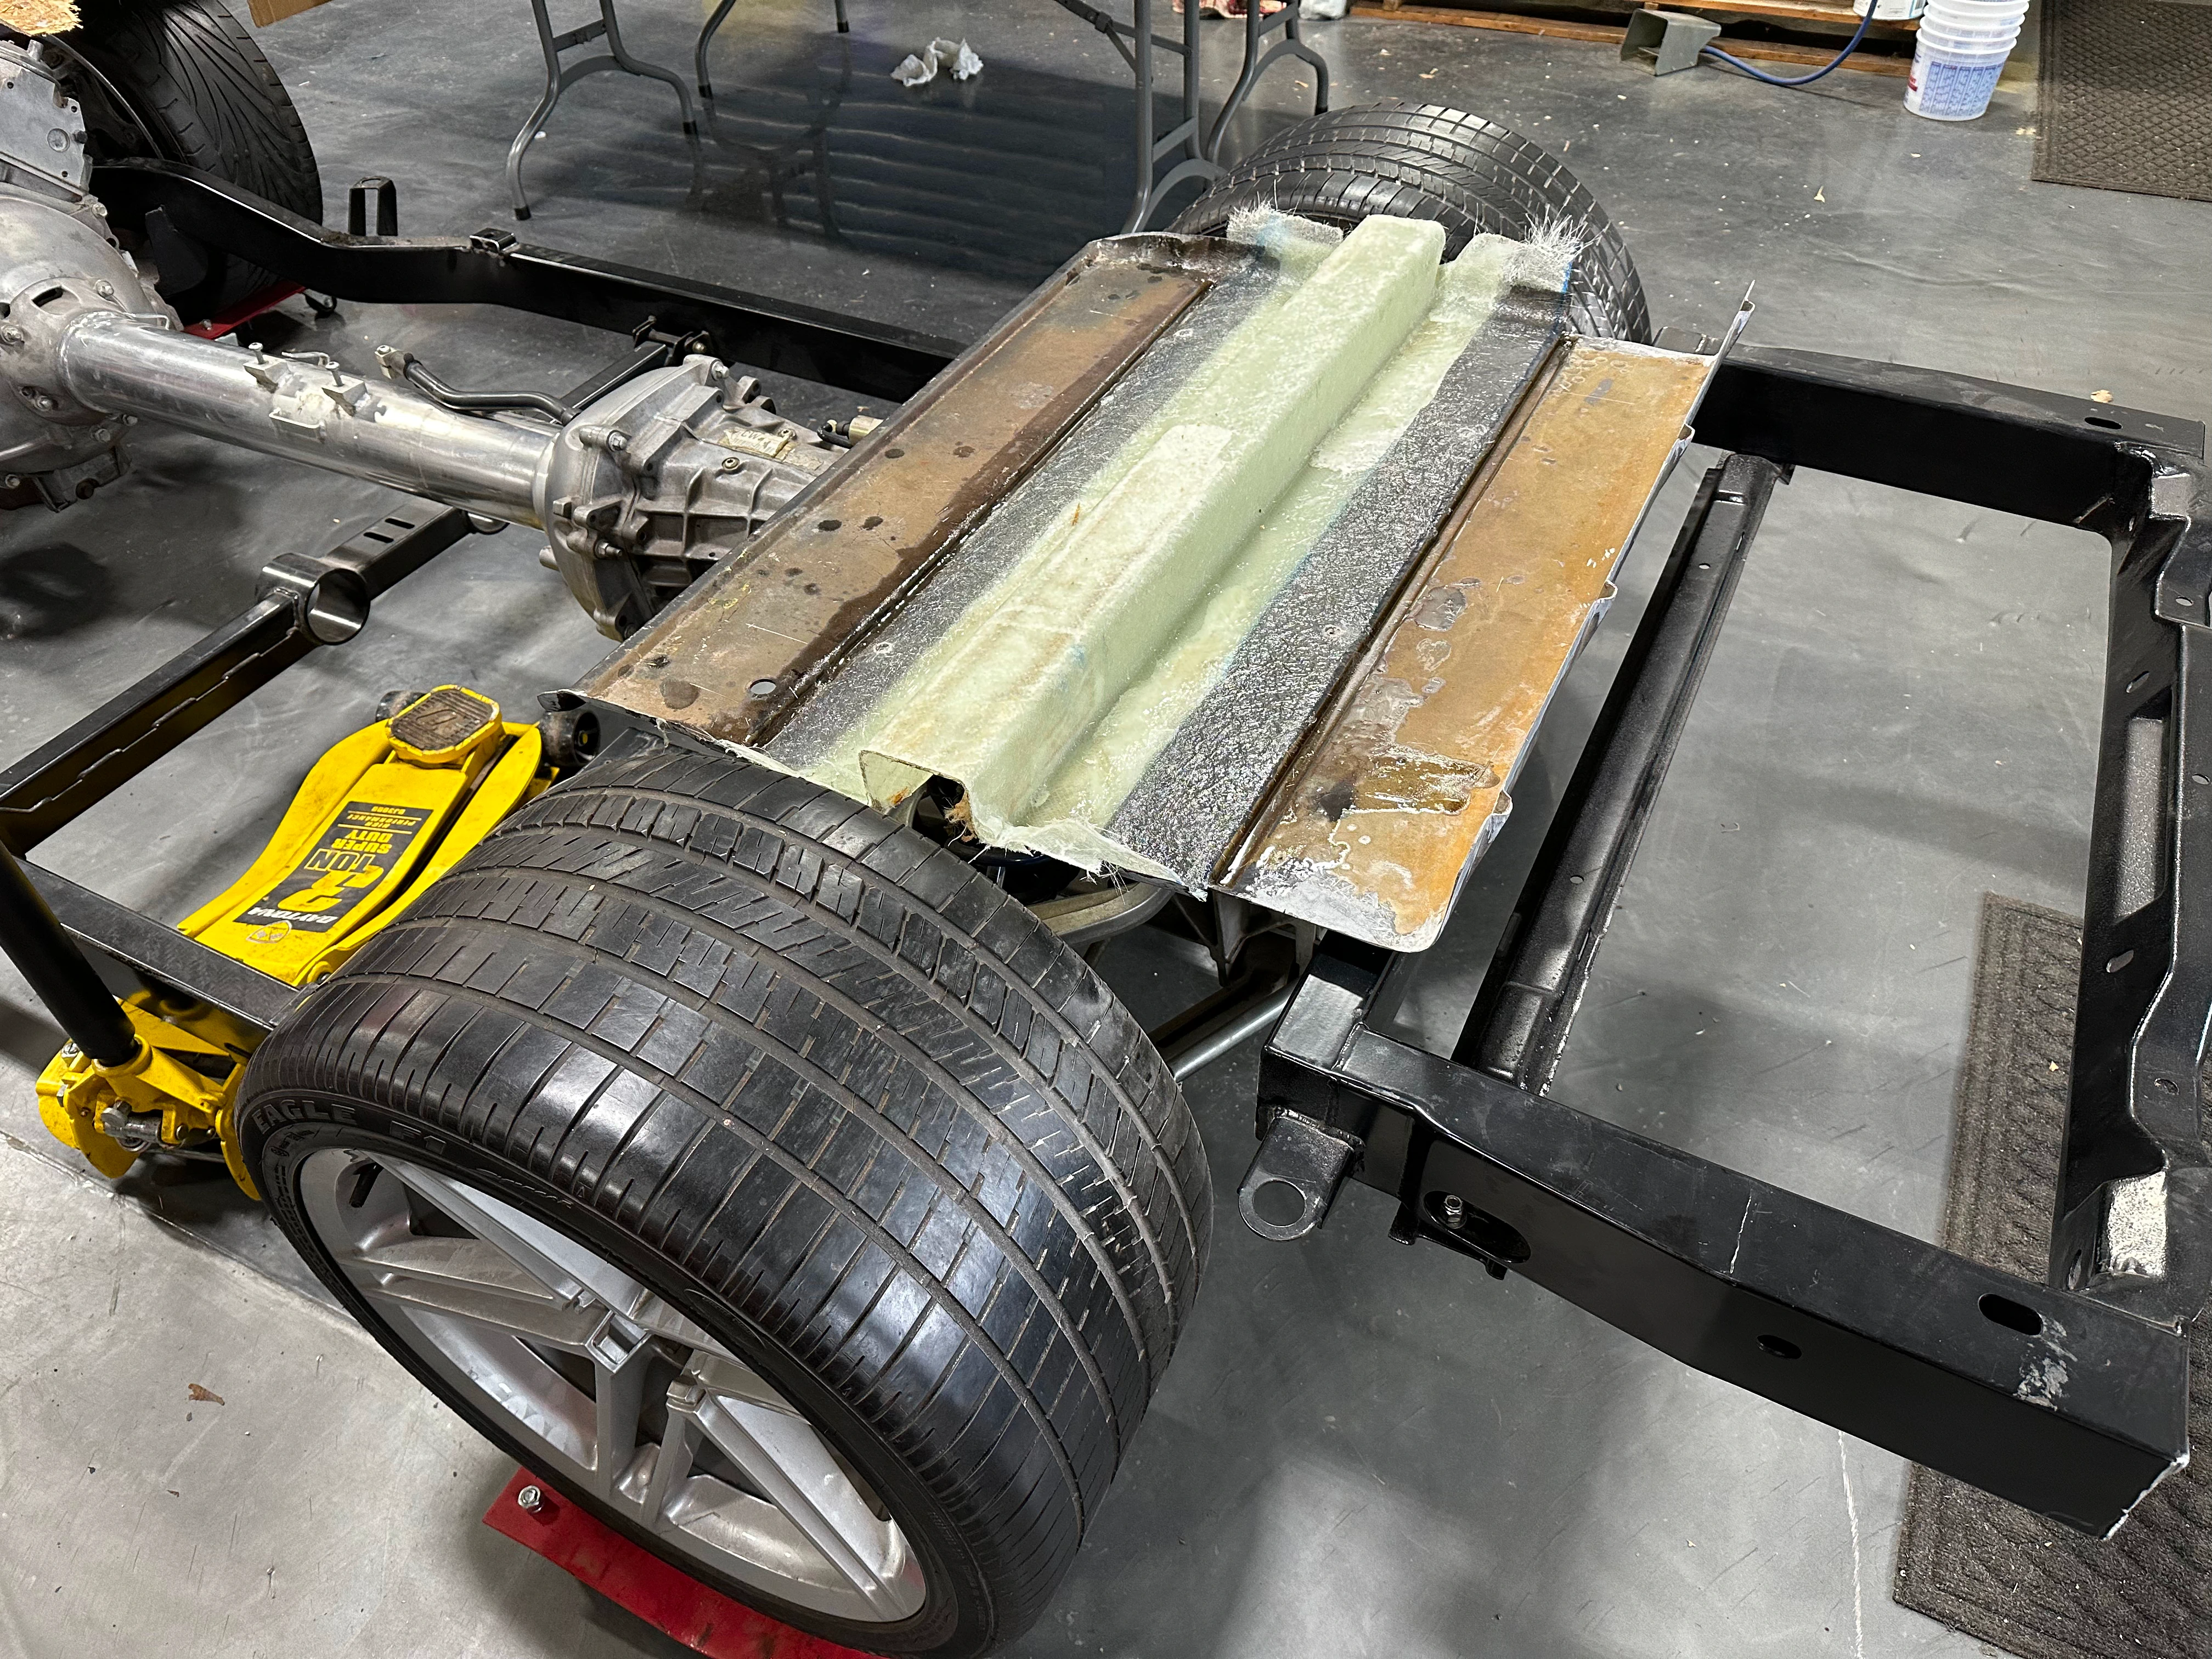
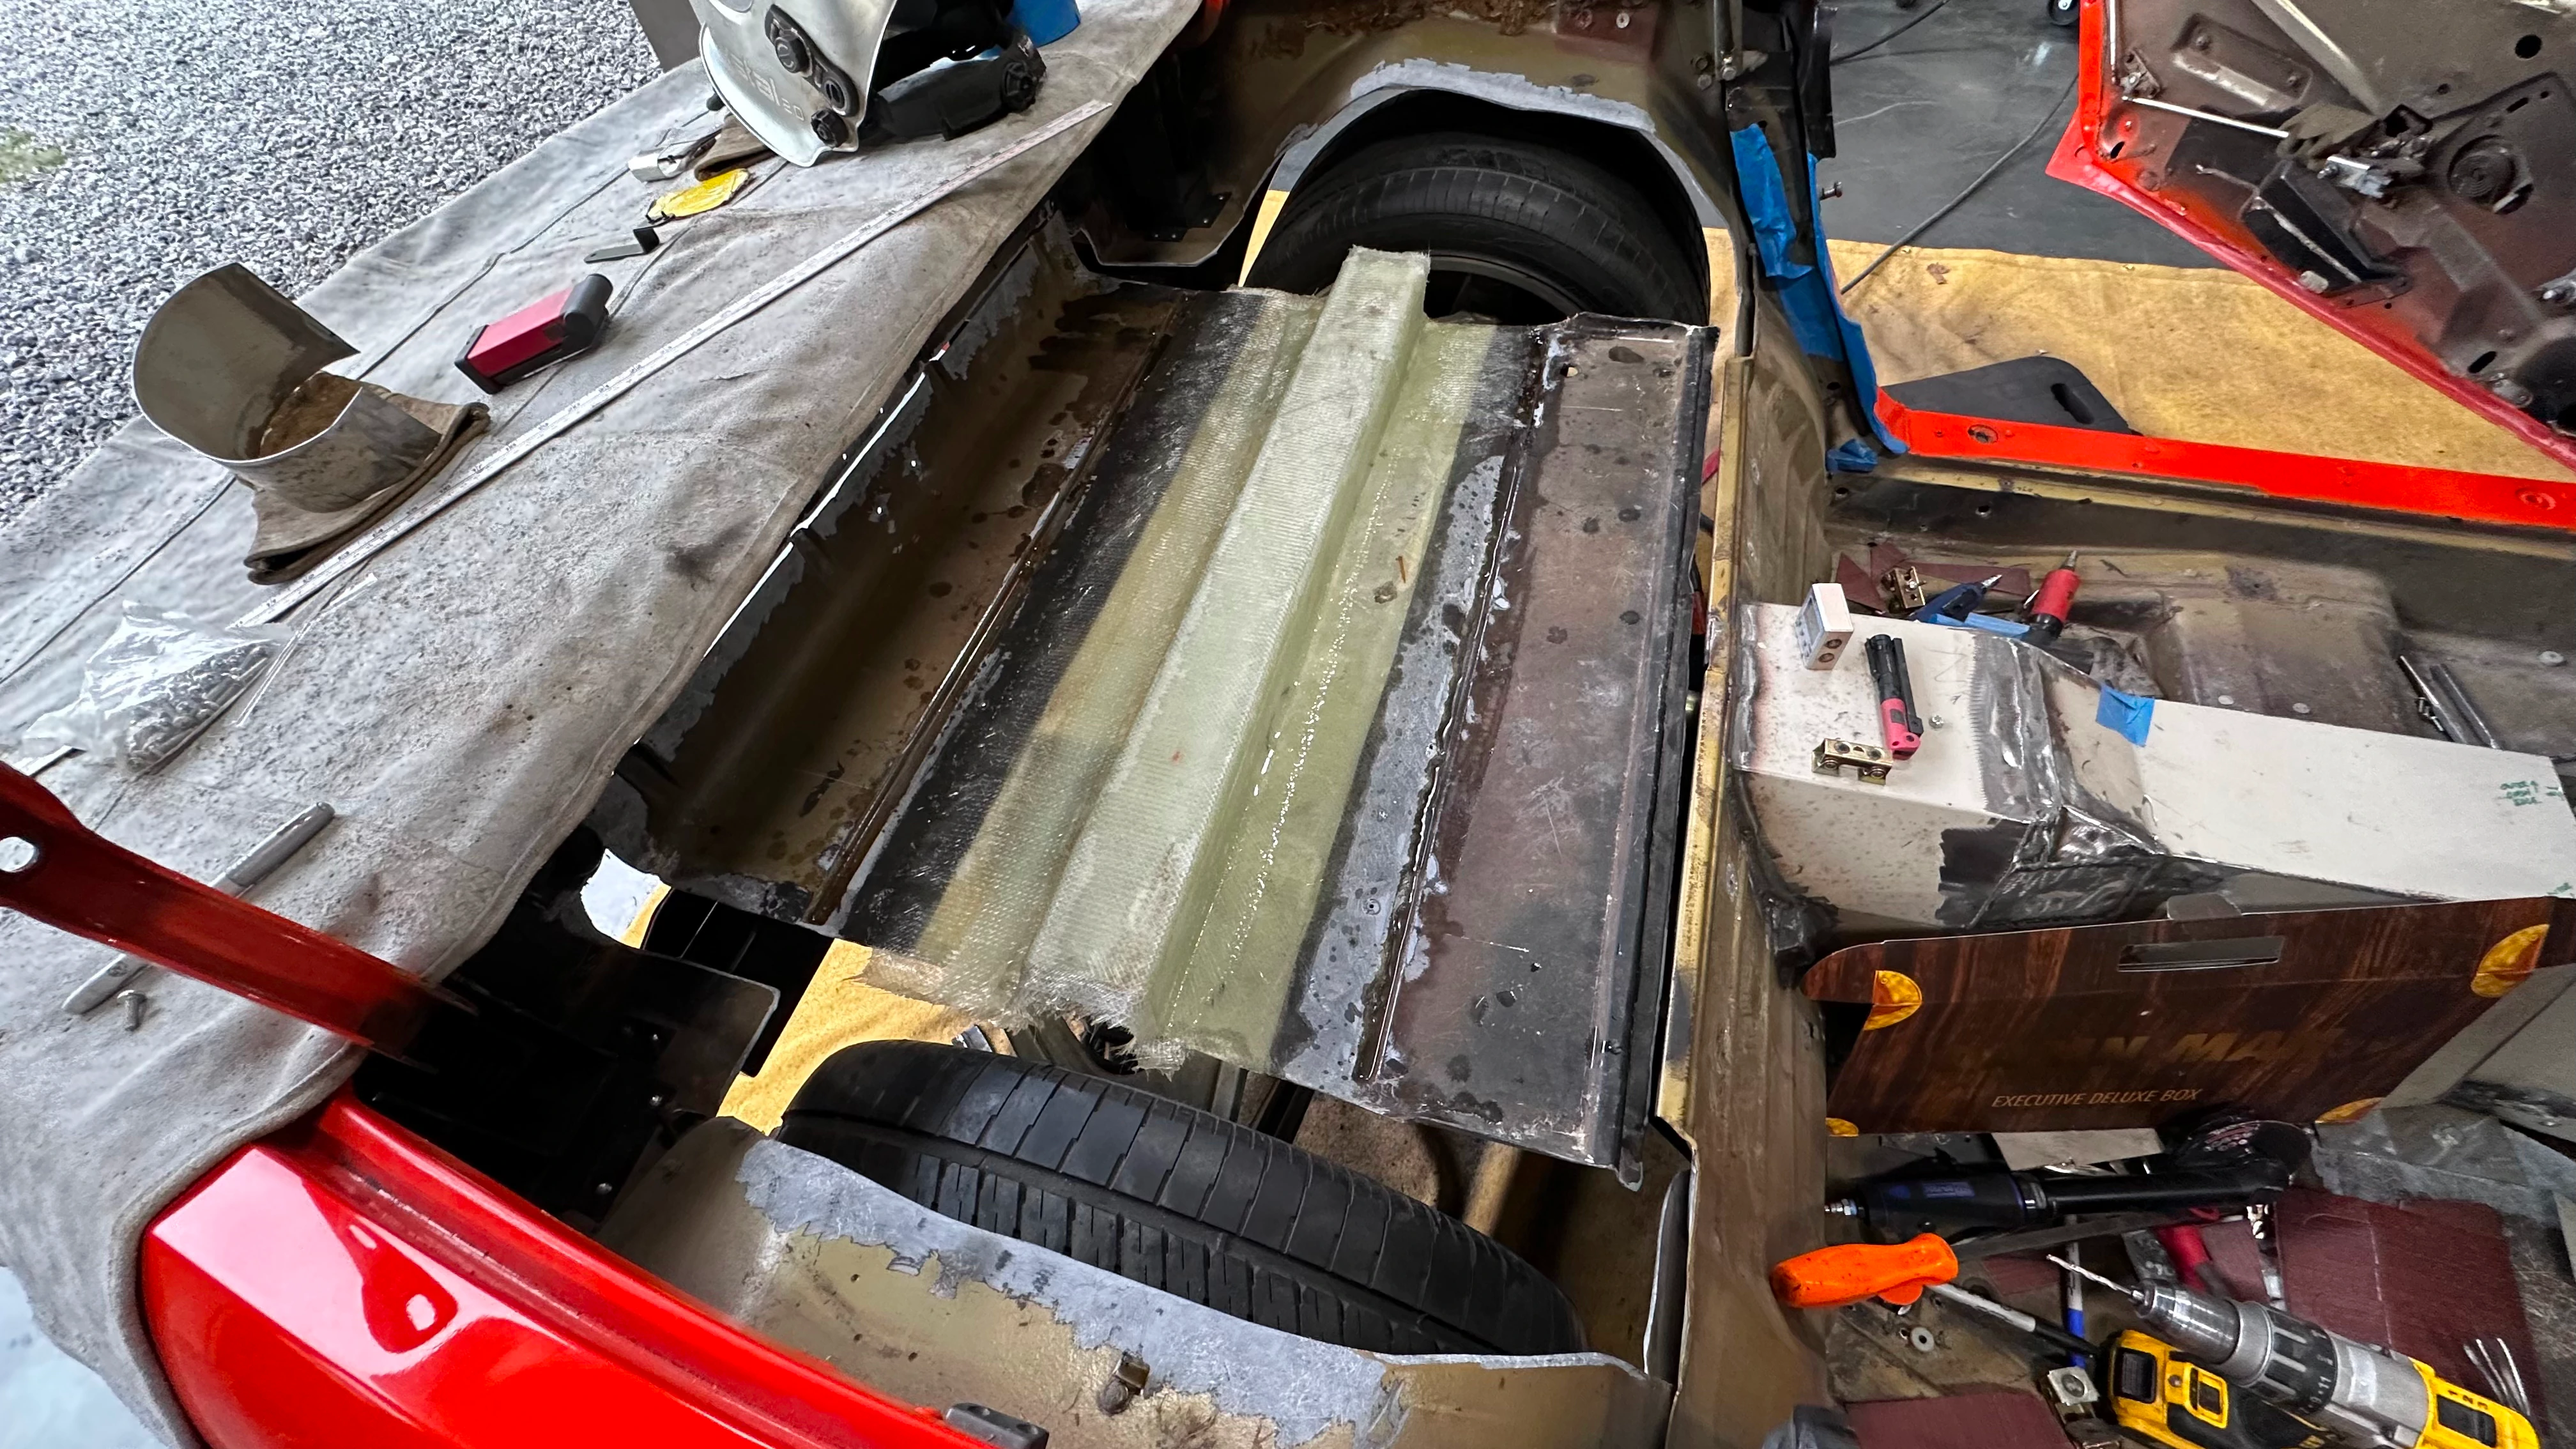
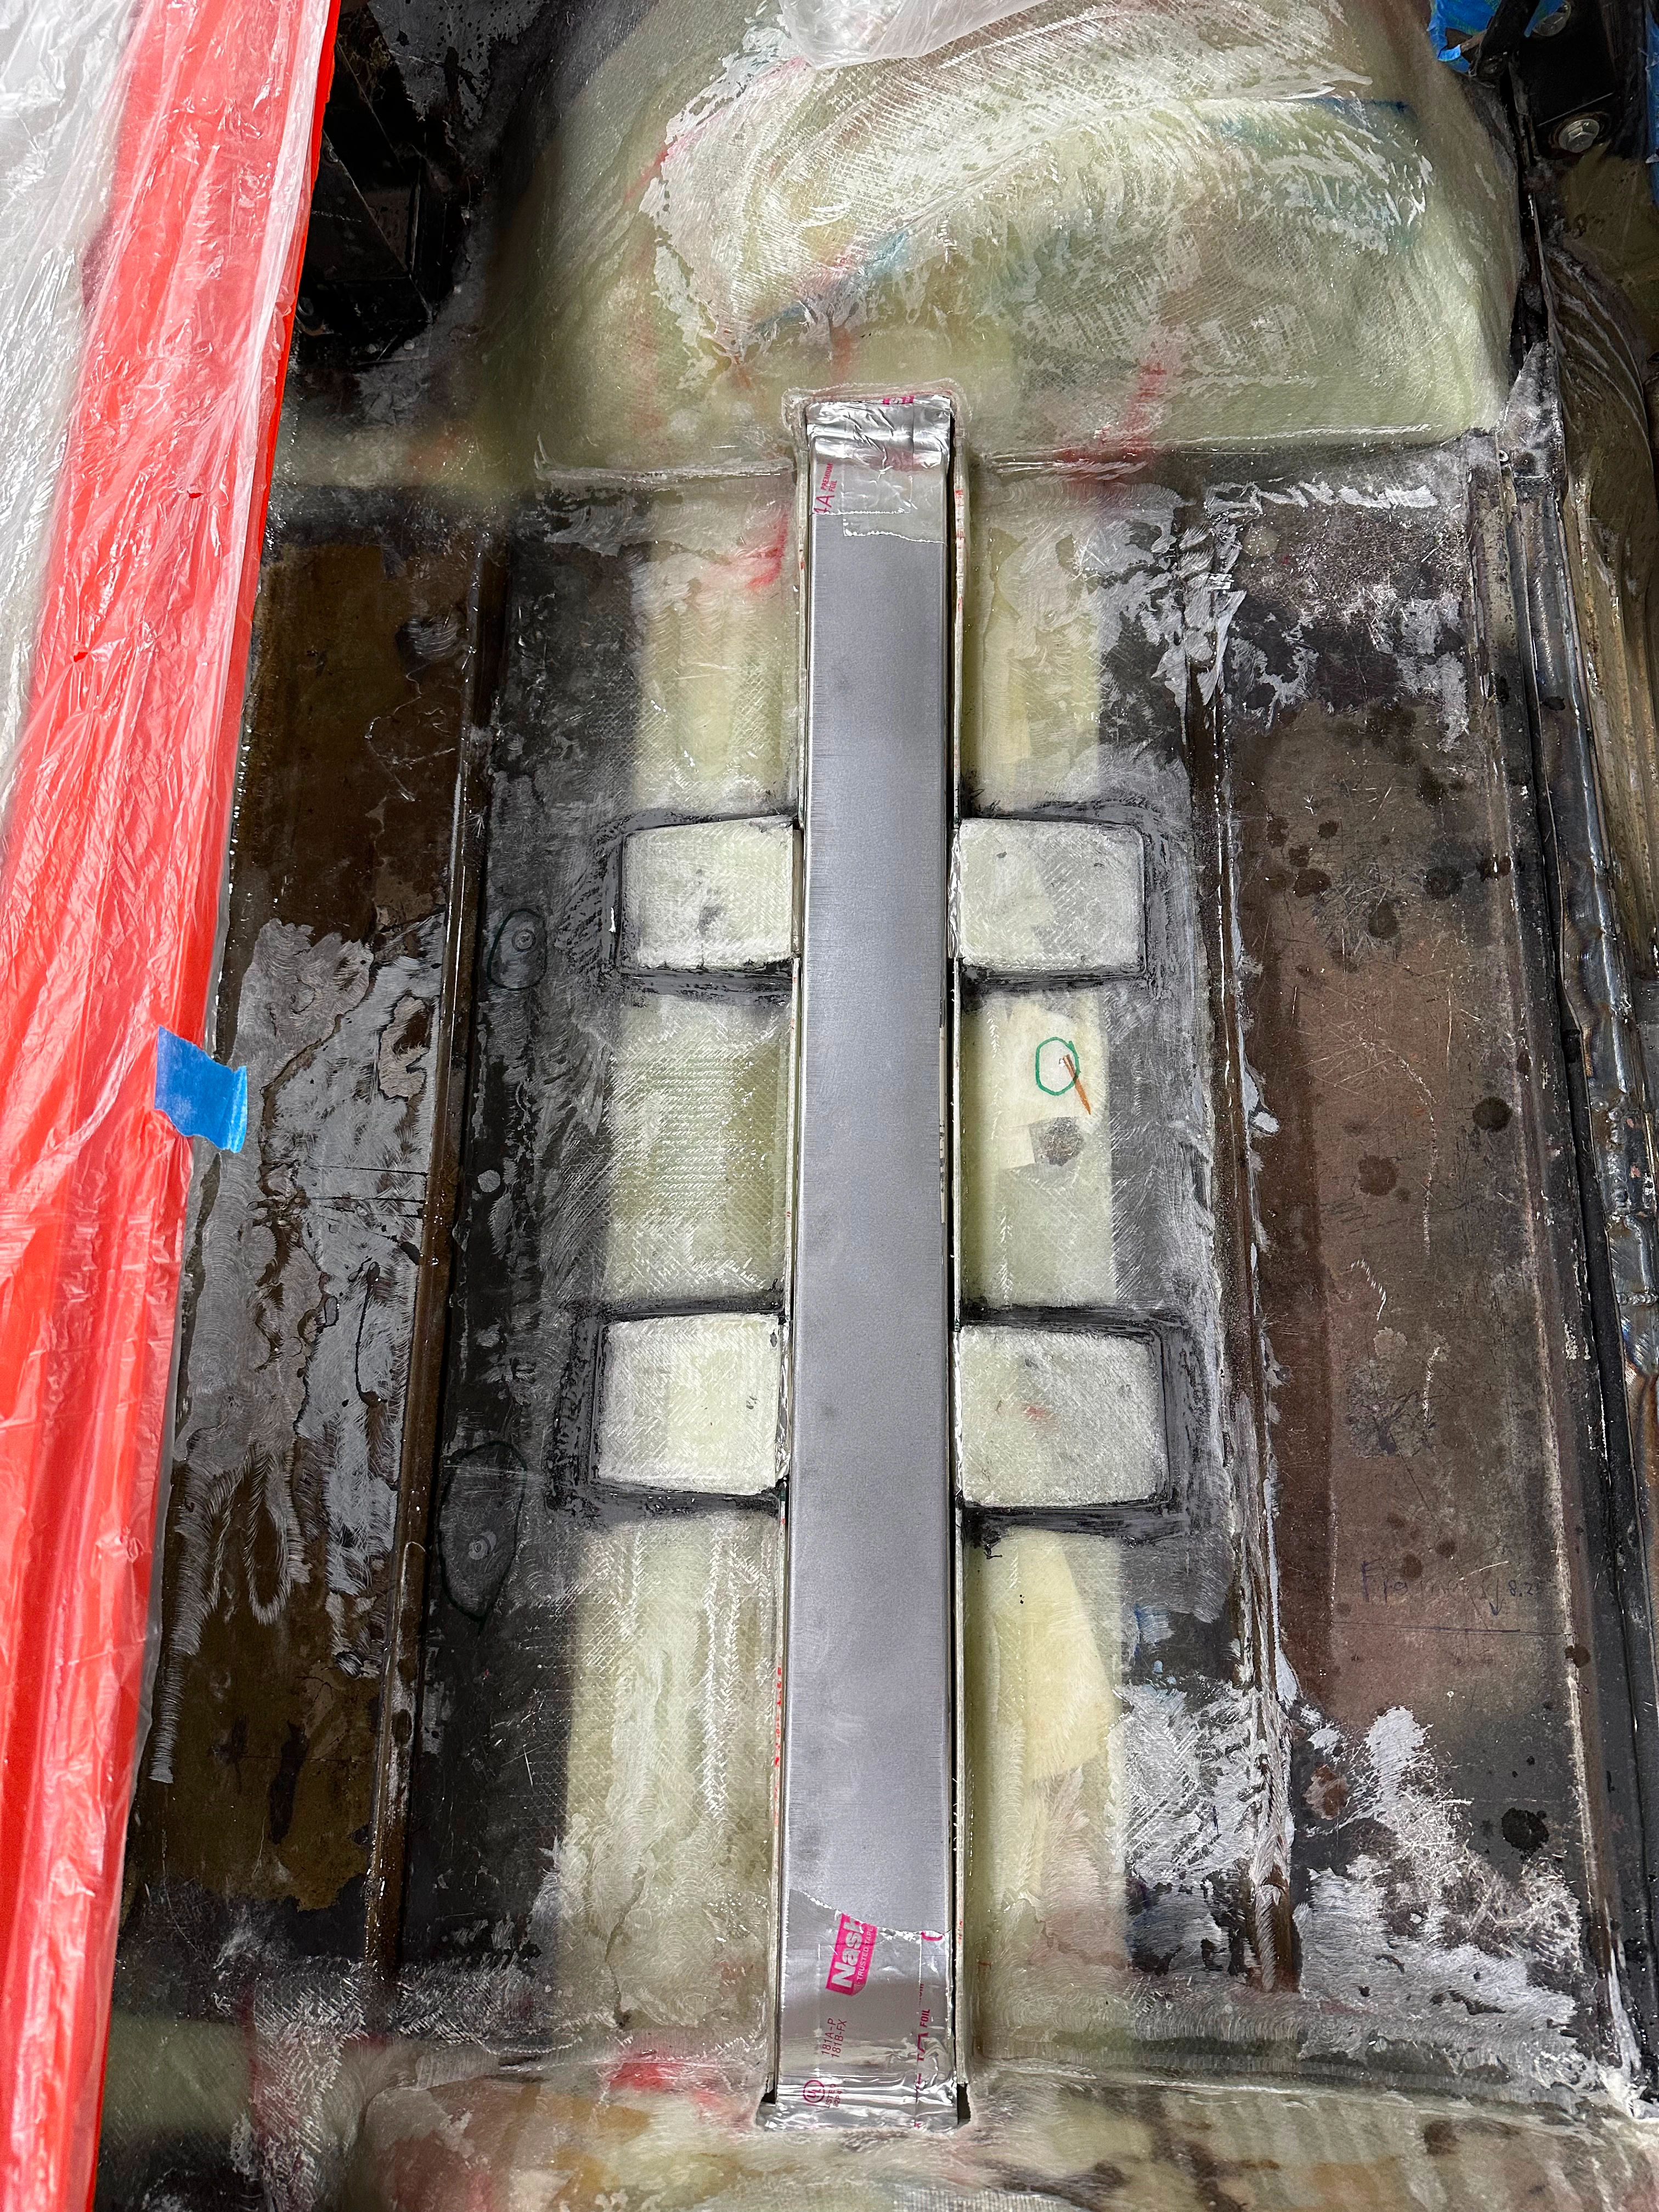

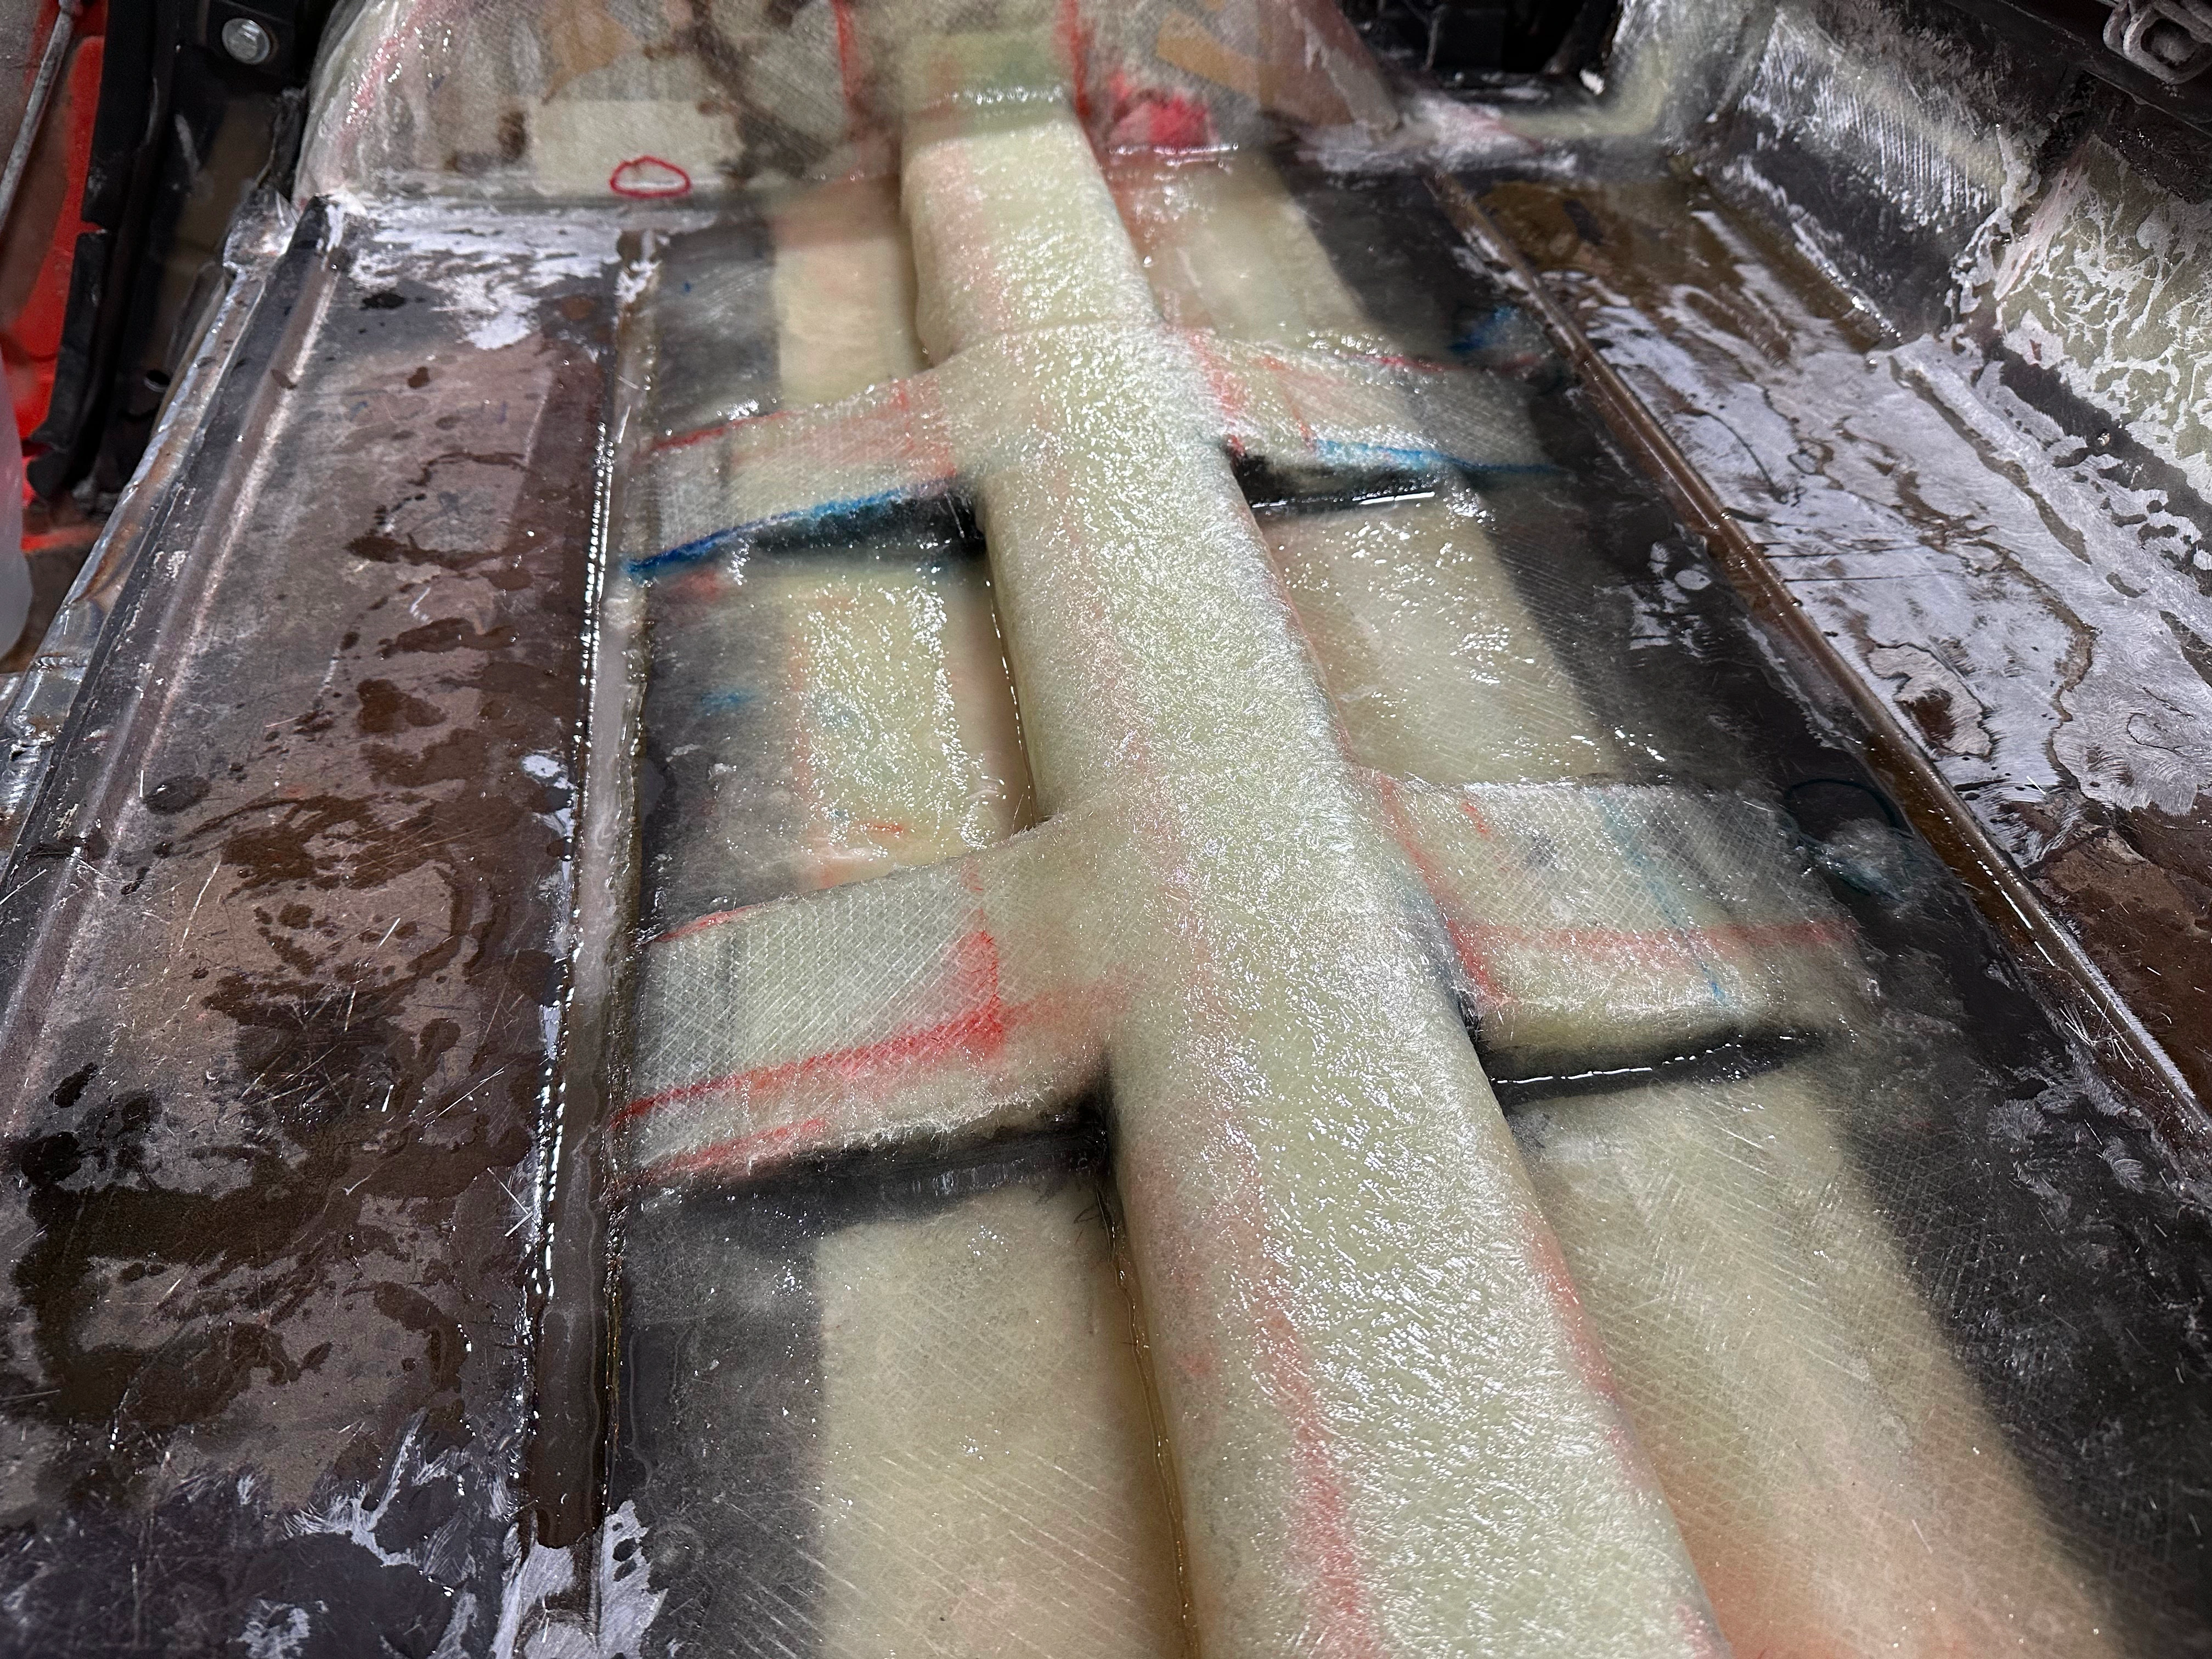
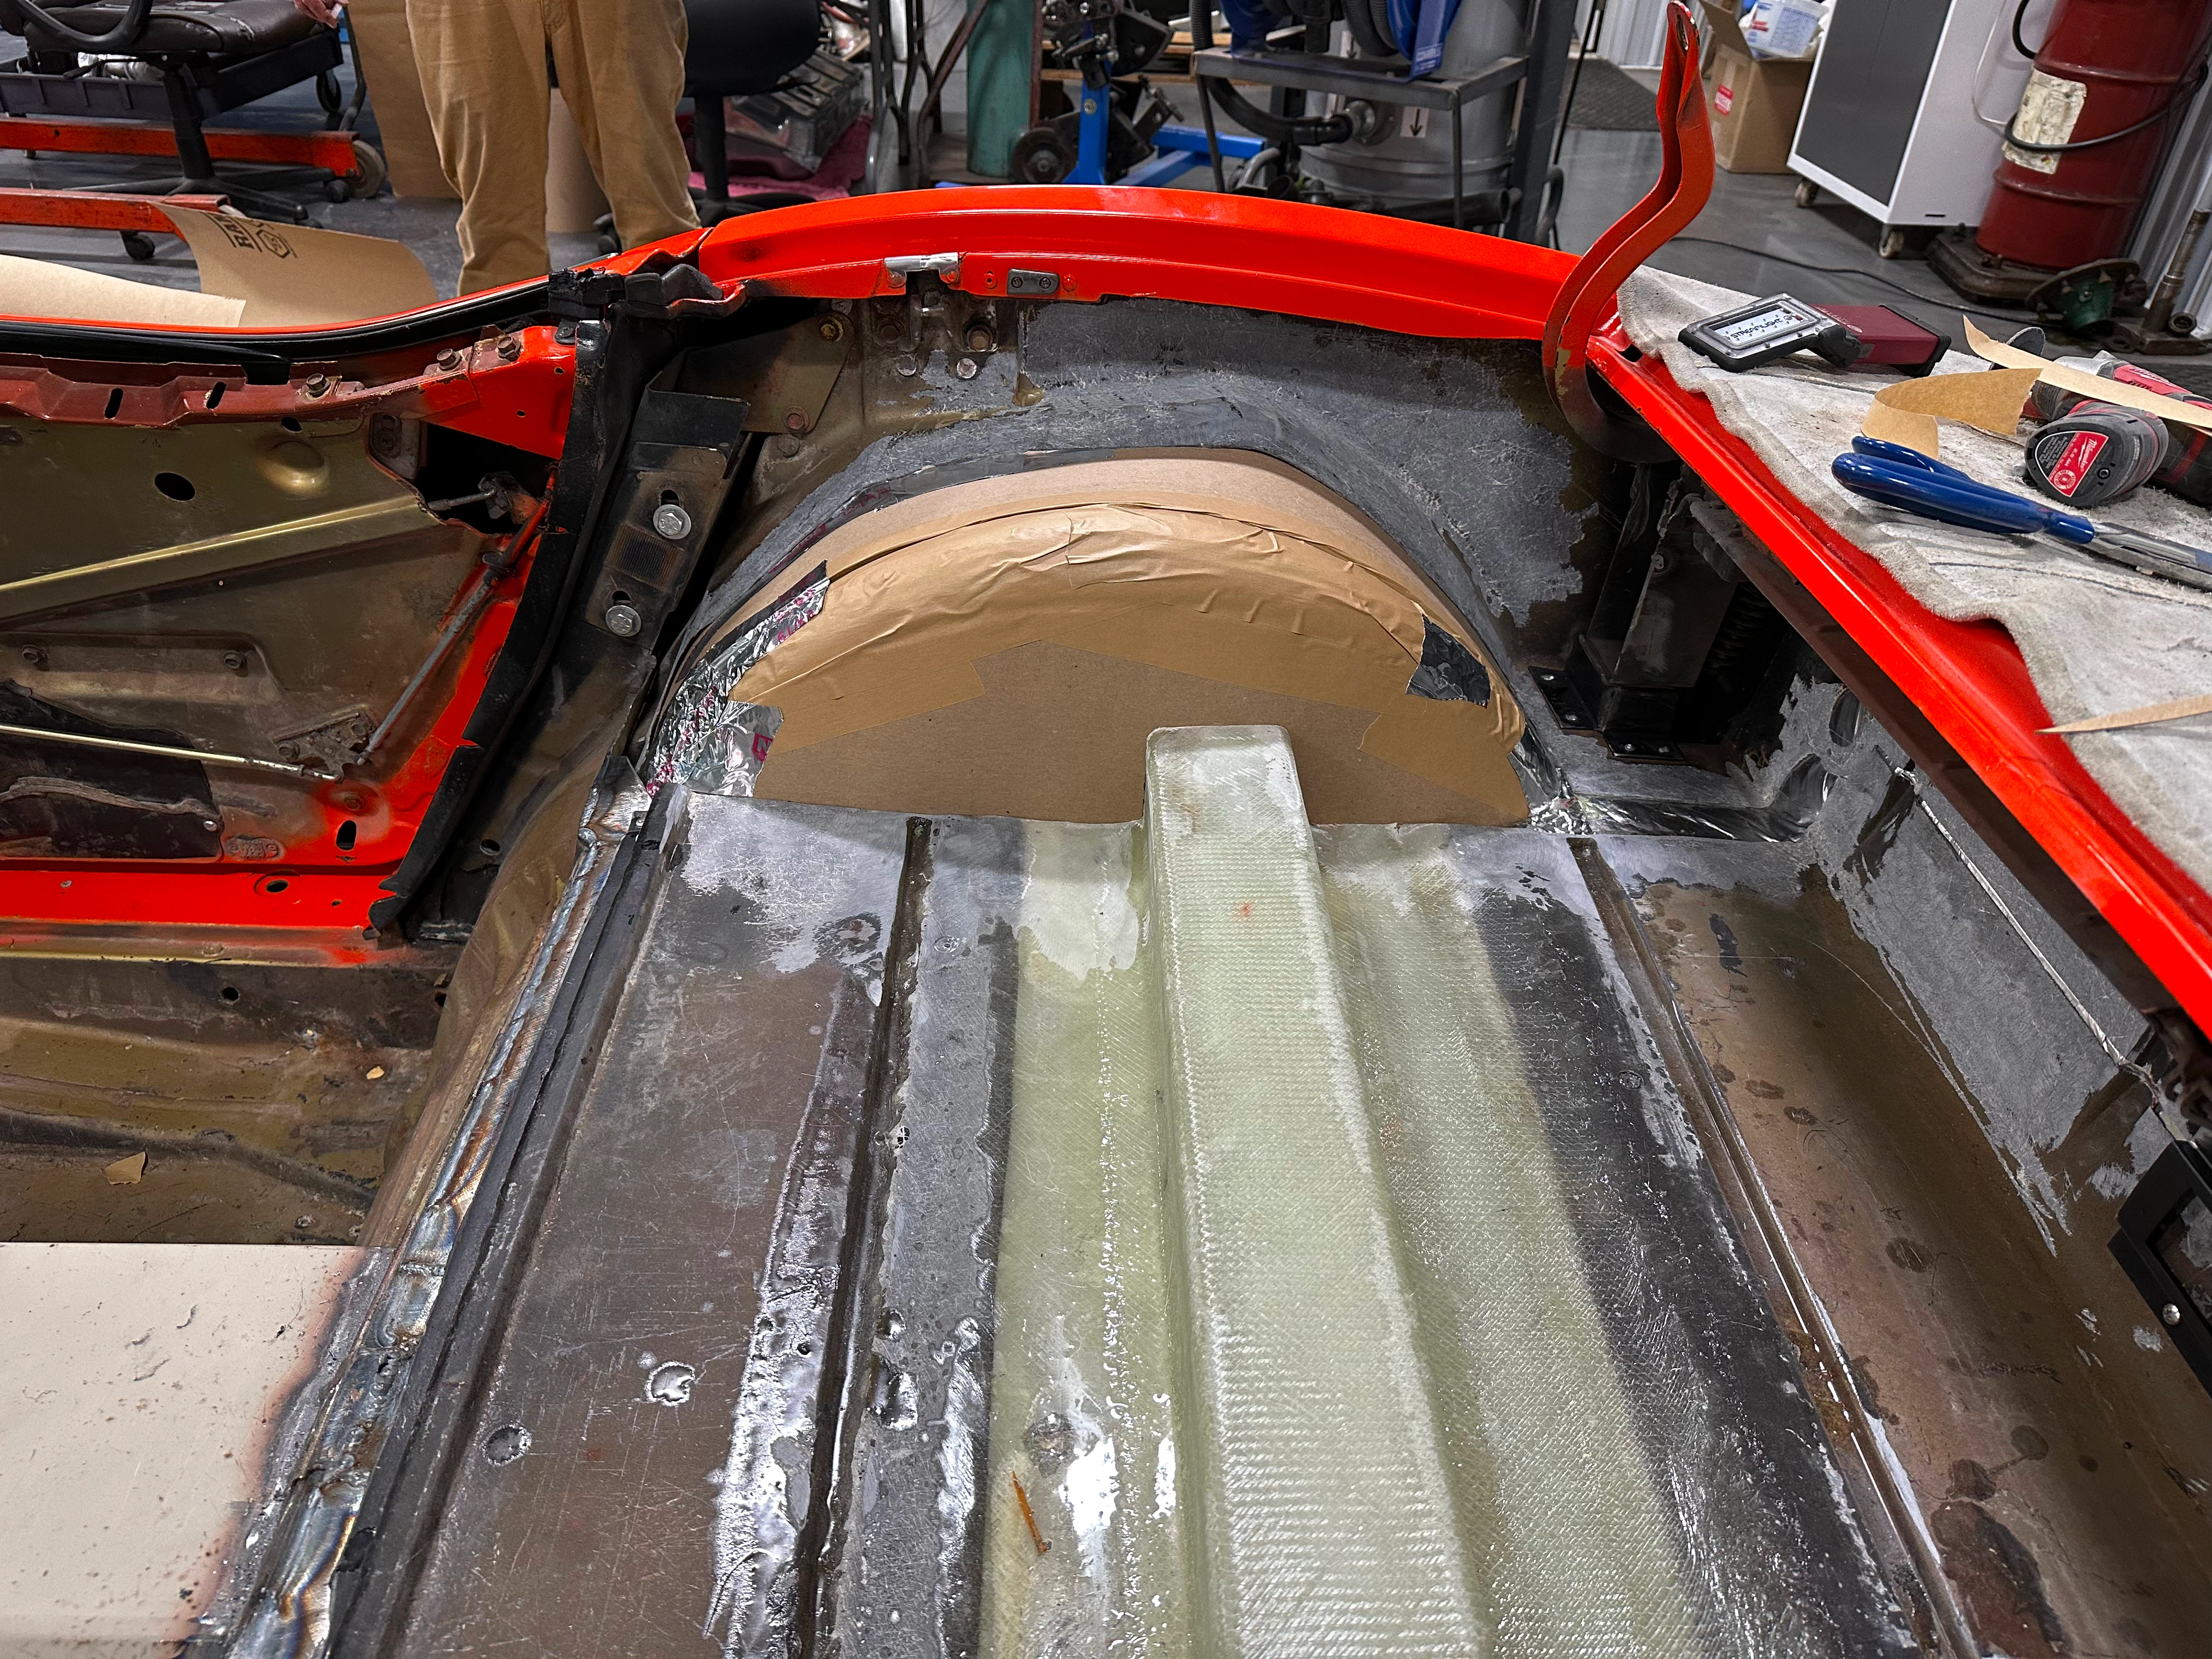
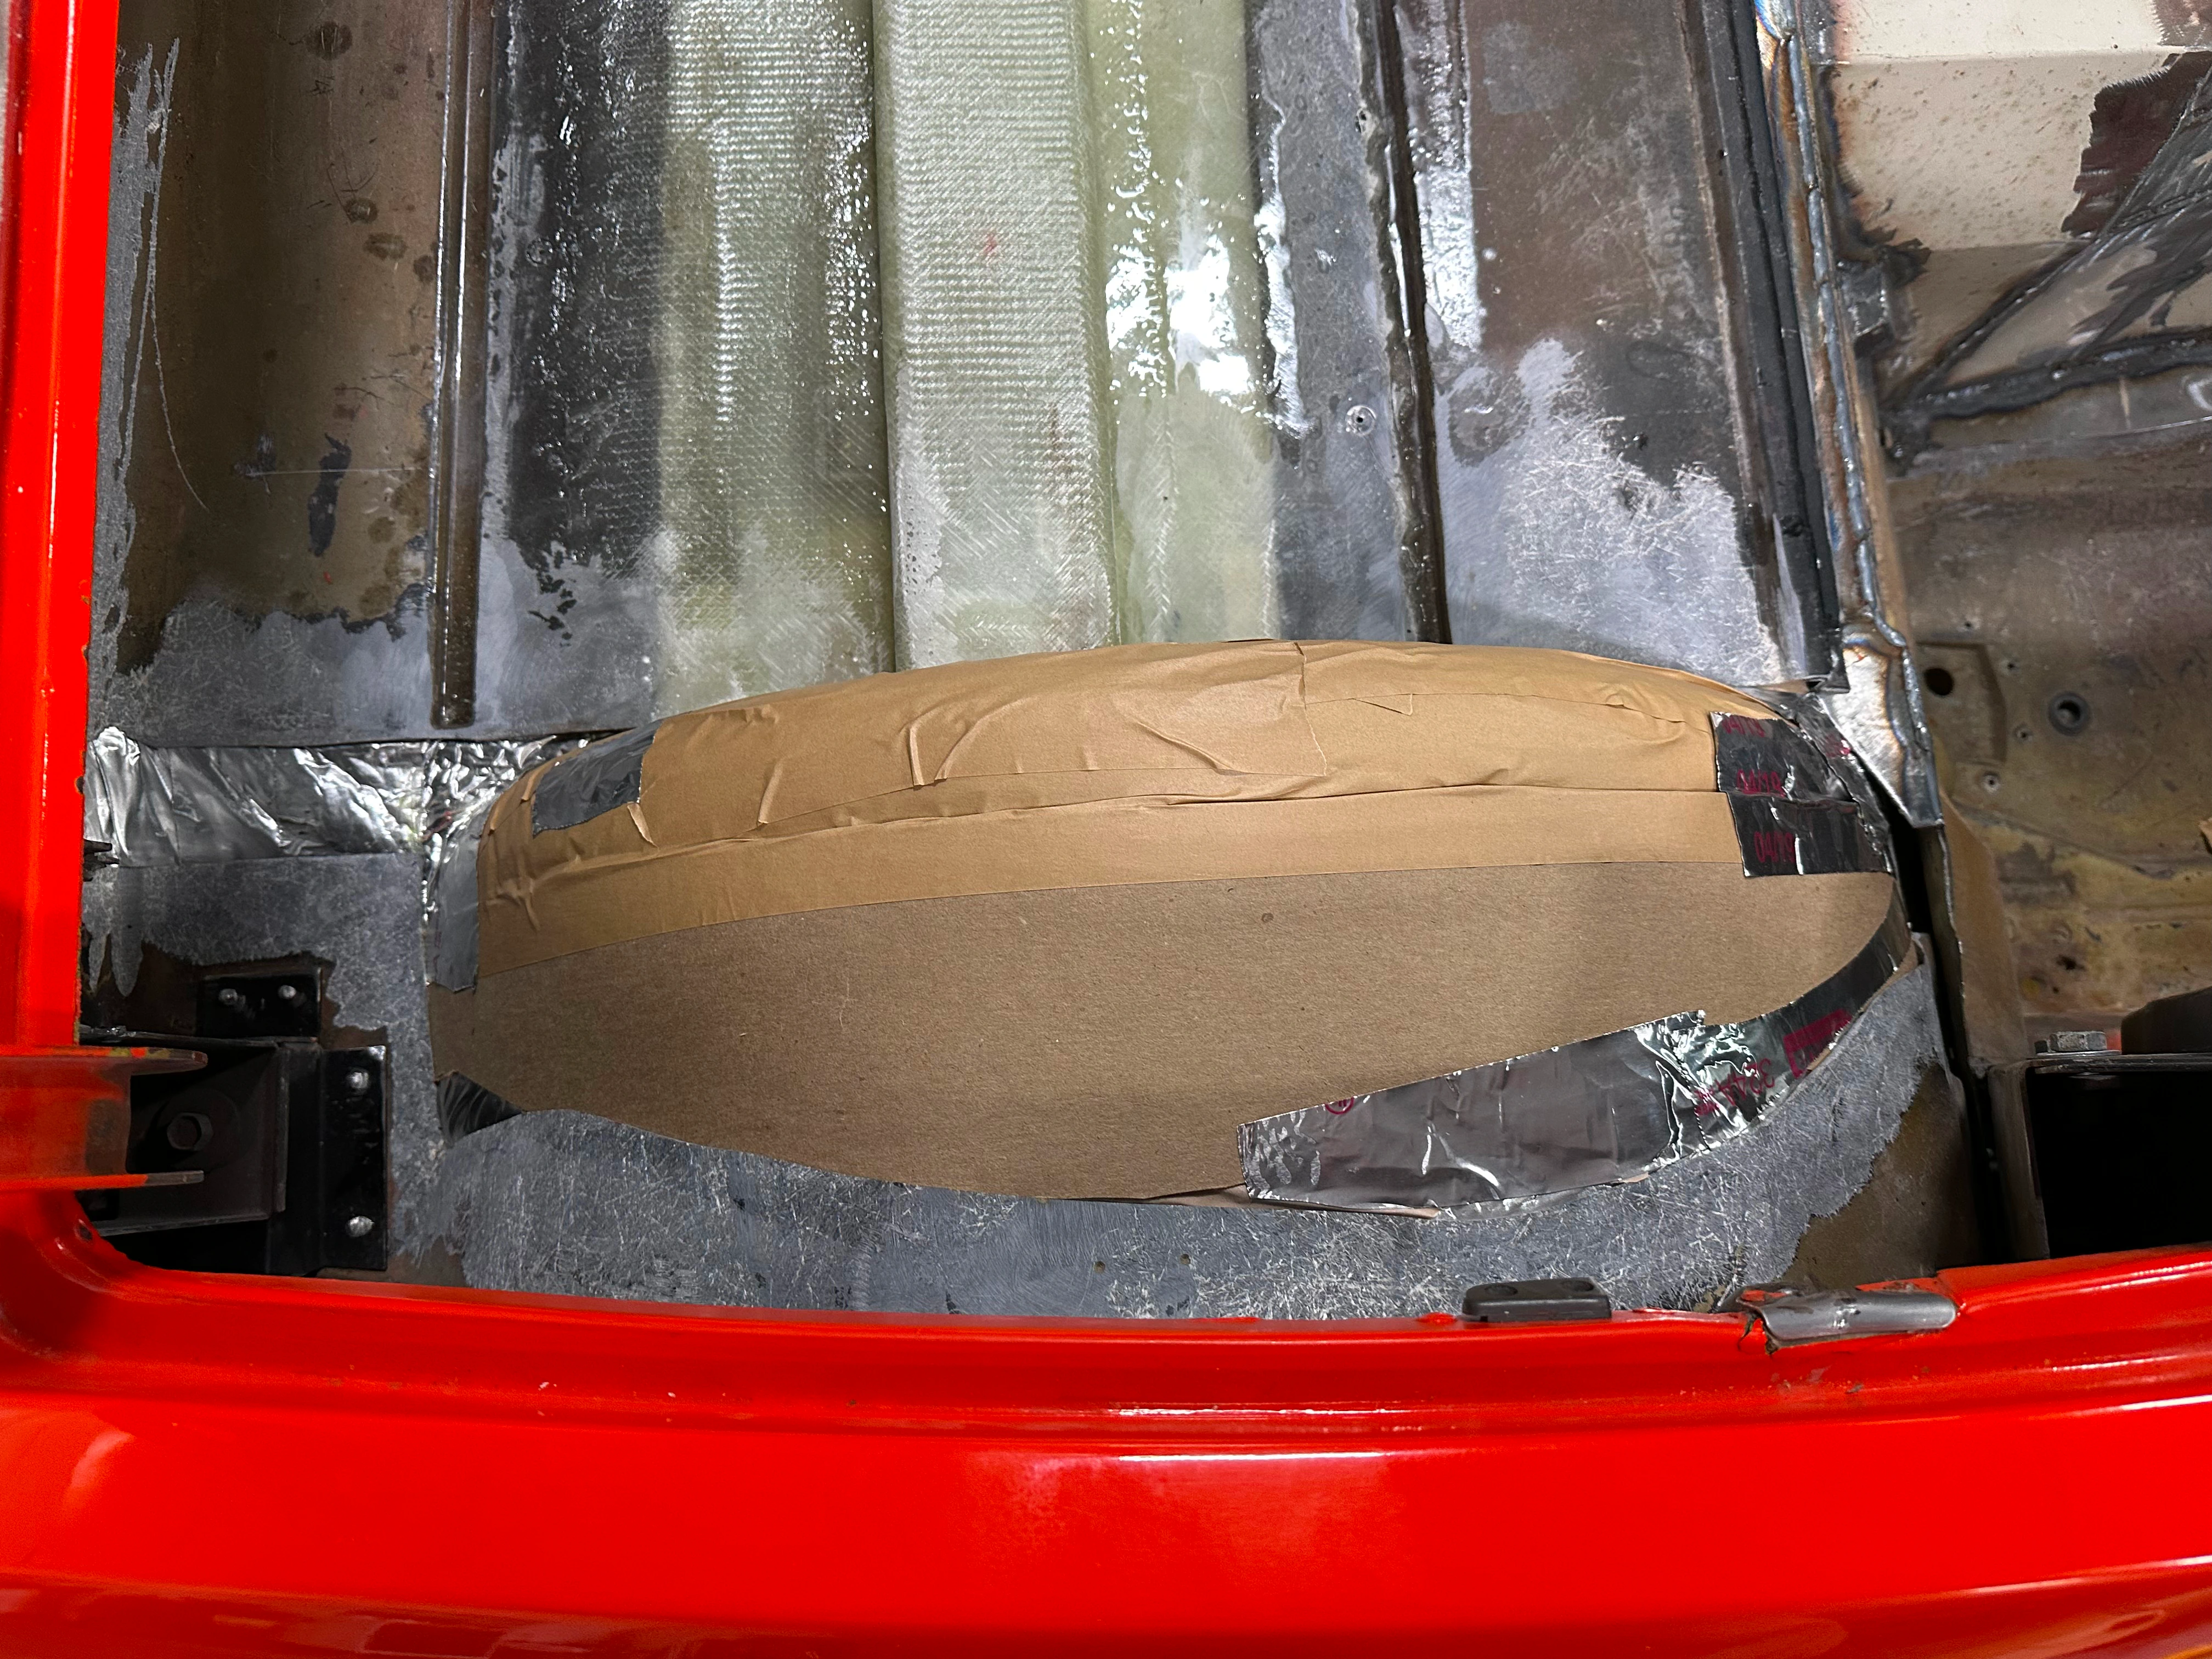
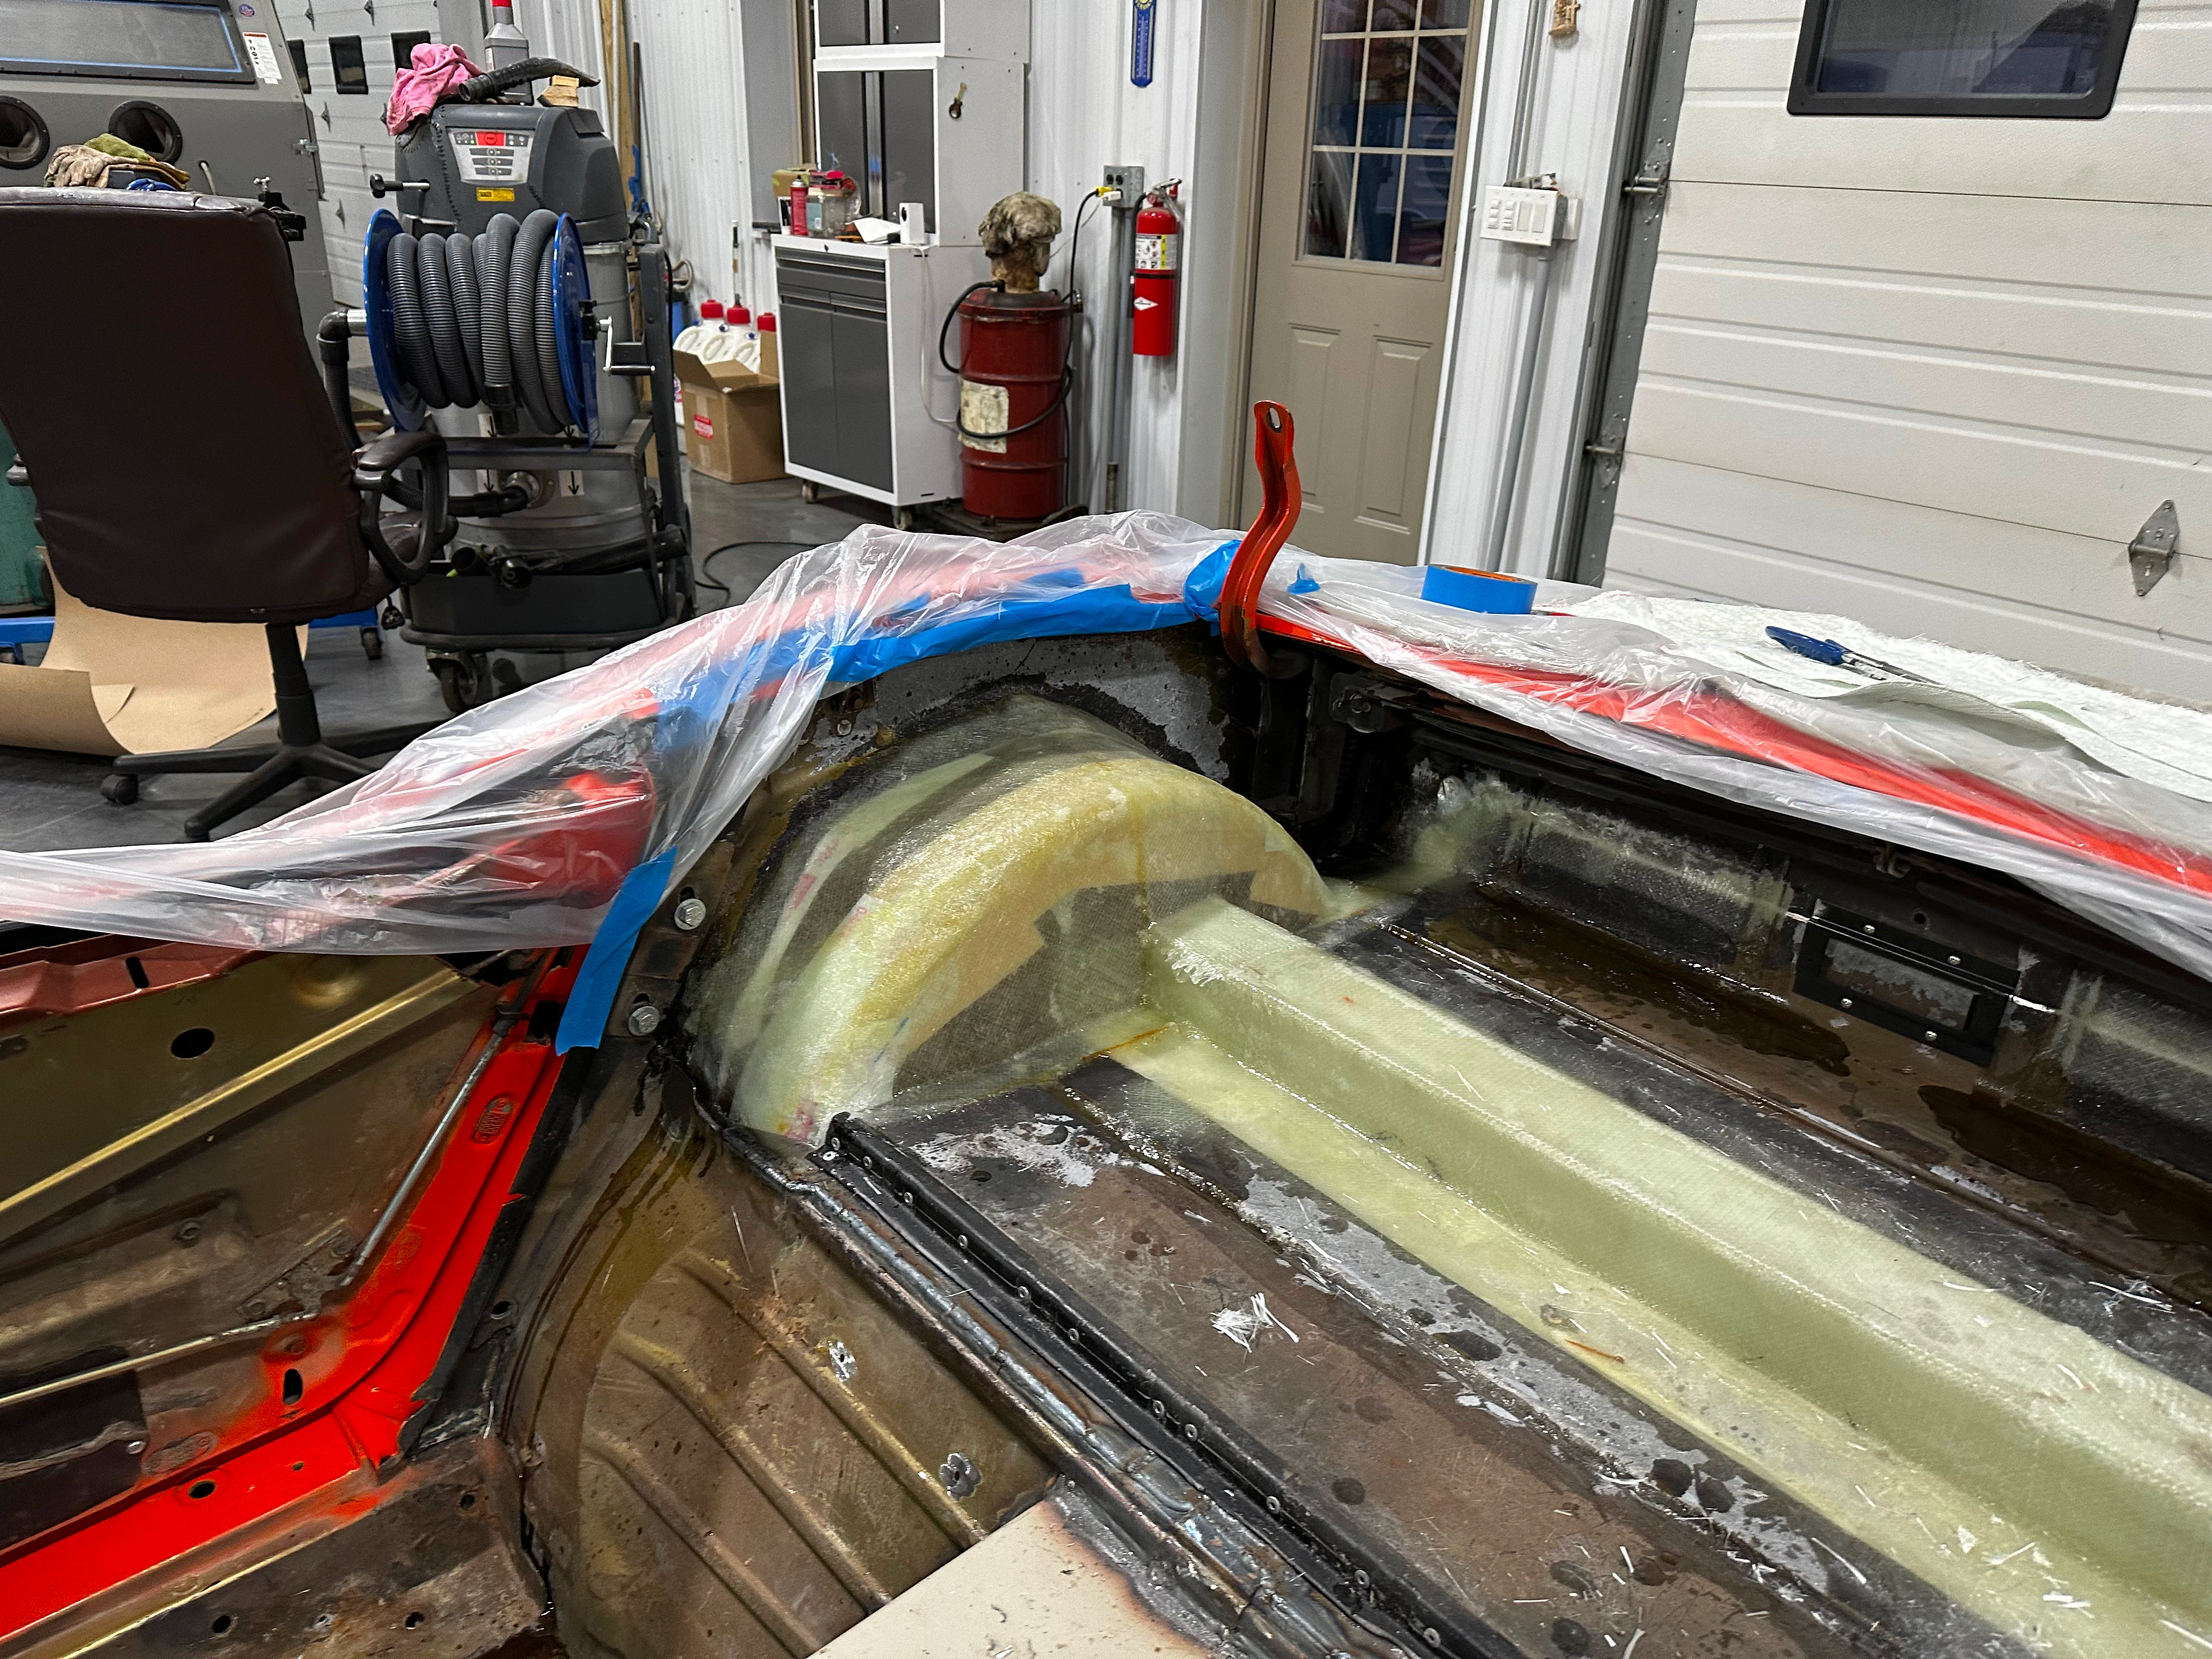
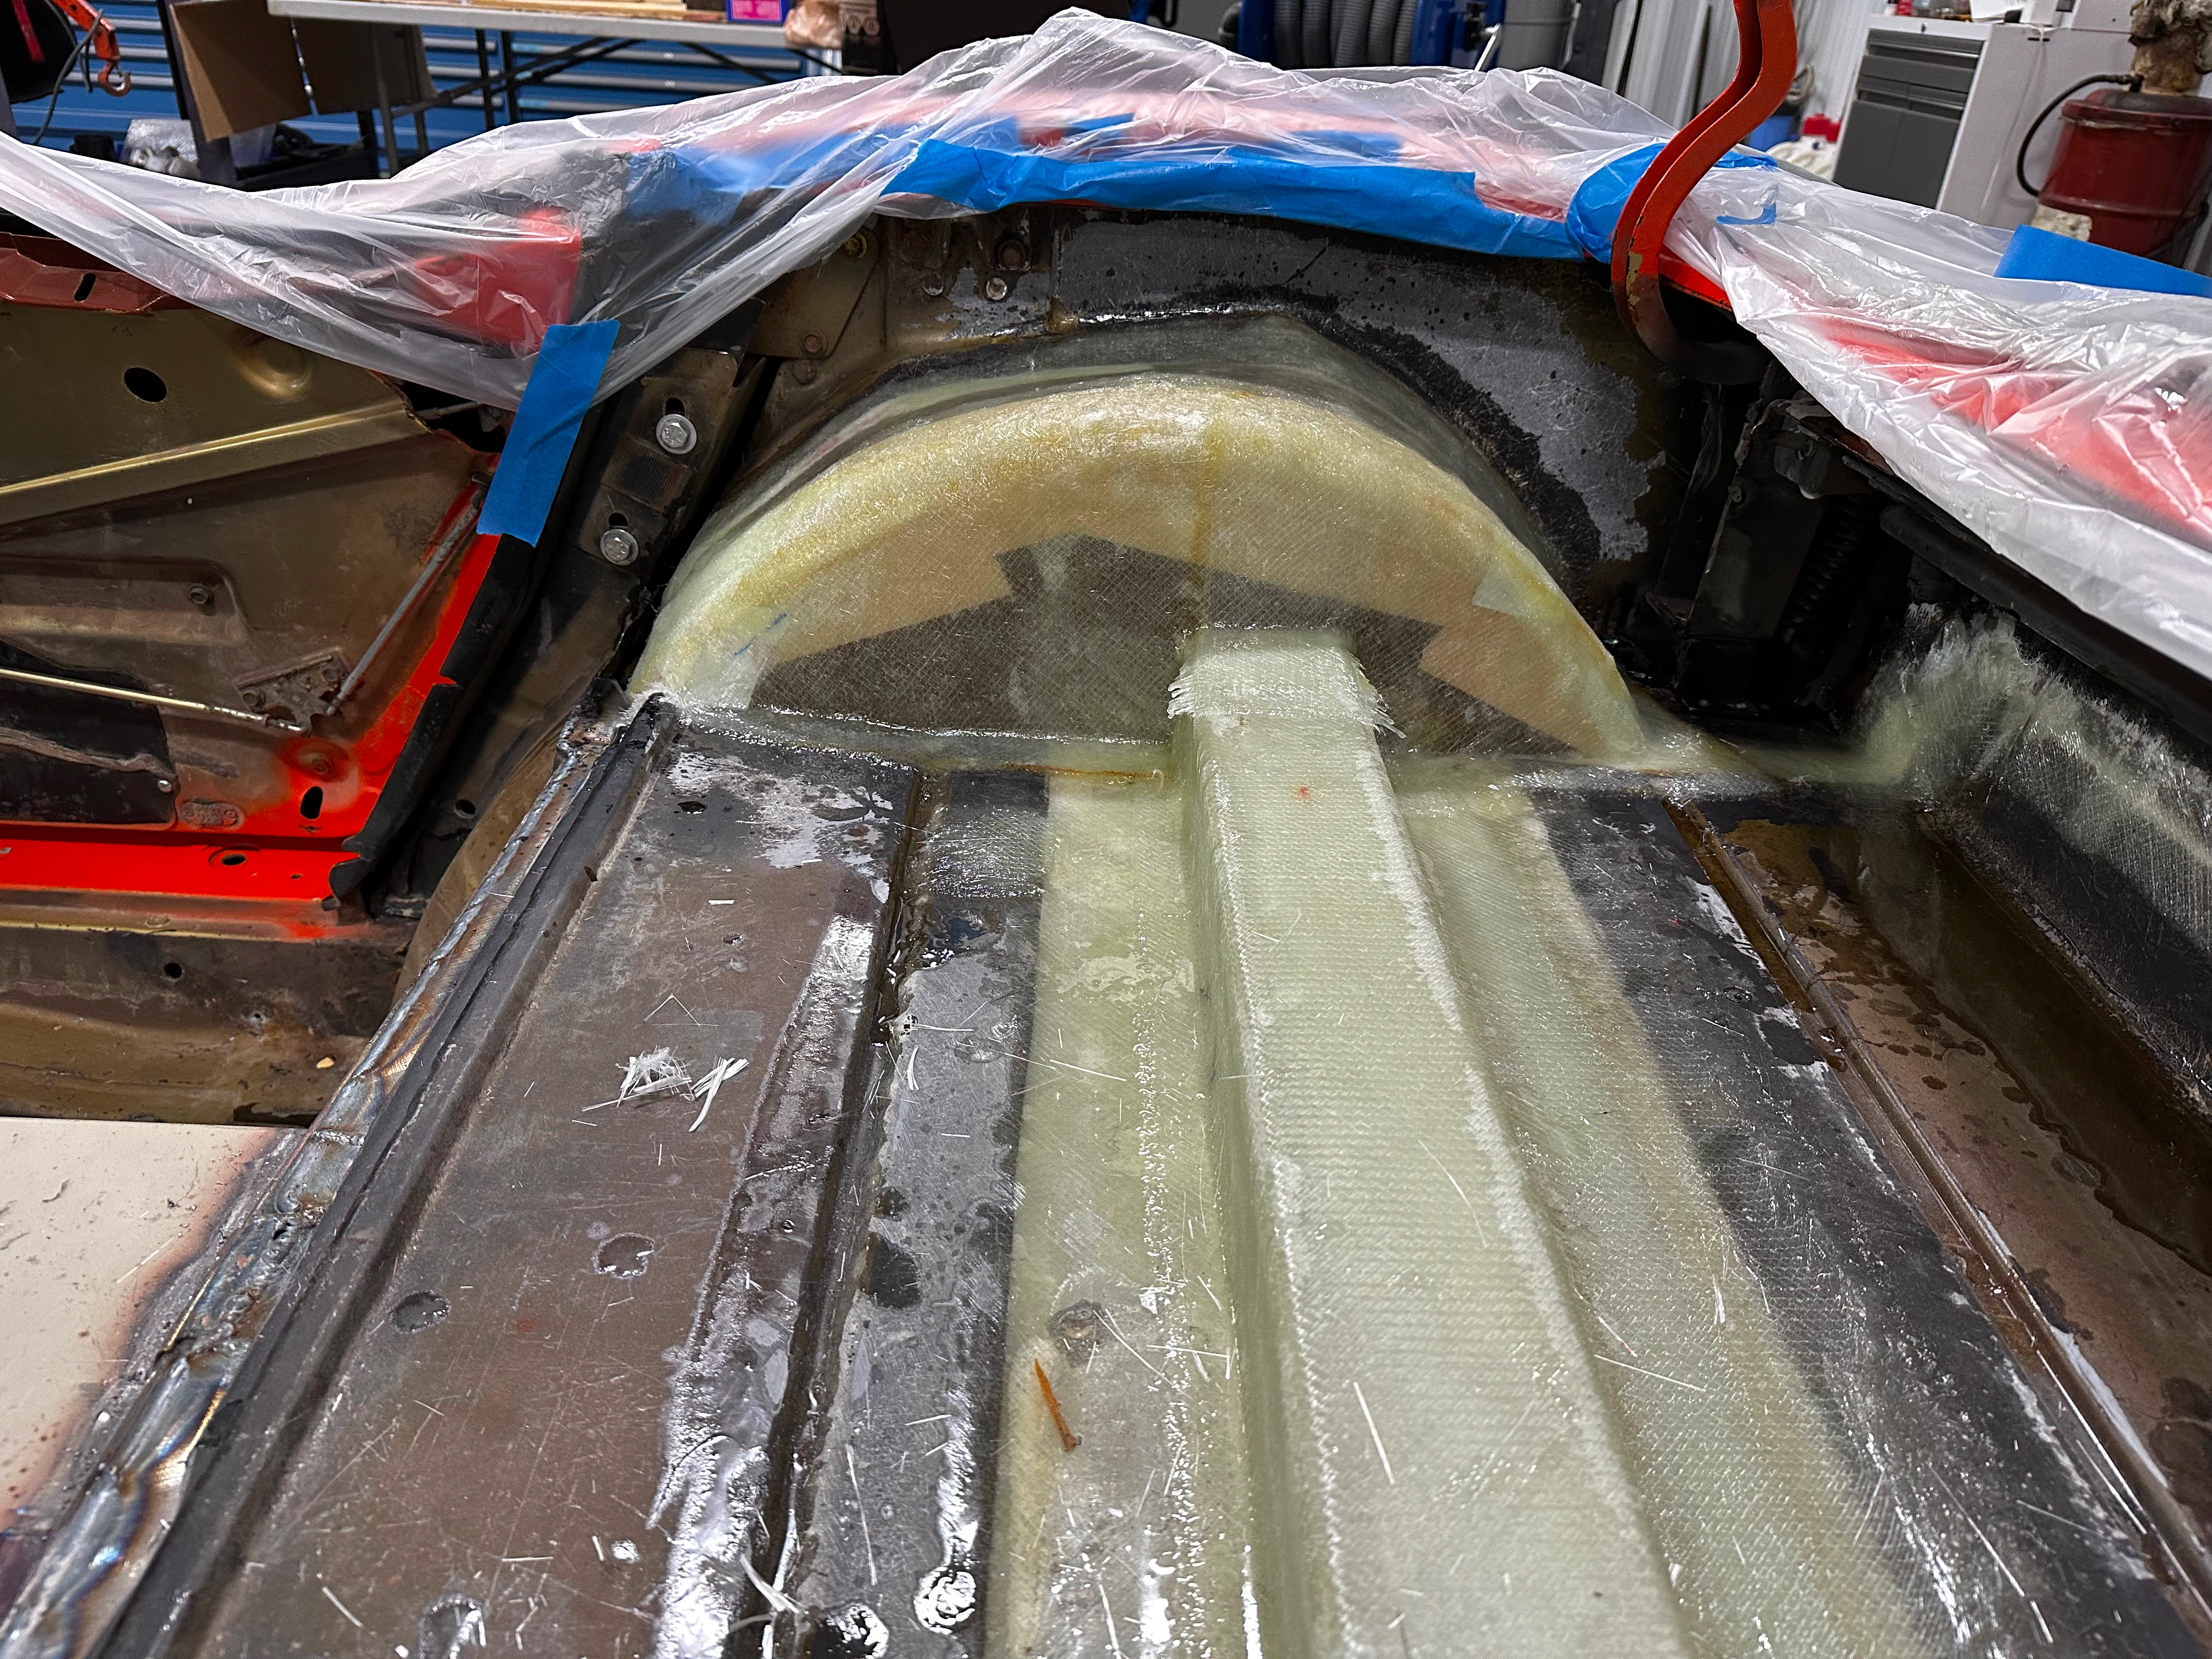
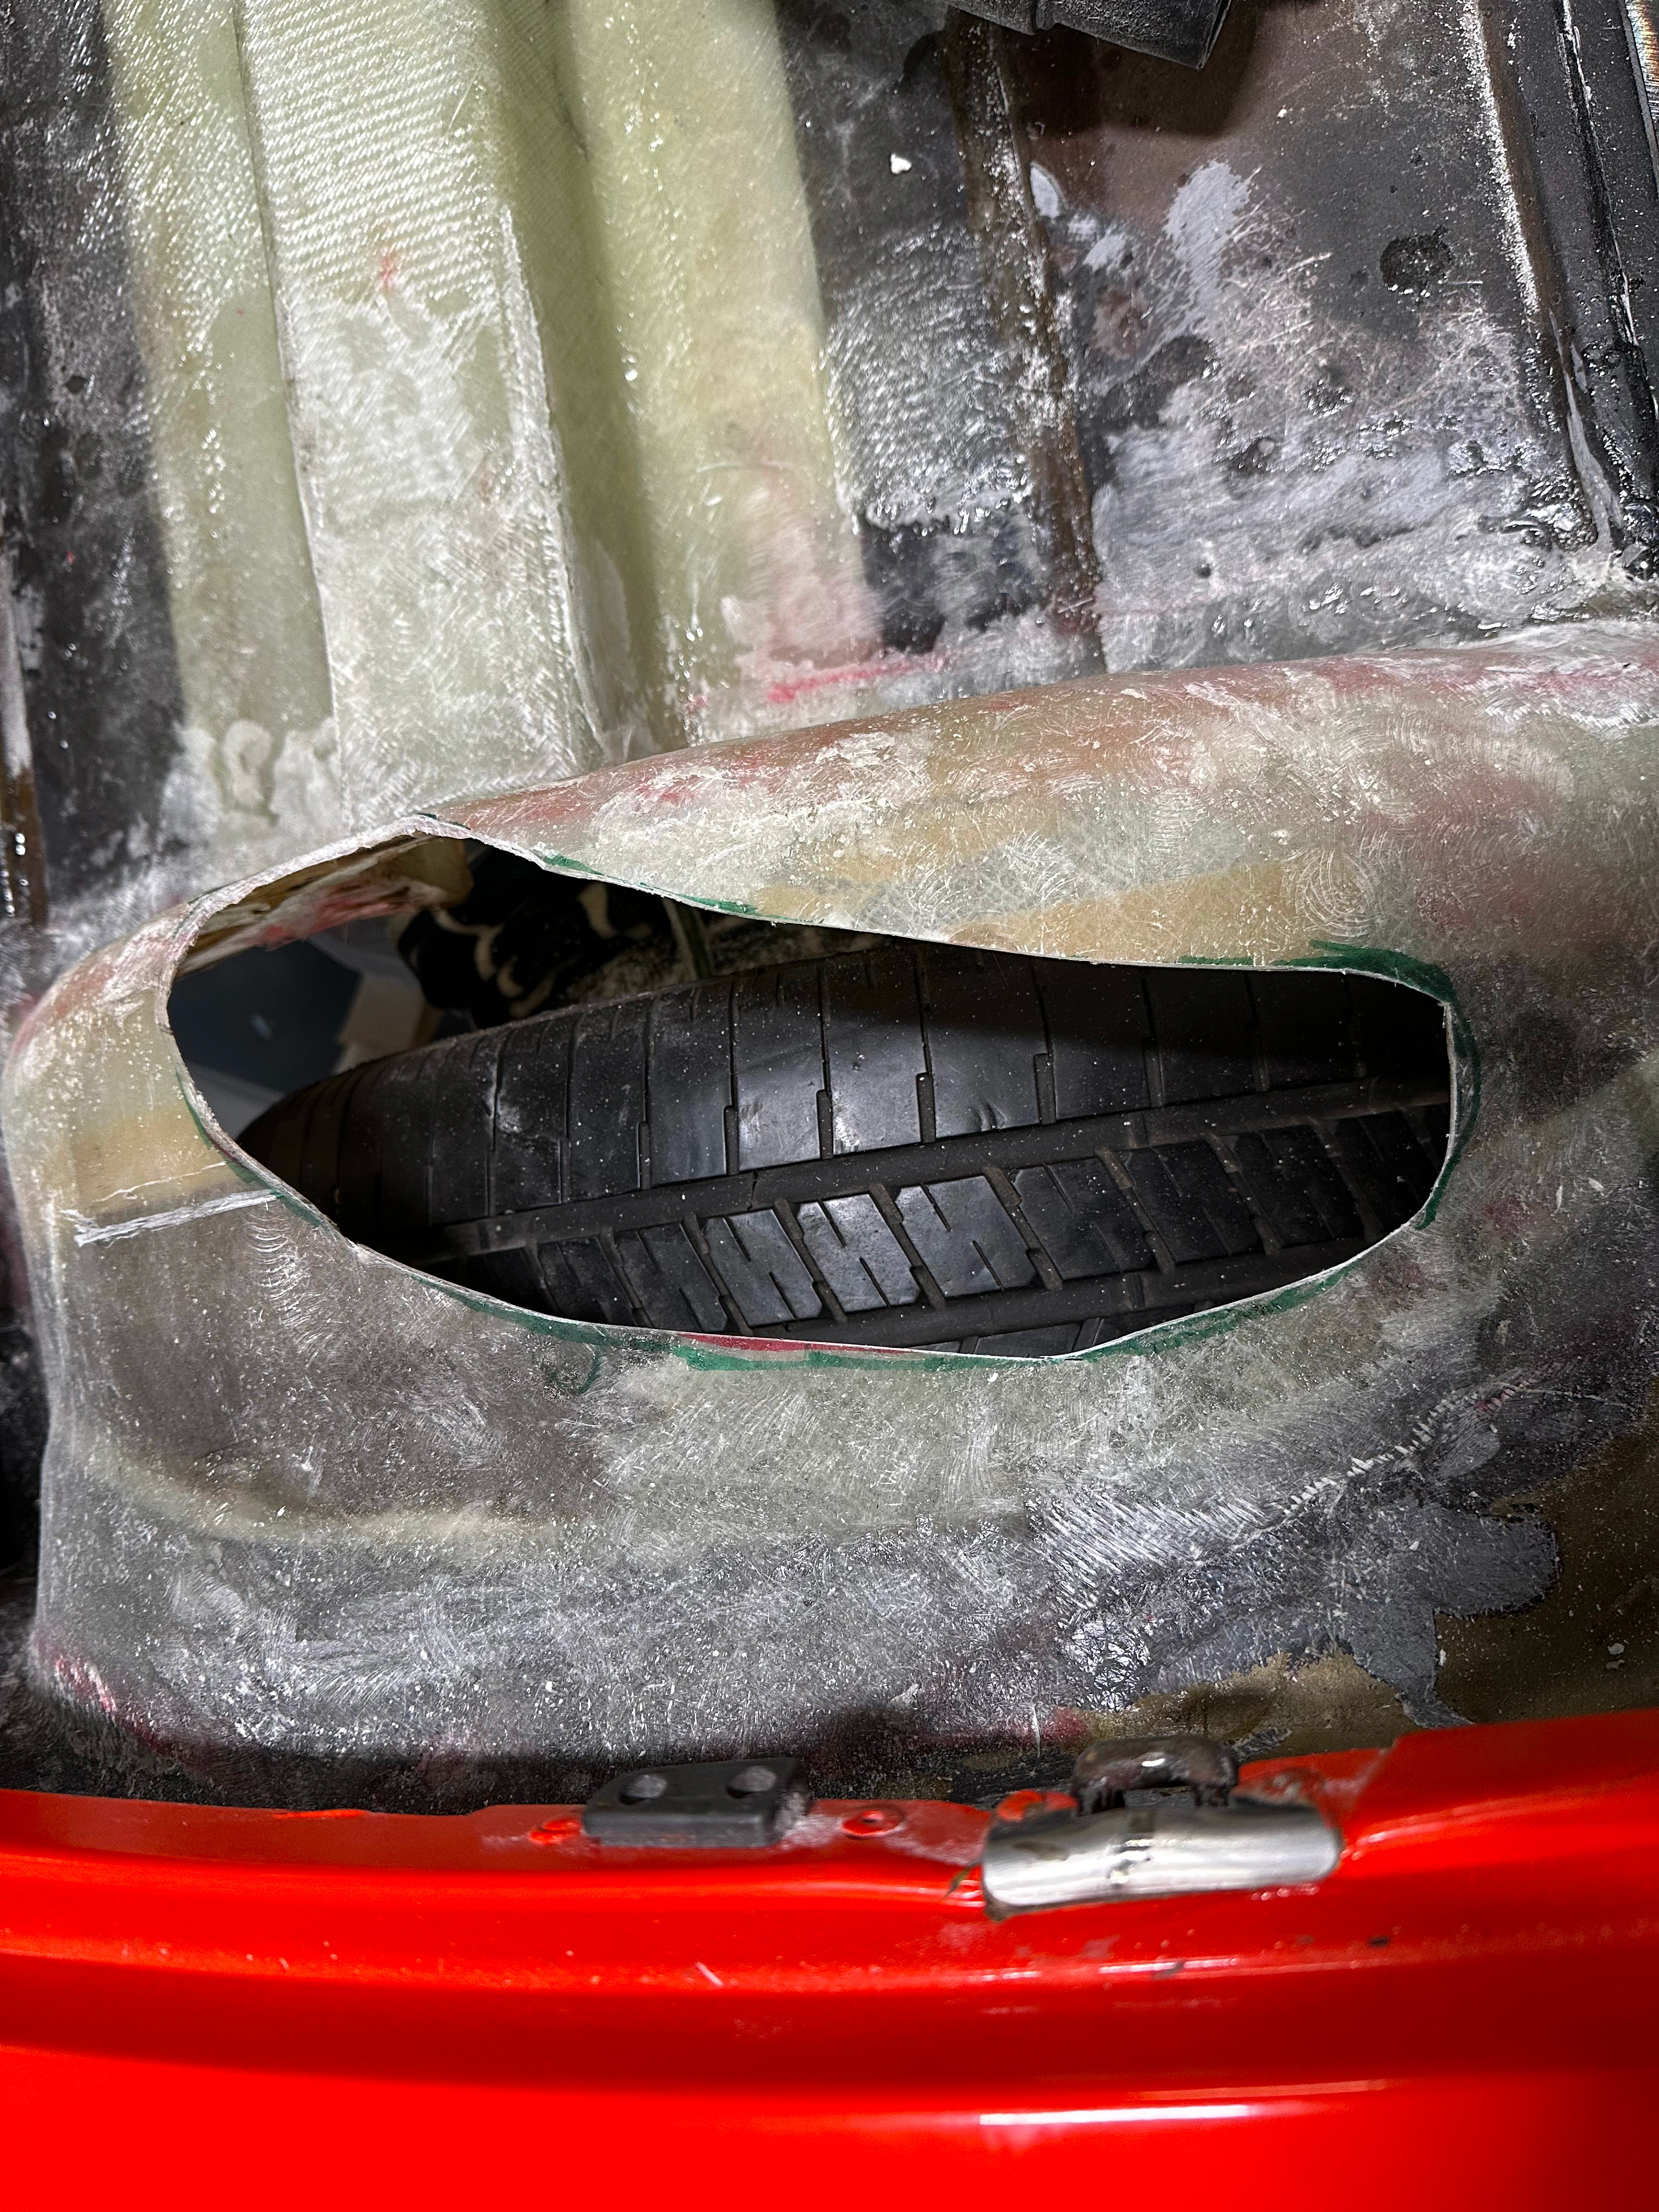
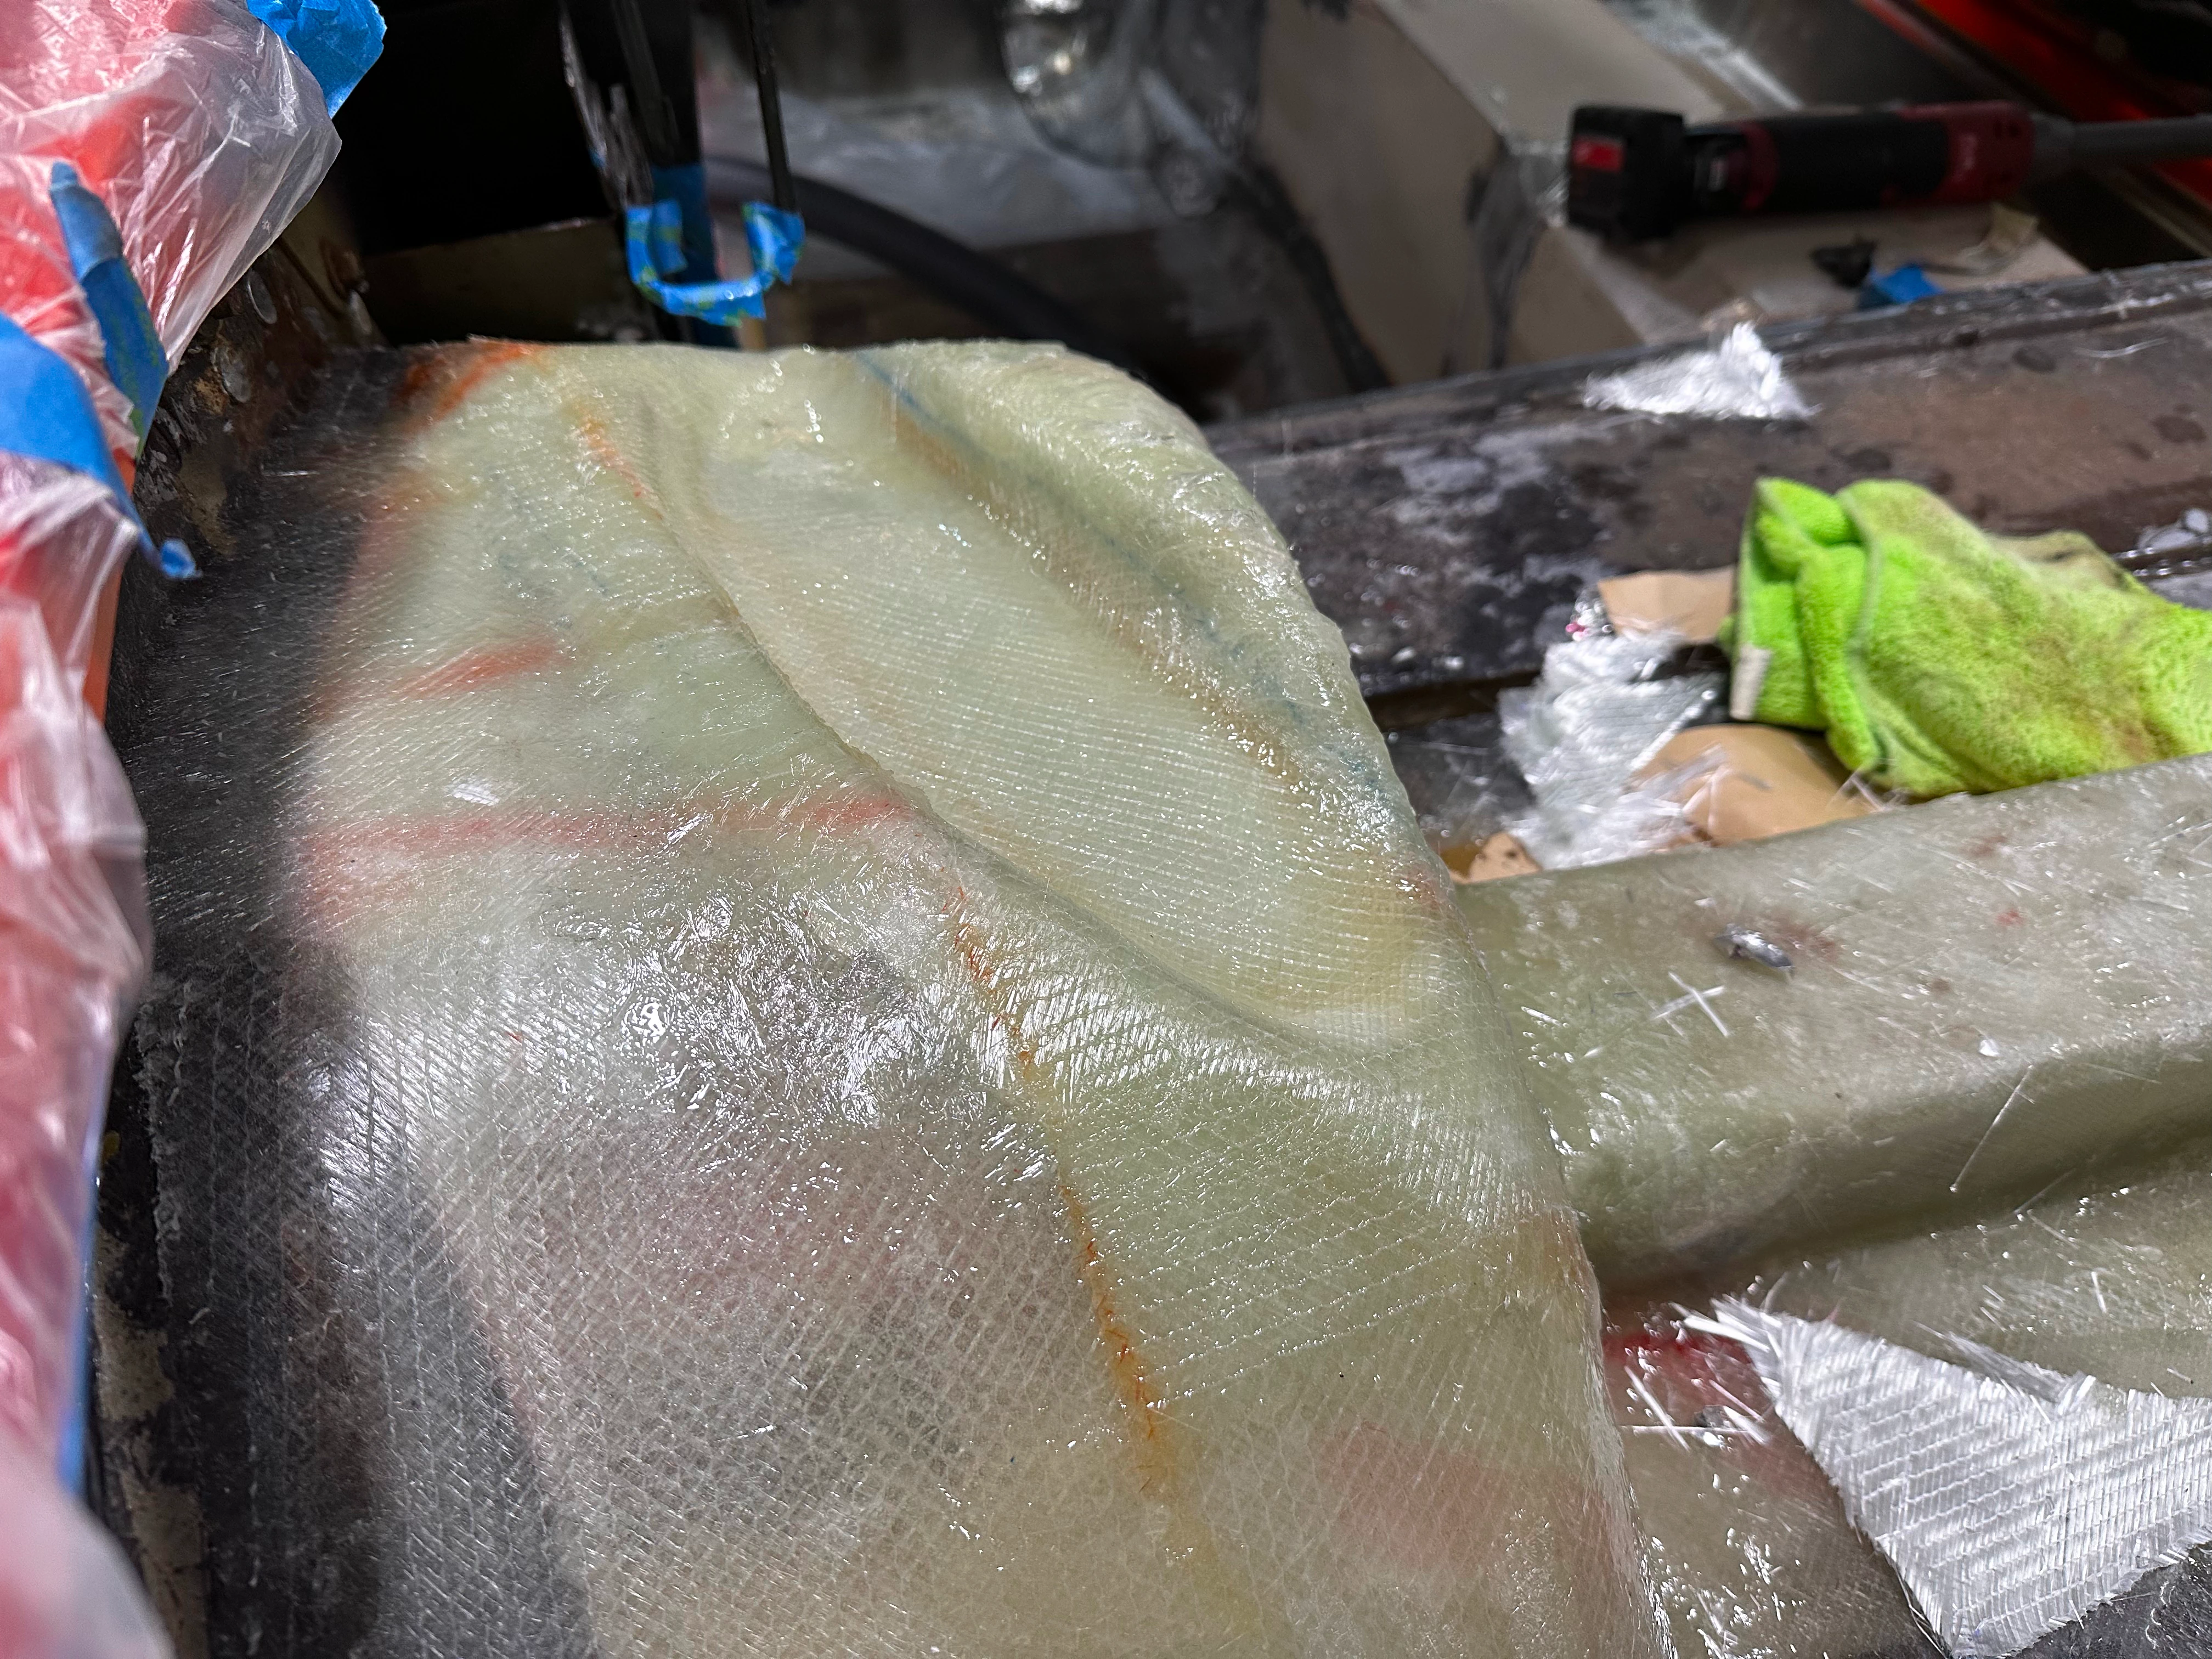
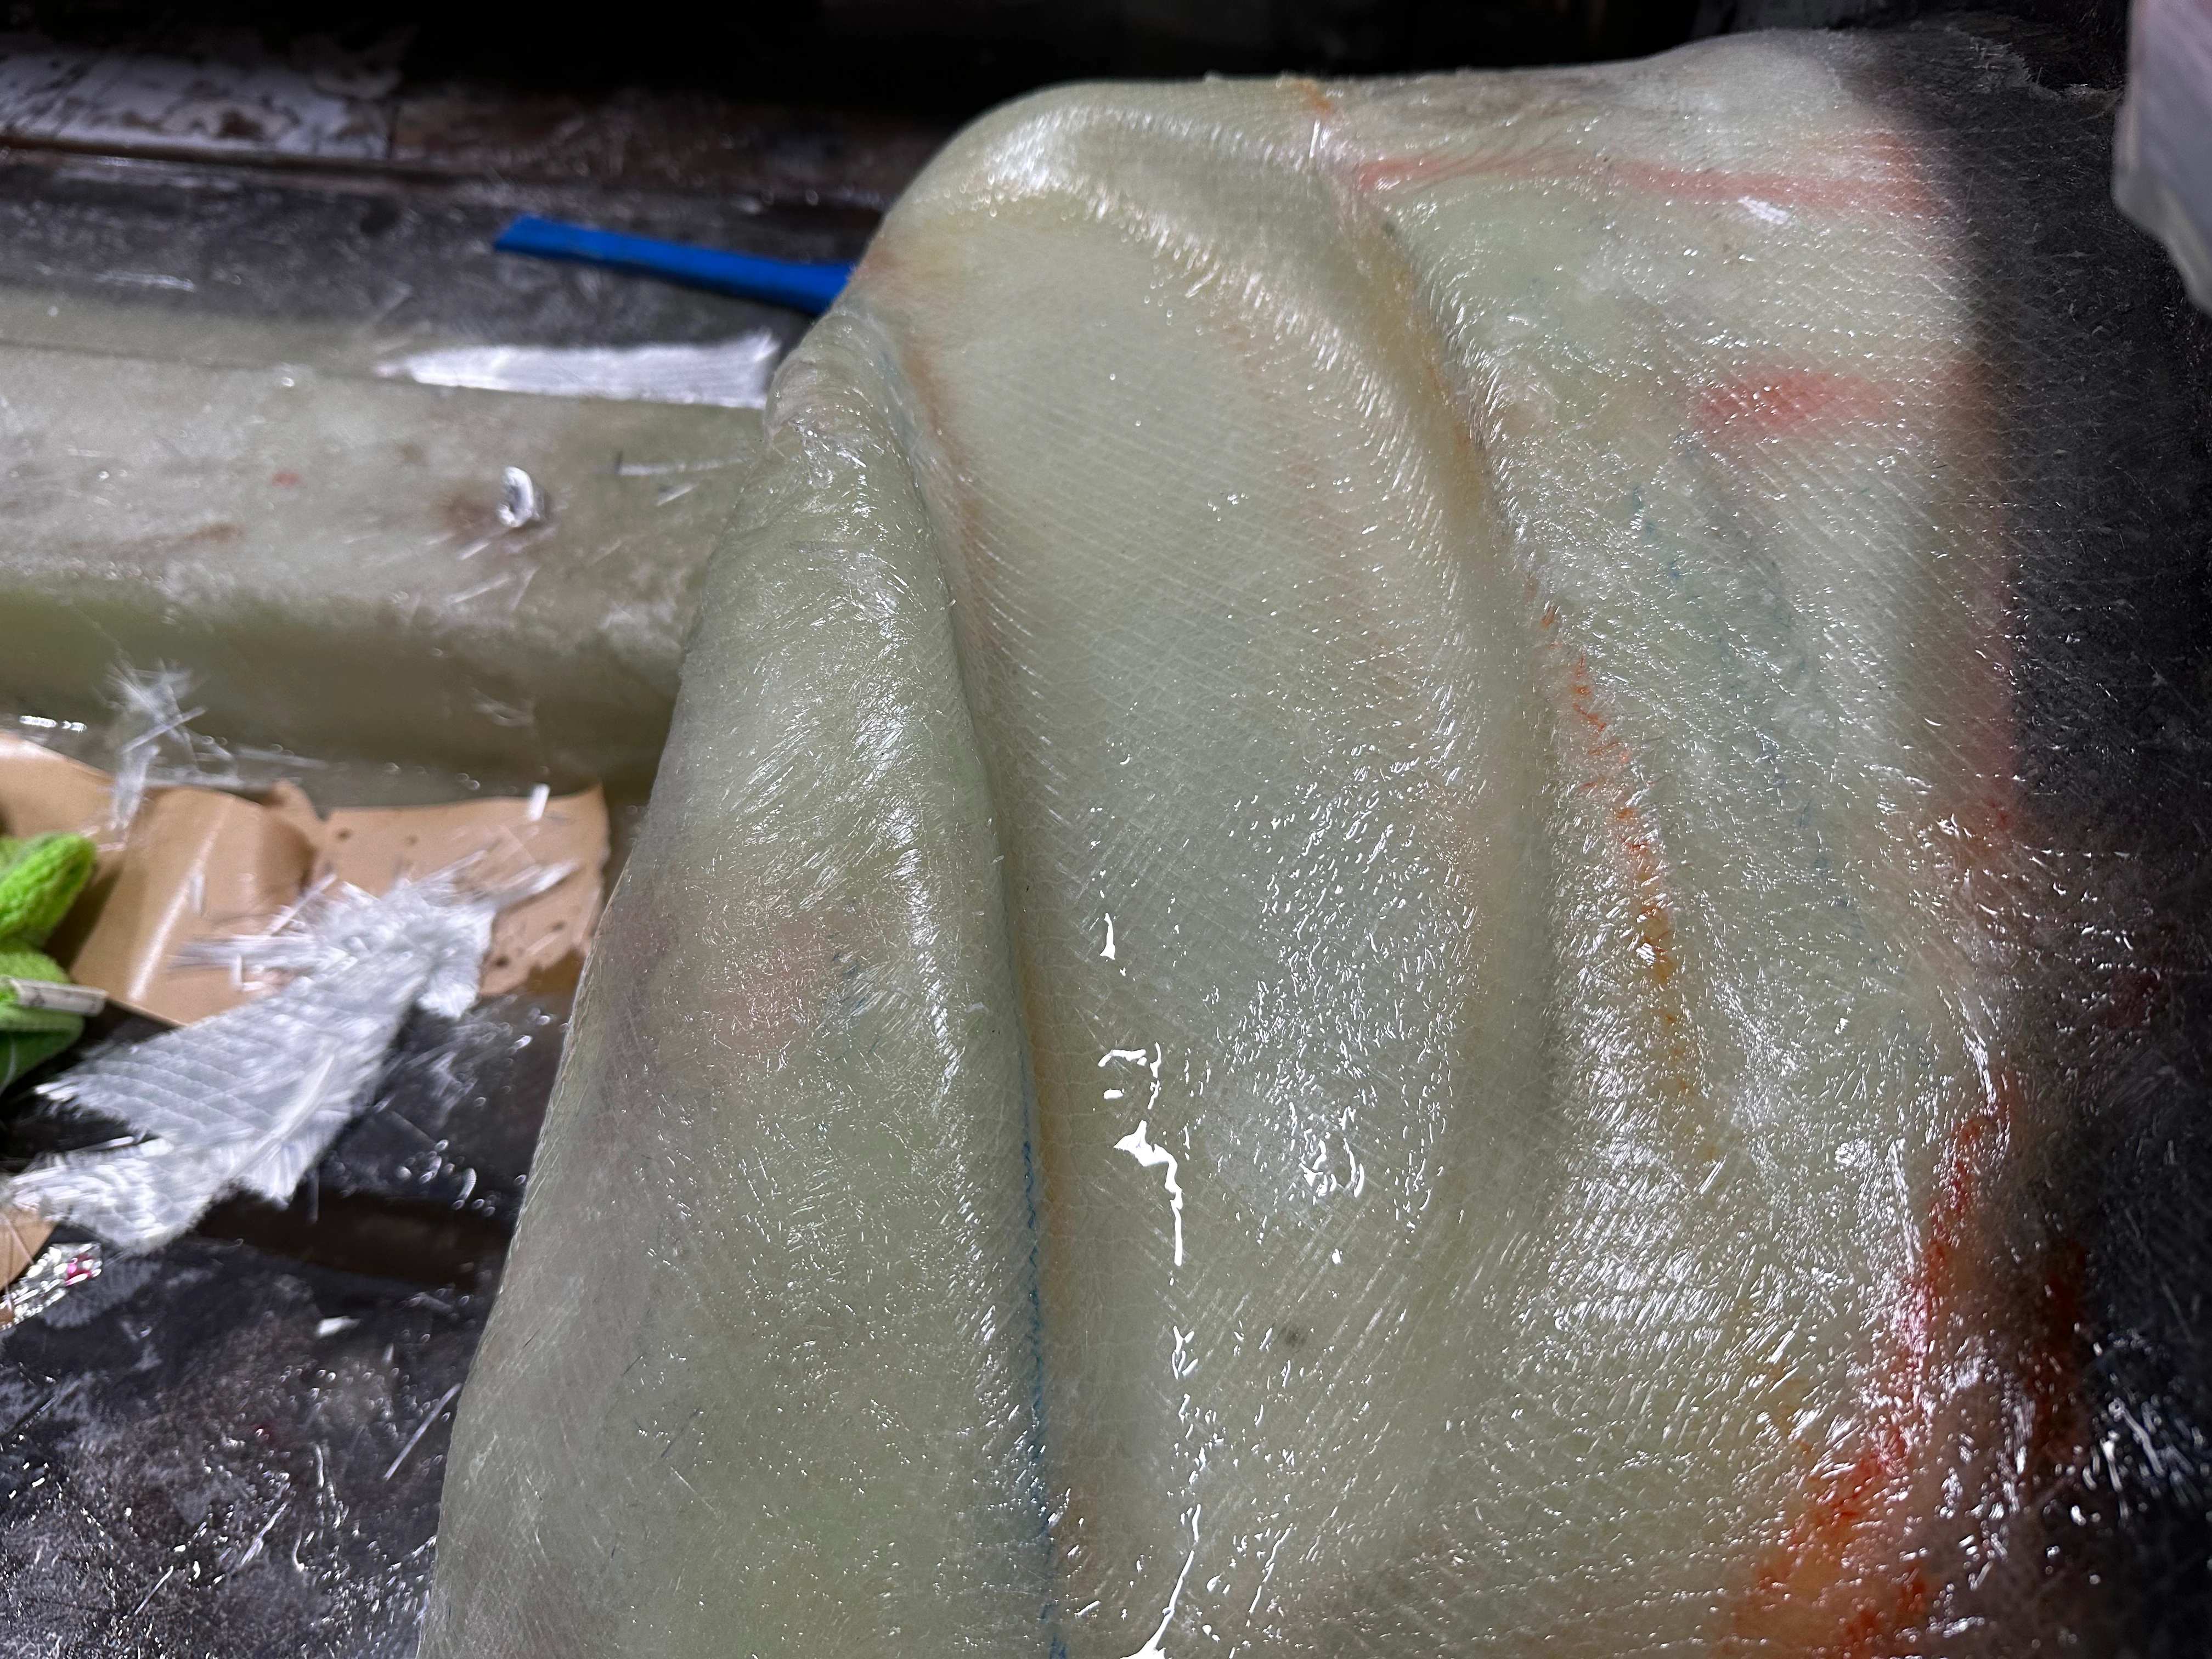
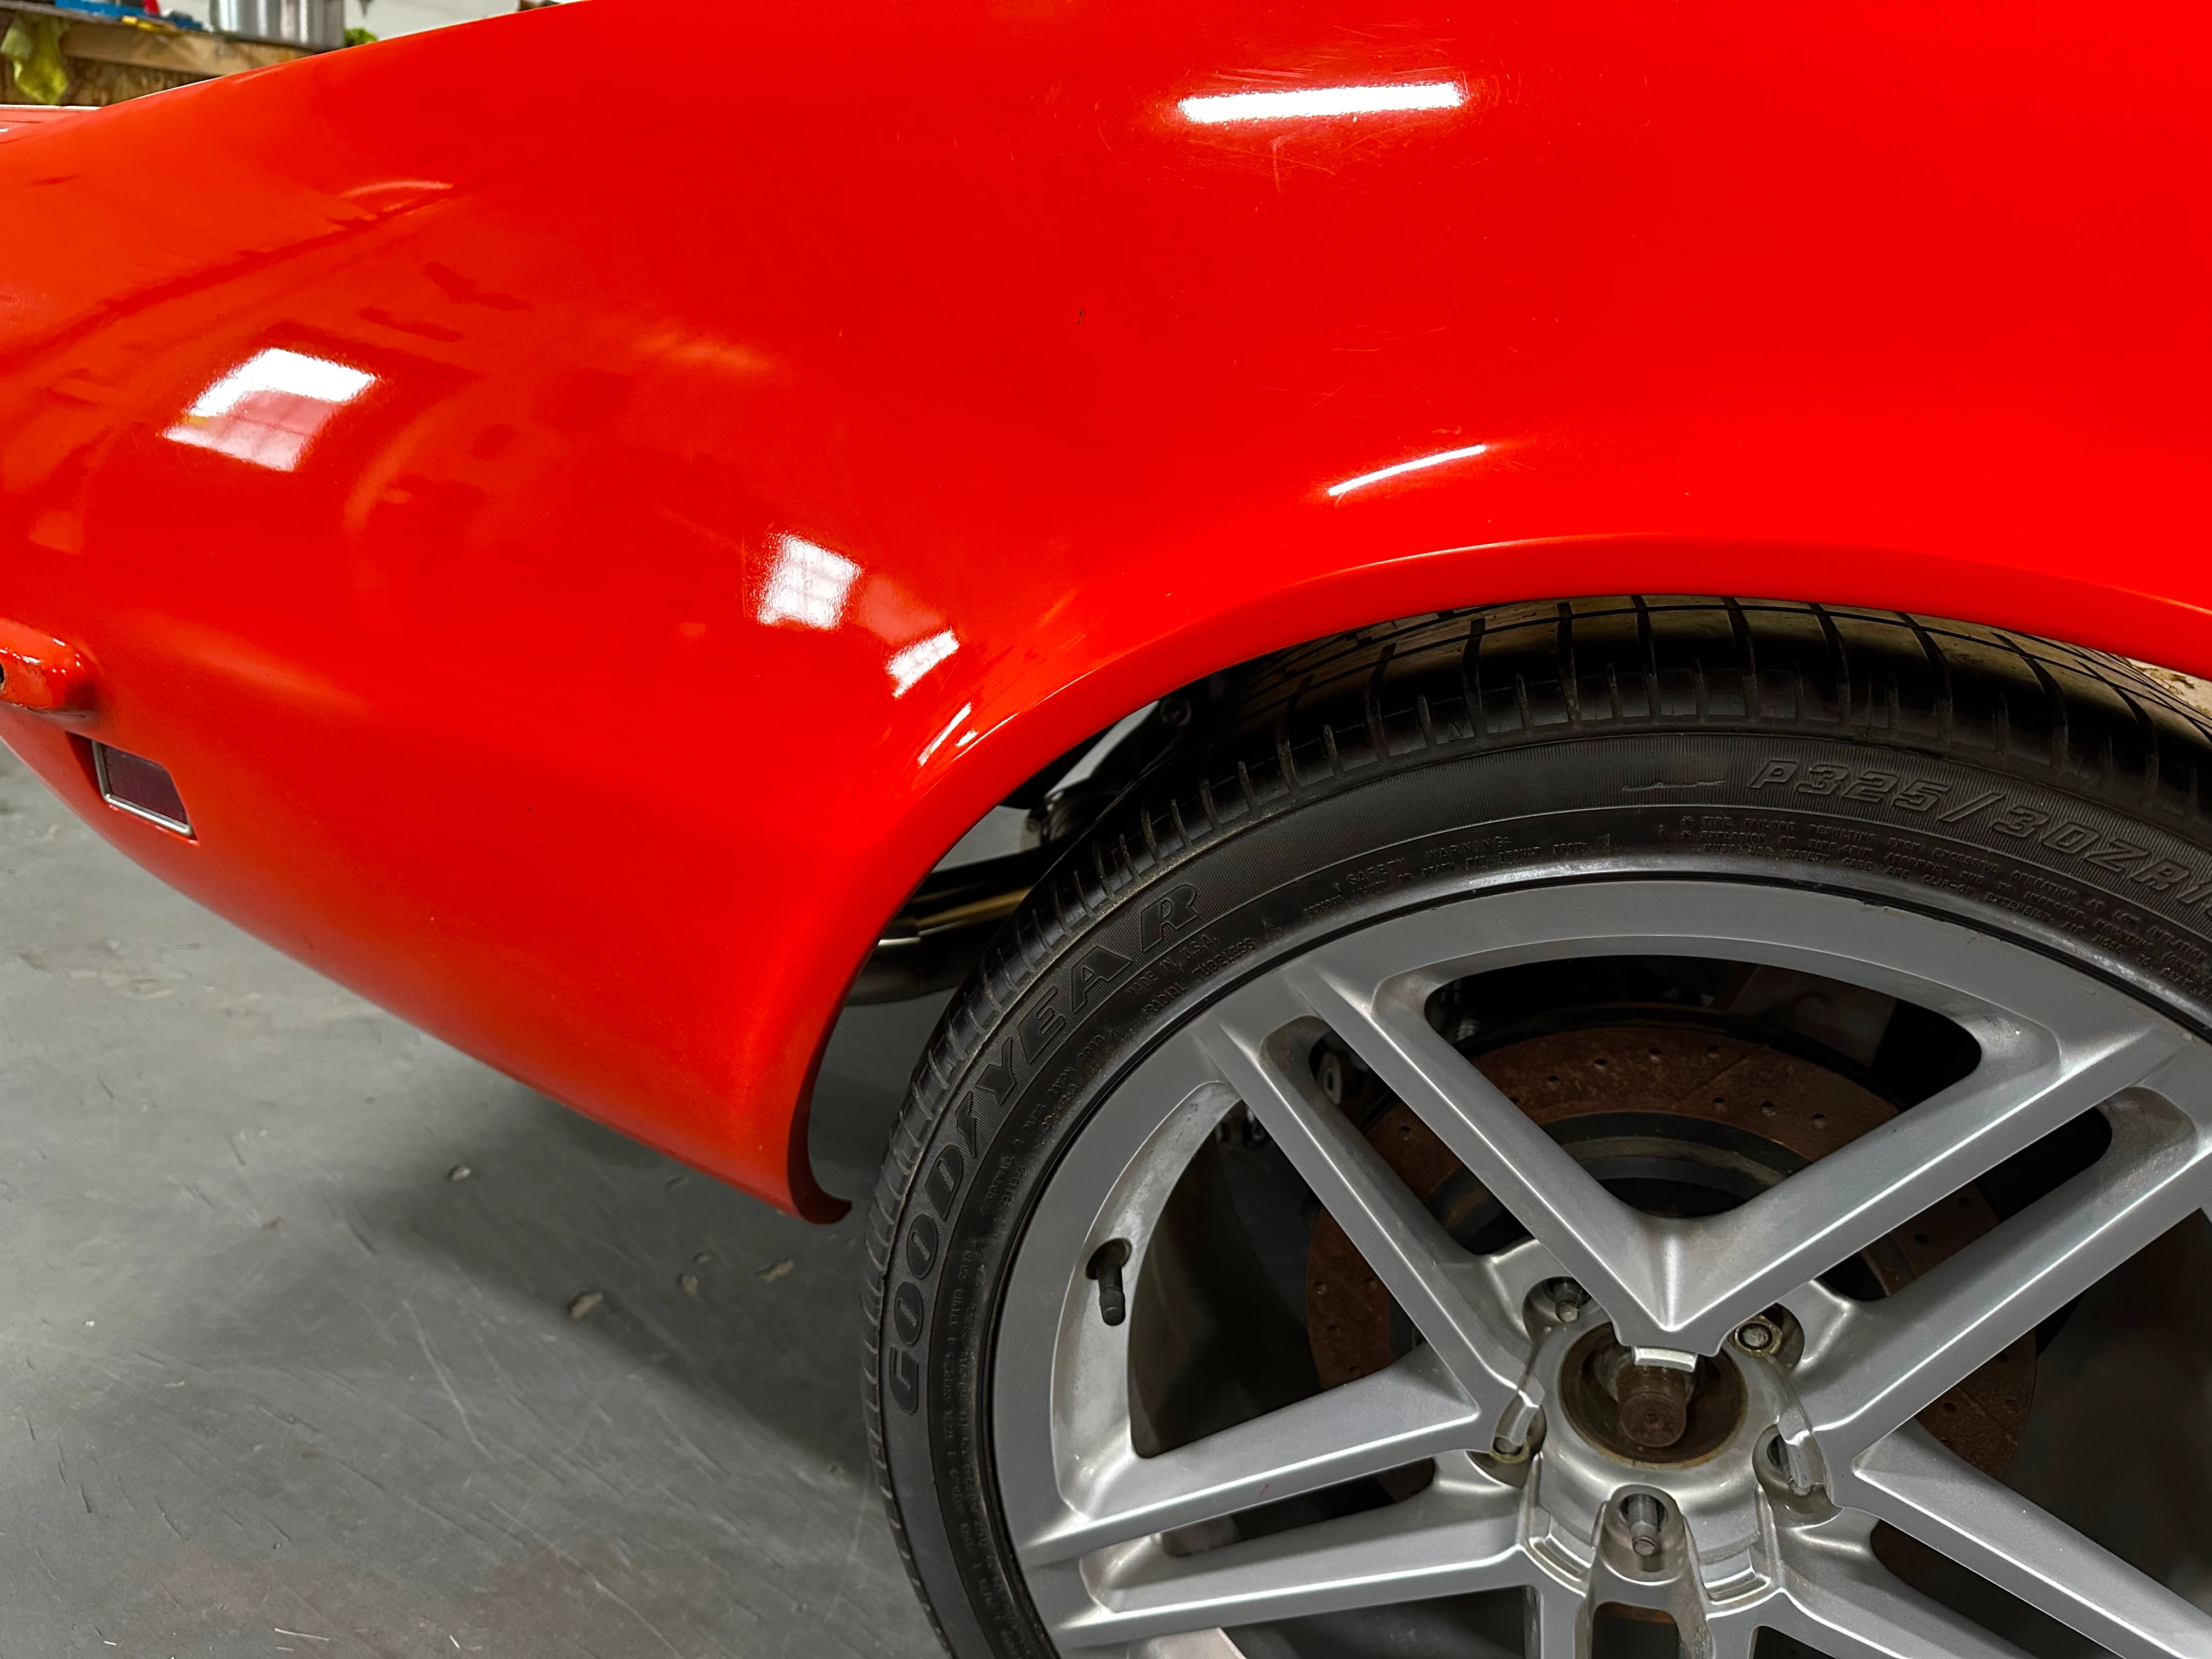
We also needed to make the rear wheel wells for the much wider rear tires. We used thick paper stock, pool noodles, and aluminum foil tape to make a "buck". I found that waxing the aluminum foil tape really helped with peeling off the "buck" from the finished part. I used the pool noodles to get a nice, radiused edge with a consistent bend.
.webp)

We patched the rear wall to the new, old floor.
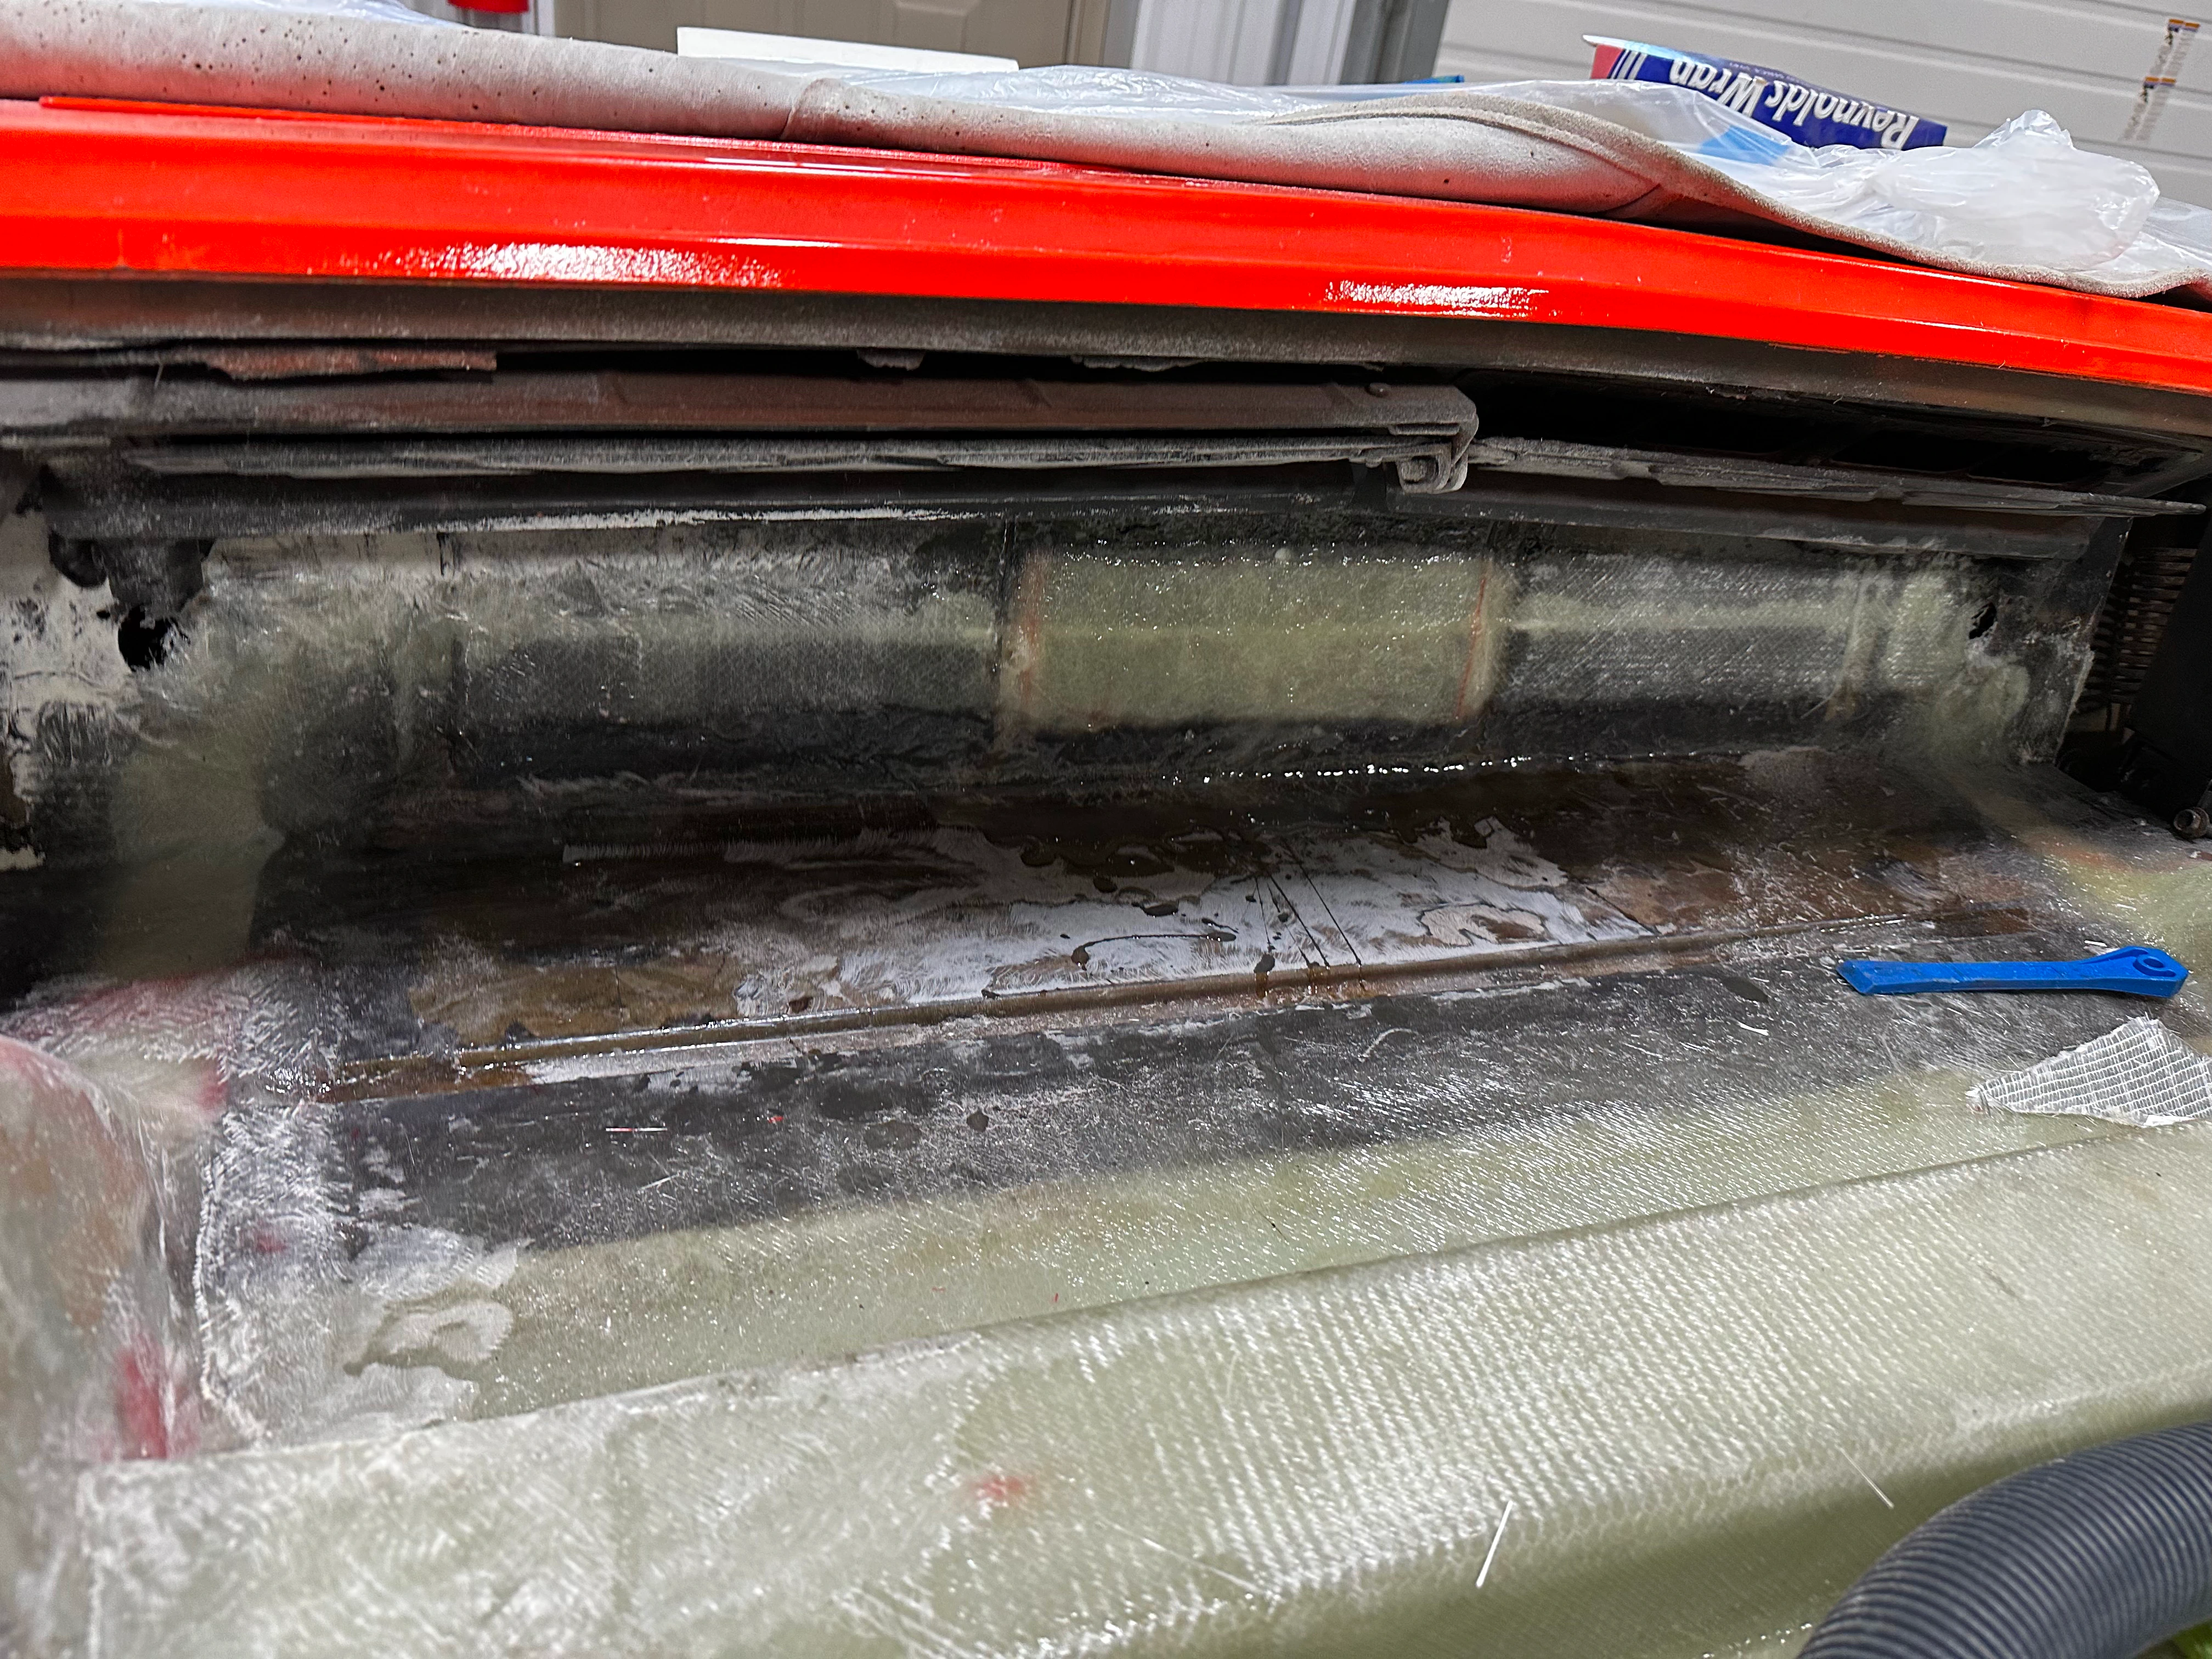
But, done isn't done enough. We needed clearance for the convertible top to fold into.
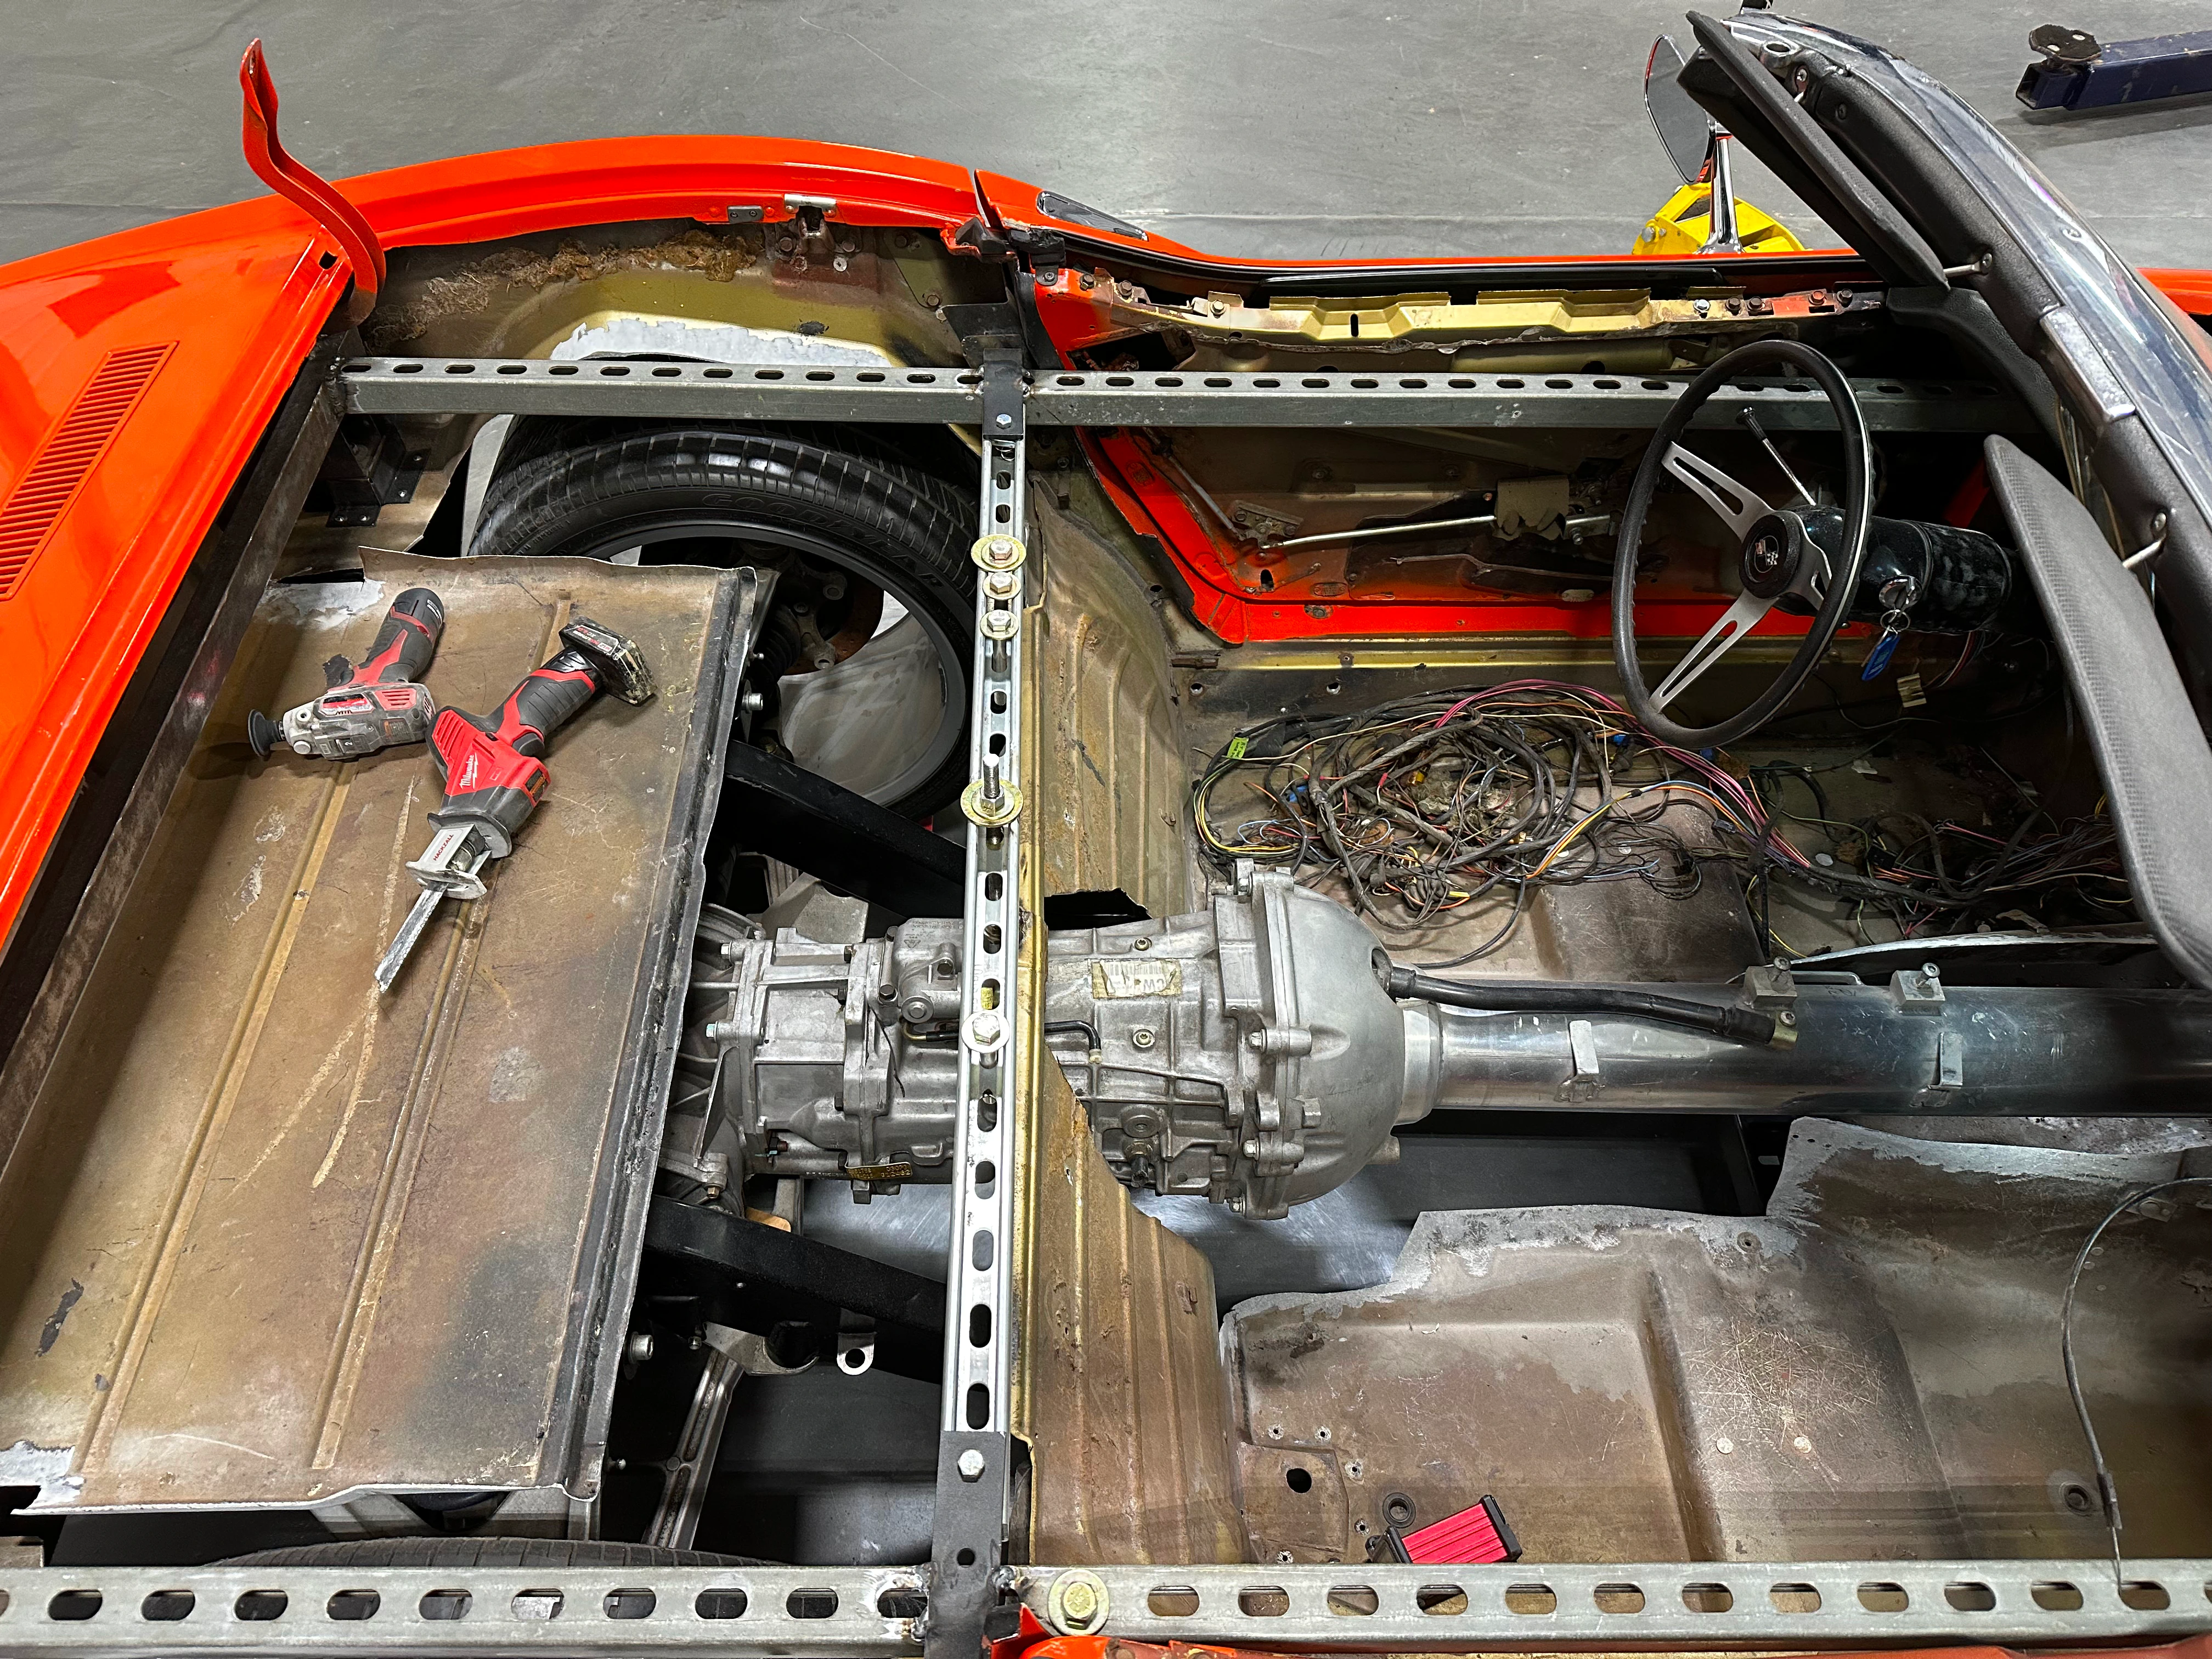
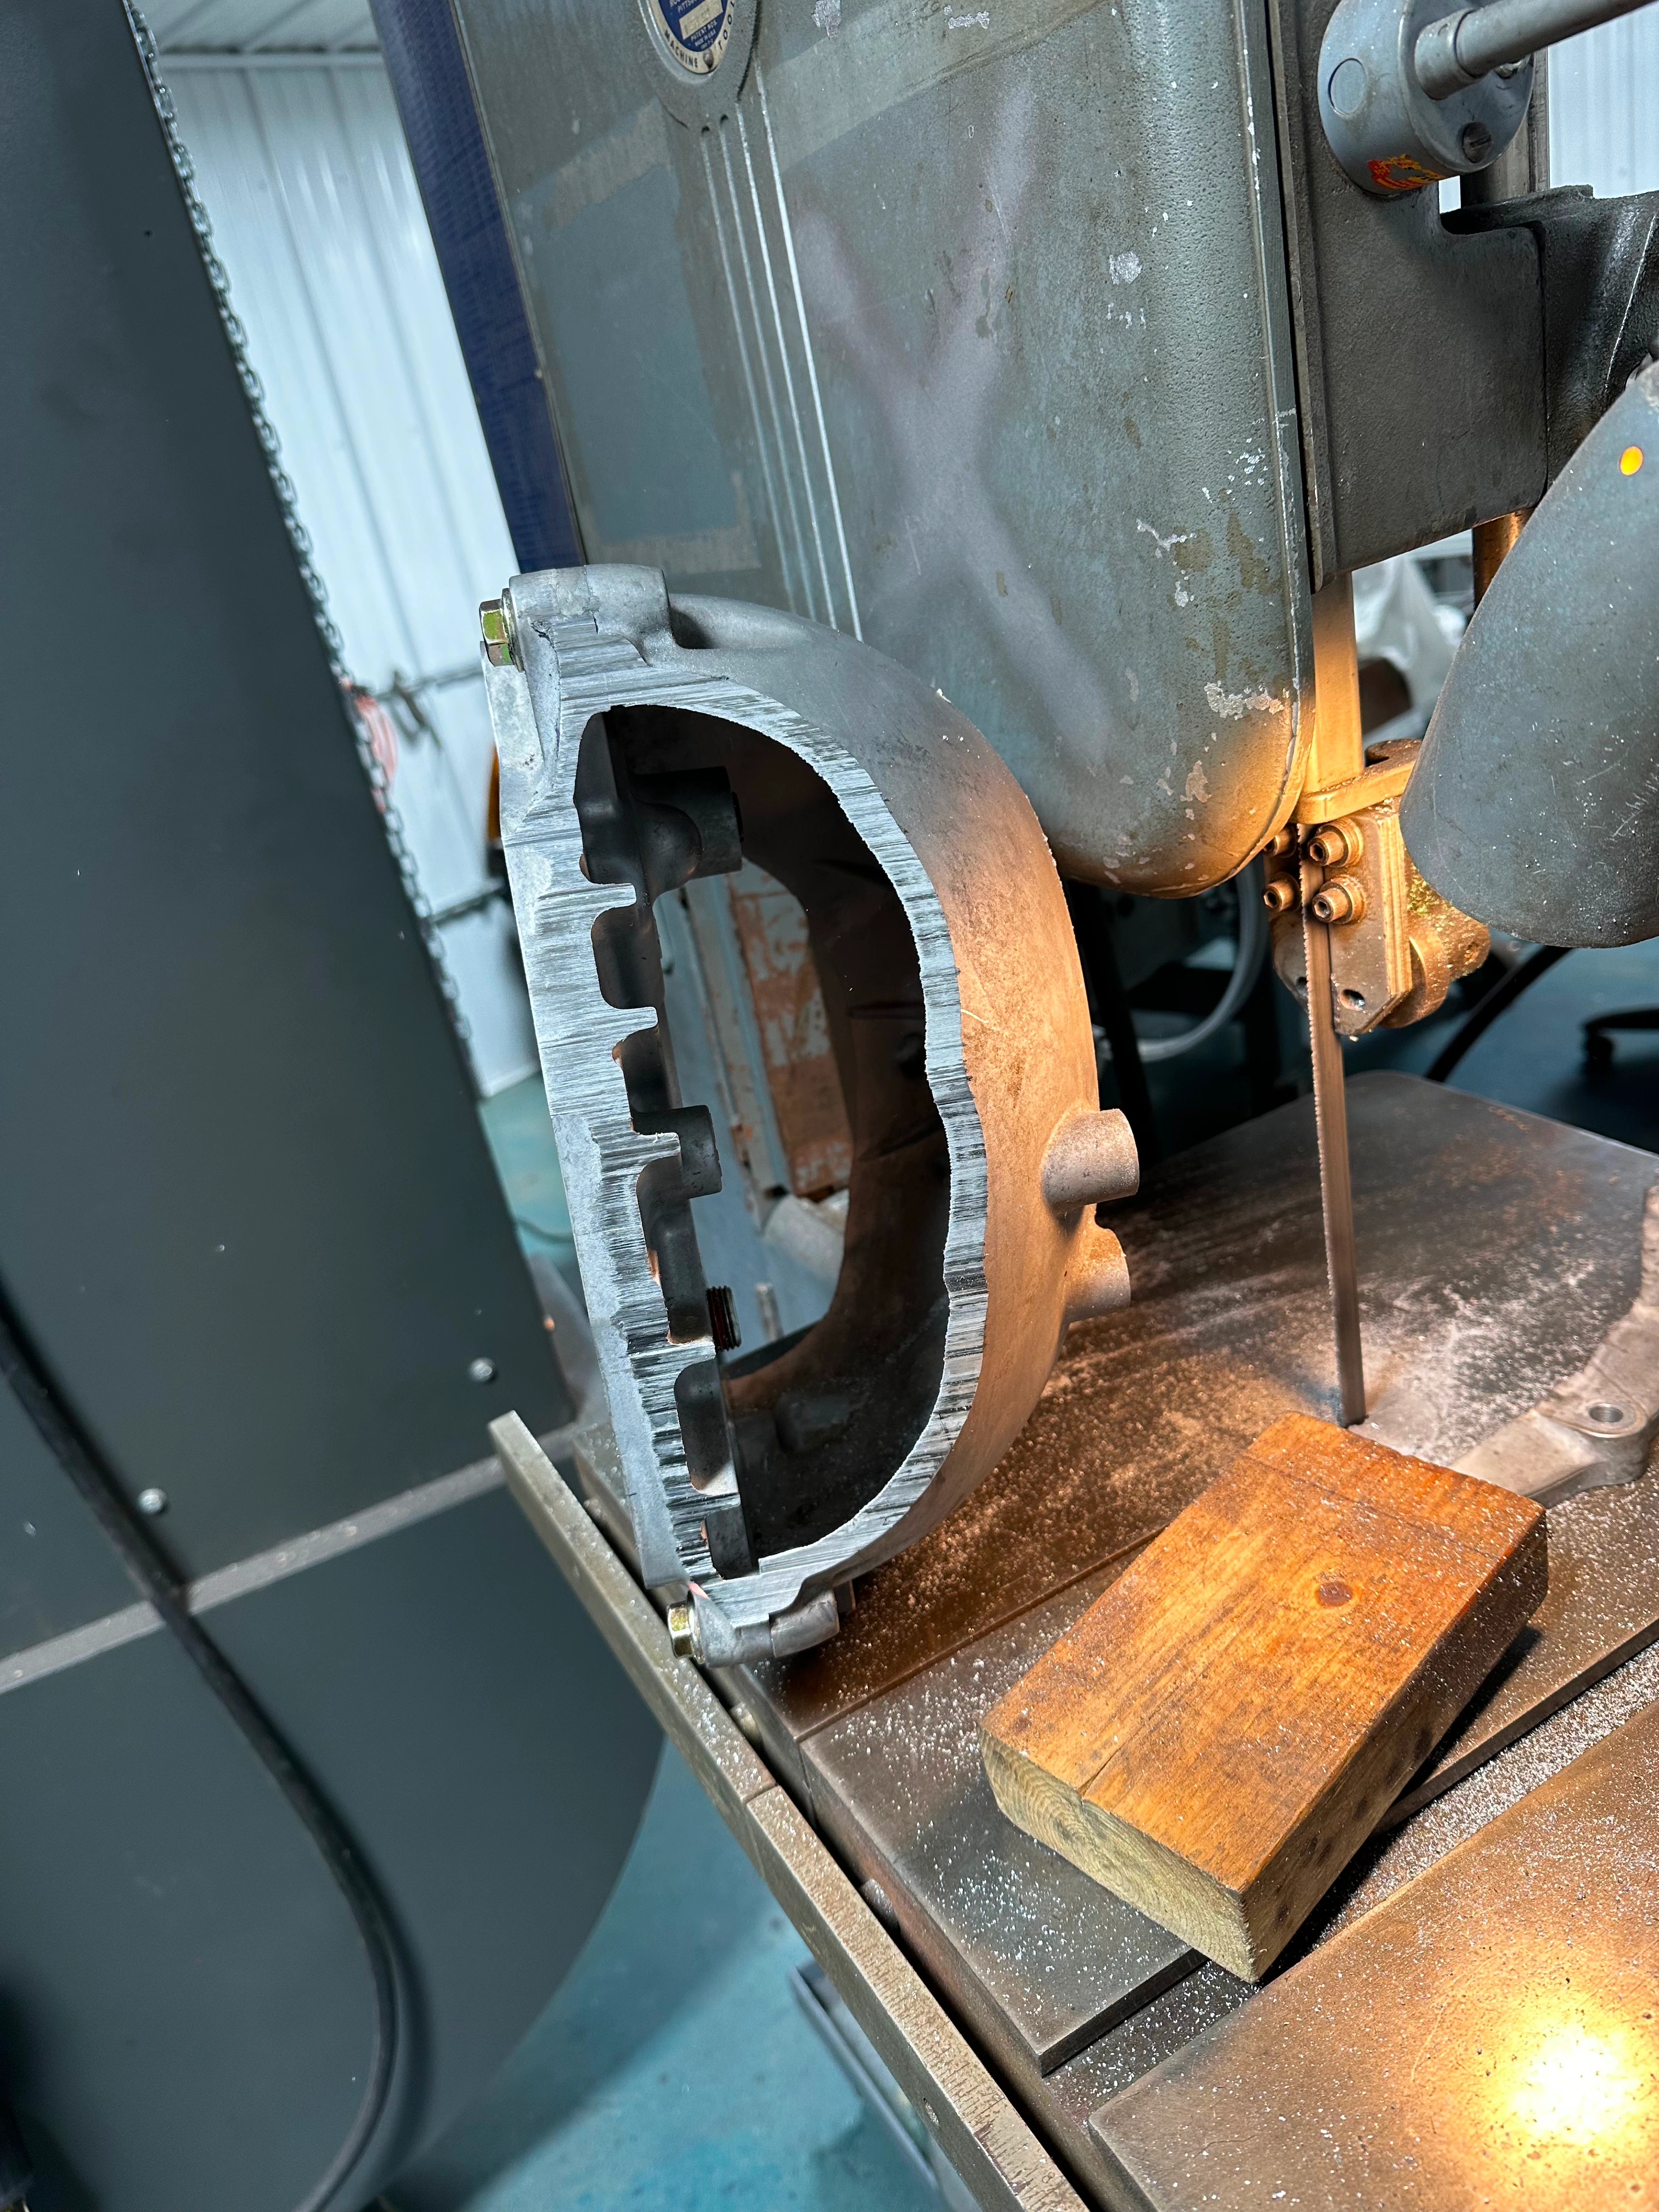
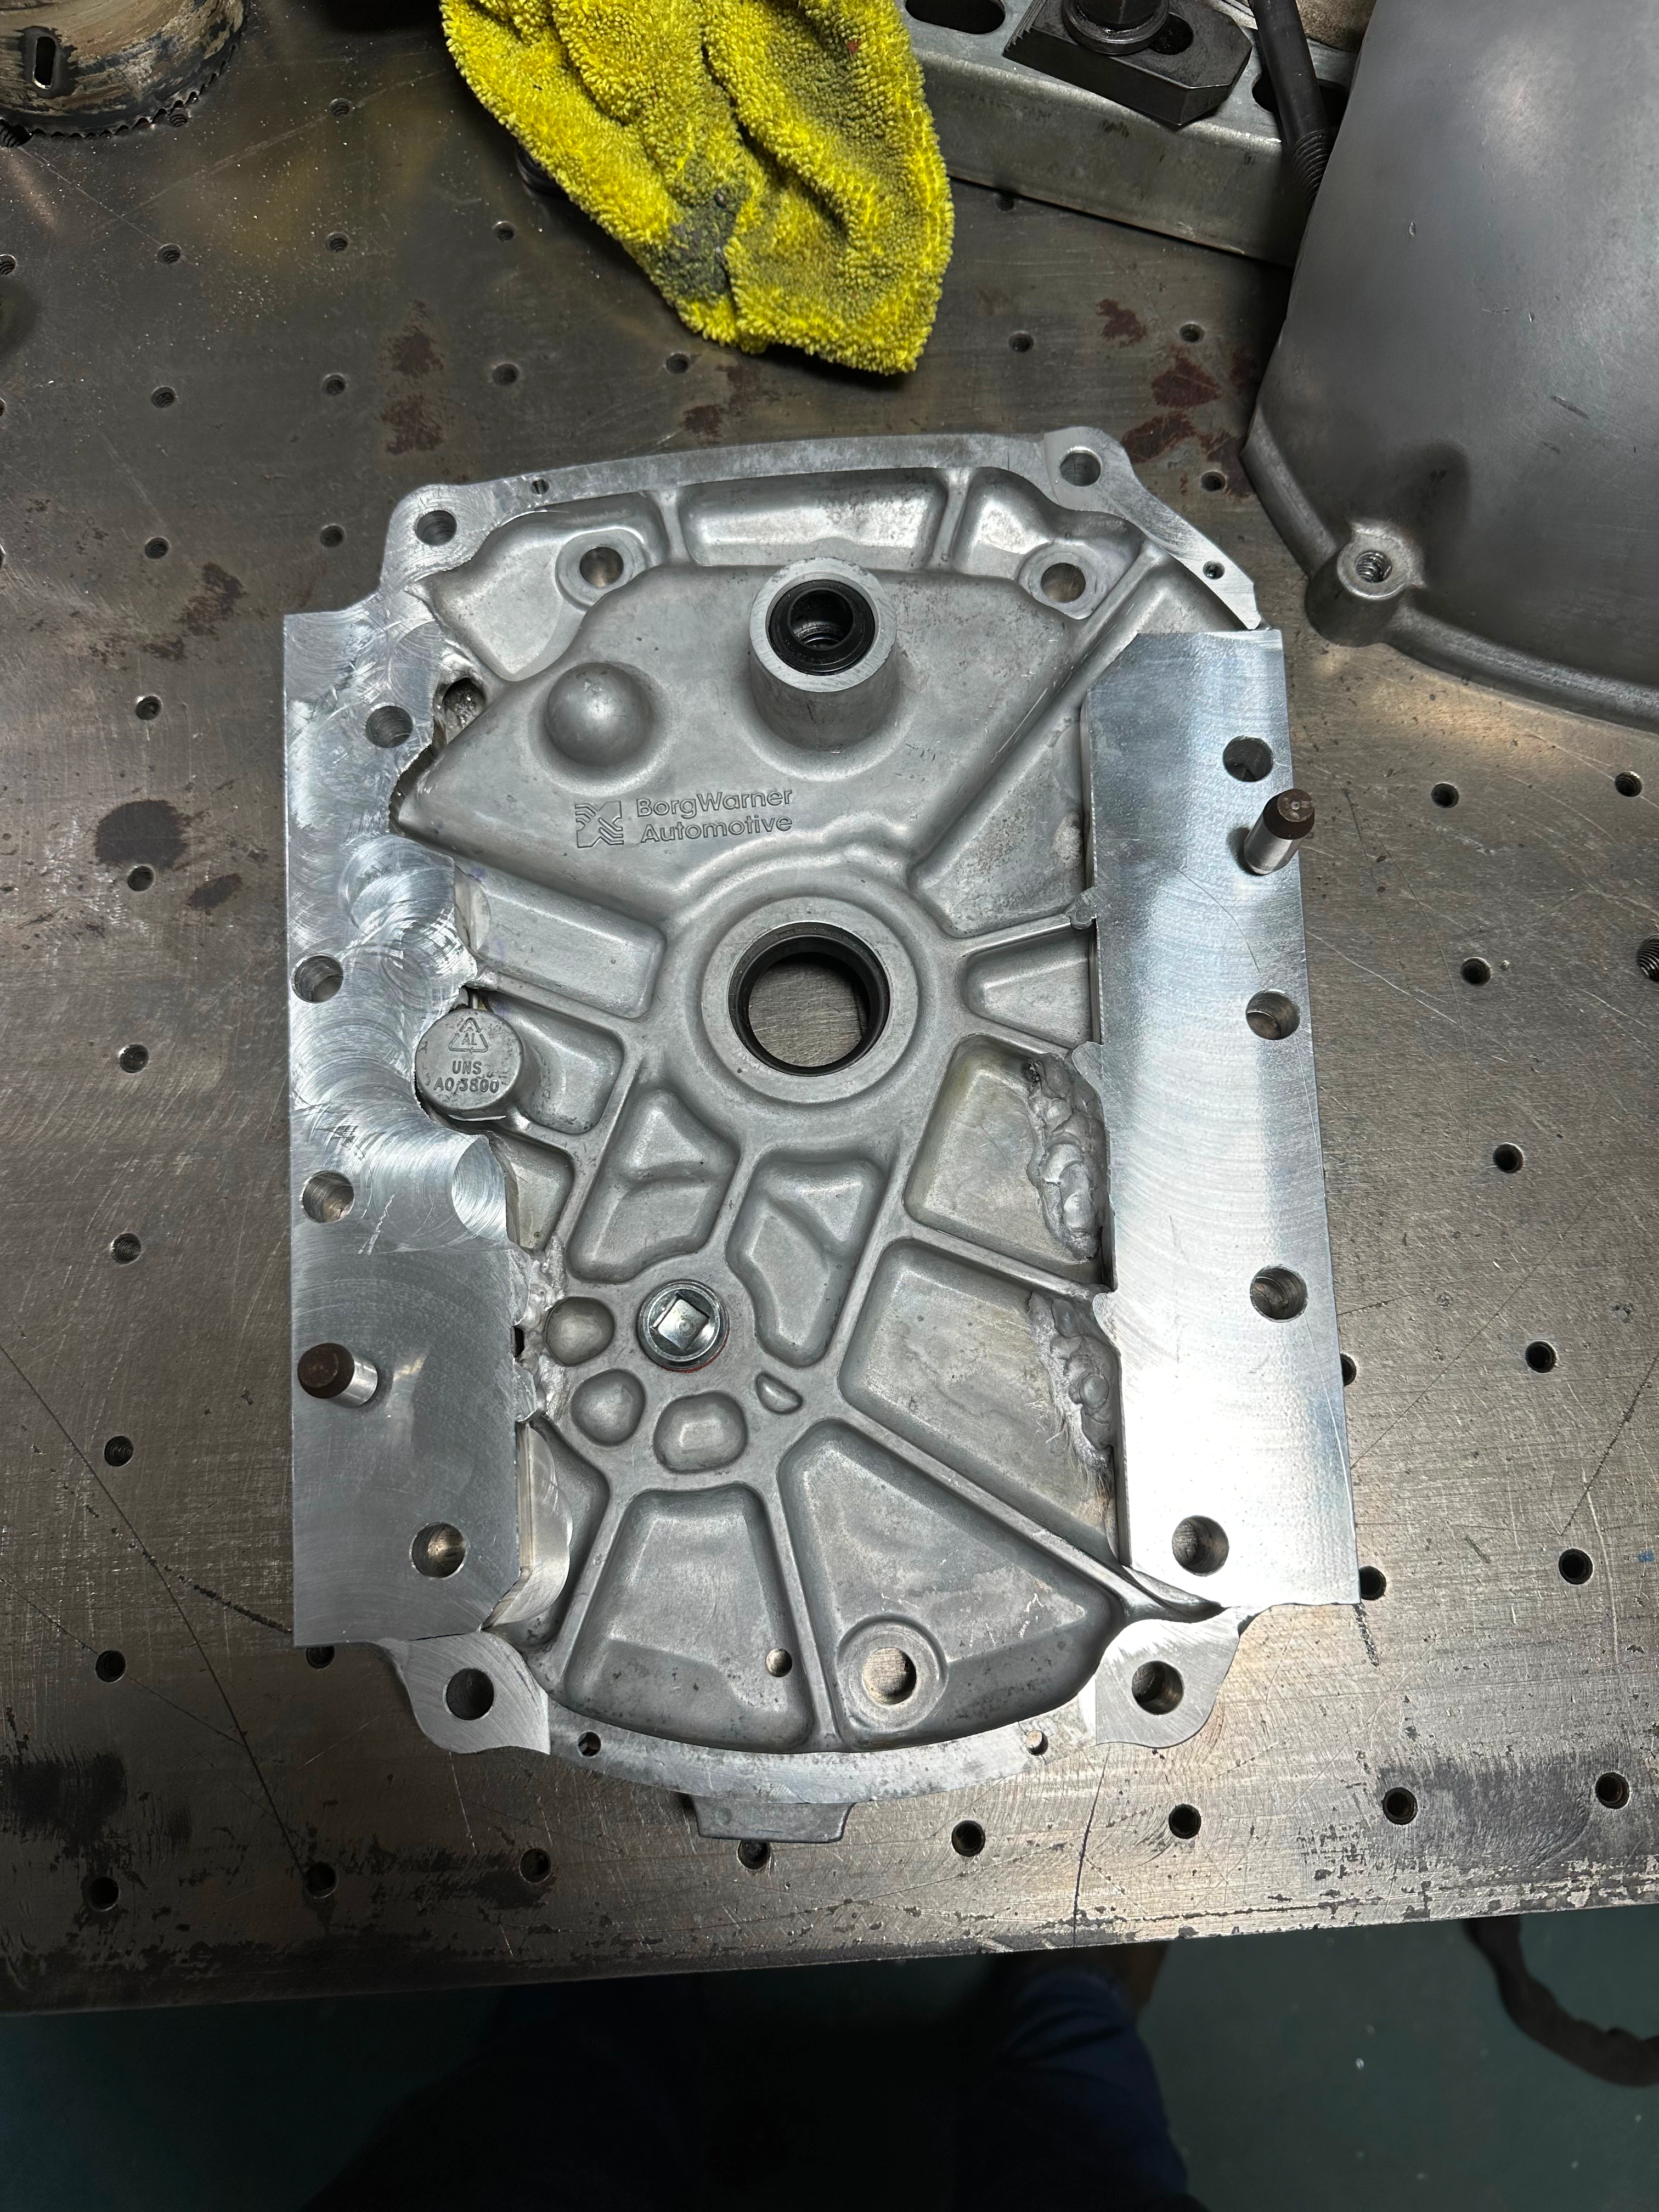
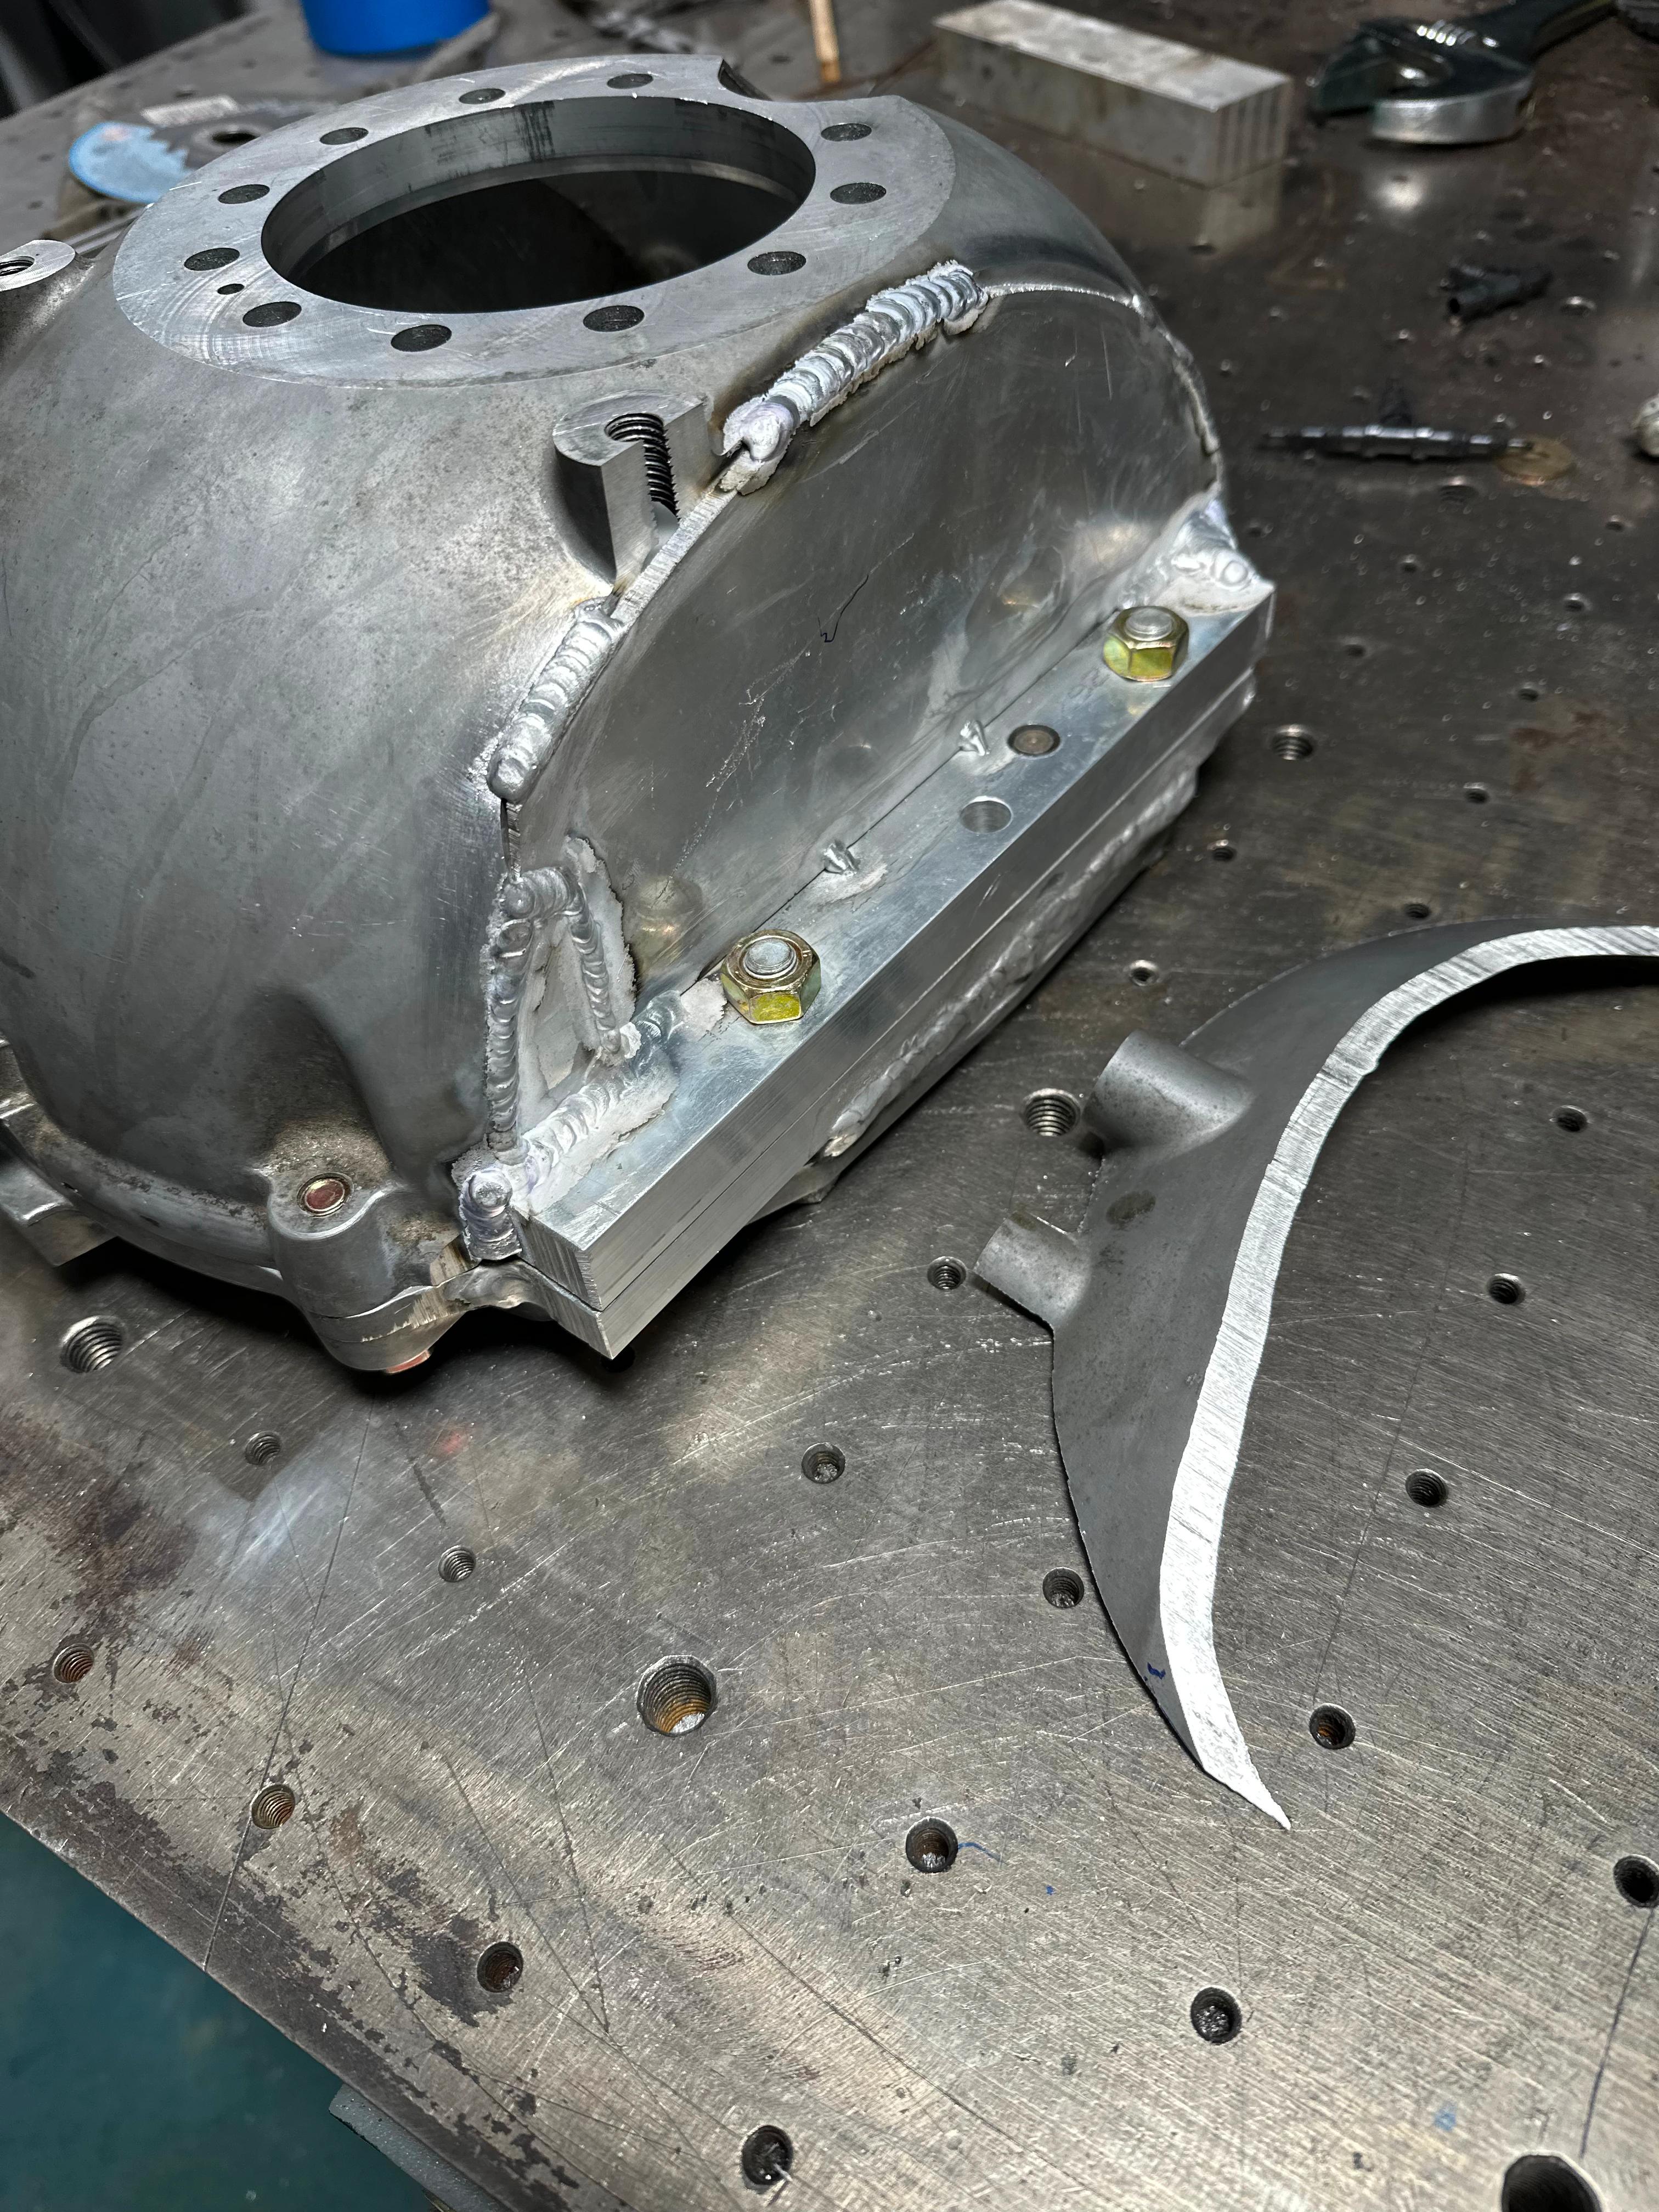
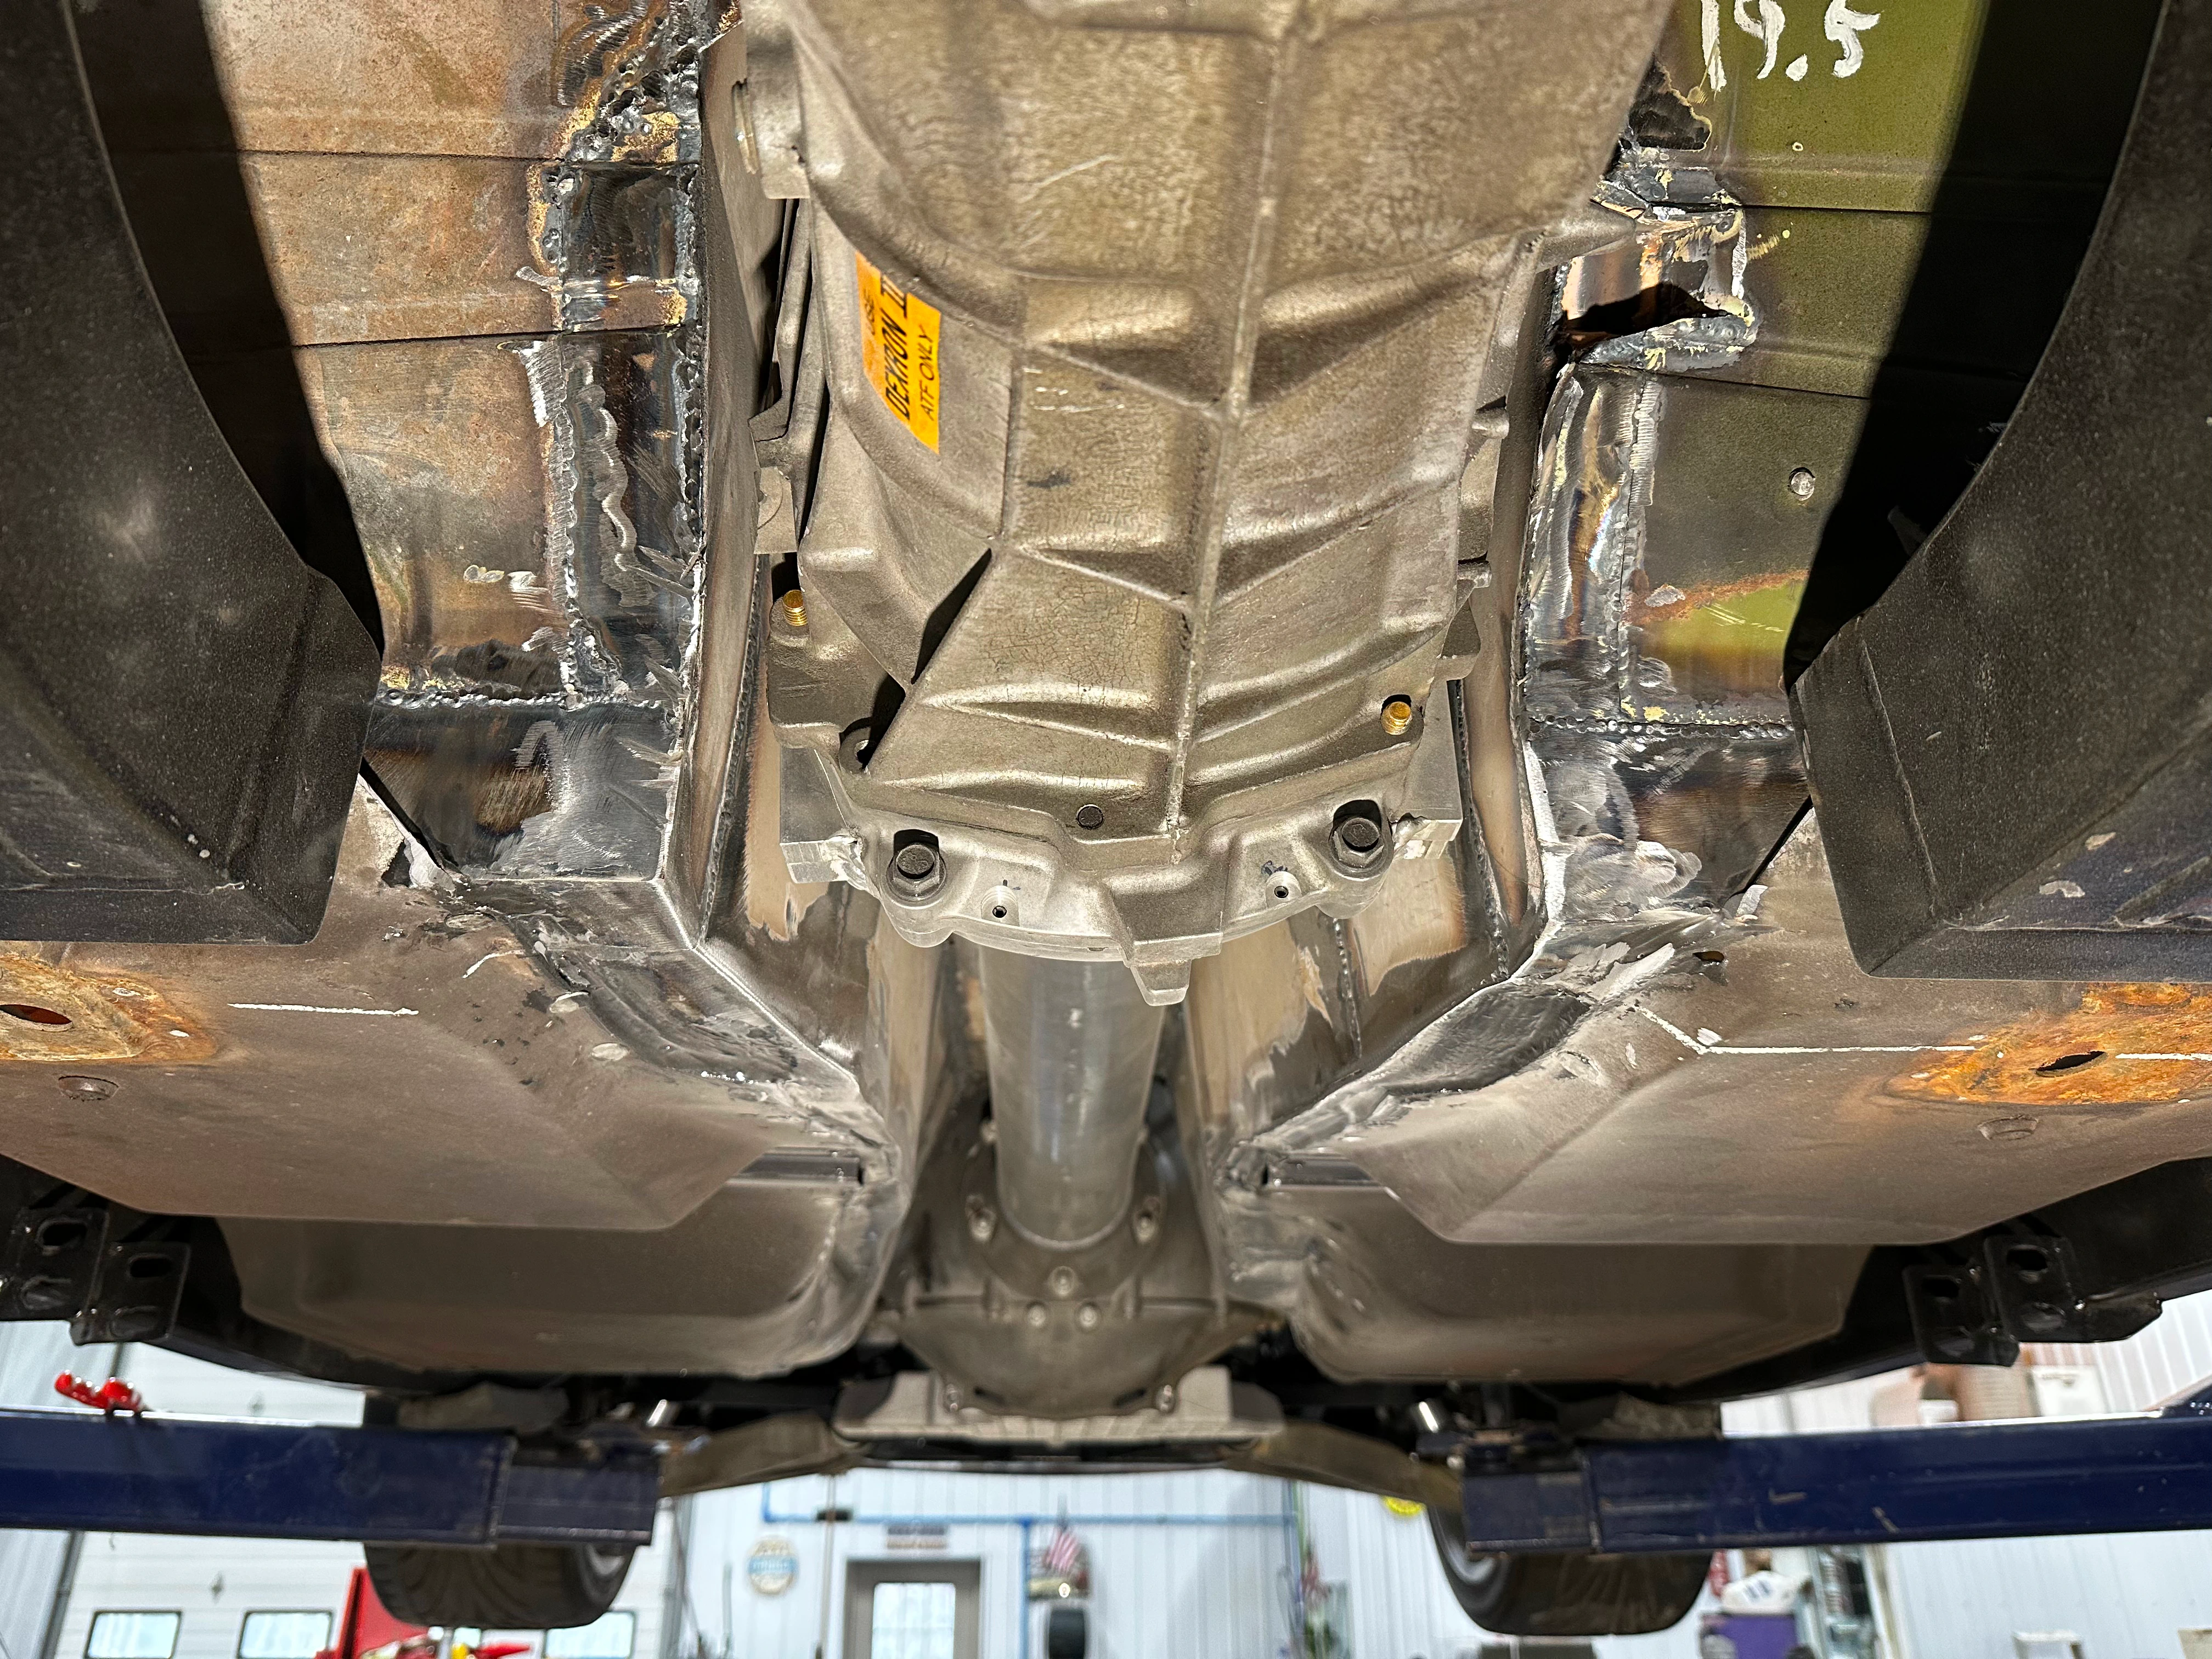
The Bell(housing) End
The next biggest task was narrowing the front of the transaxle. While it's not technically the bellhousing, it's easier to call it that. We ended up cutting off almost an inch and a half from the widest parts on each side. We also narrowed the whole assembly as much as we could to give as much hip room as possible.

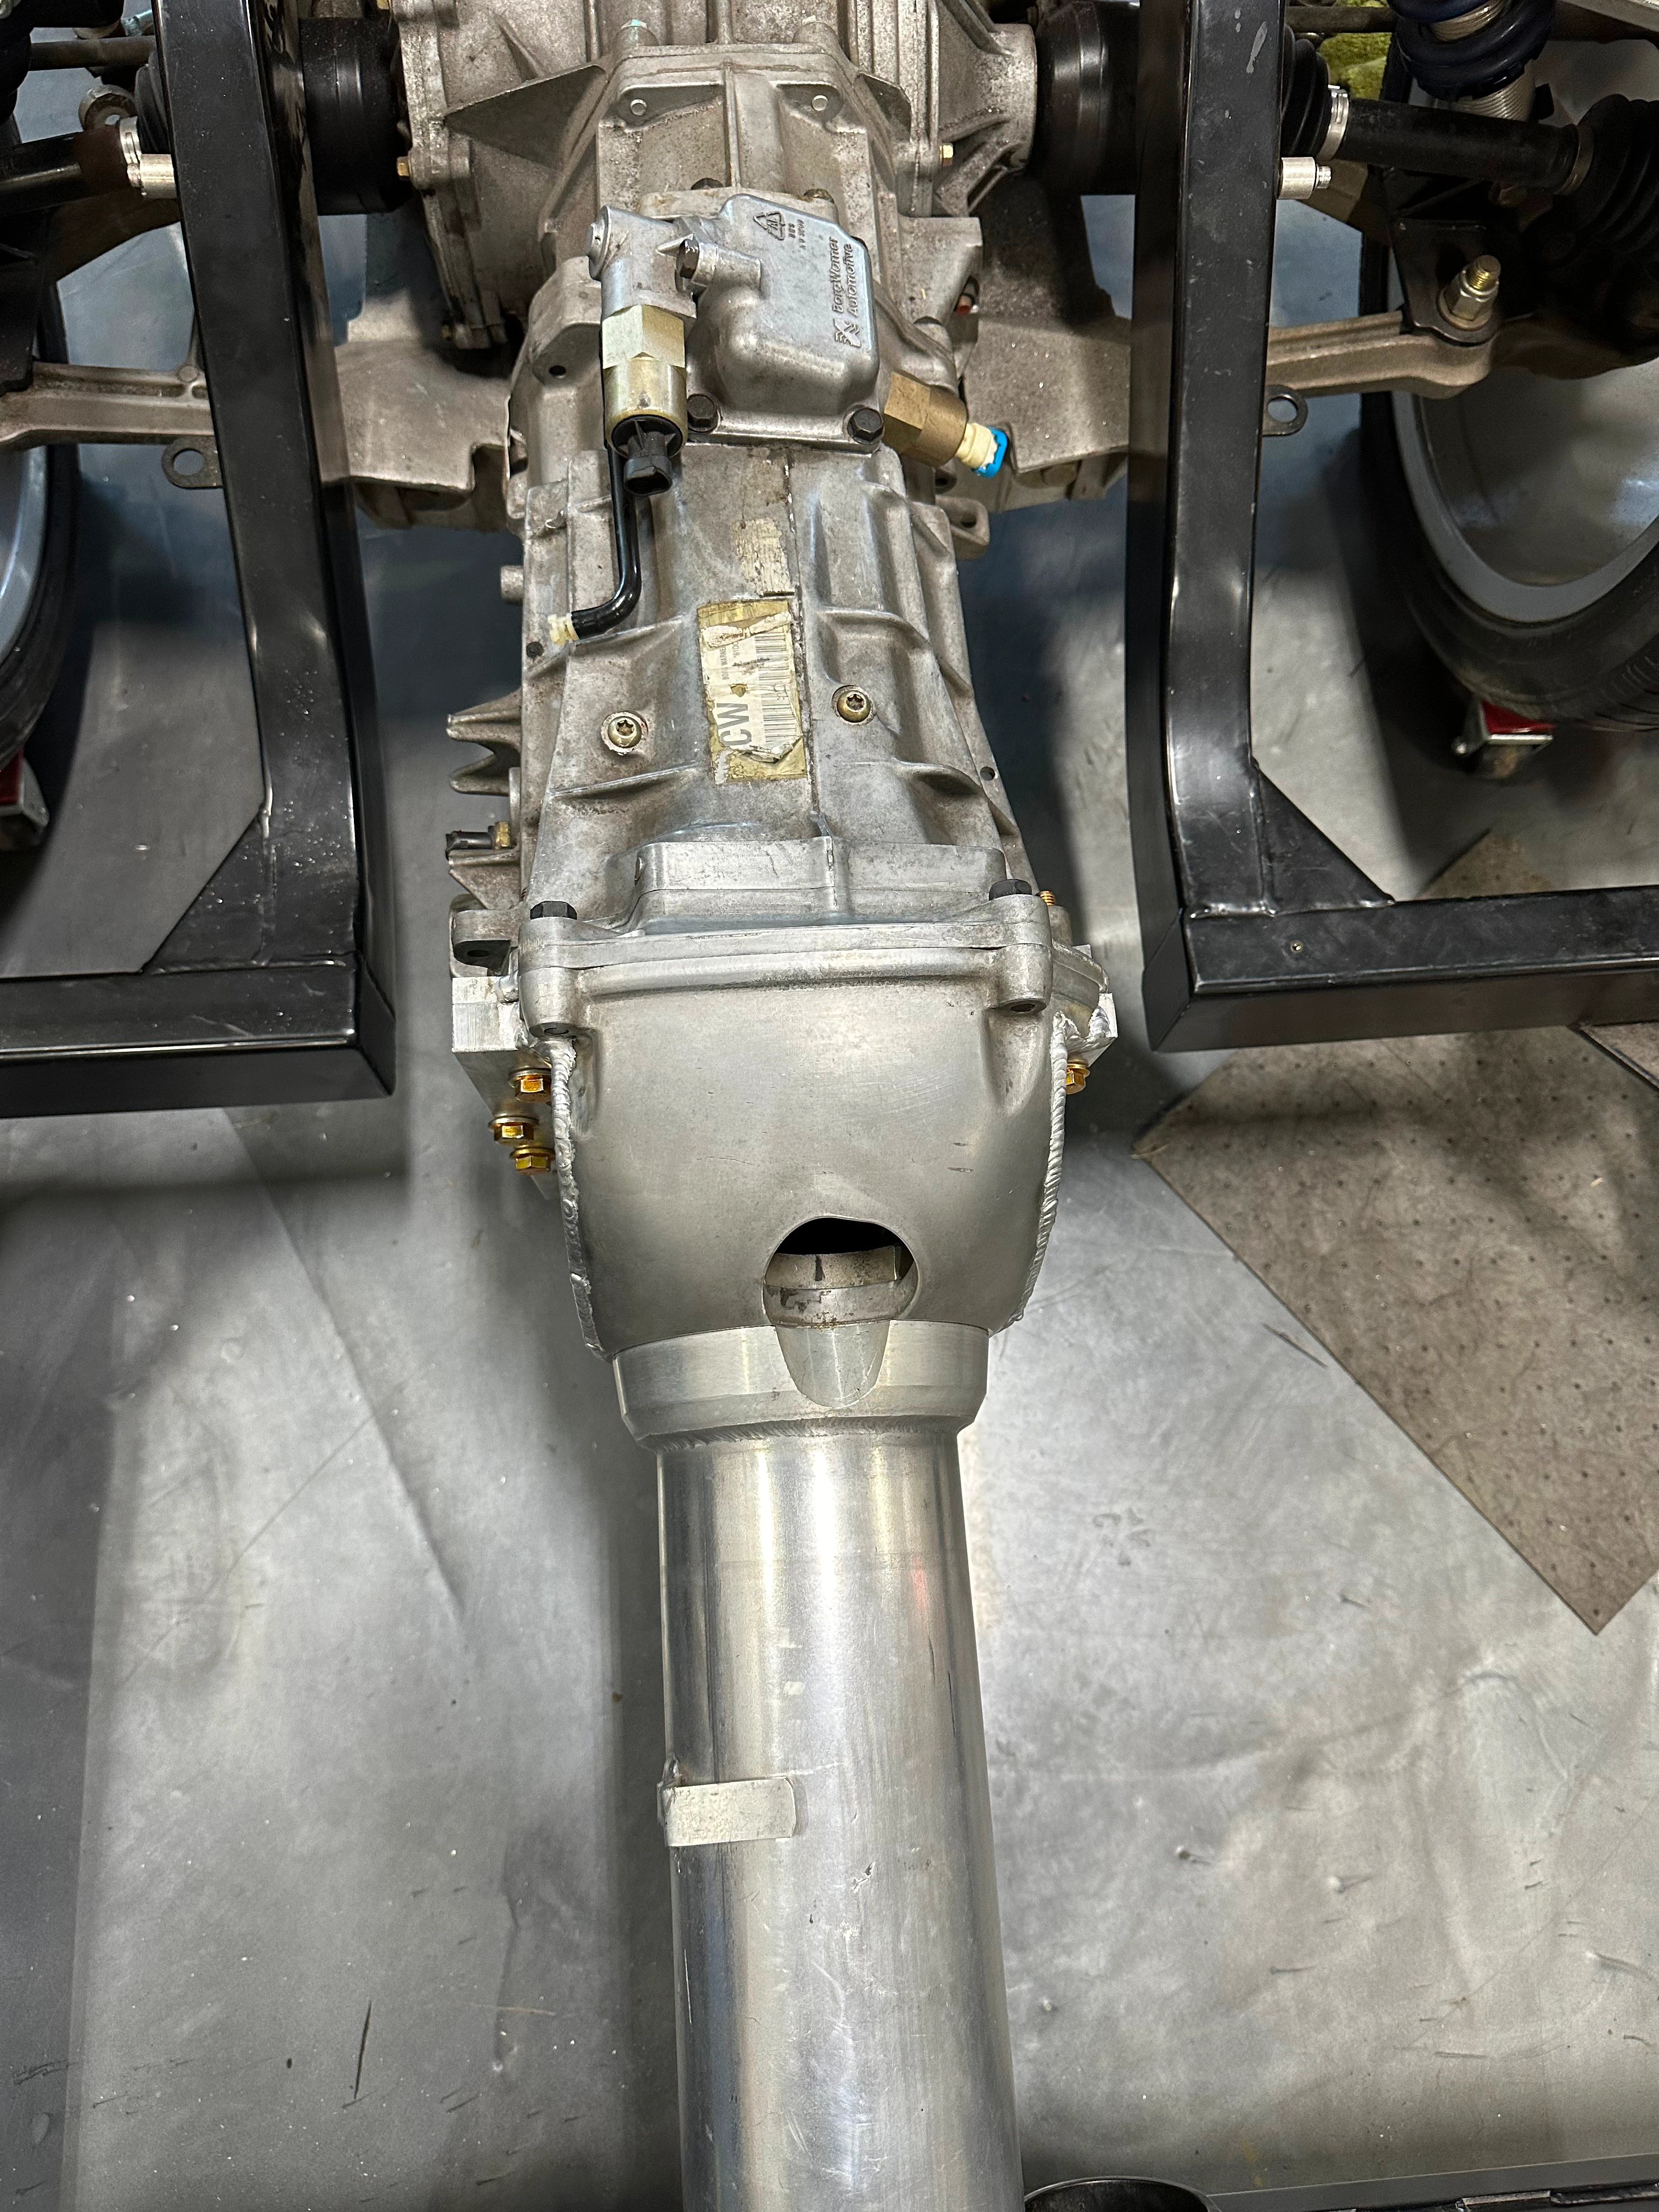
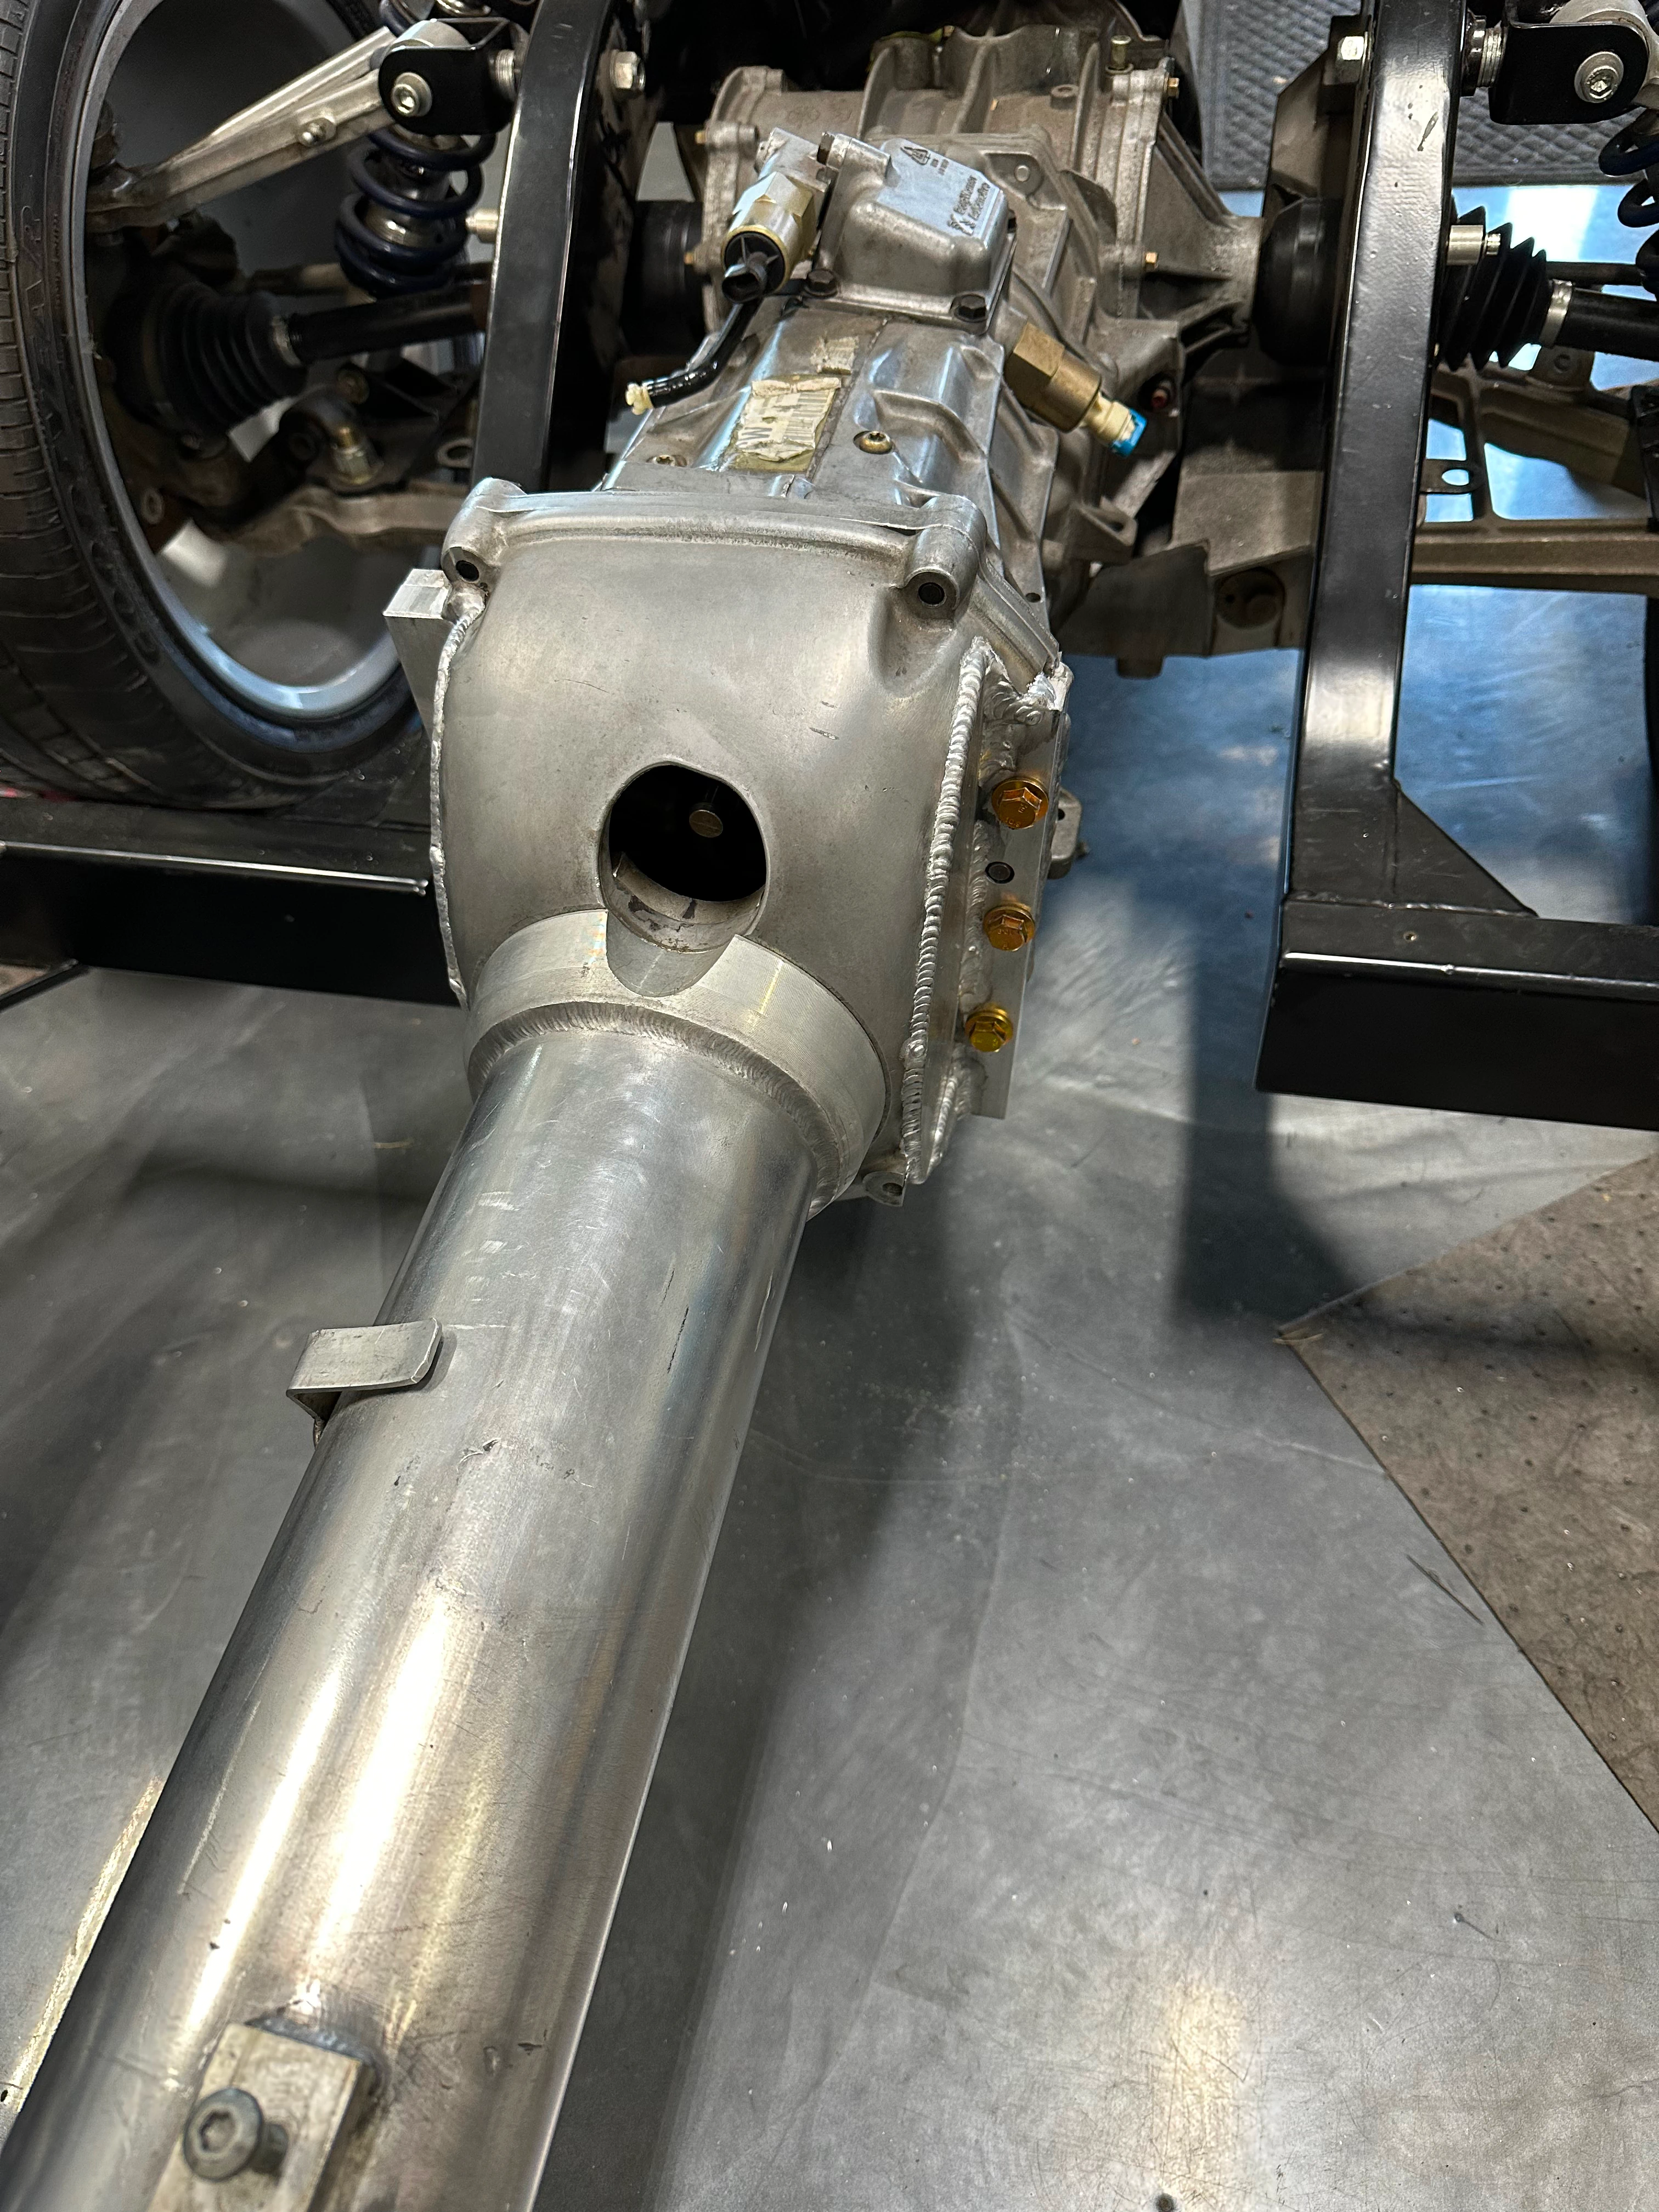
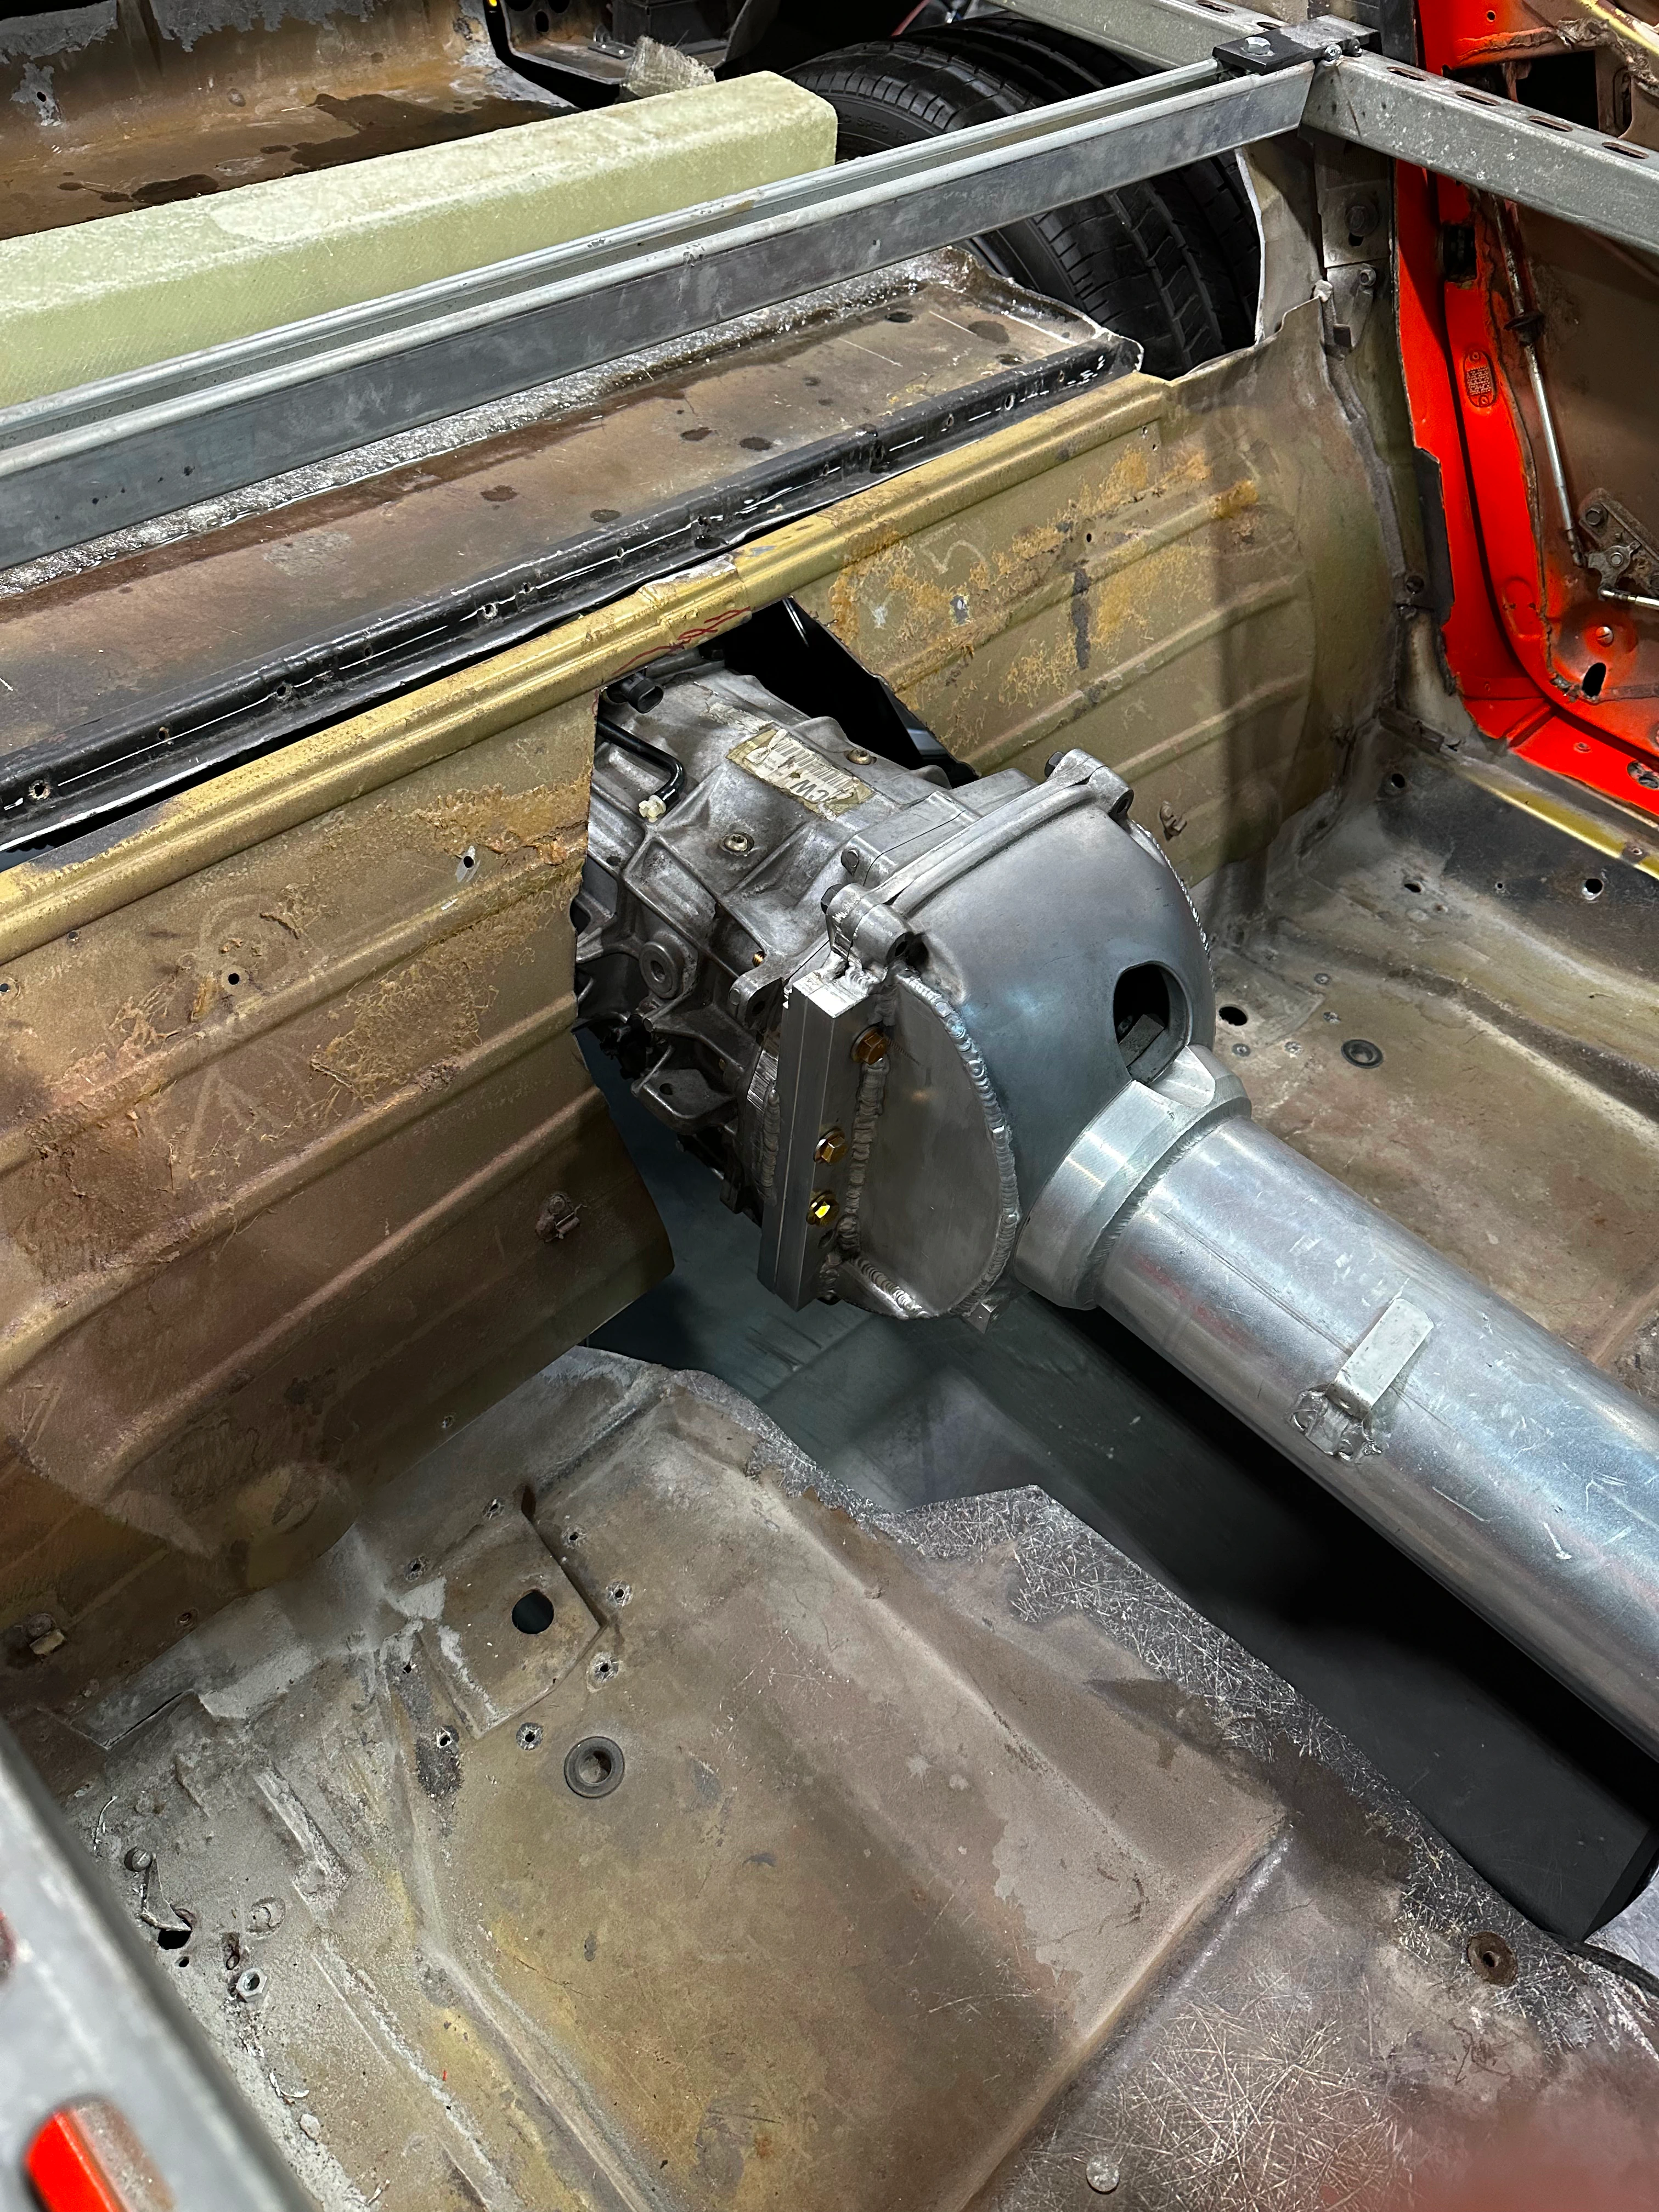
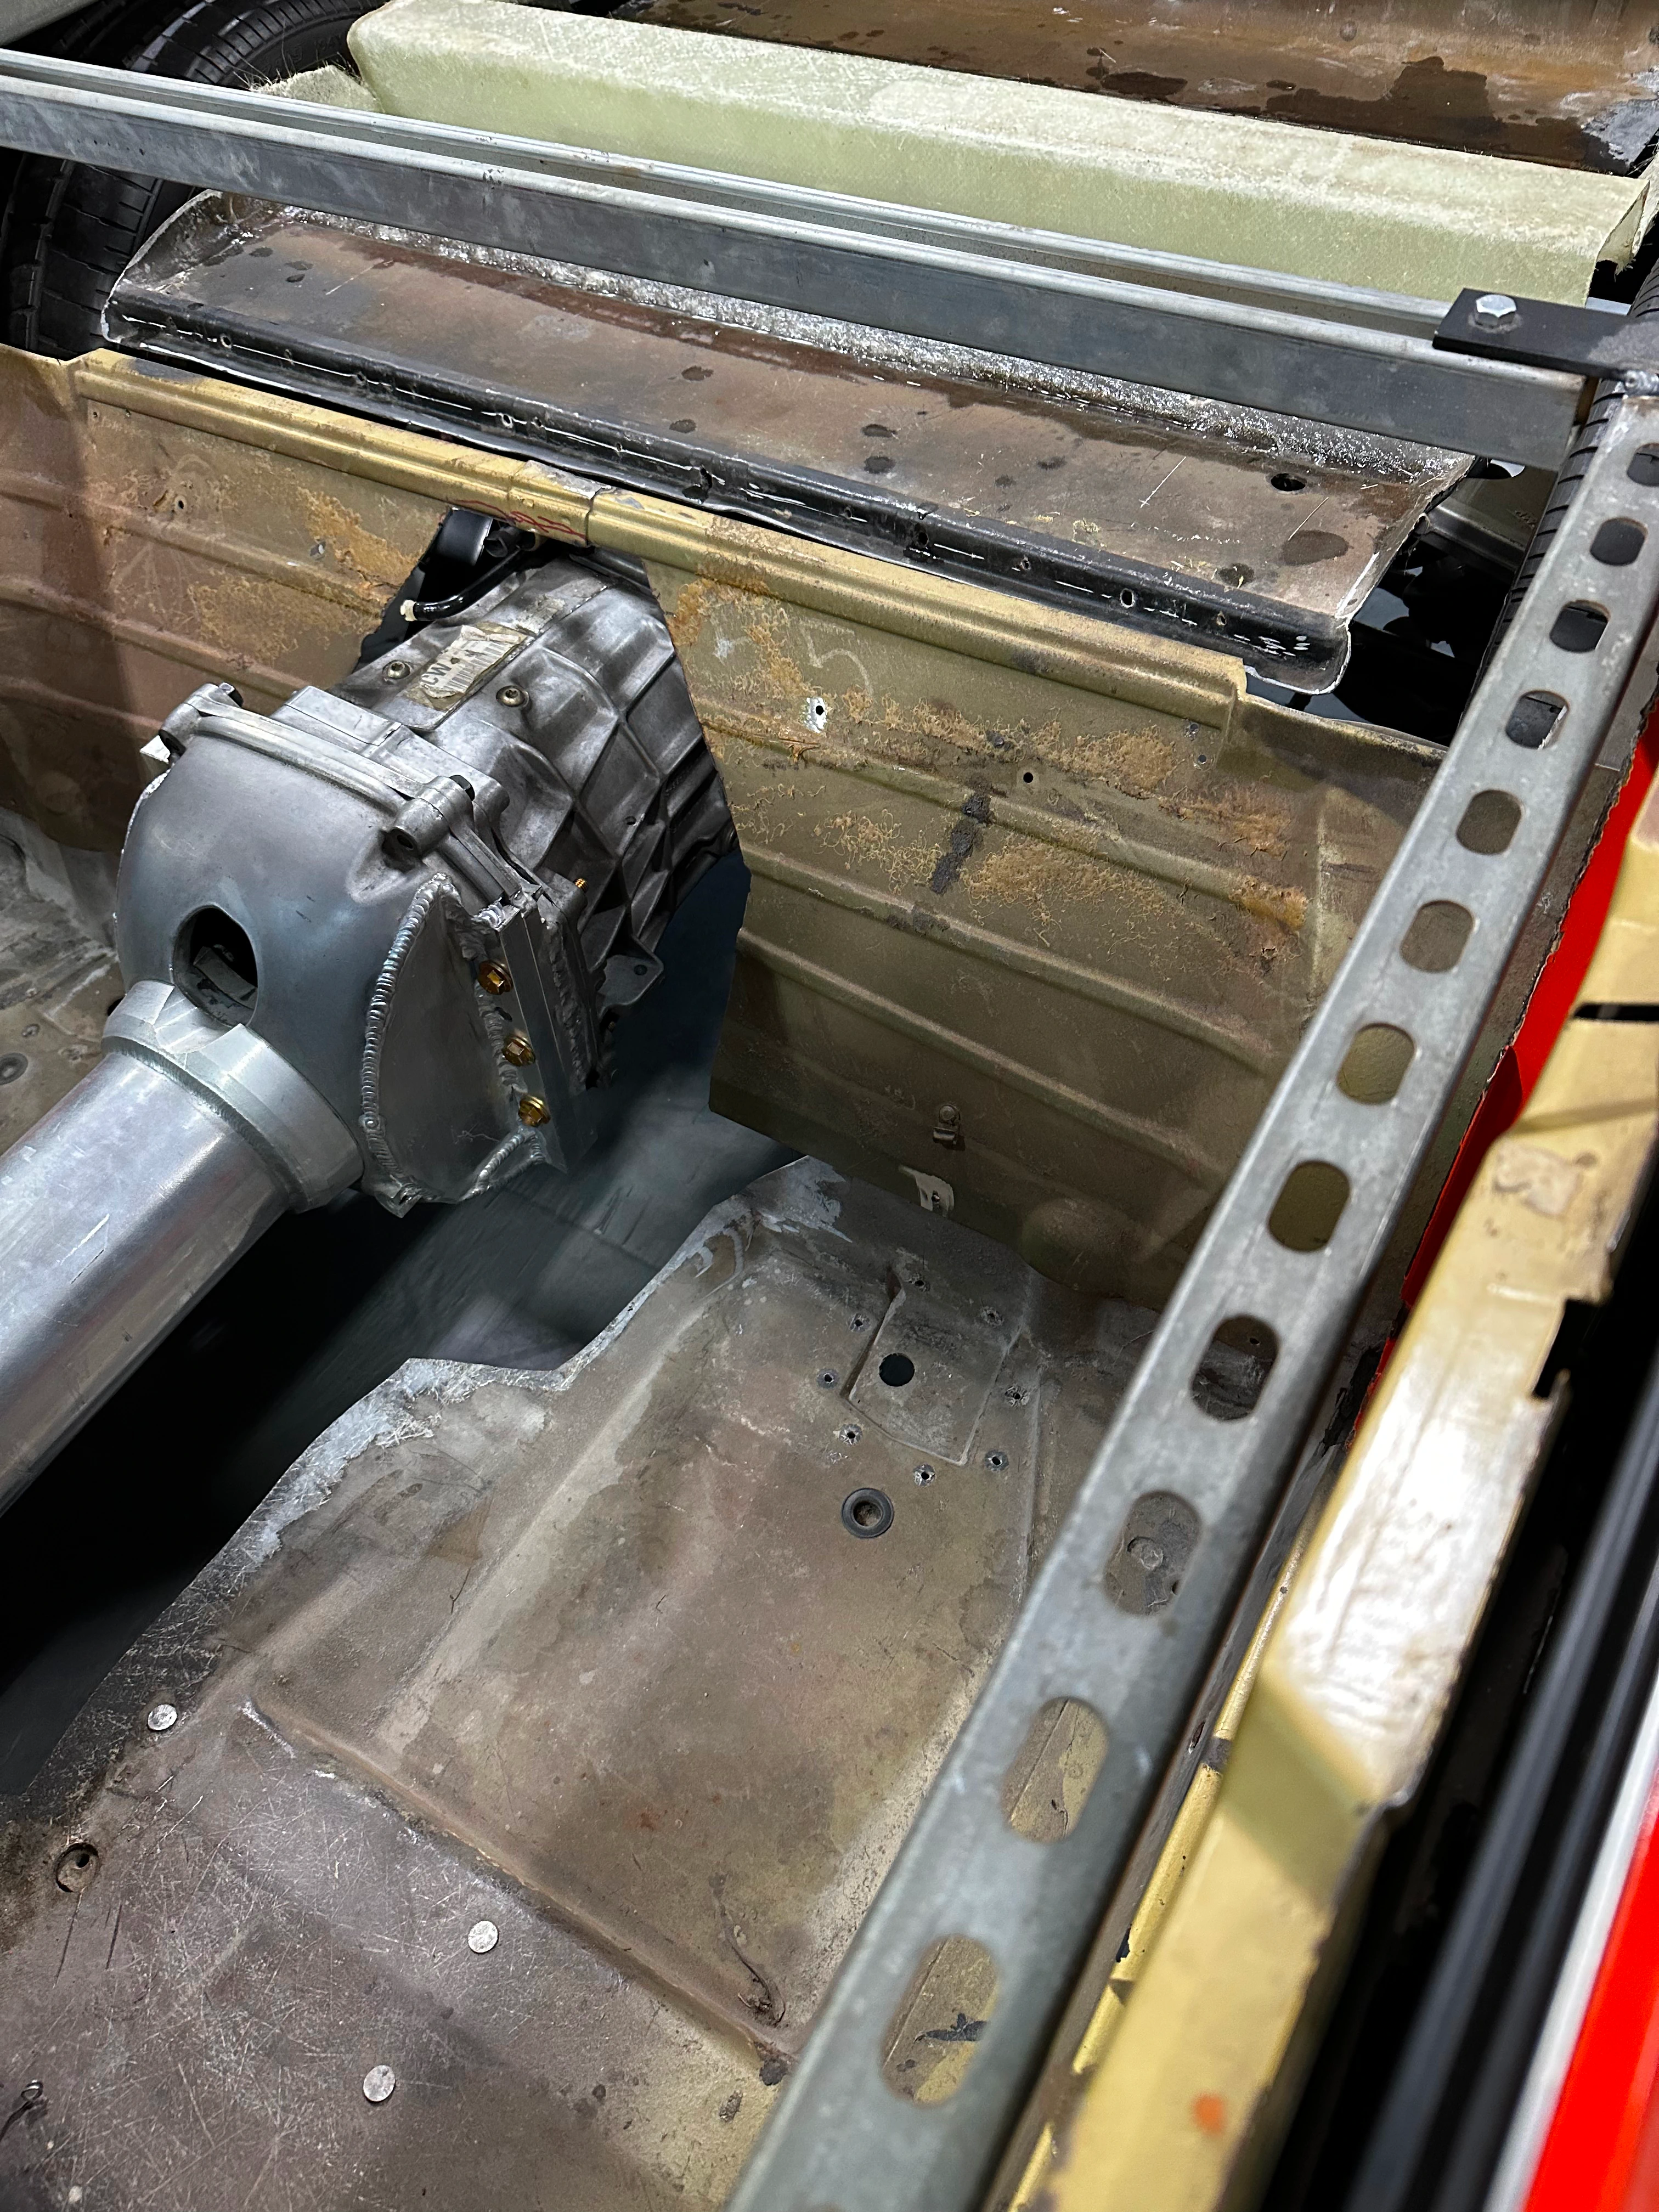
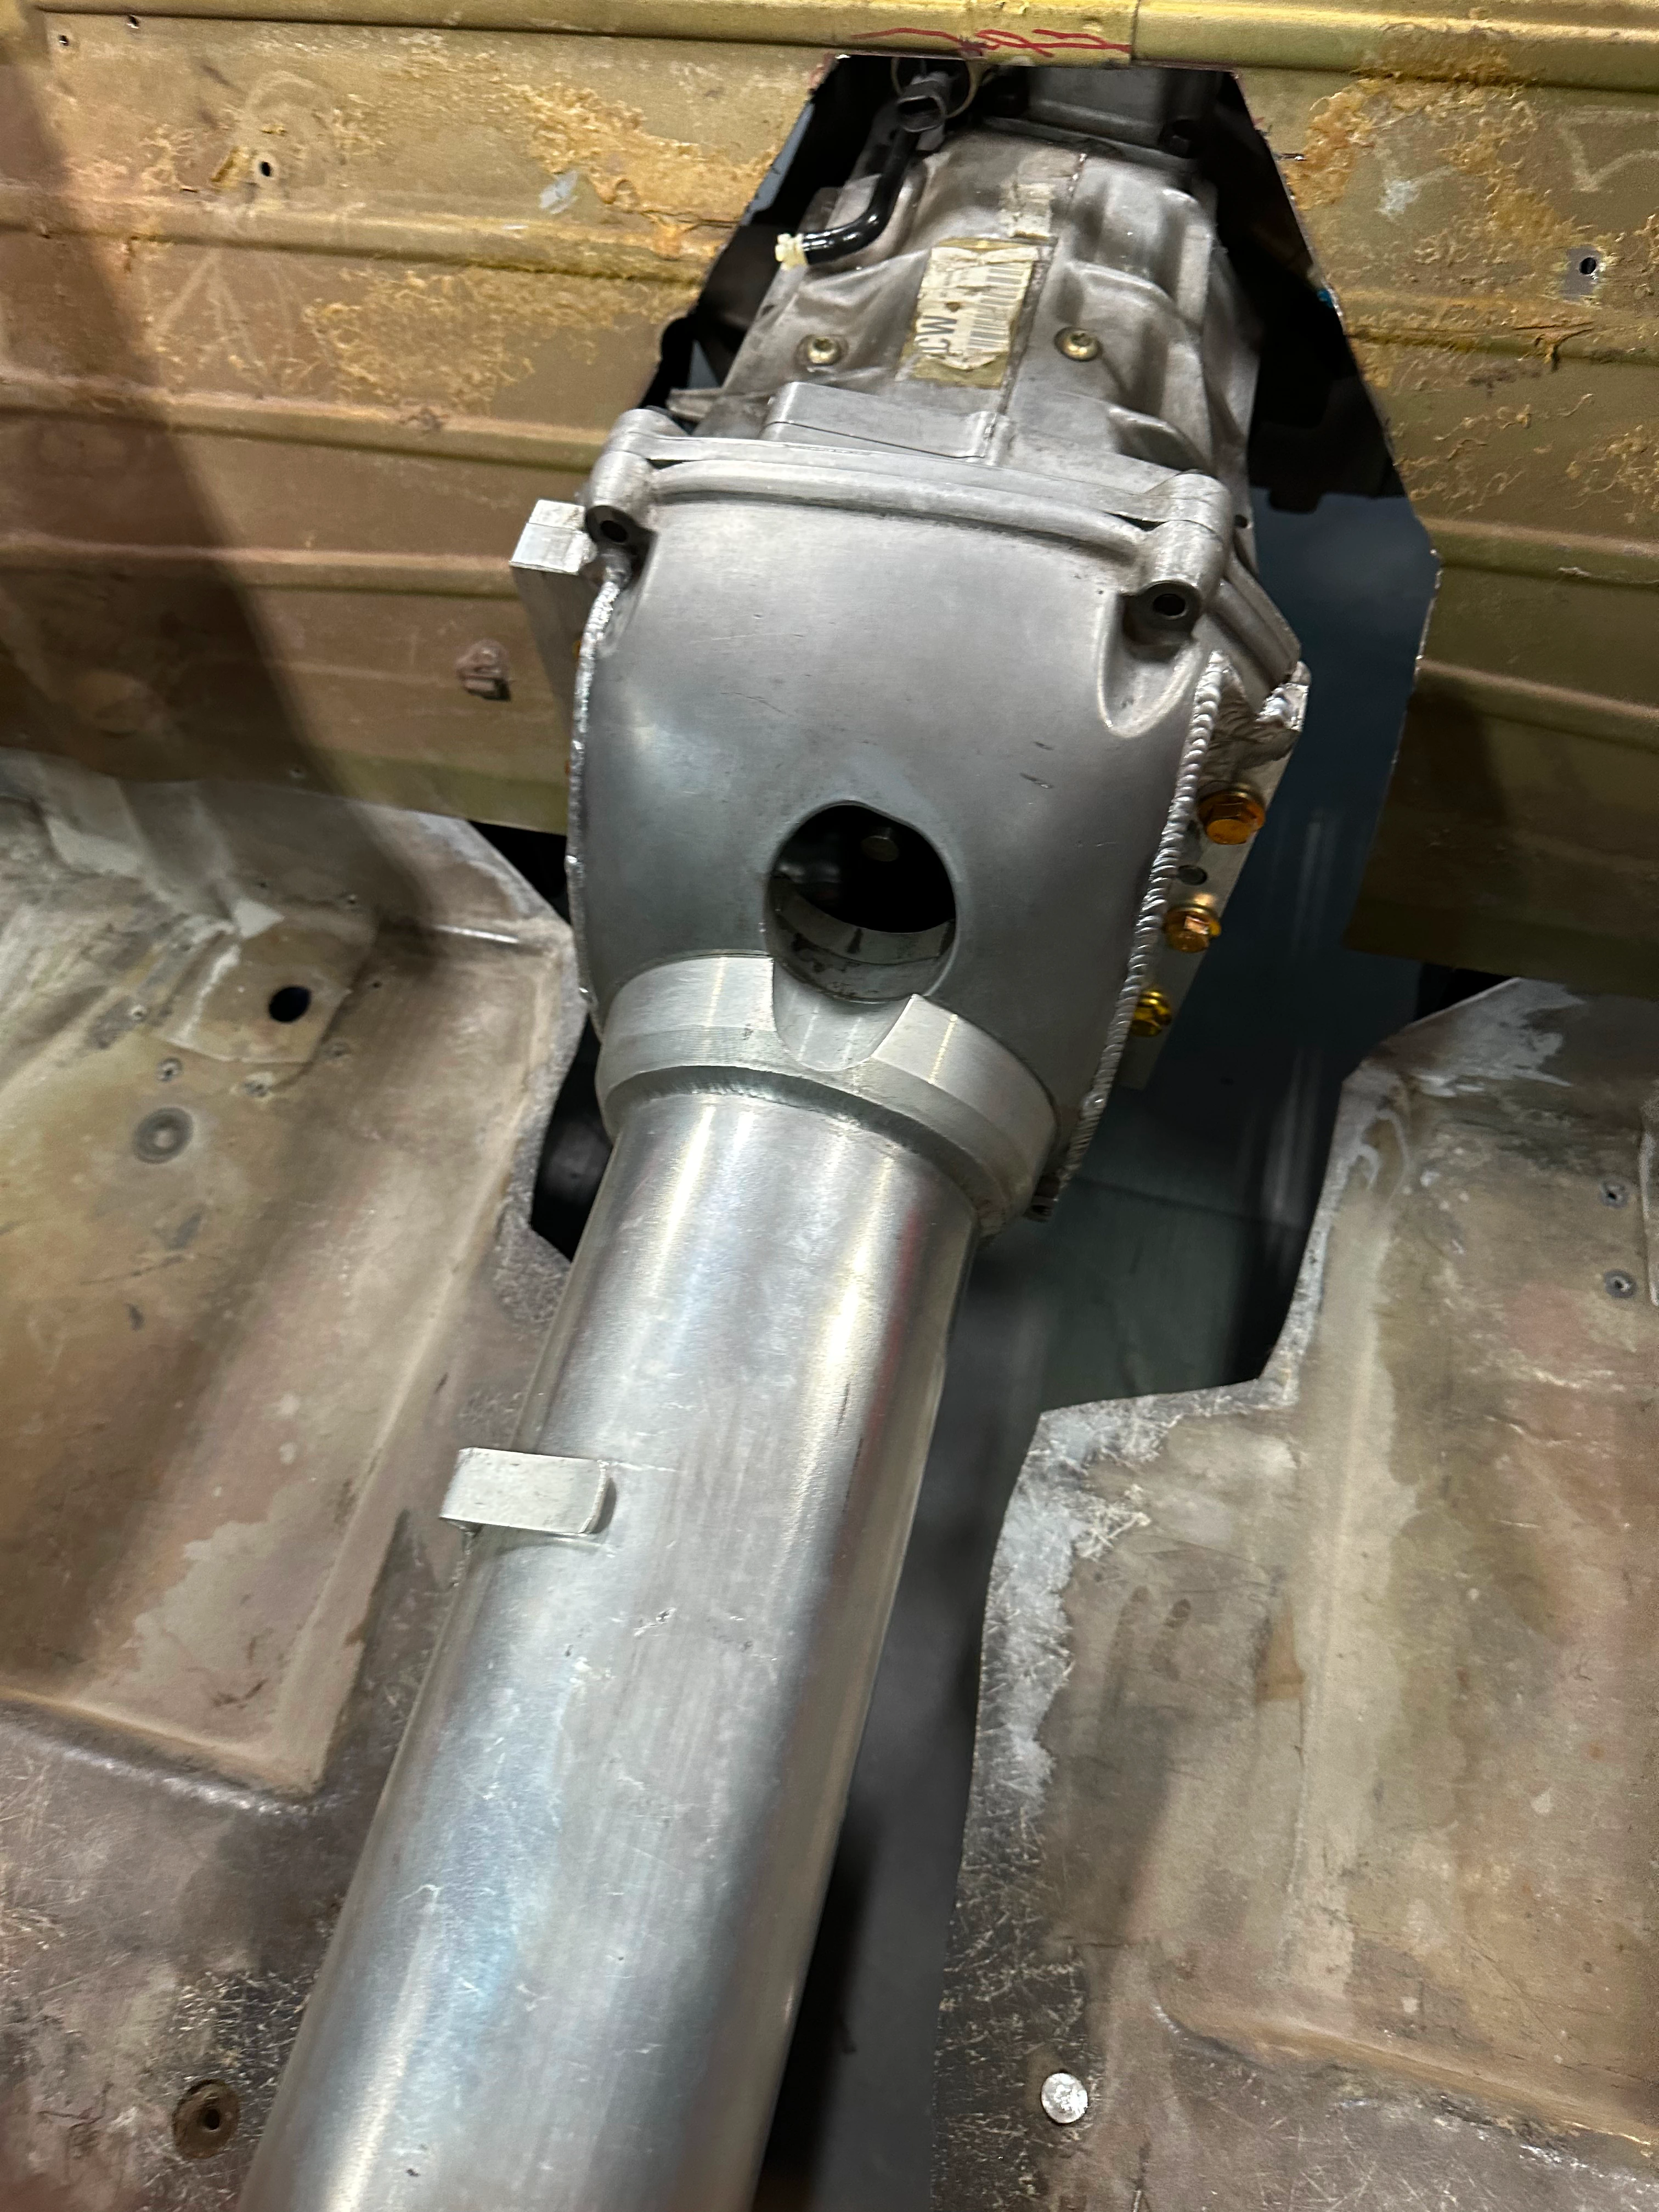
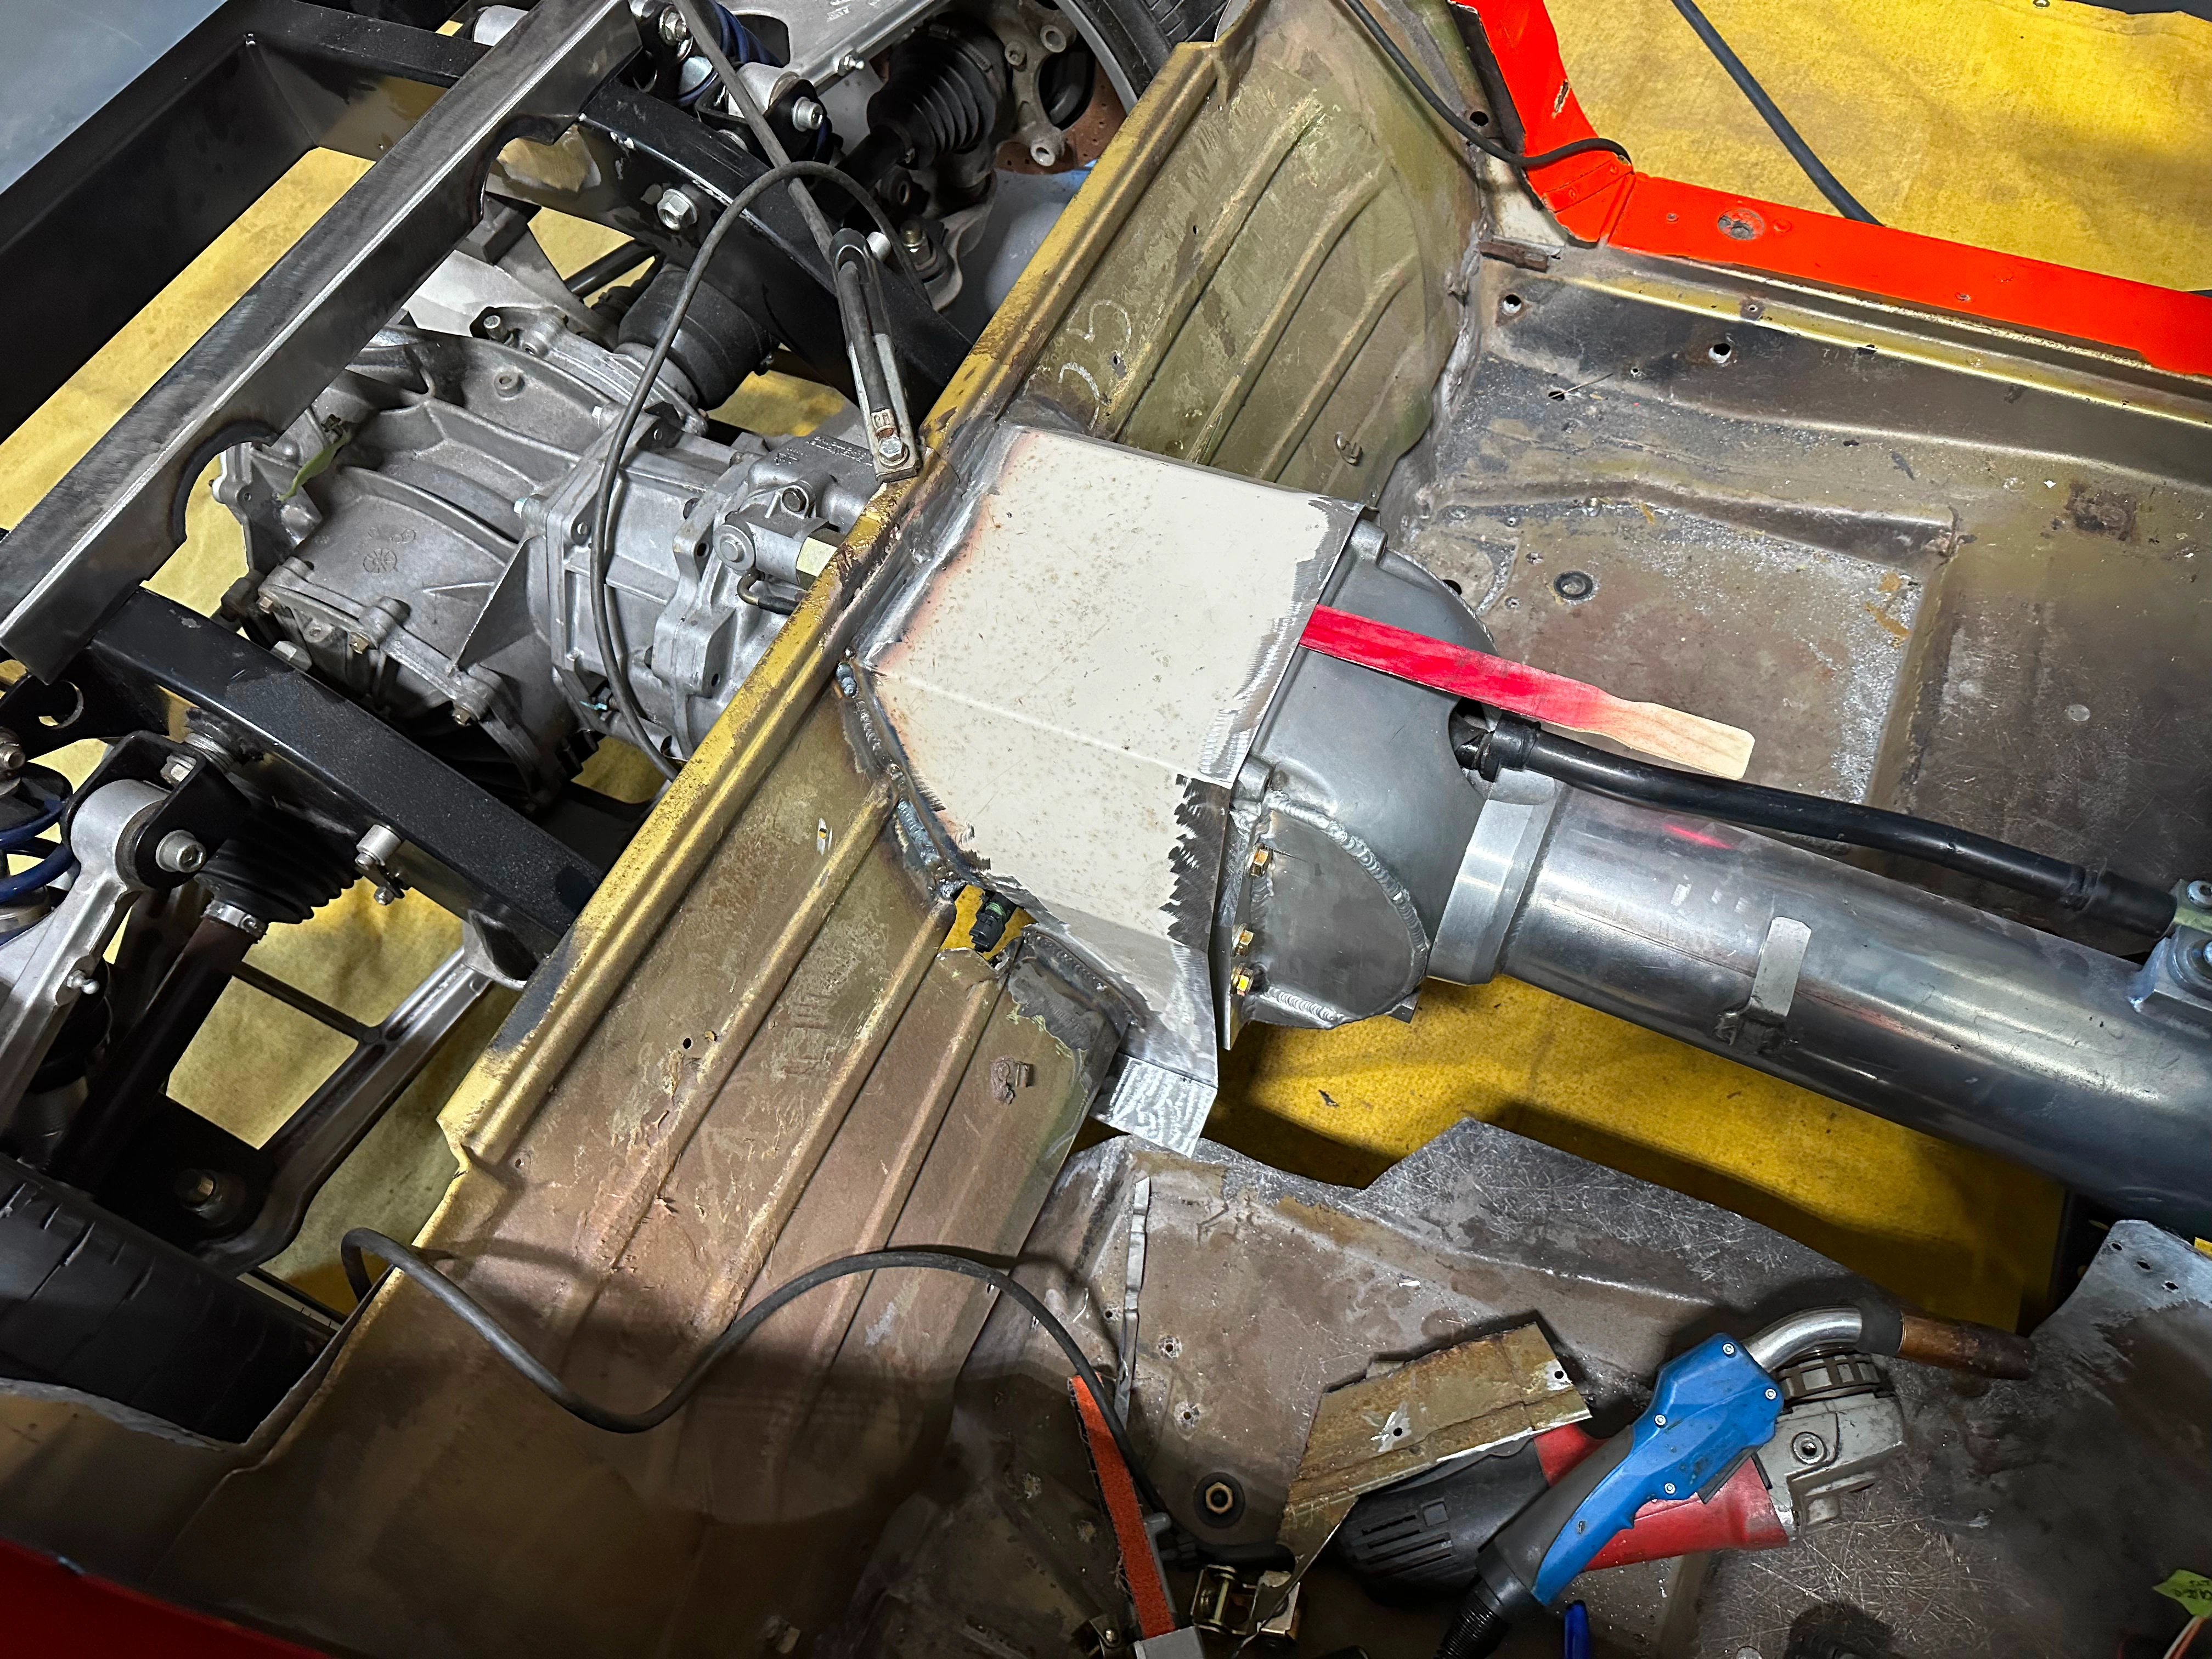
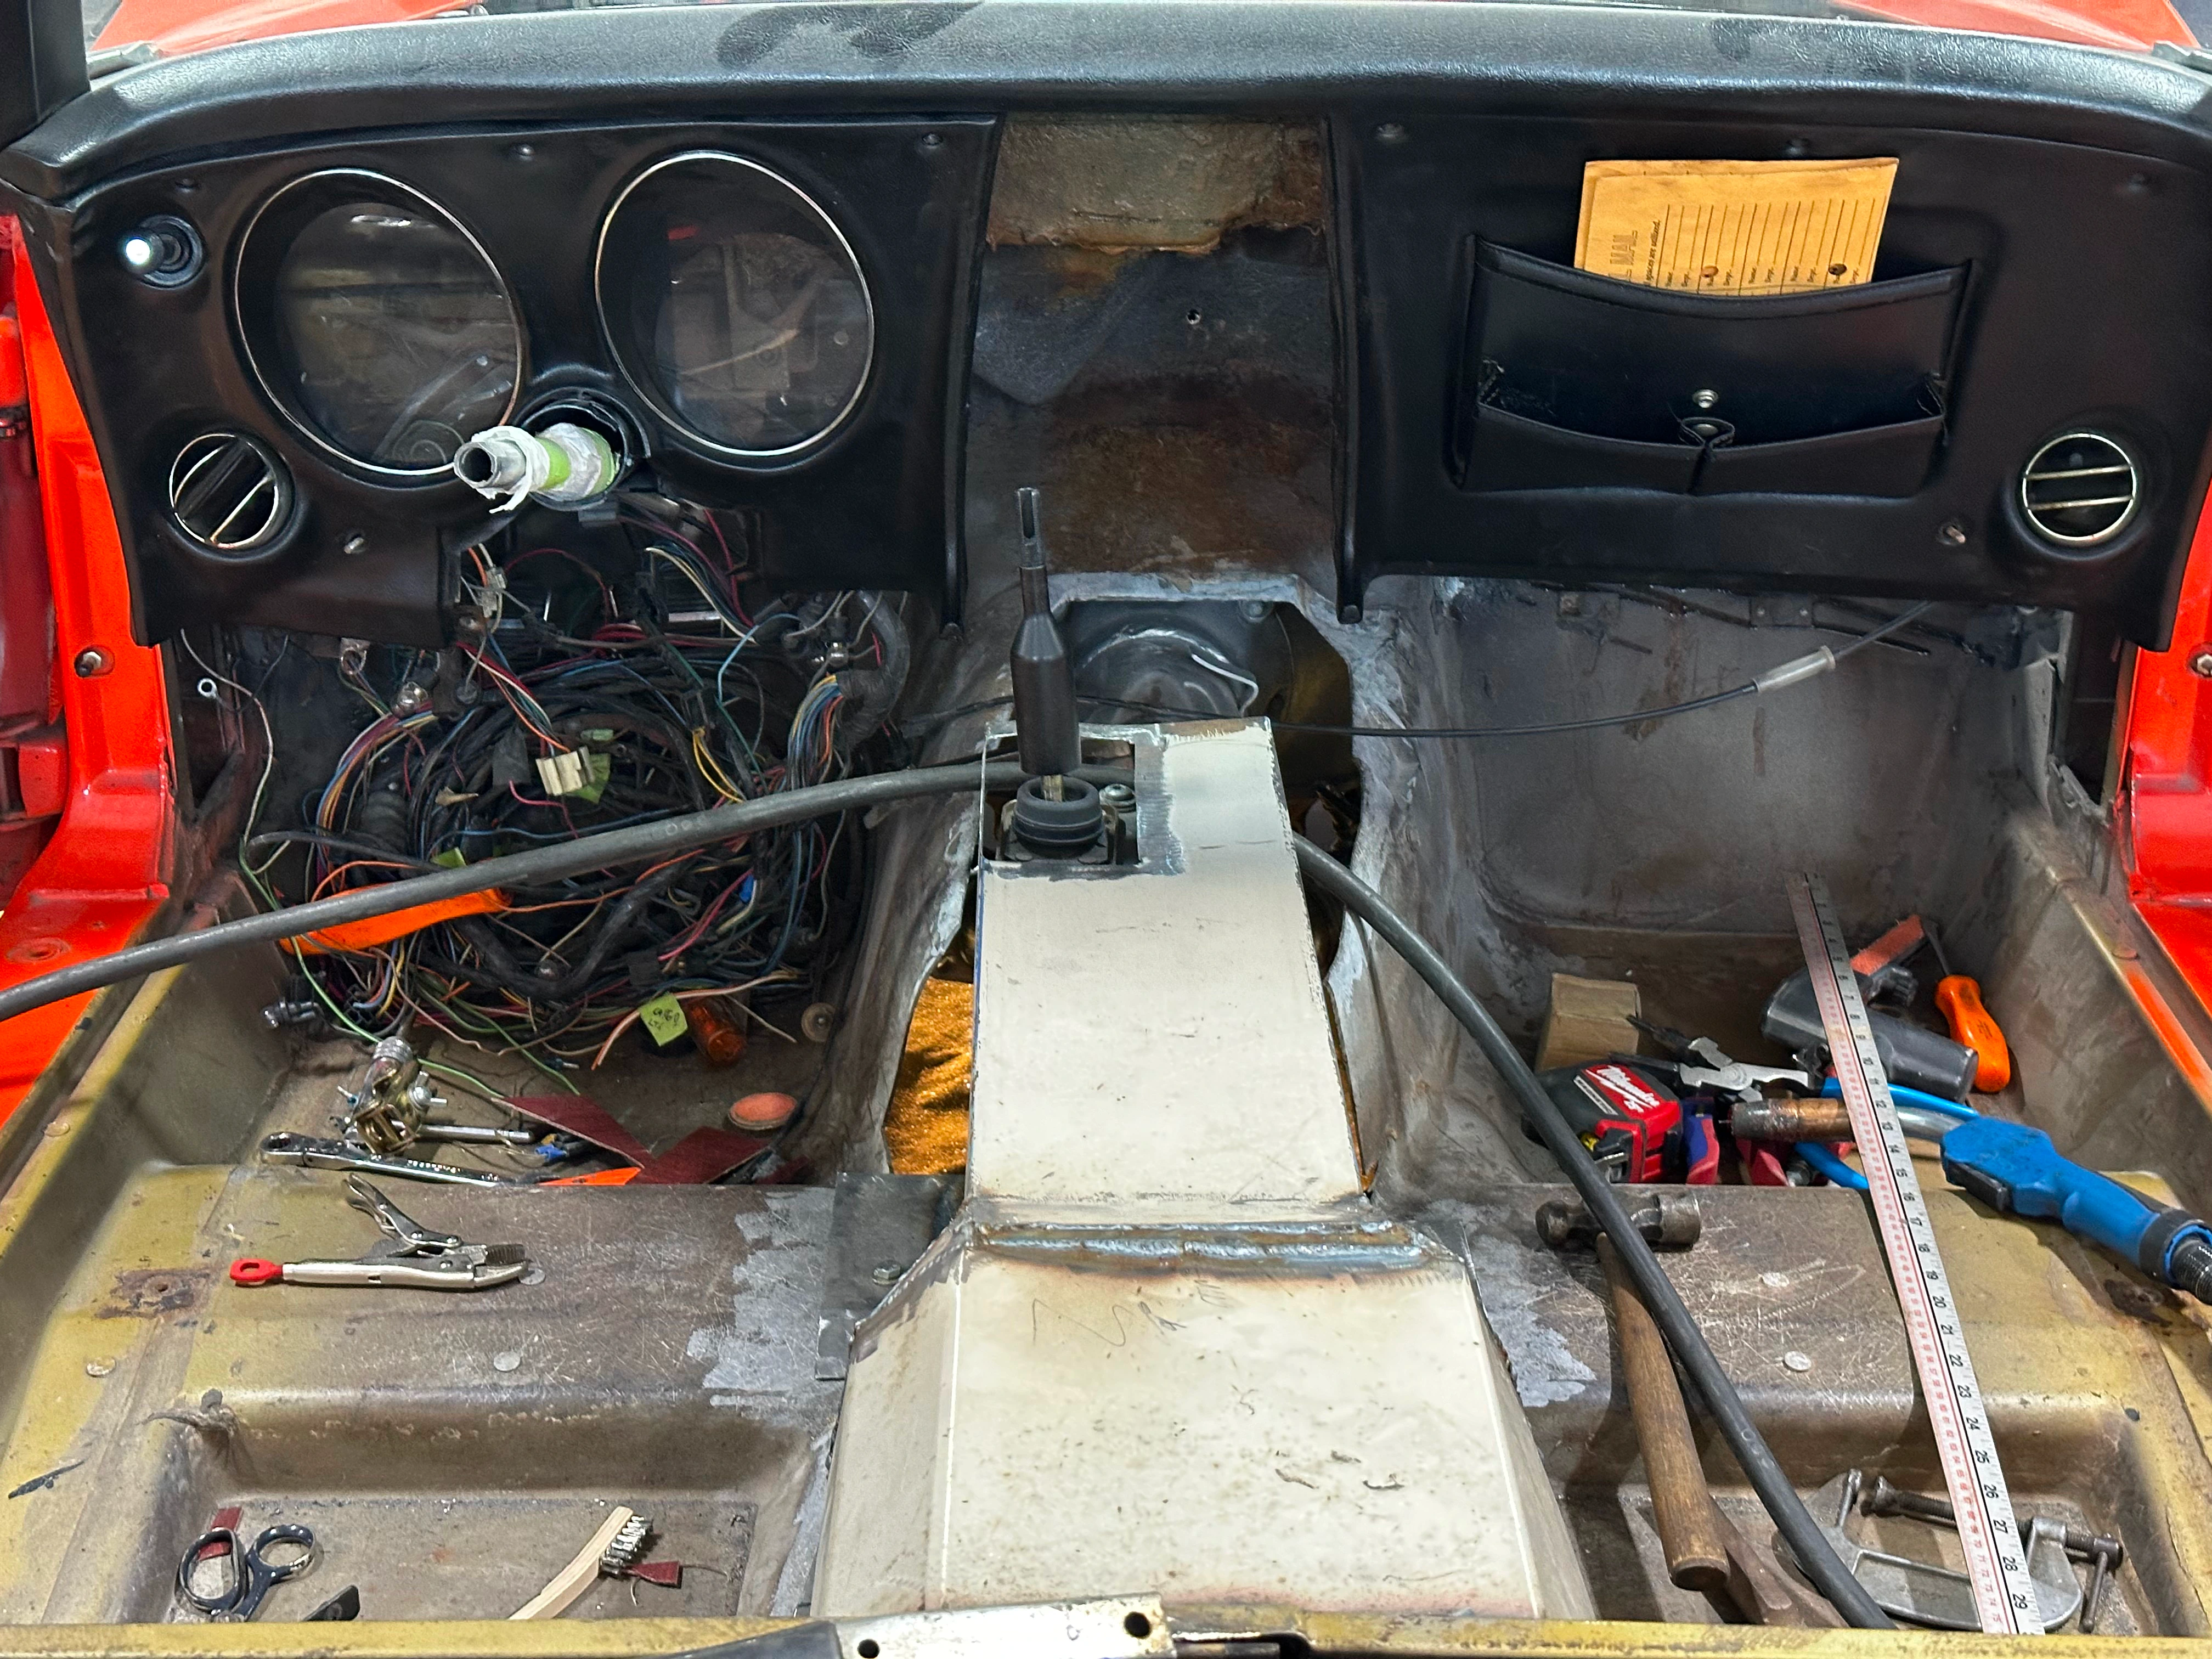
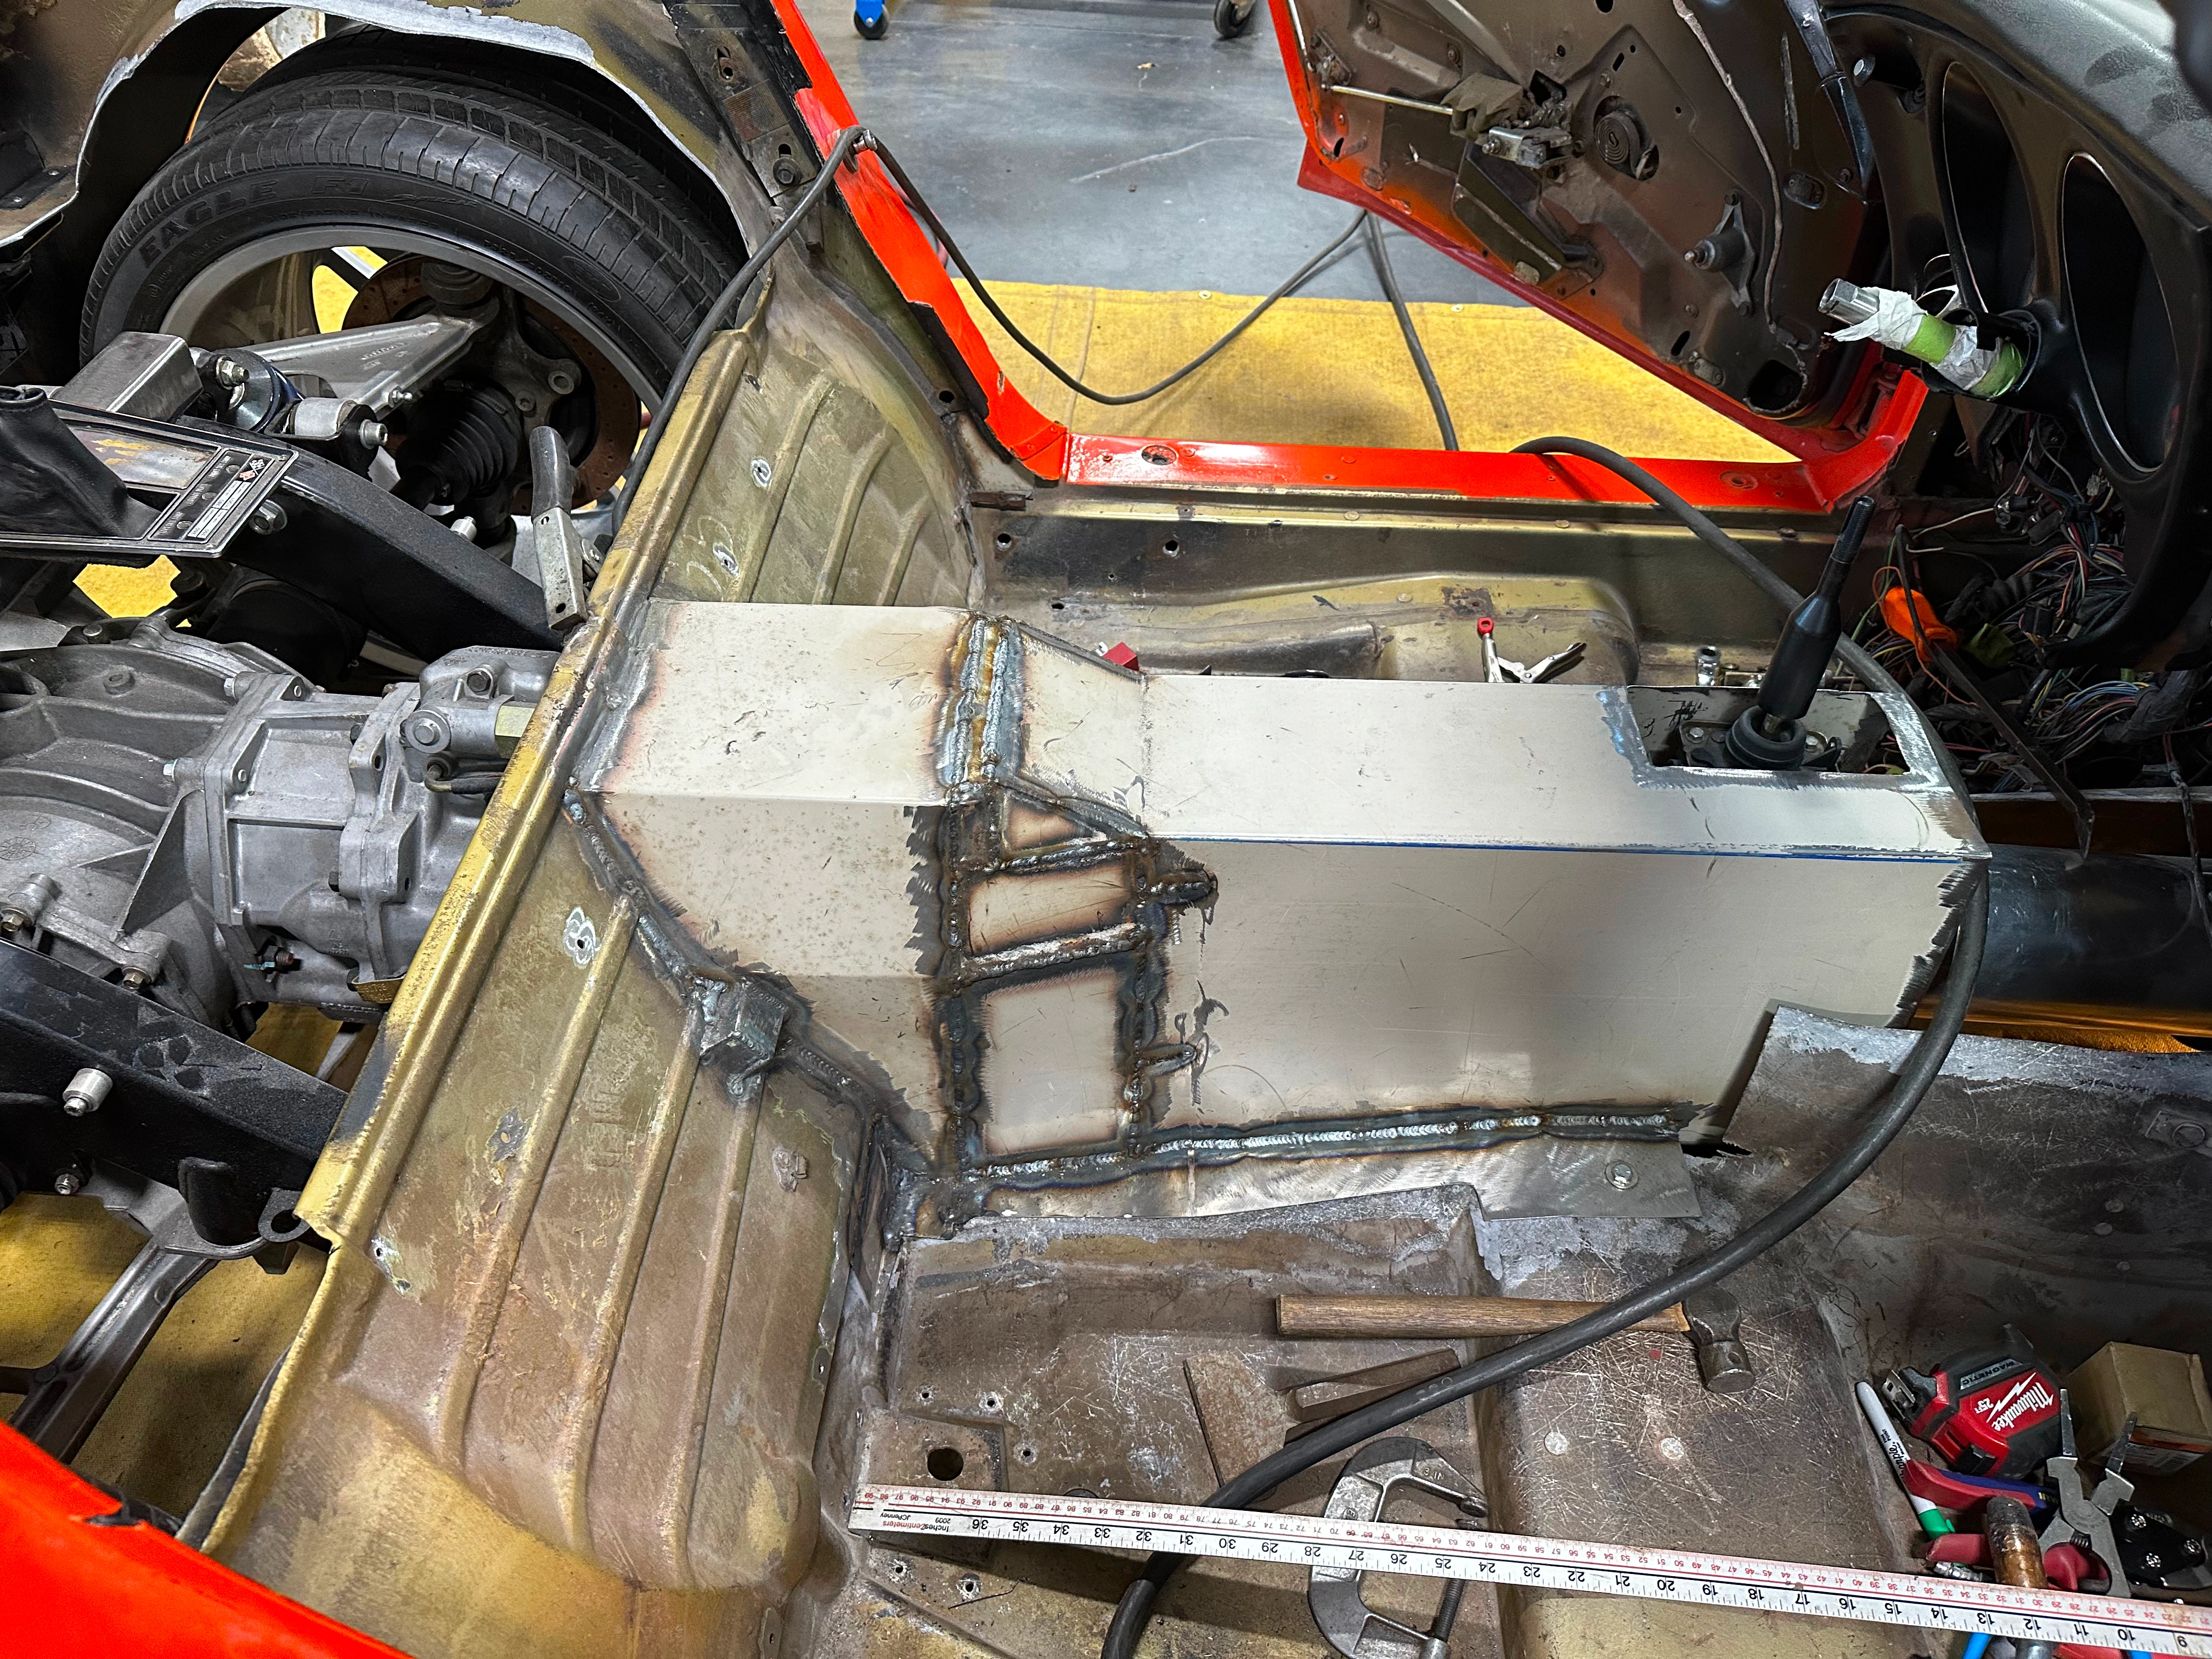
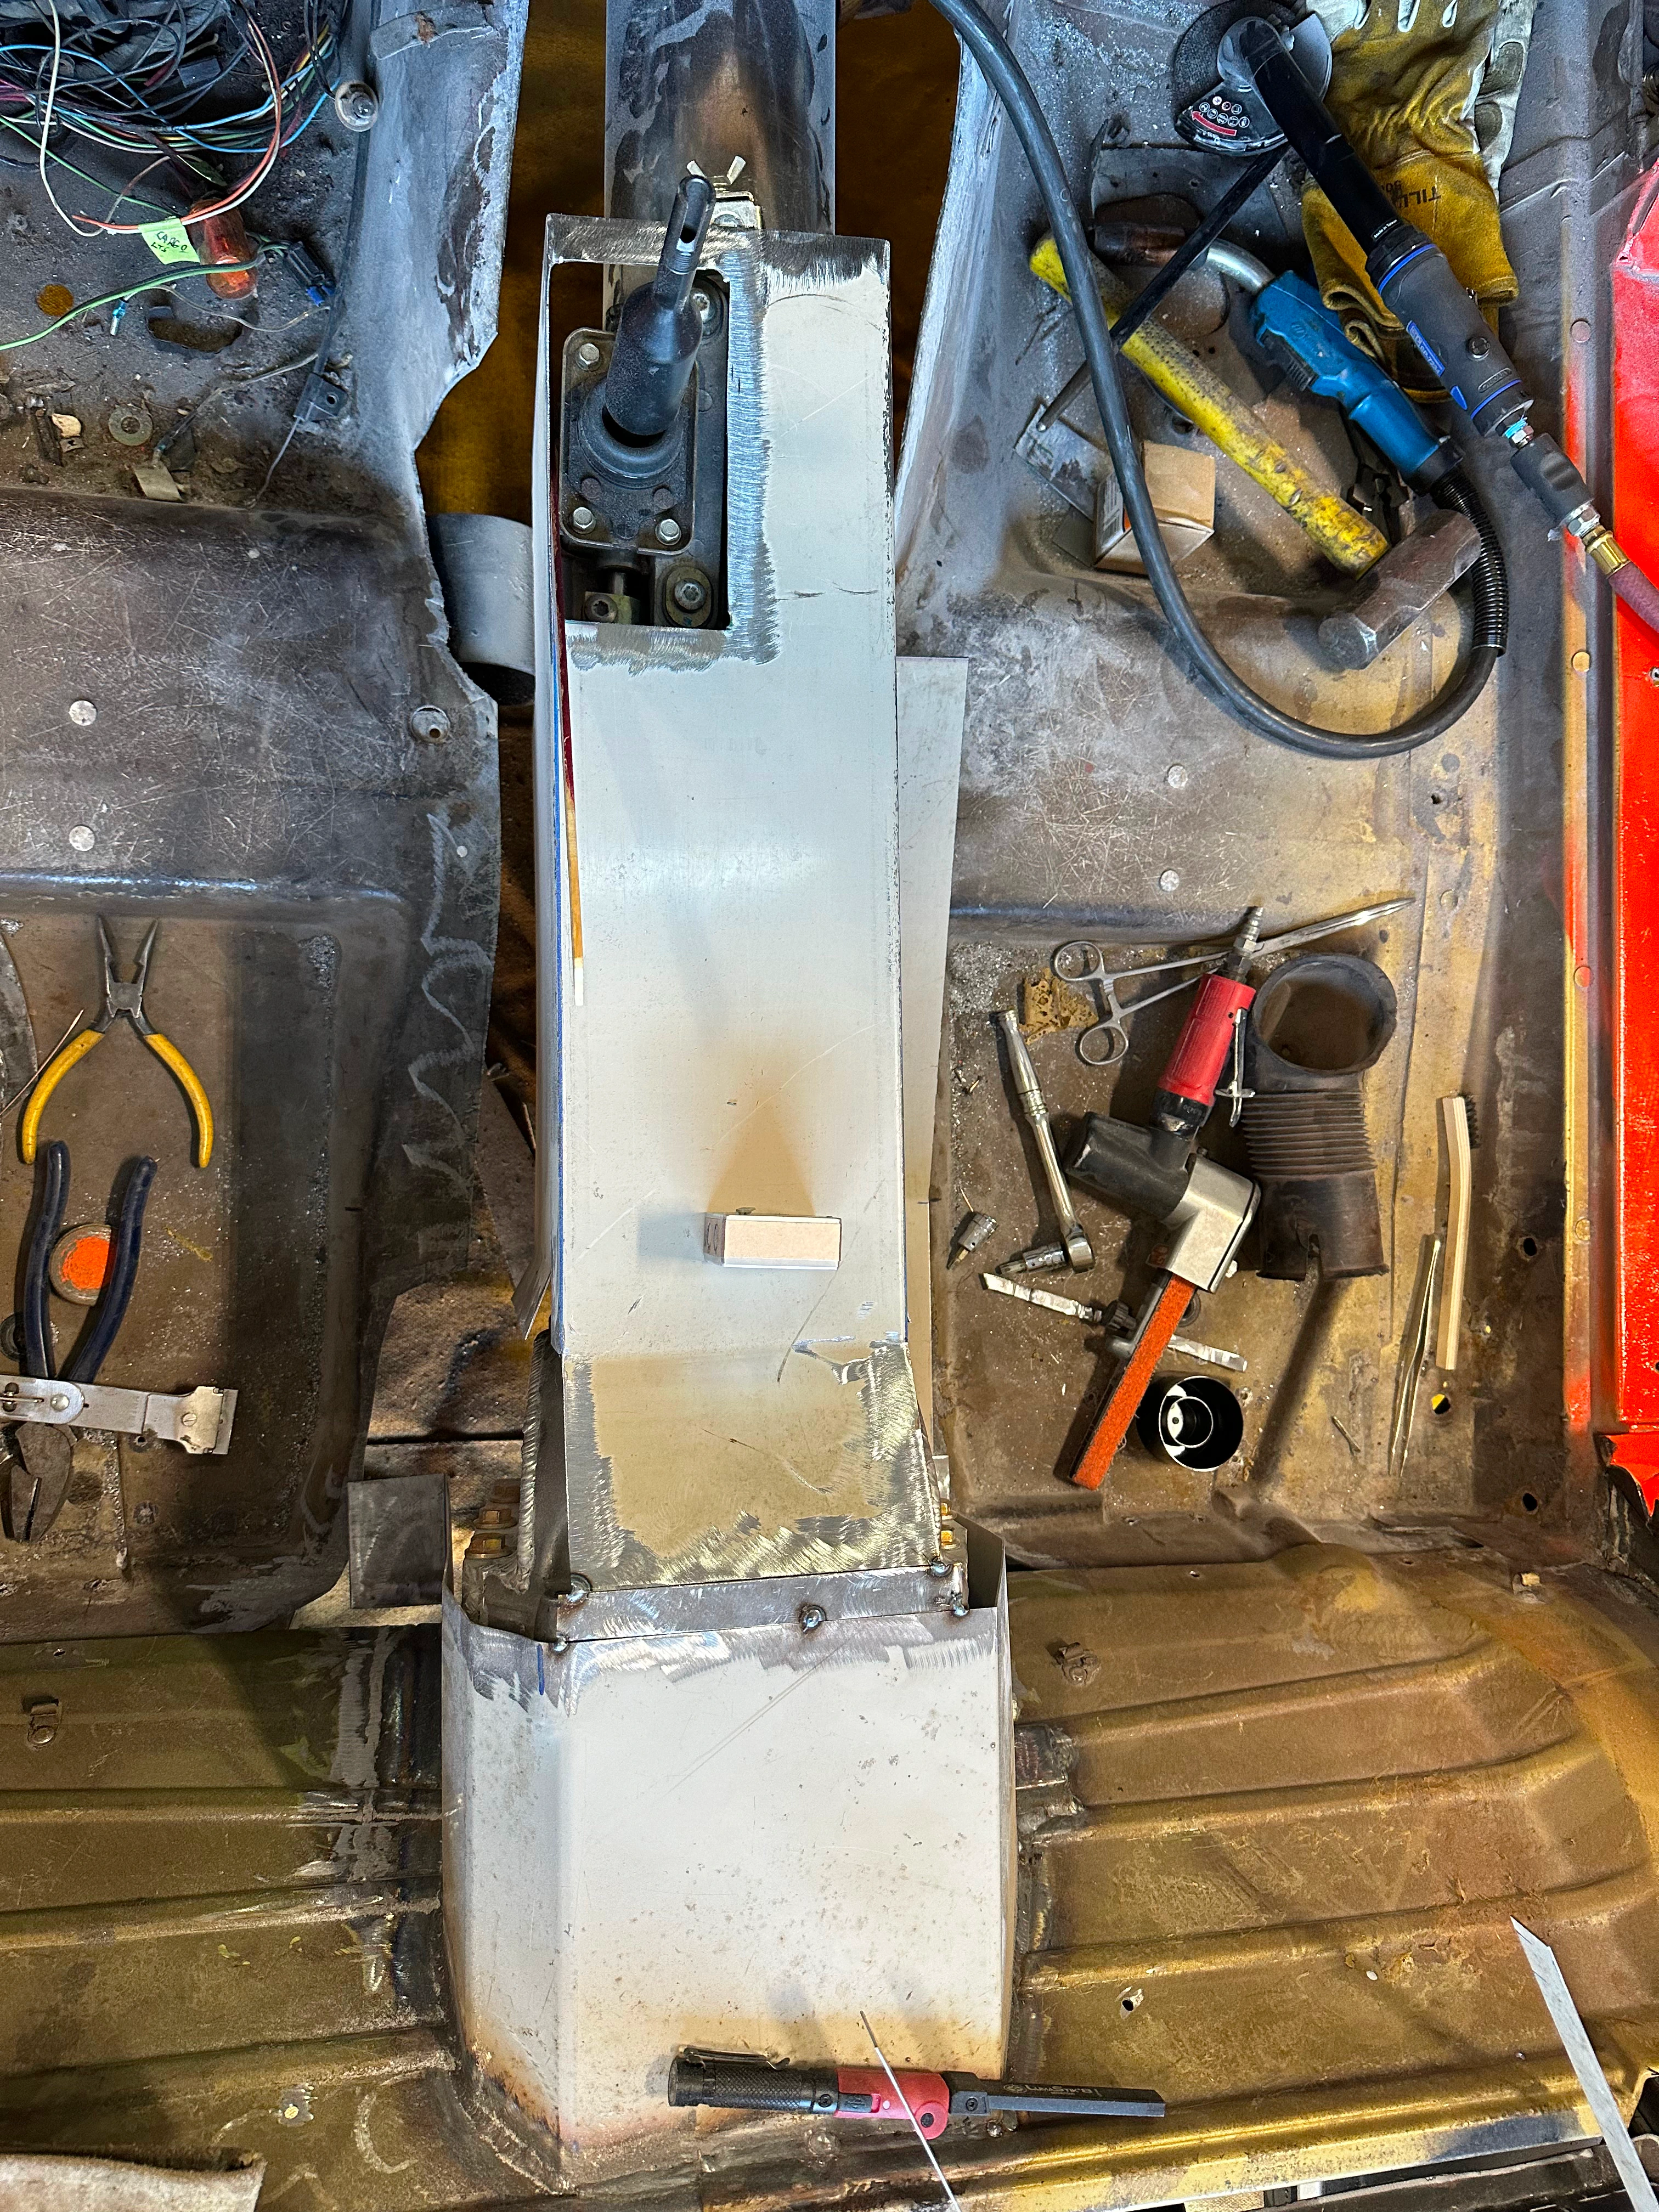
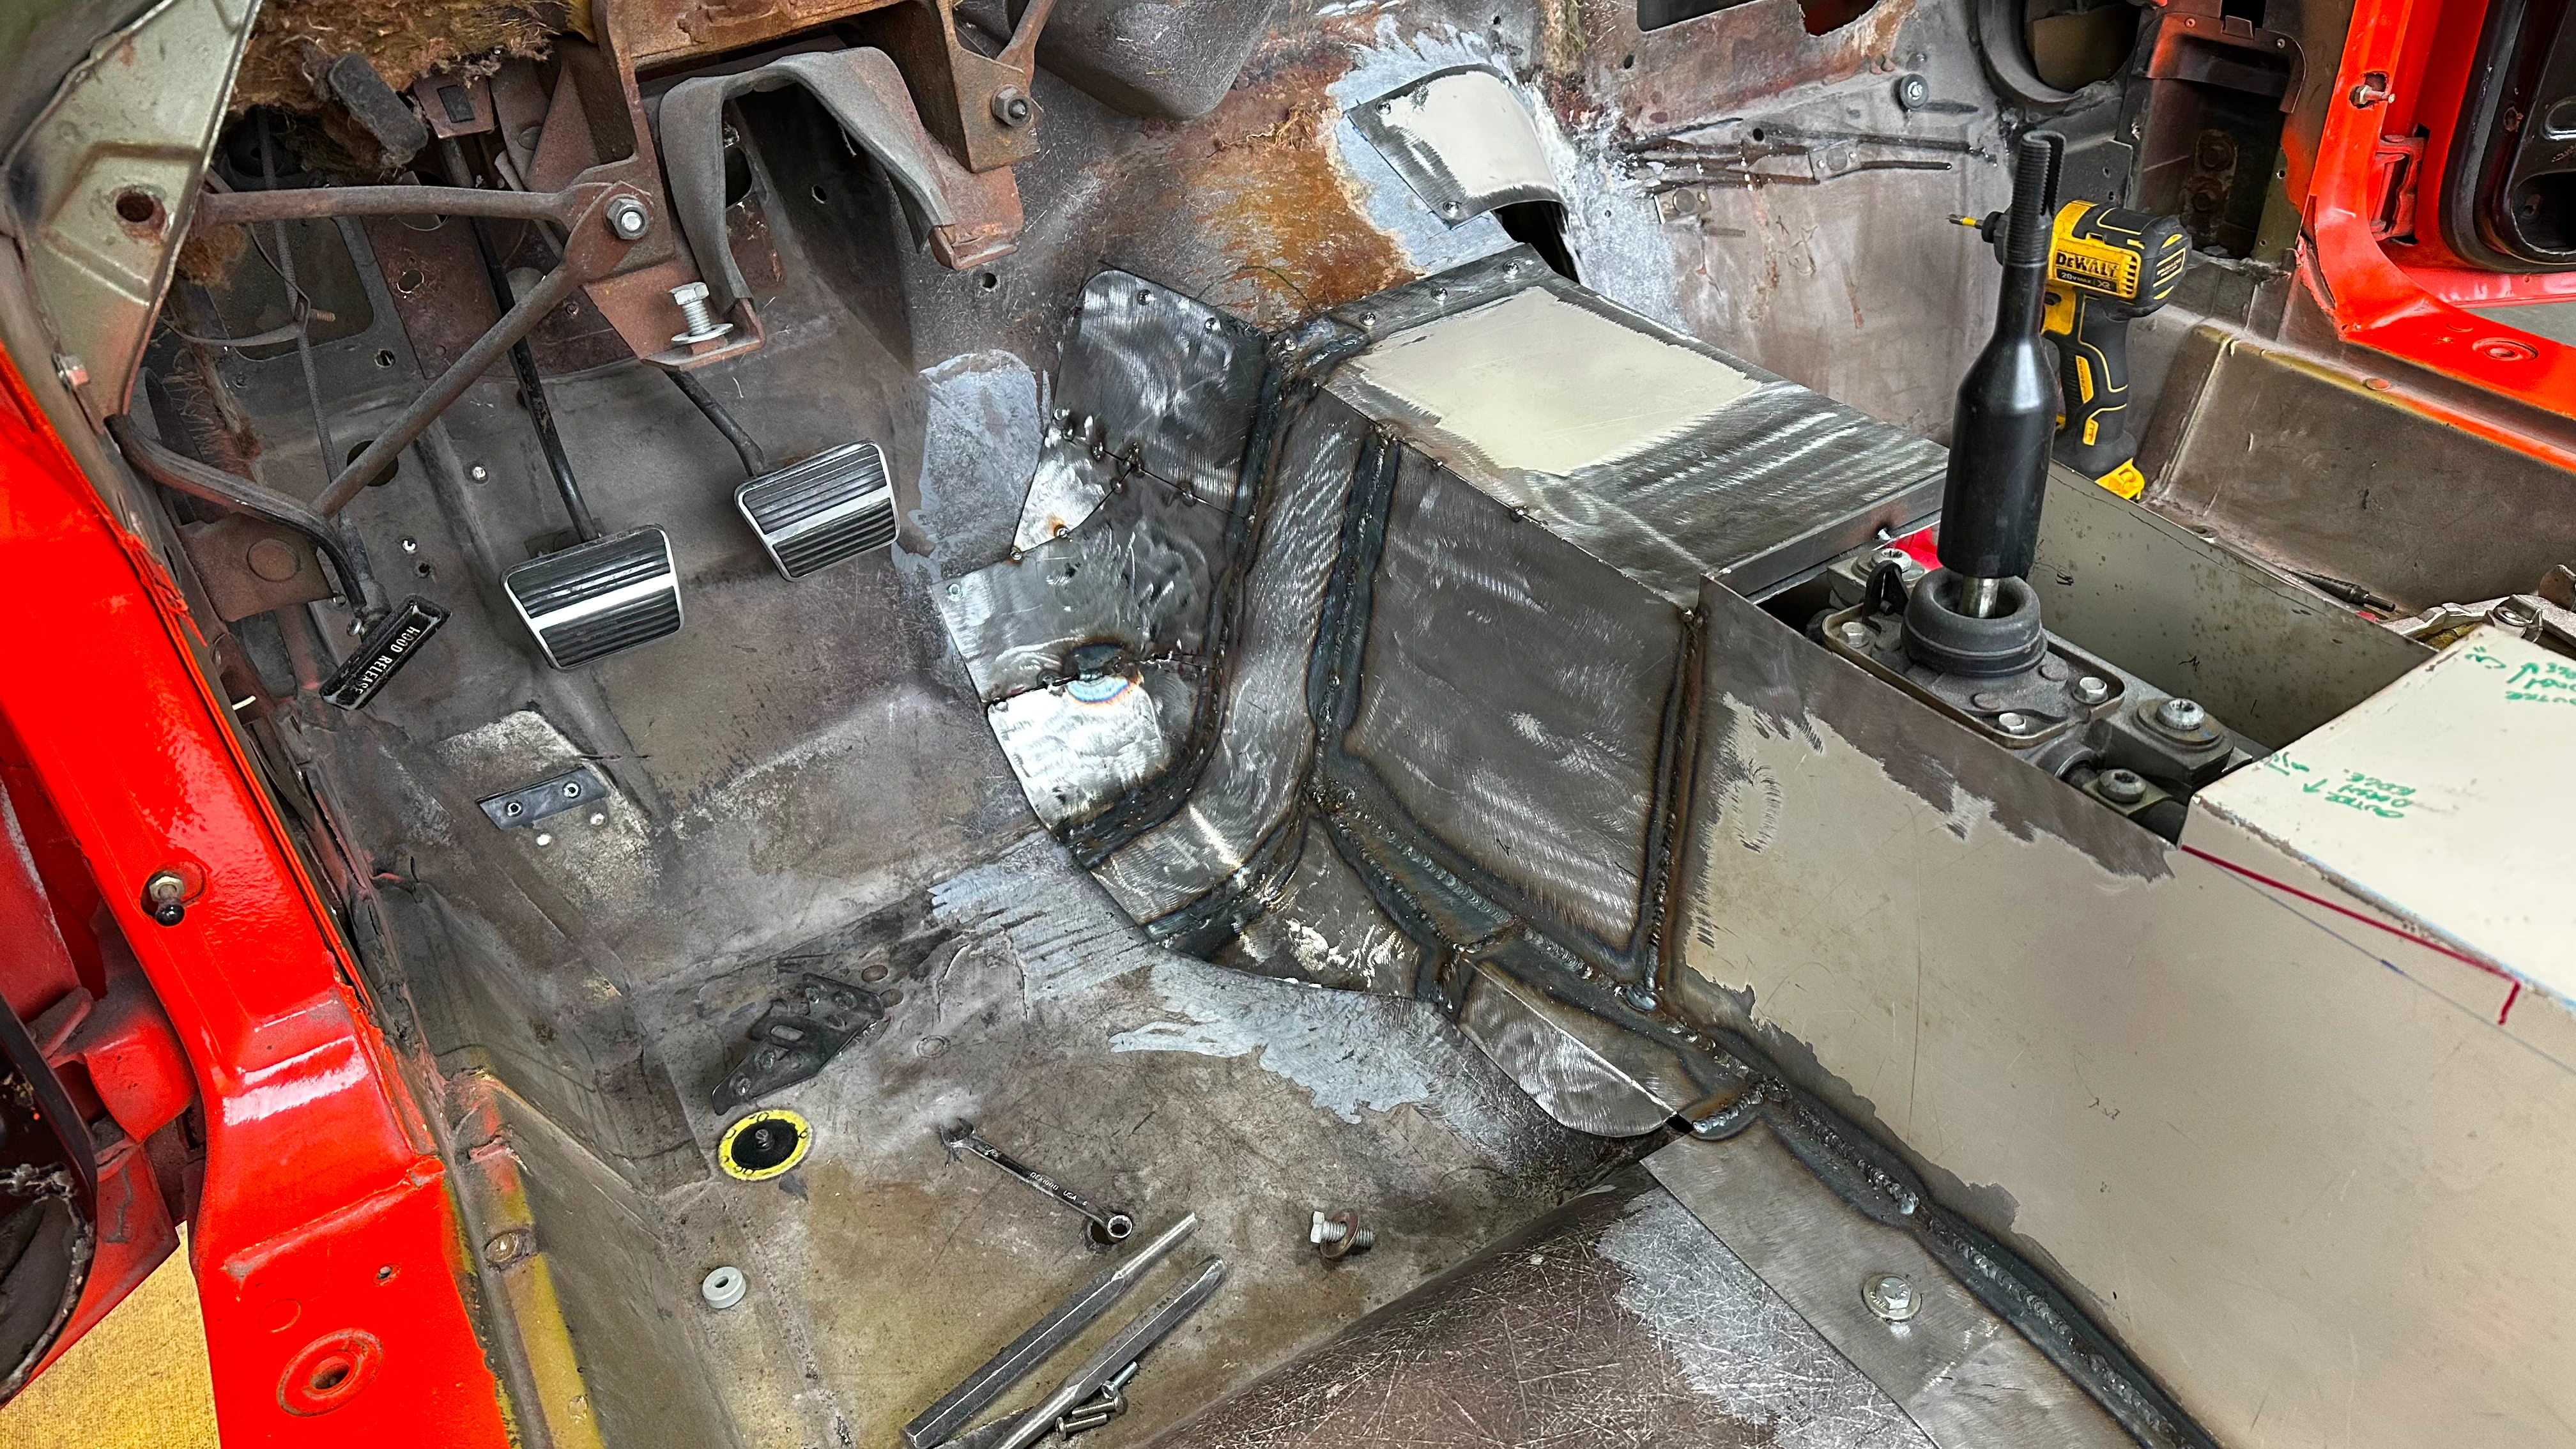
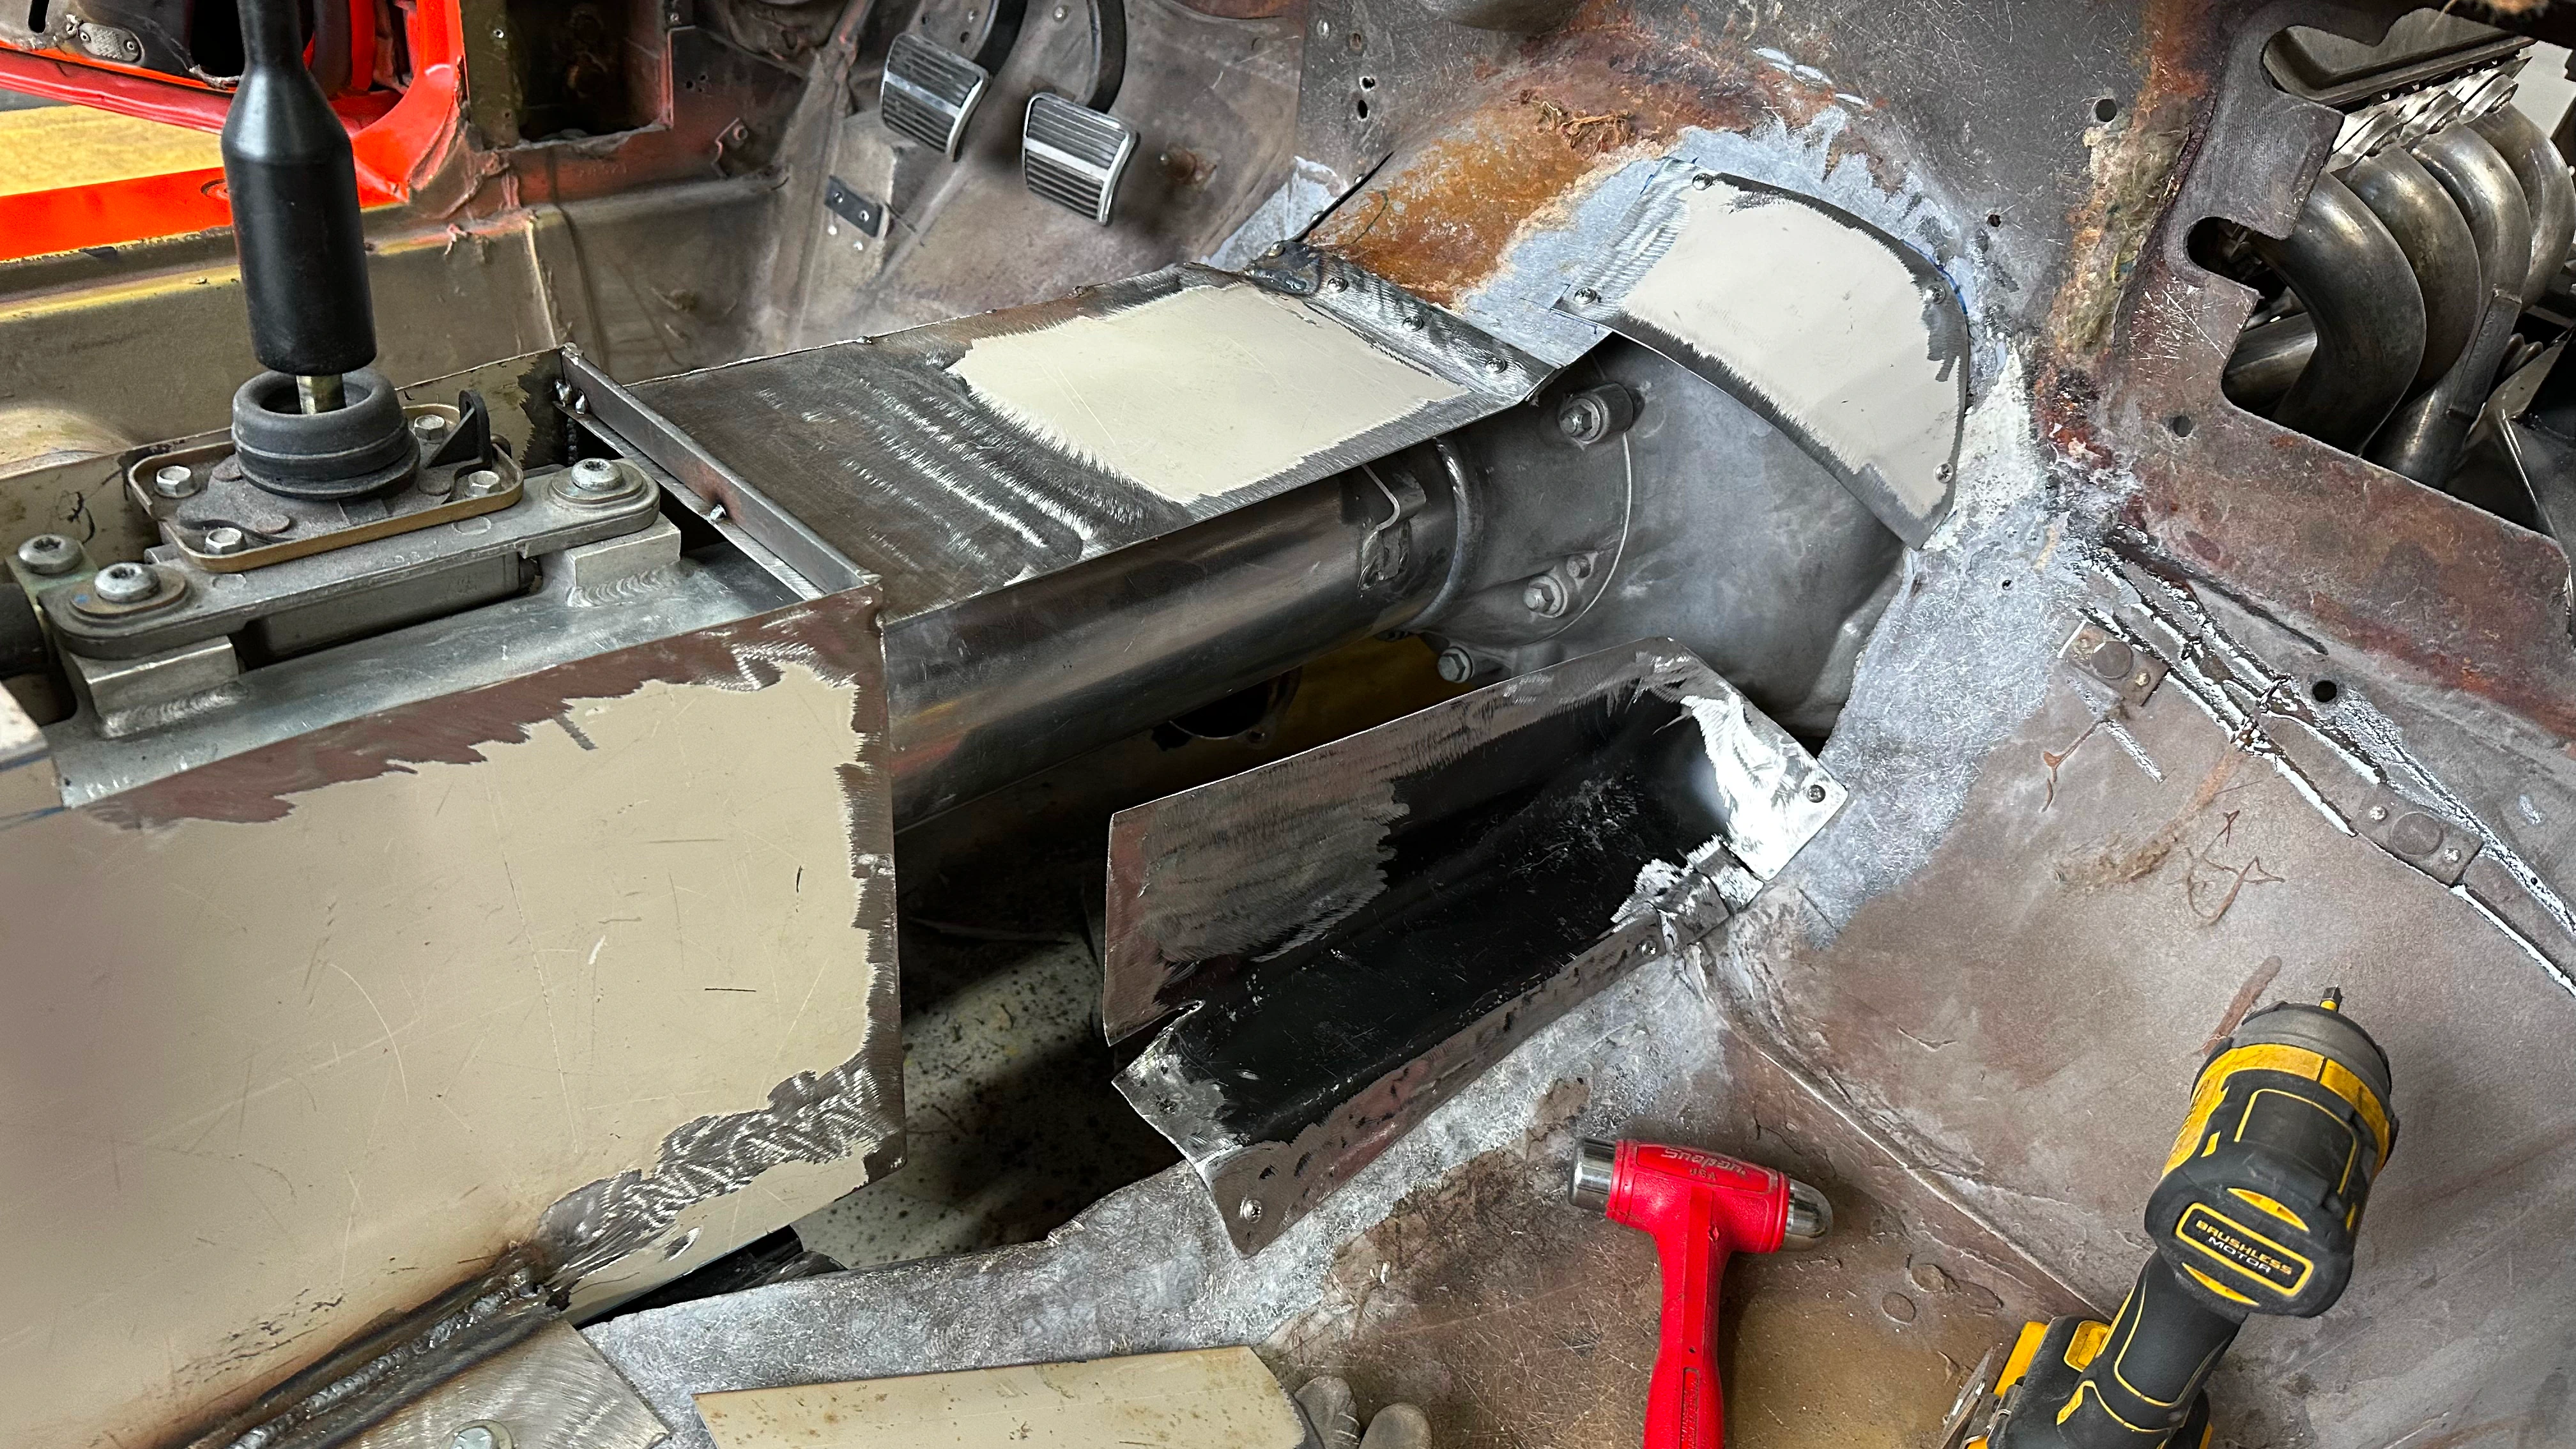
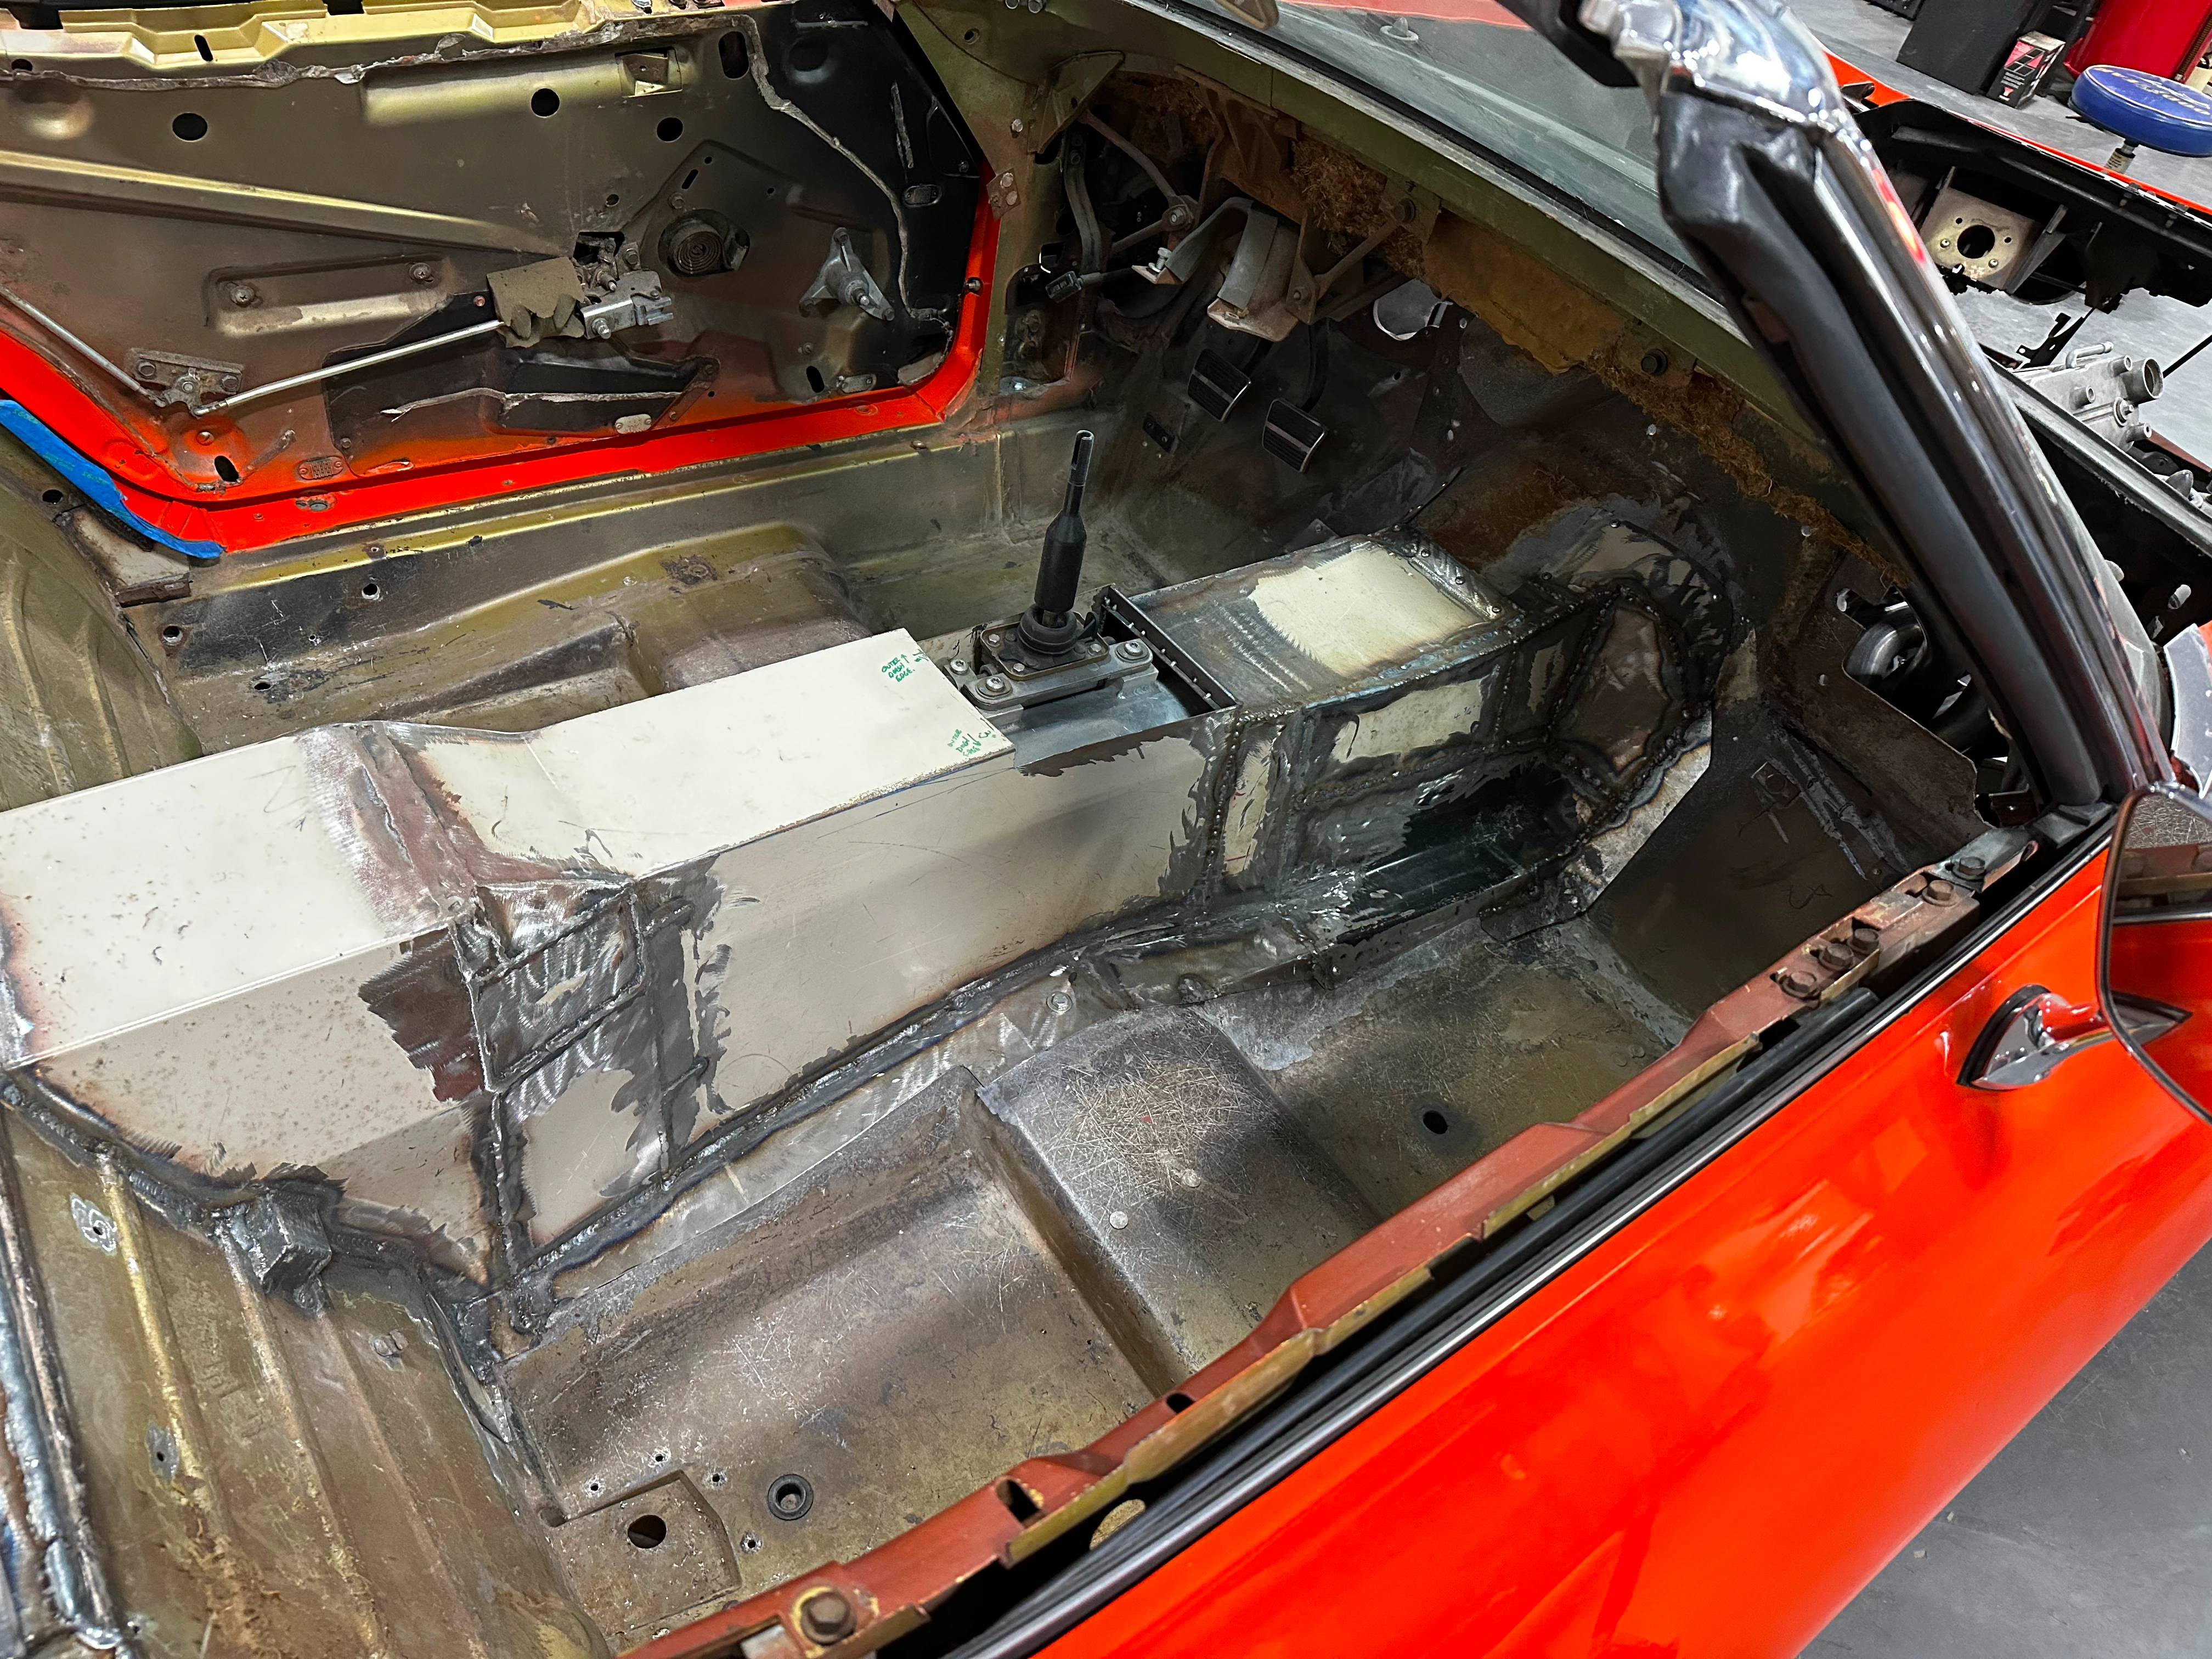
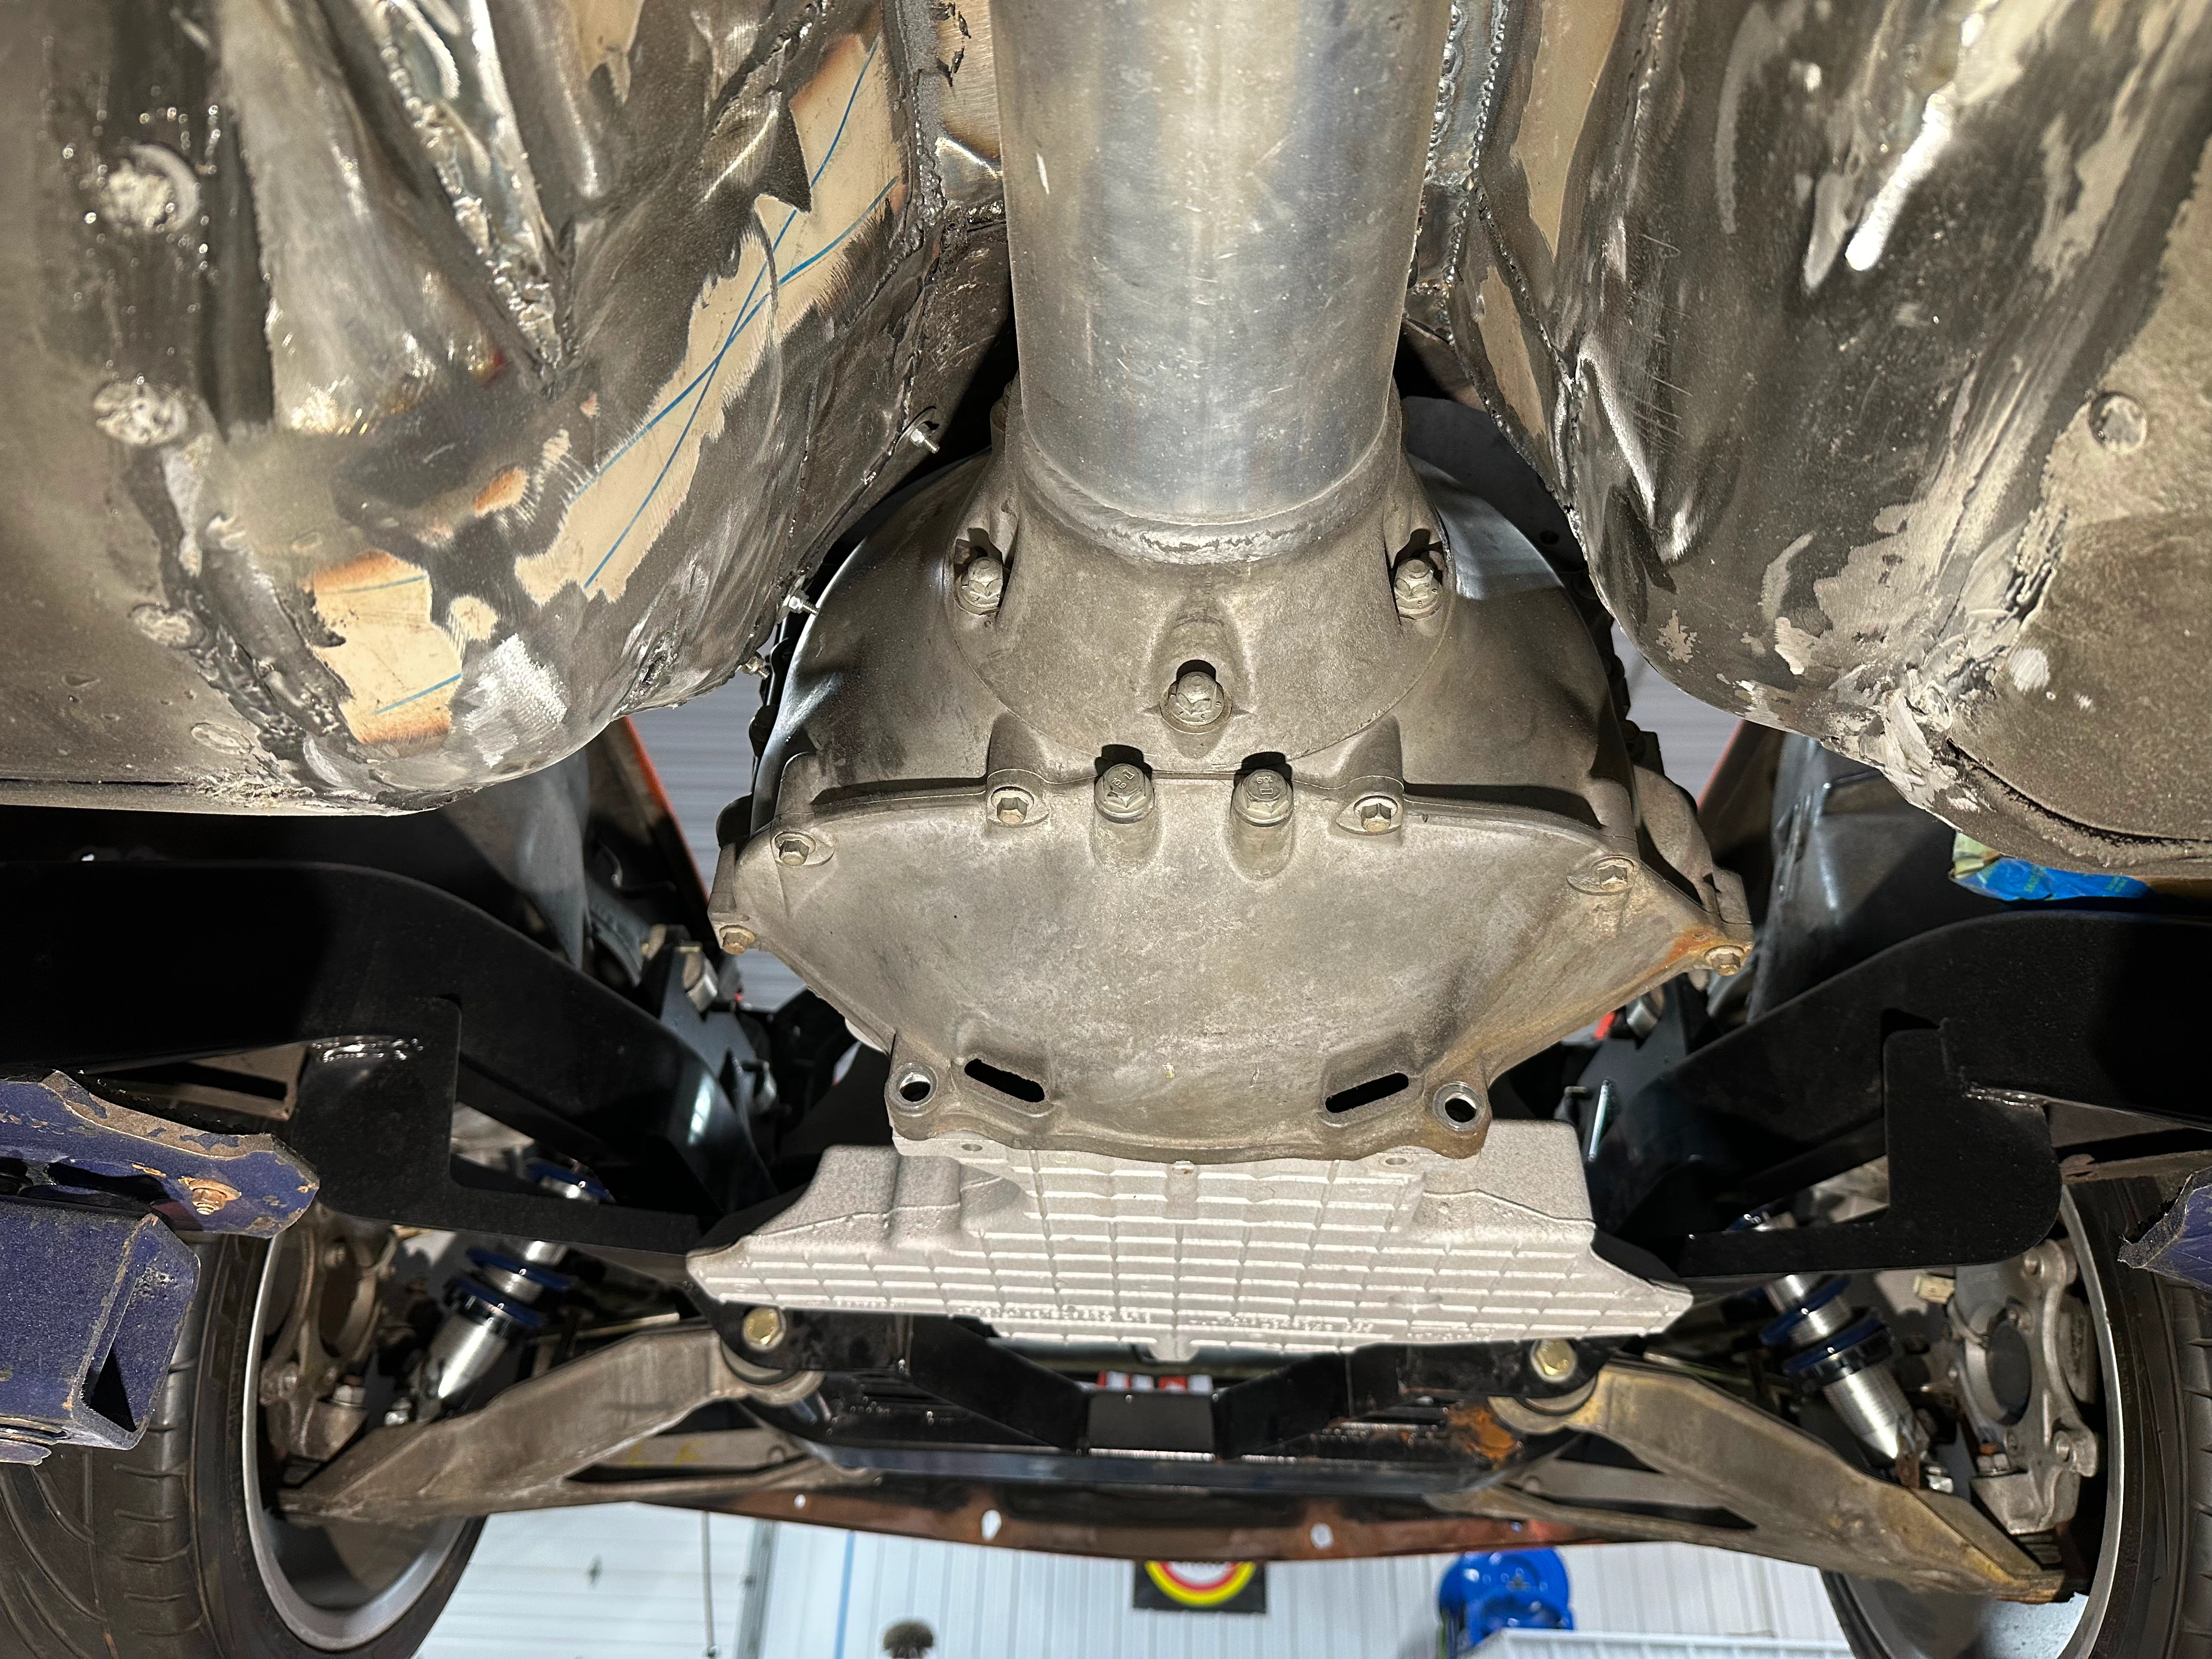
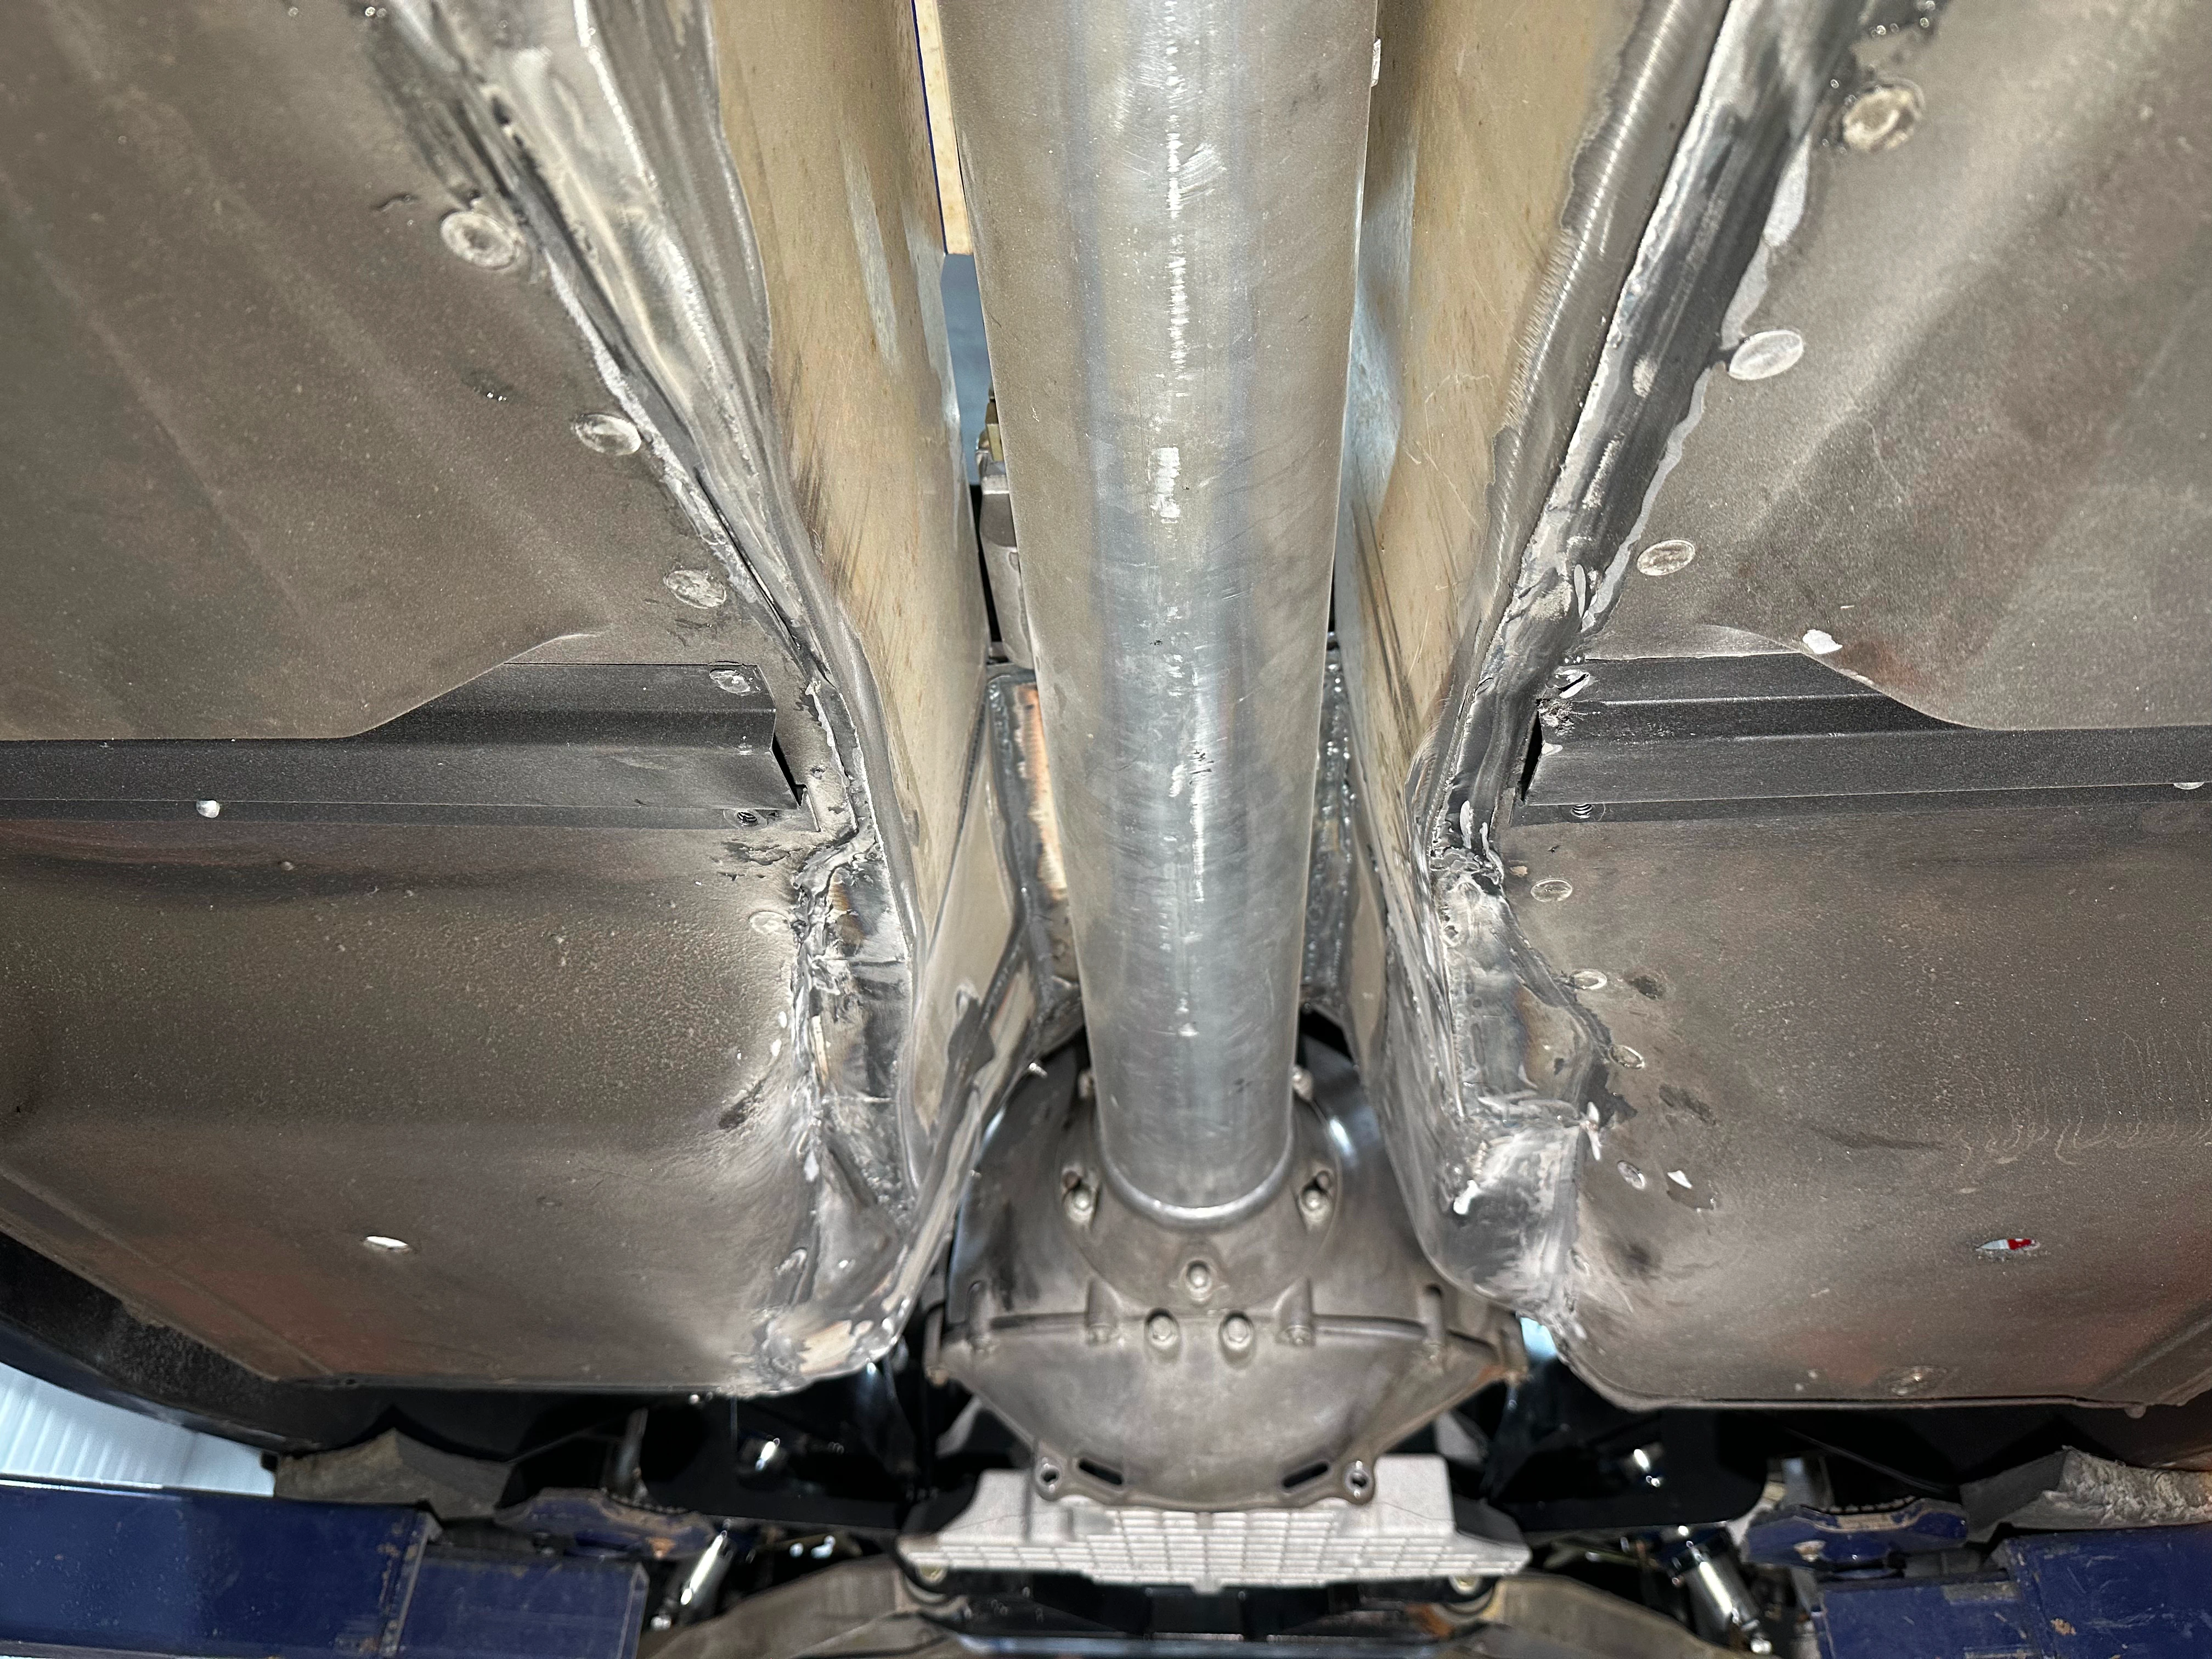
Torque Tube Tunnel
Next we needed to make a cover for the diet bellhousing and the torque tube. In hindsight, this could have been done just as easily (maybe easier, and maybe better too) in fiberglass. We made it out of sheet metal and it came out well. We kept it as tight to the transaxle as possible. We glued and riveted it into the floor once the whole tunnel was done.

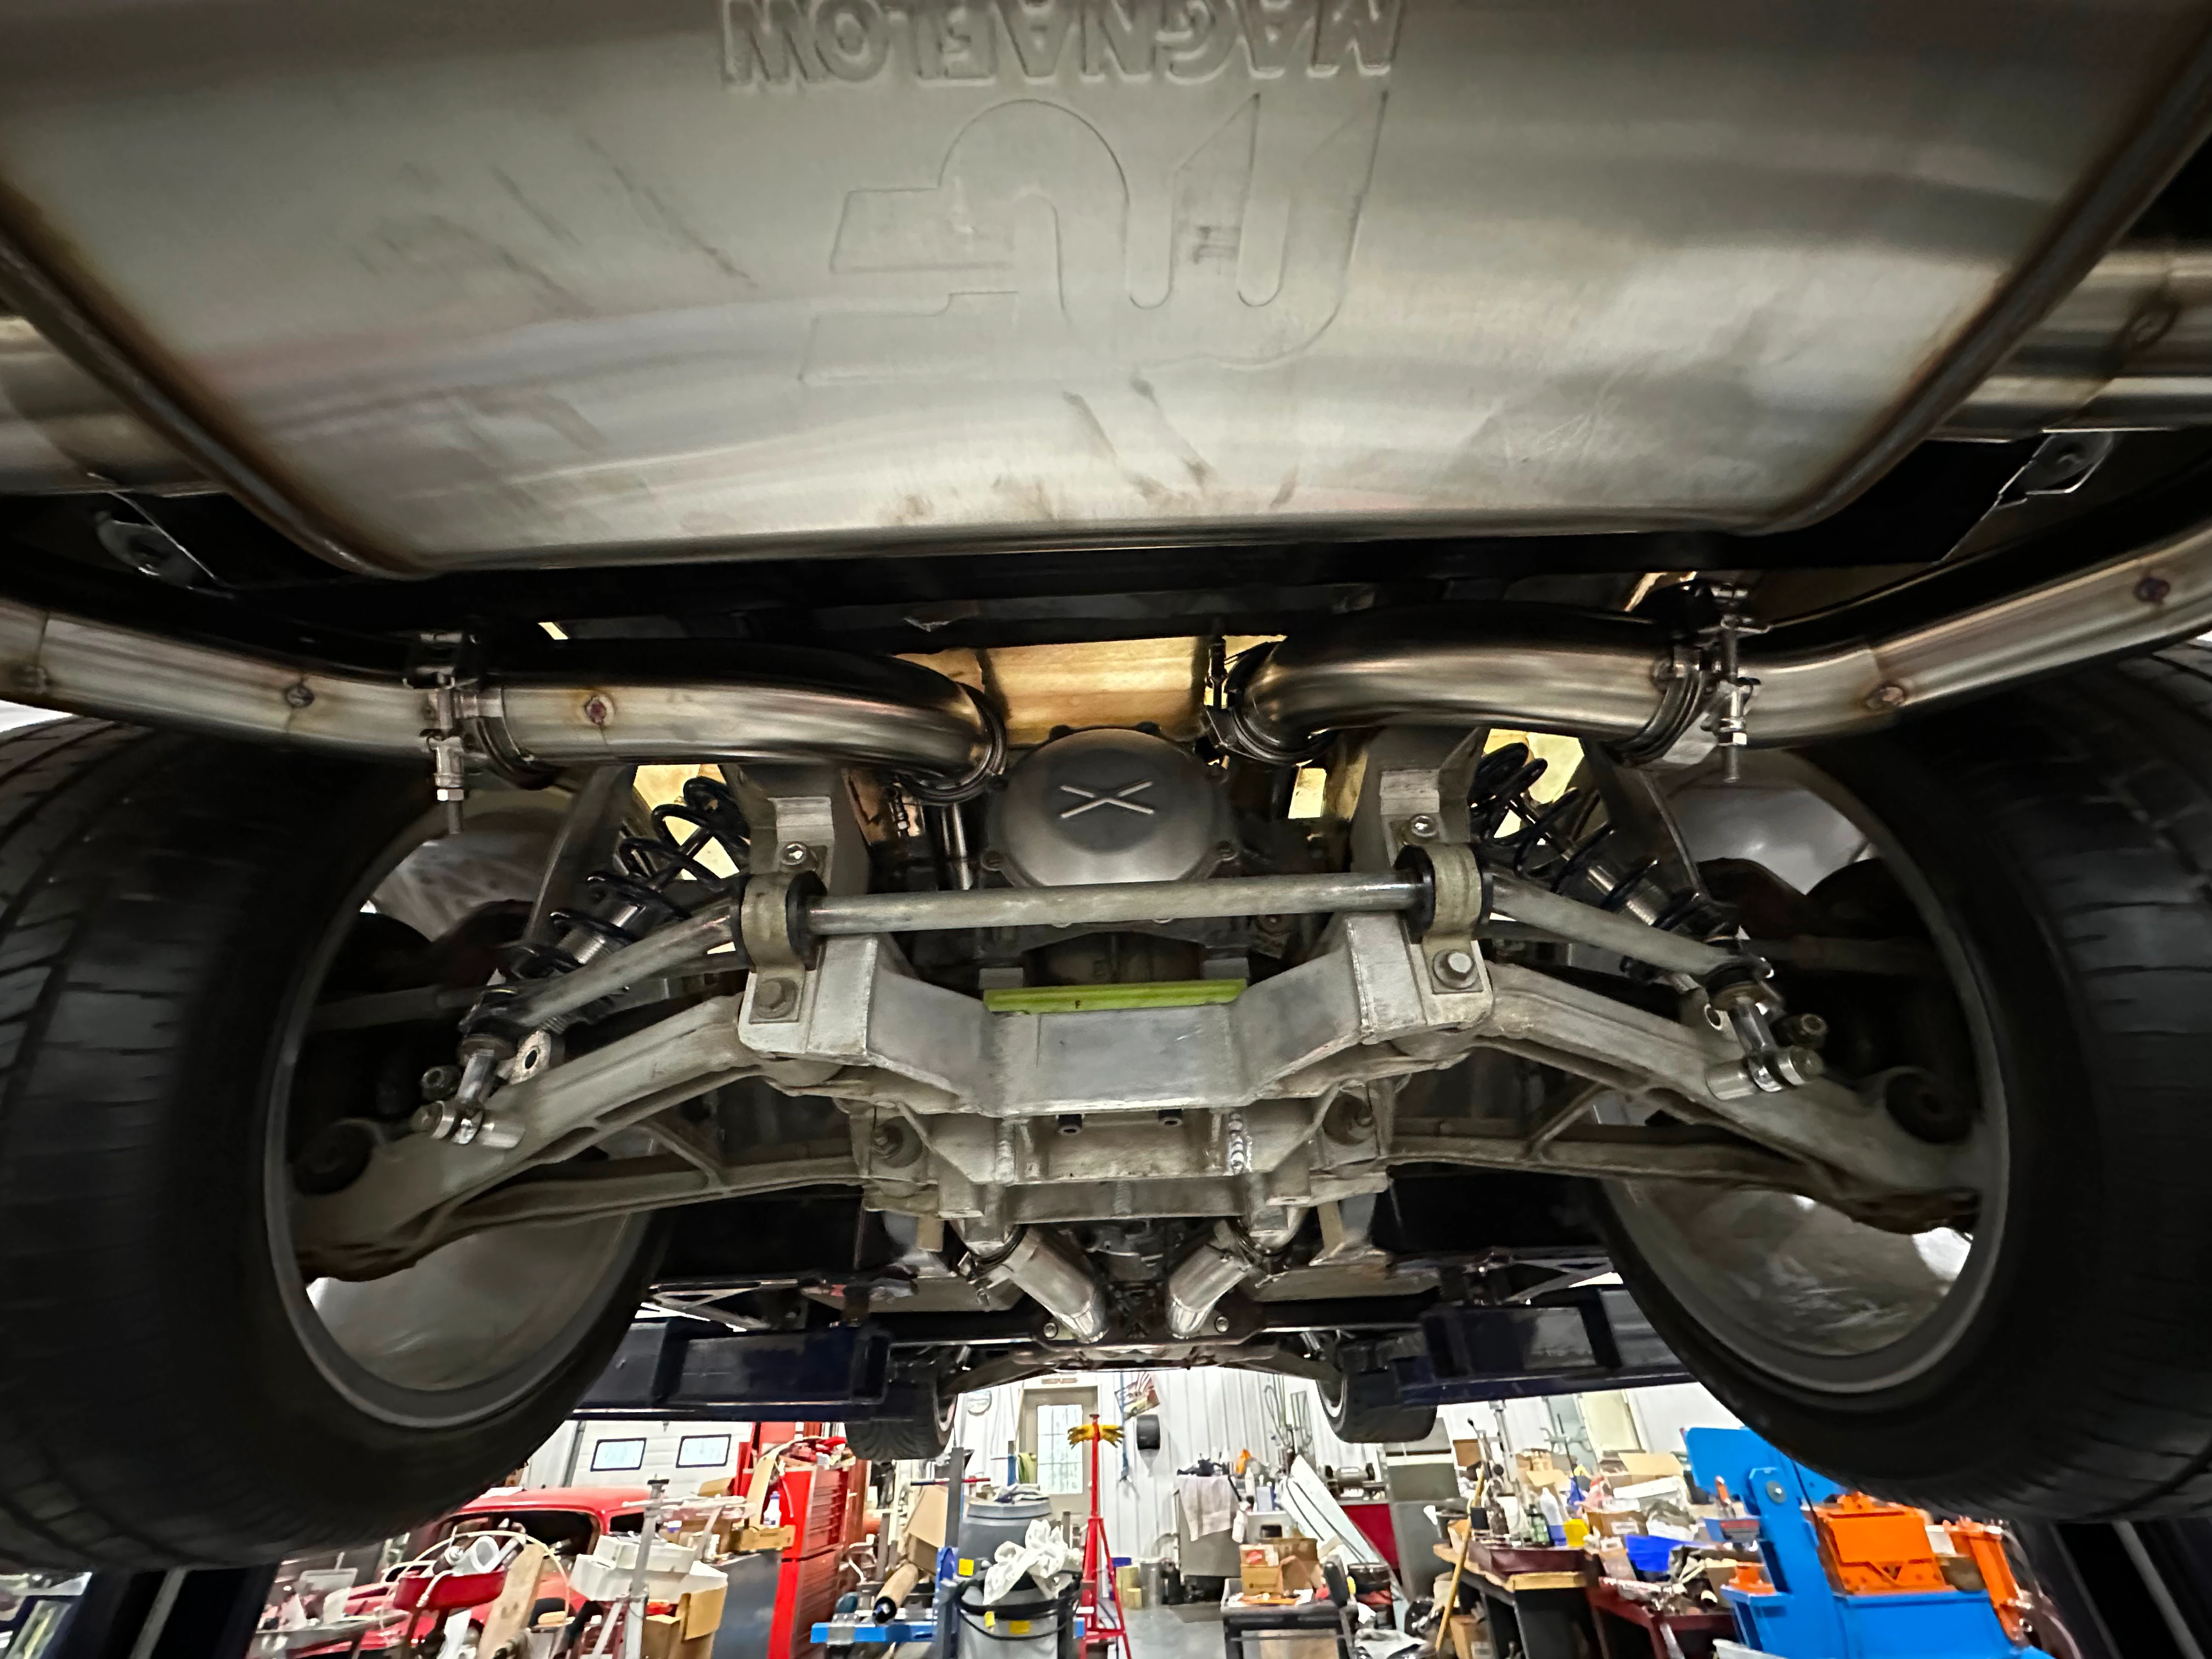
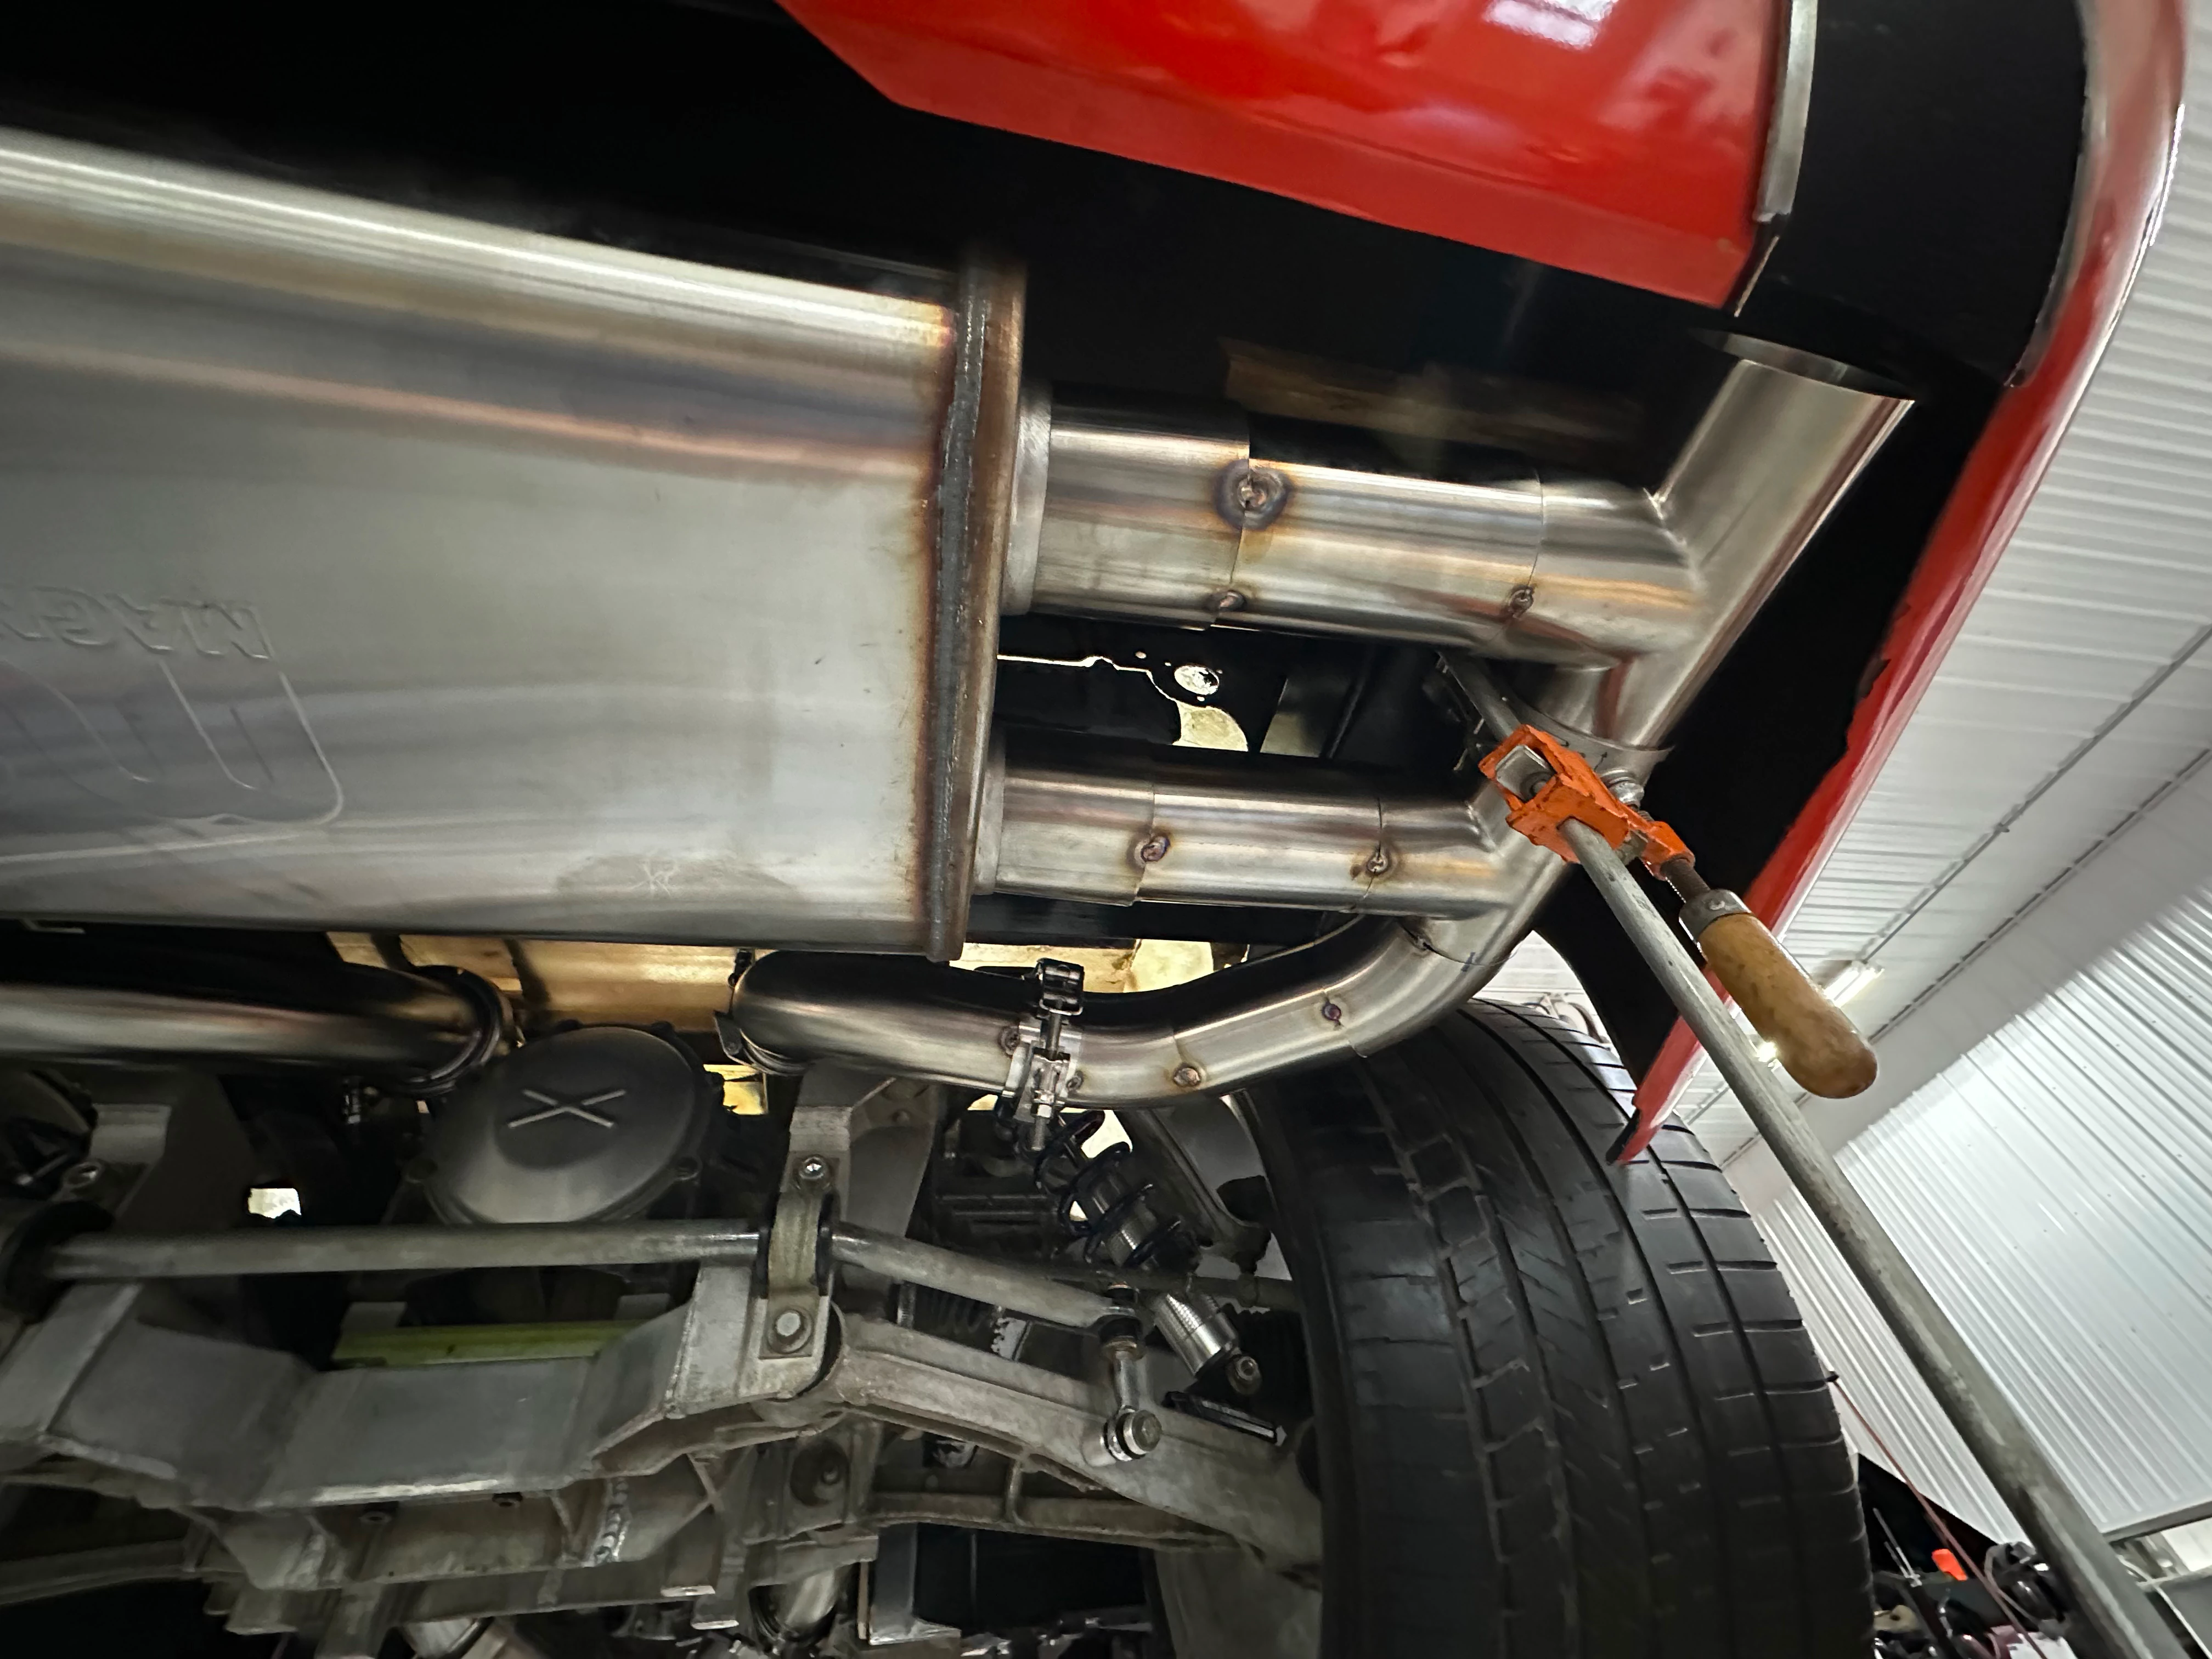
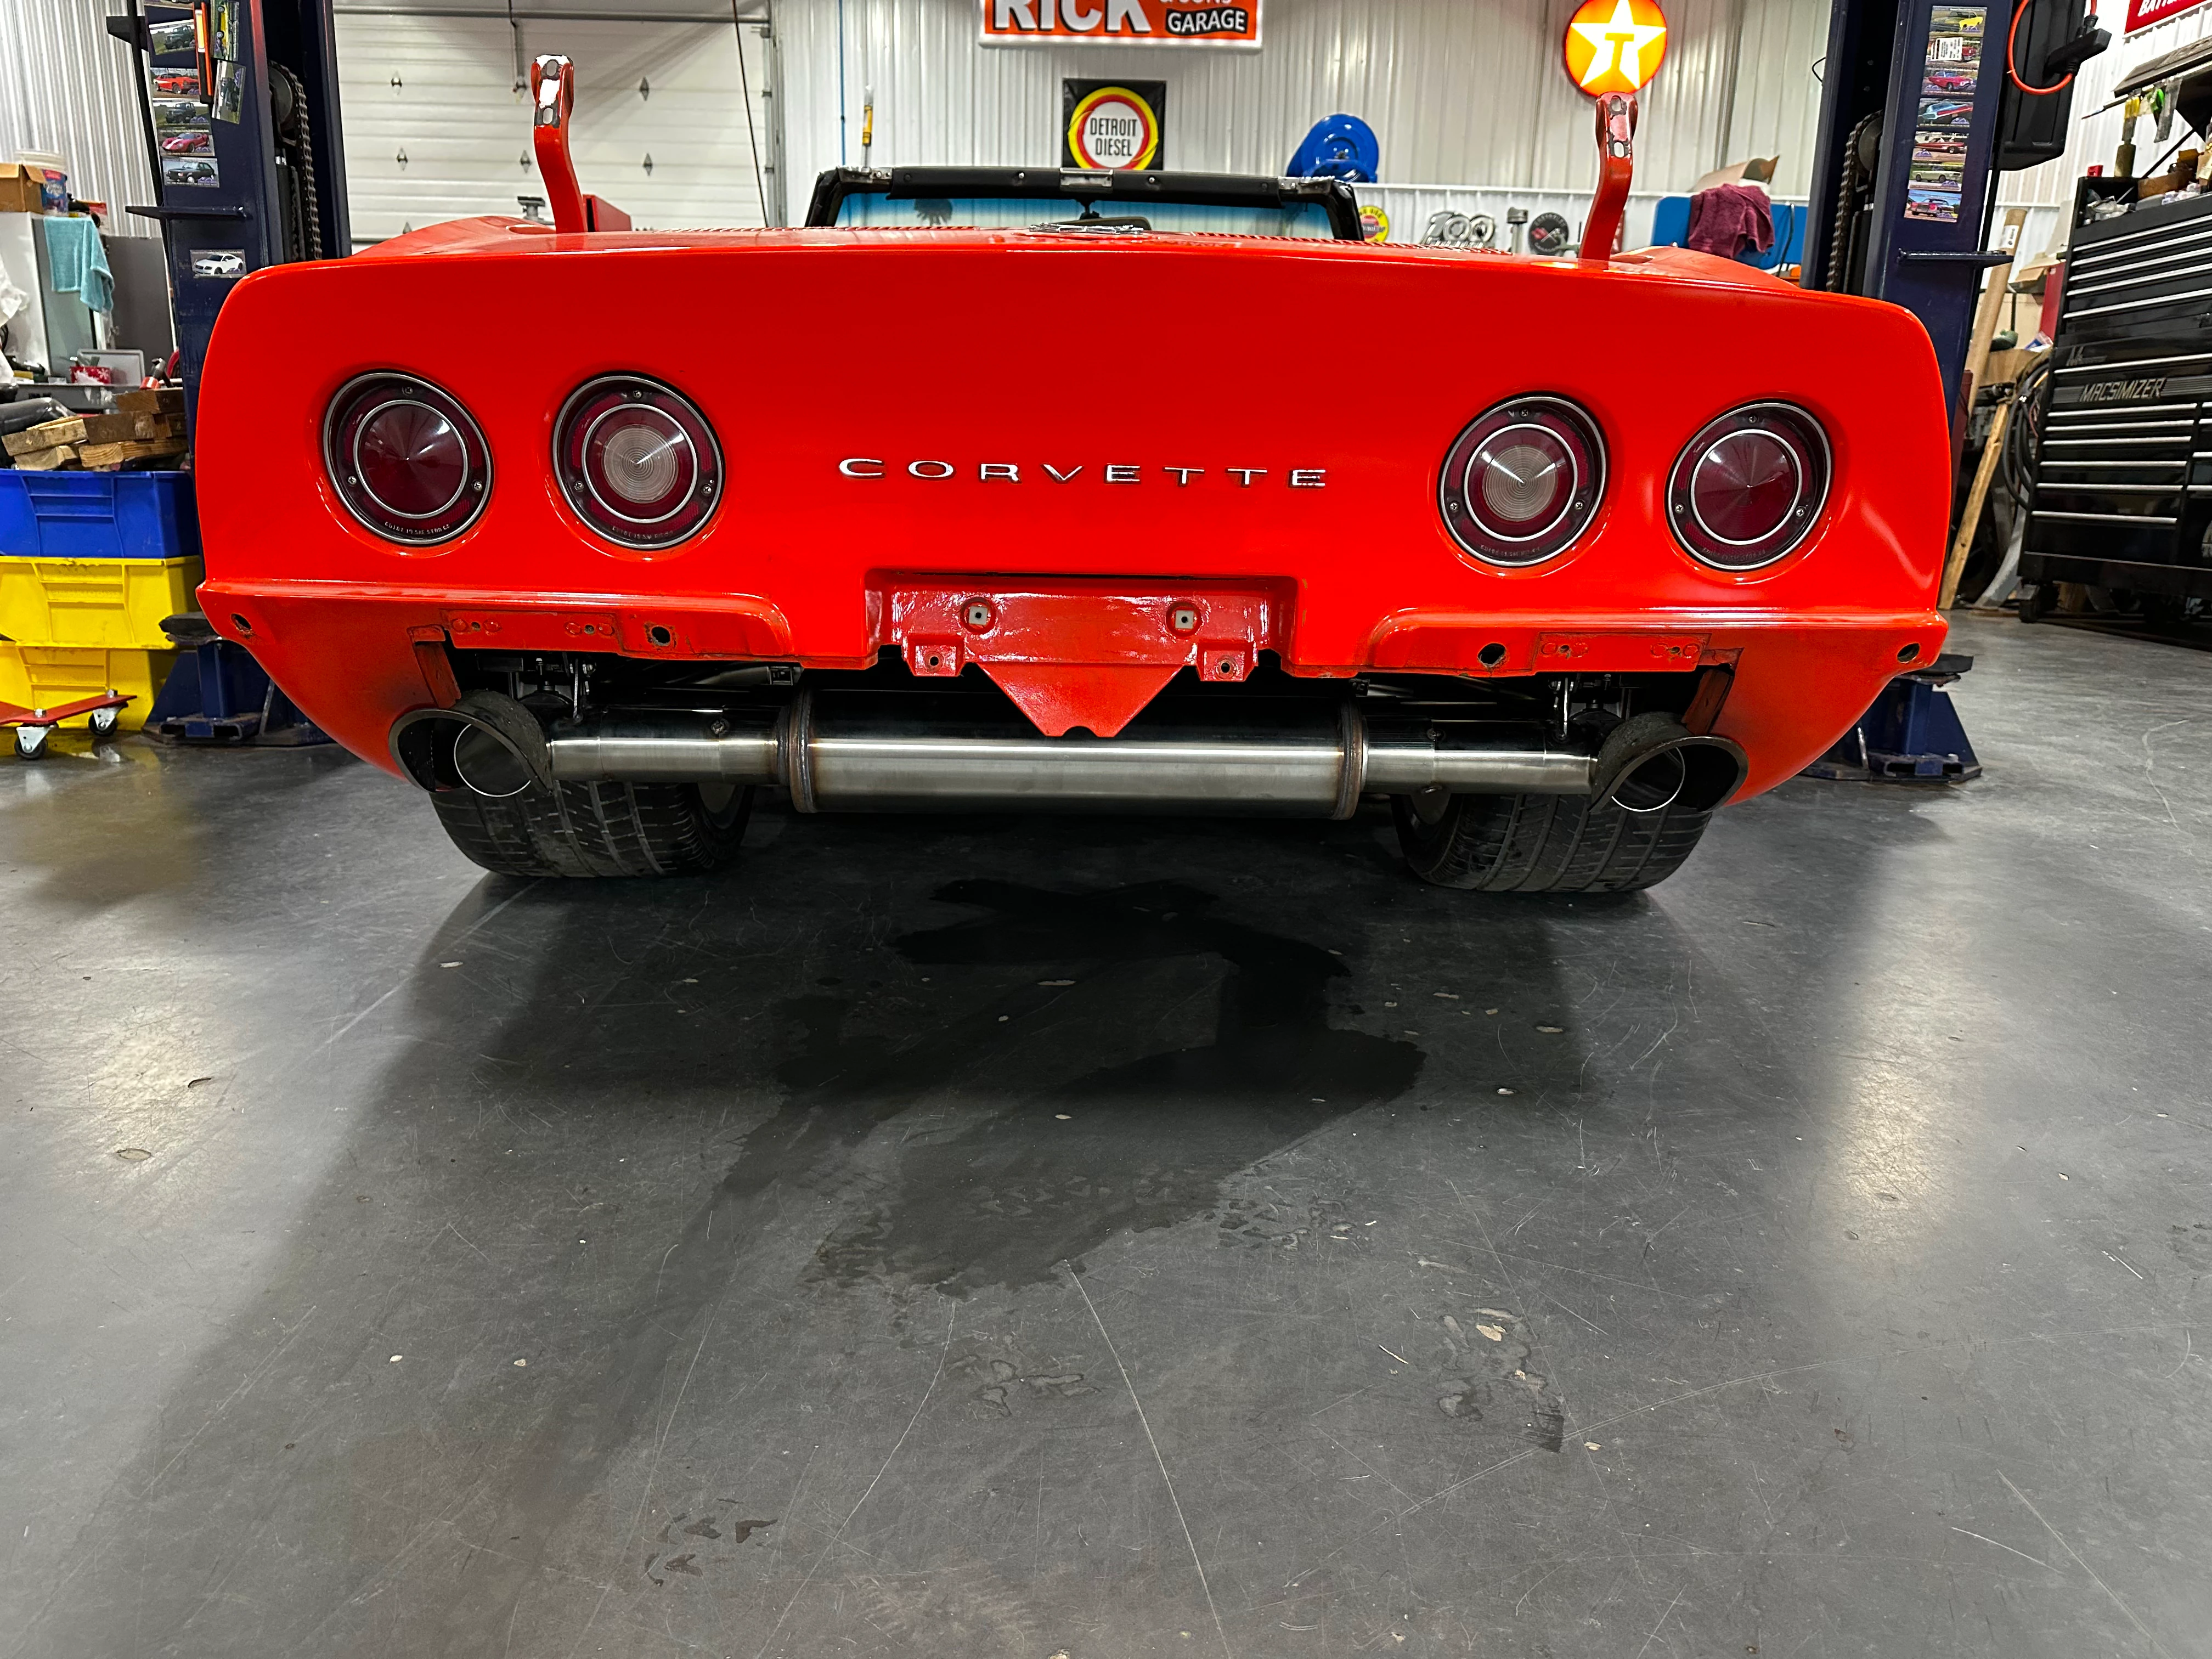
Exhausting, but Worth It
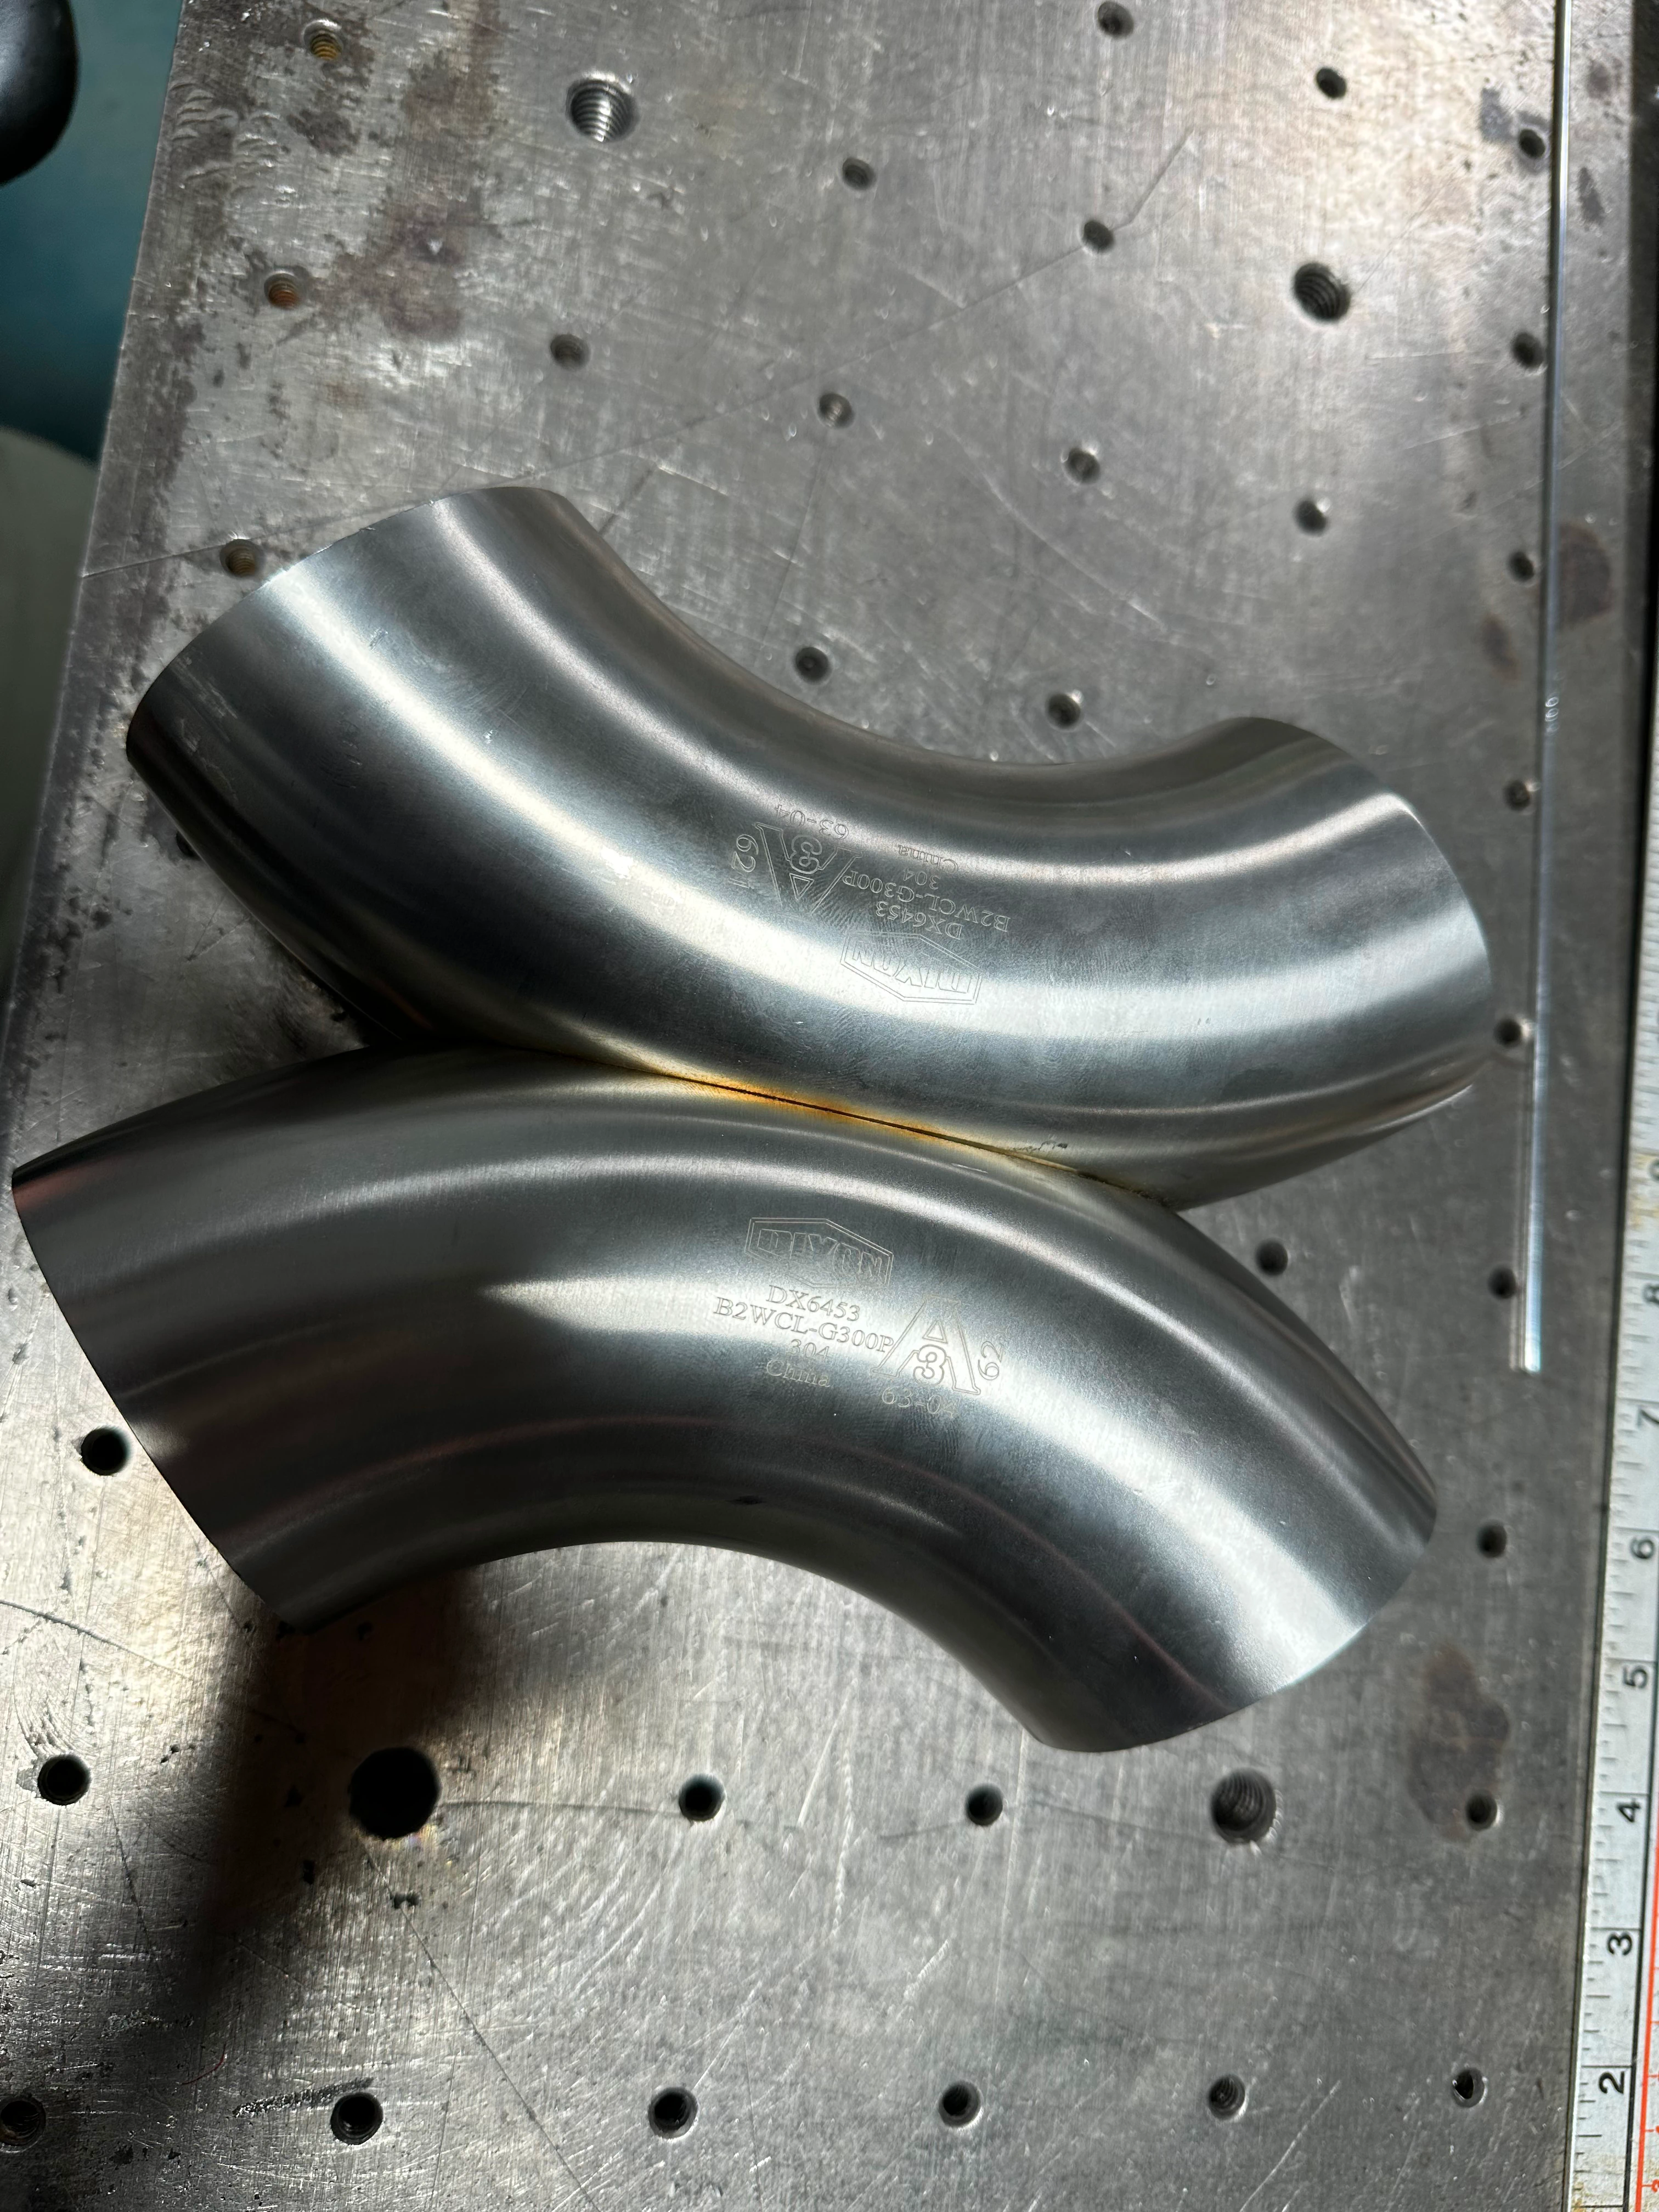
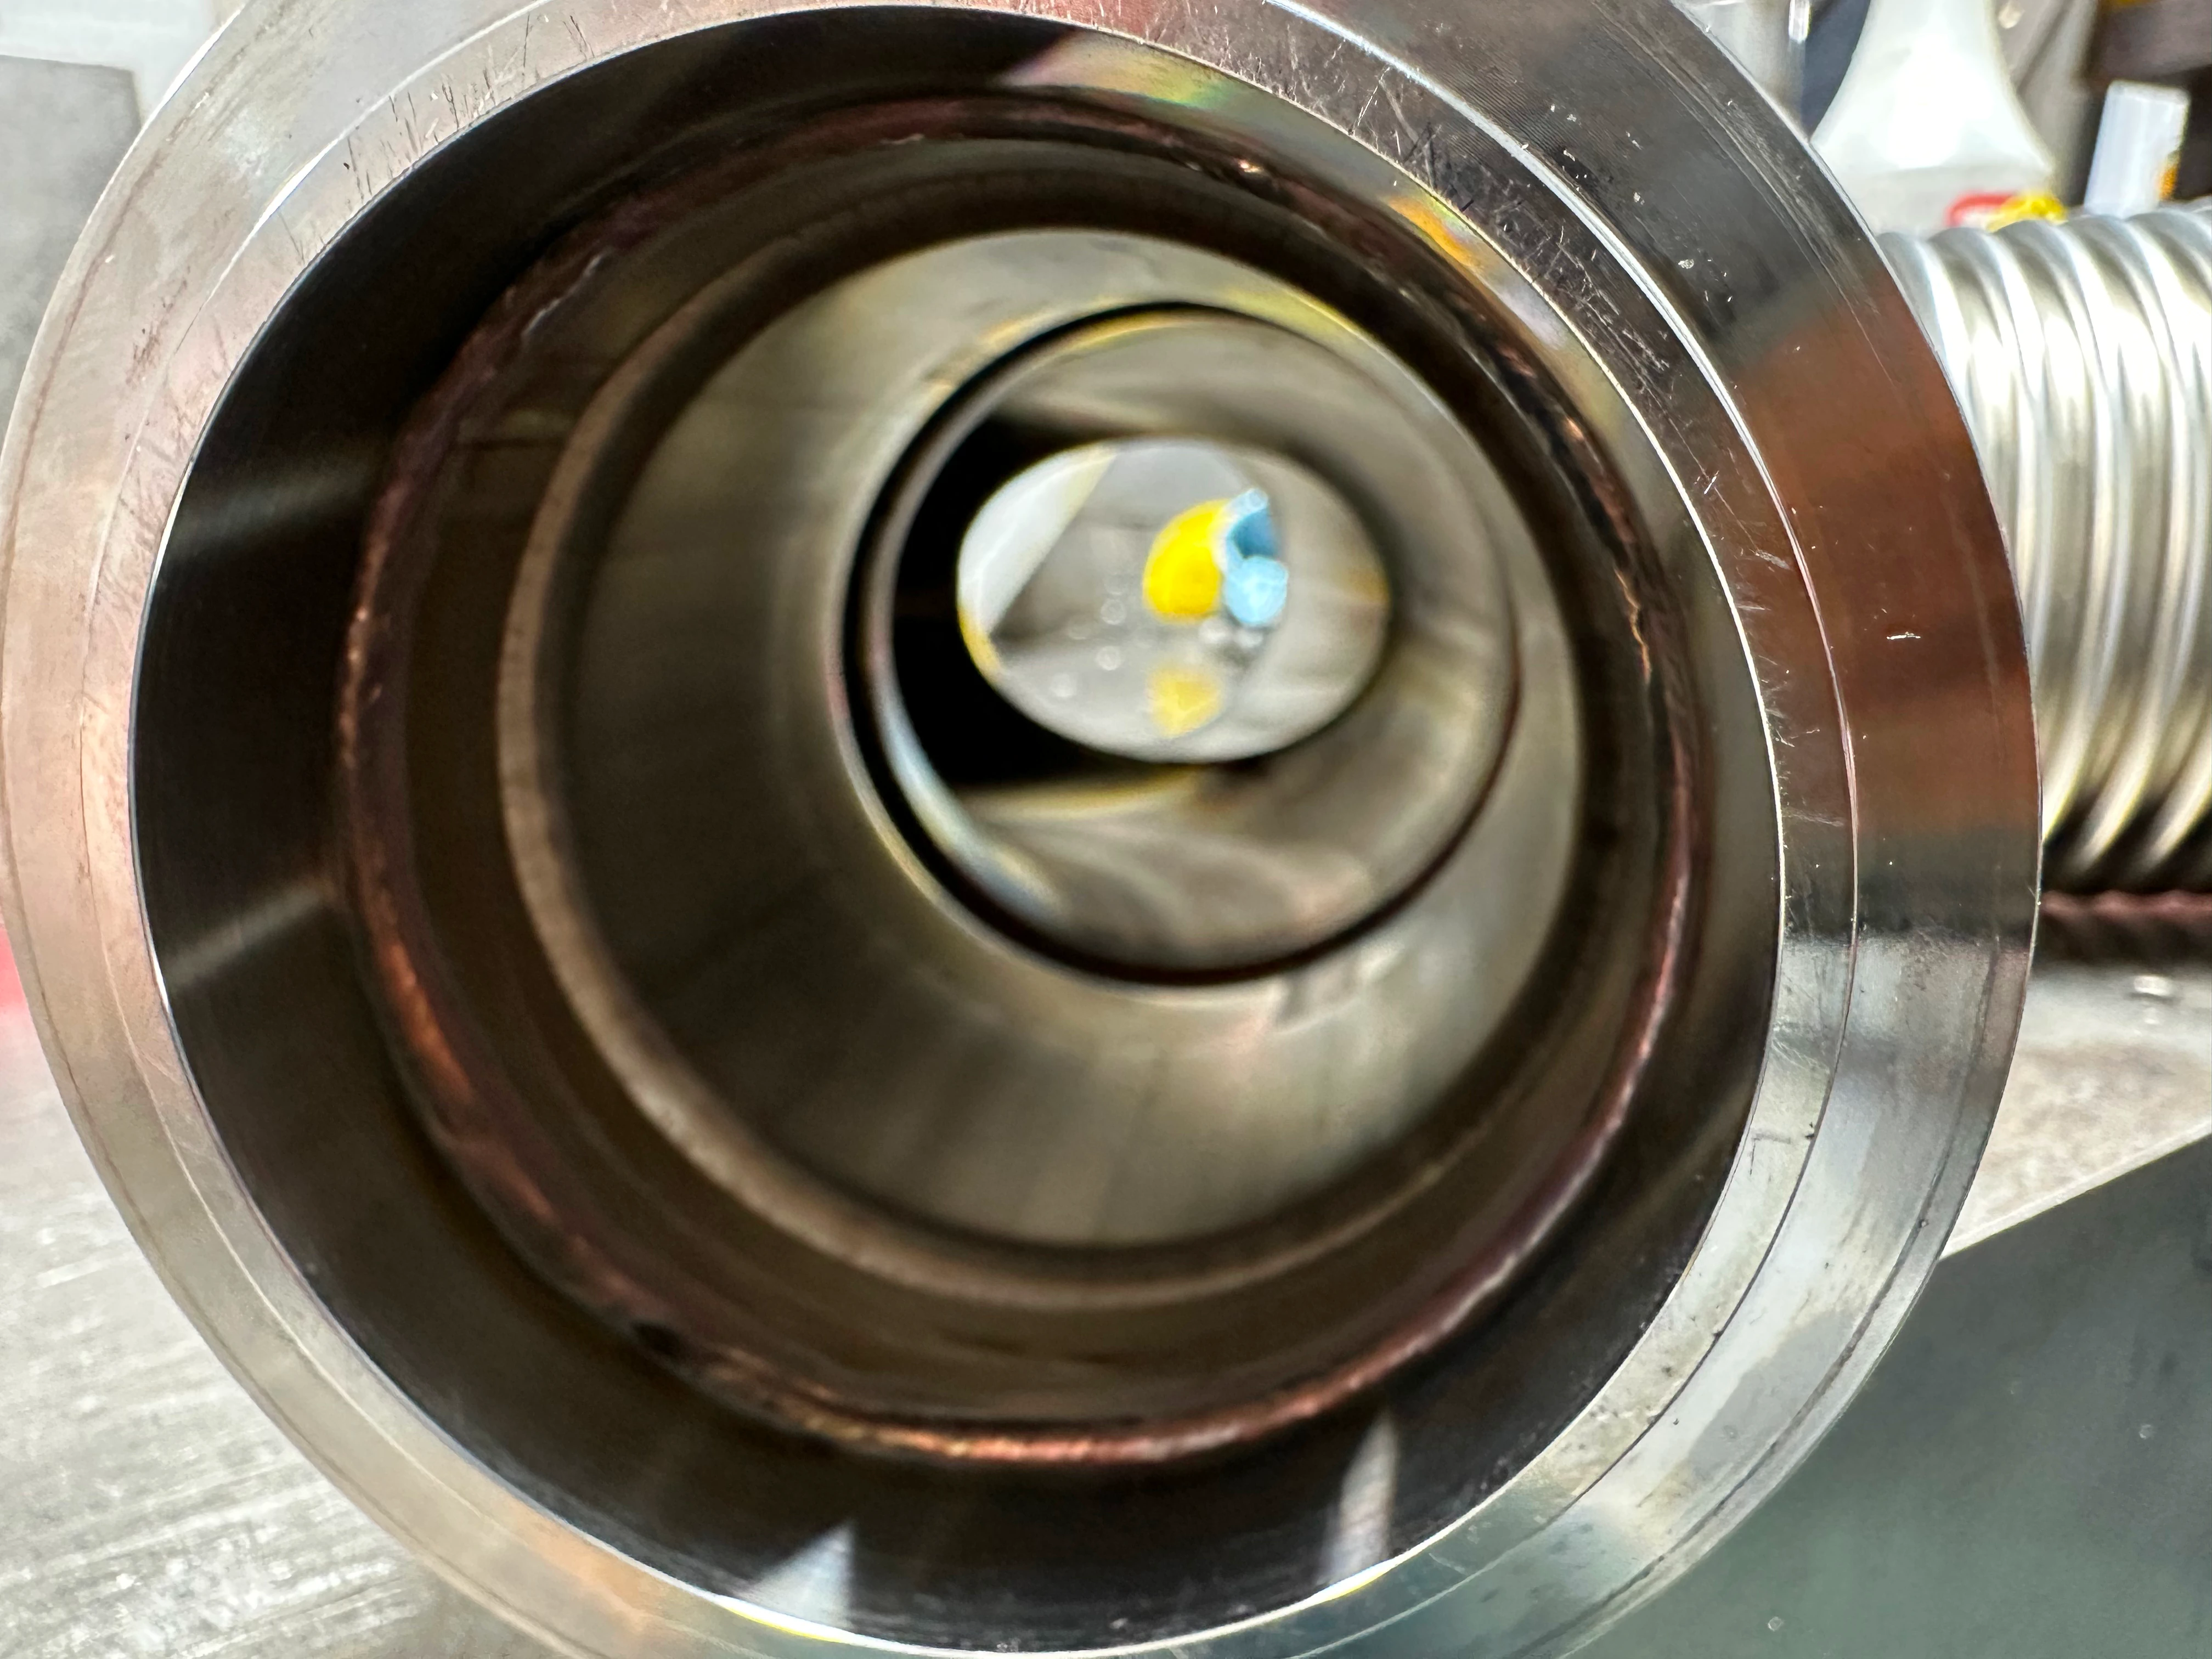
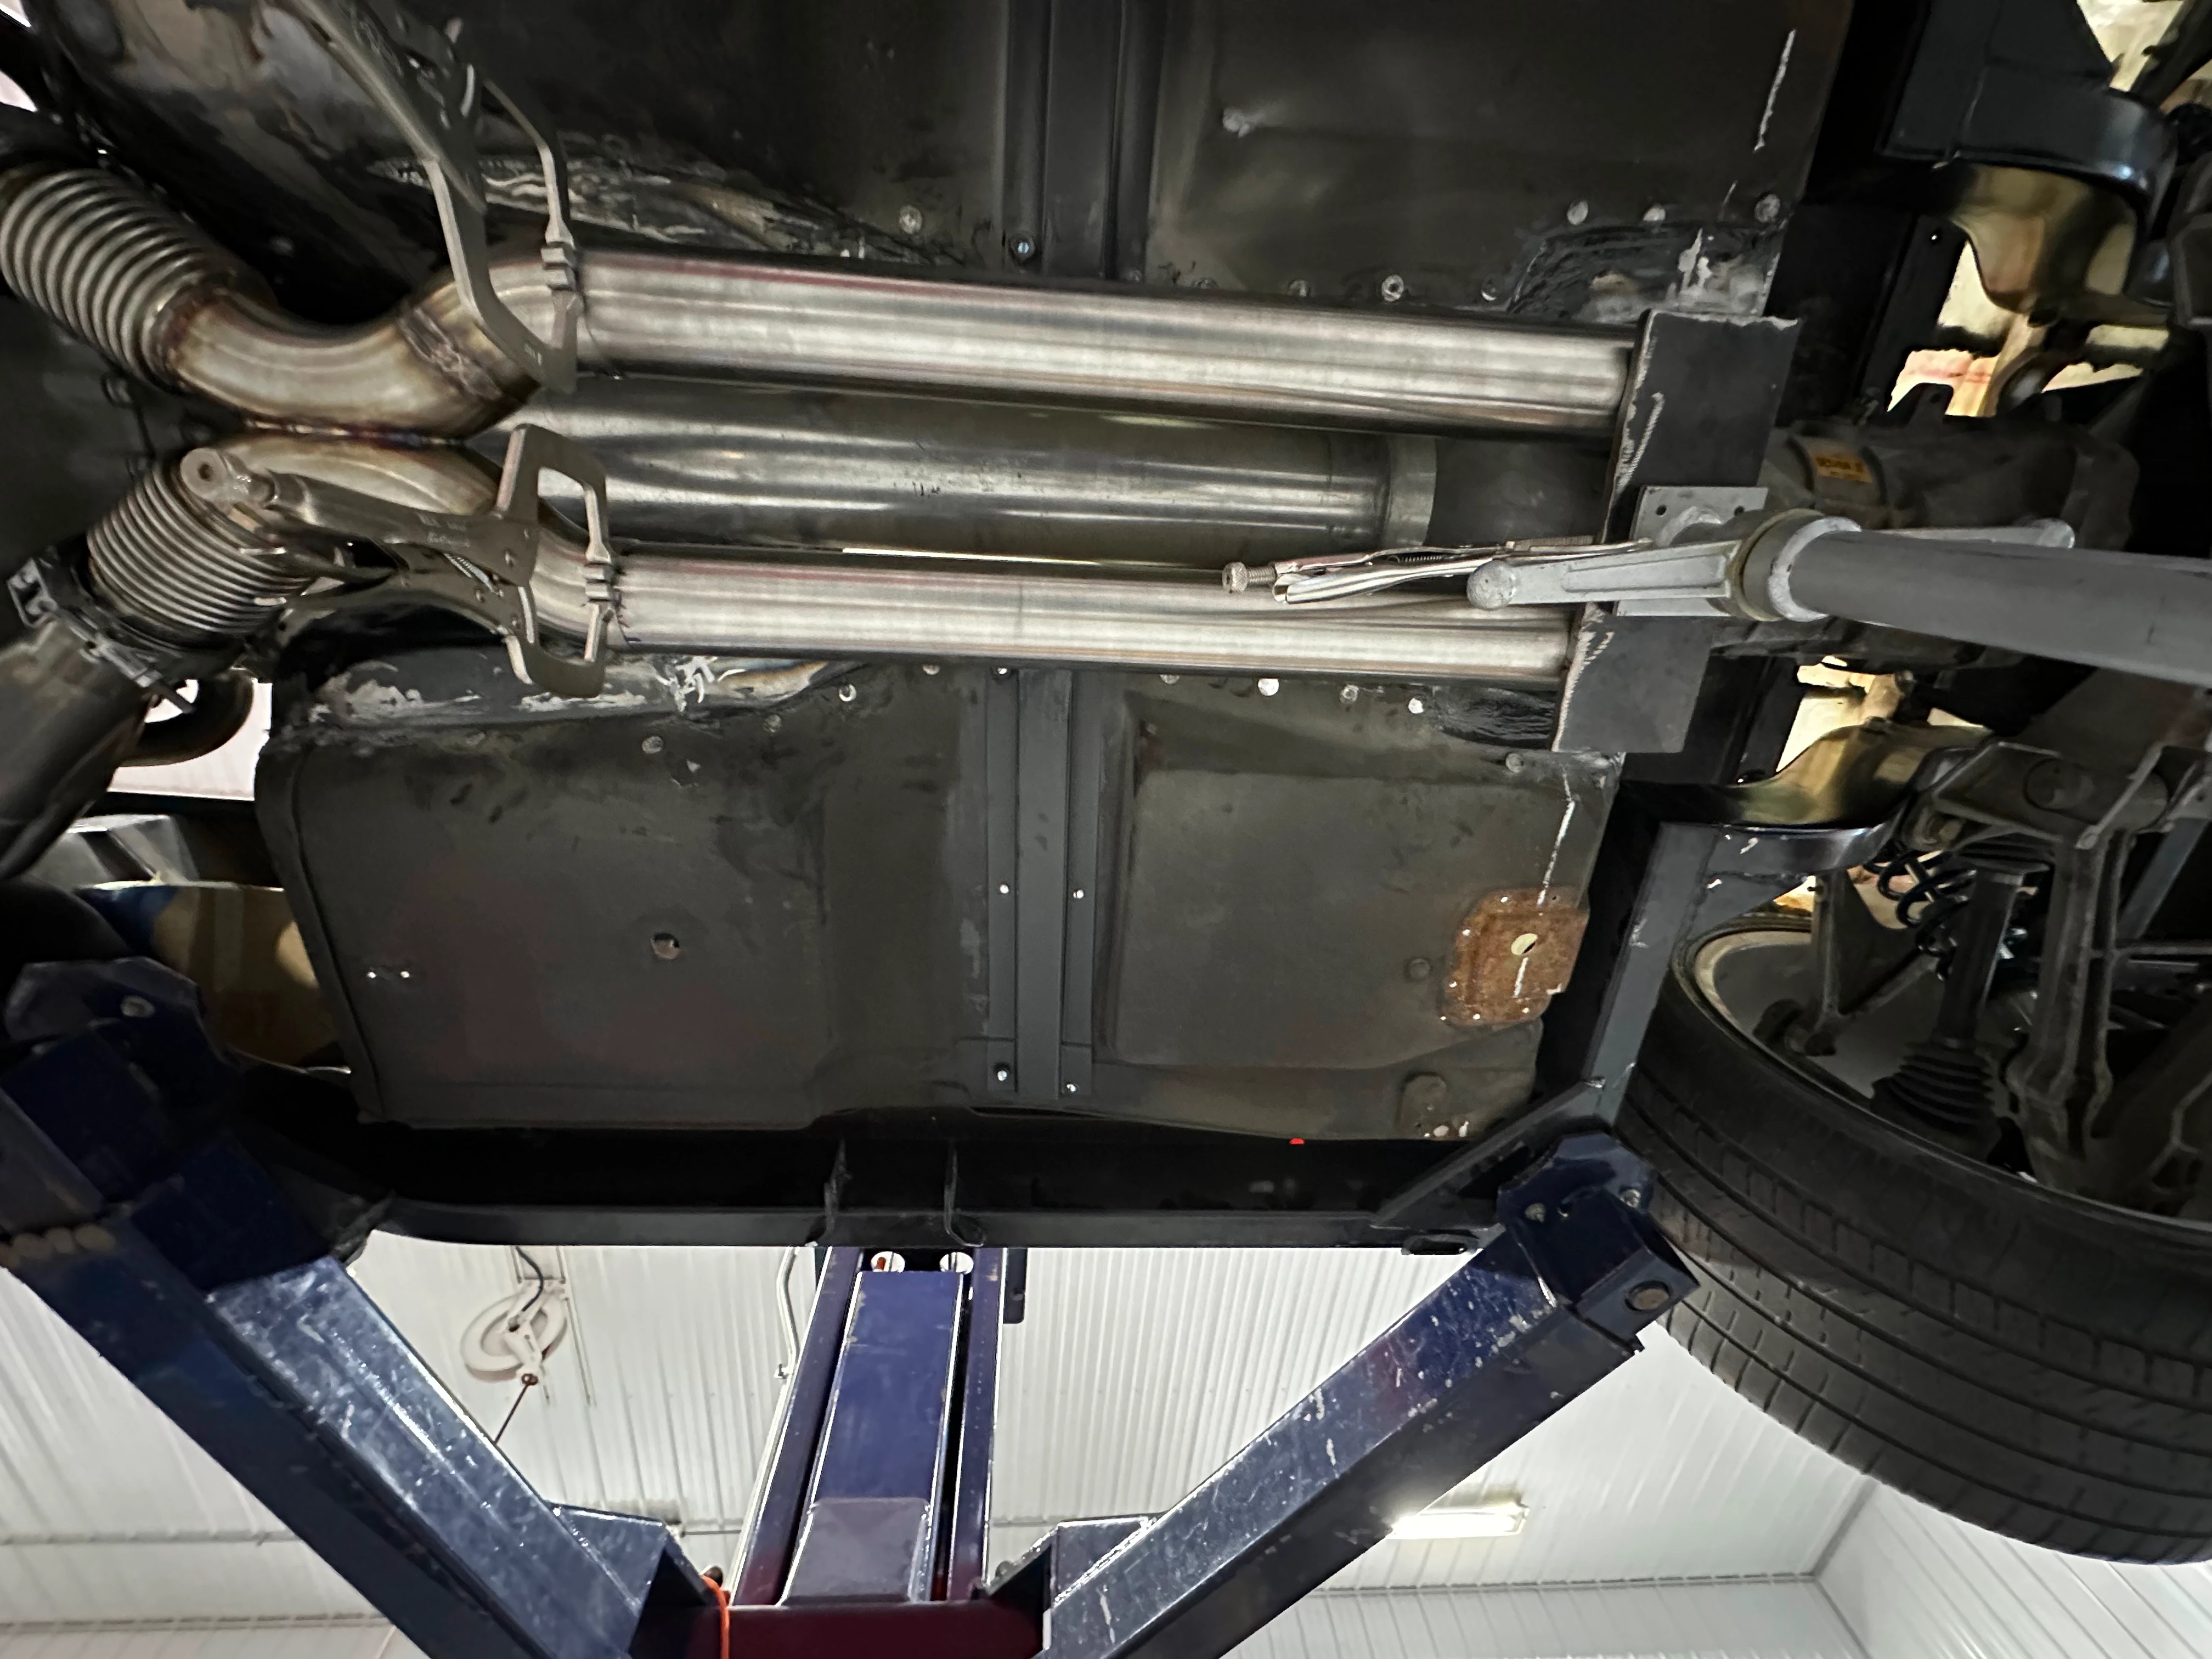
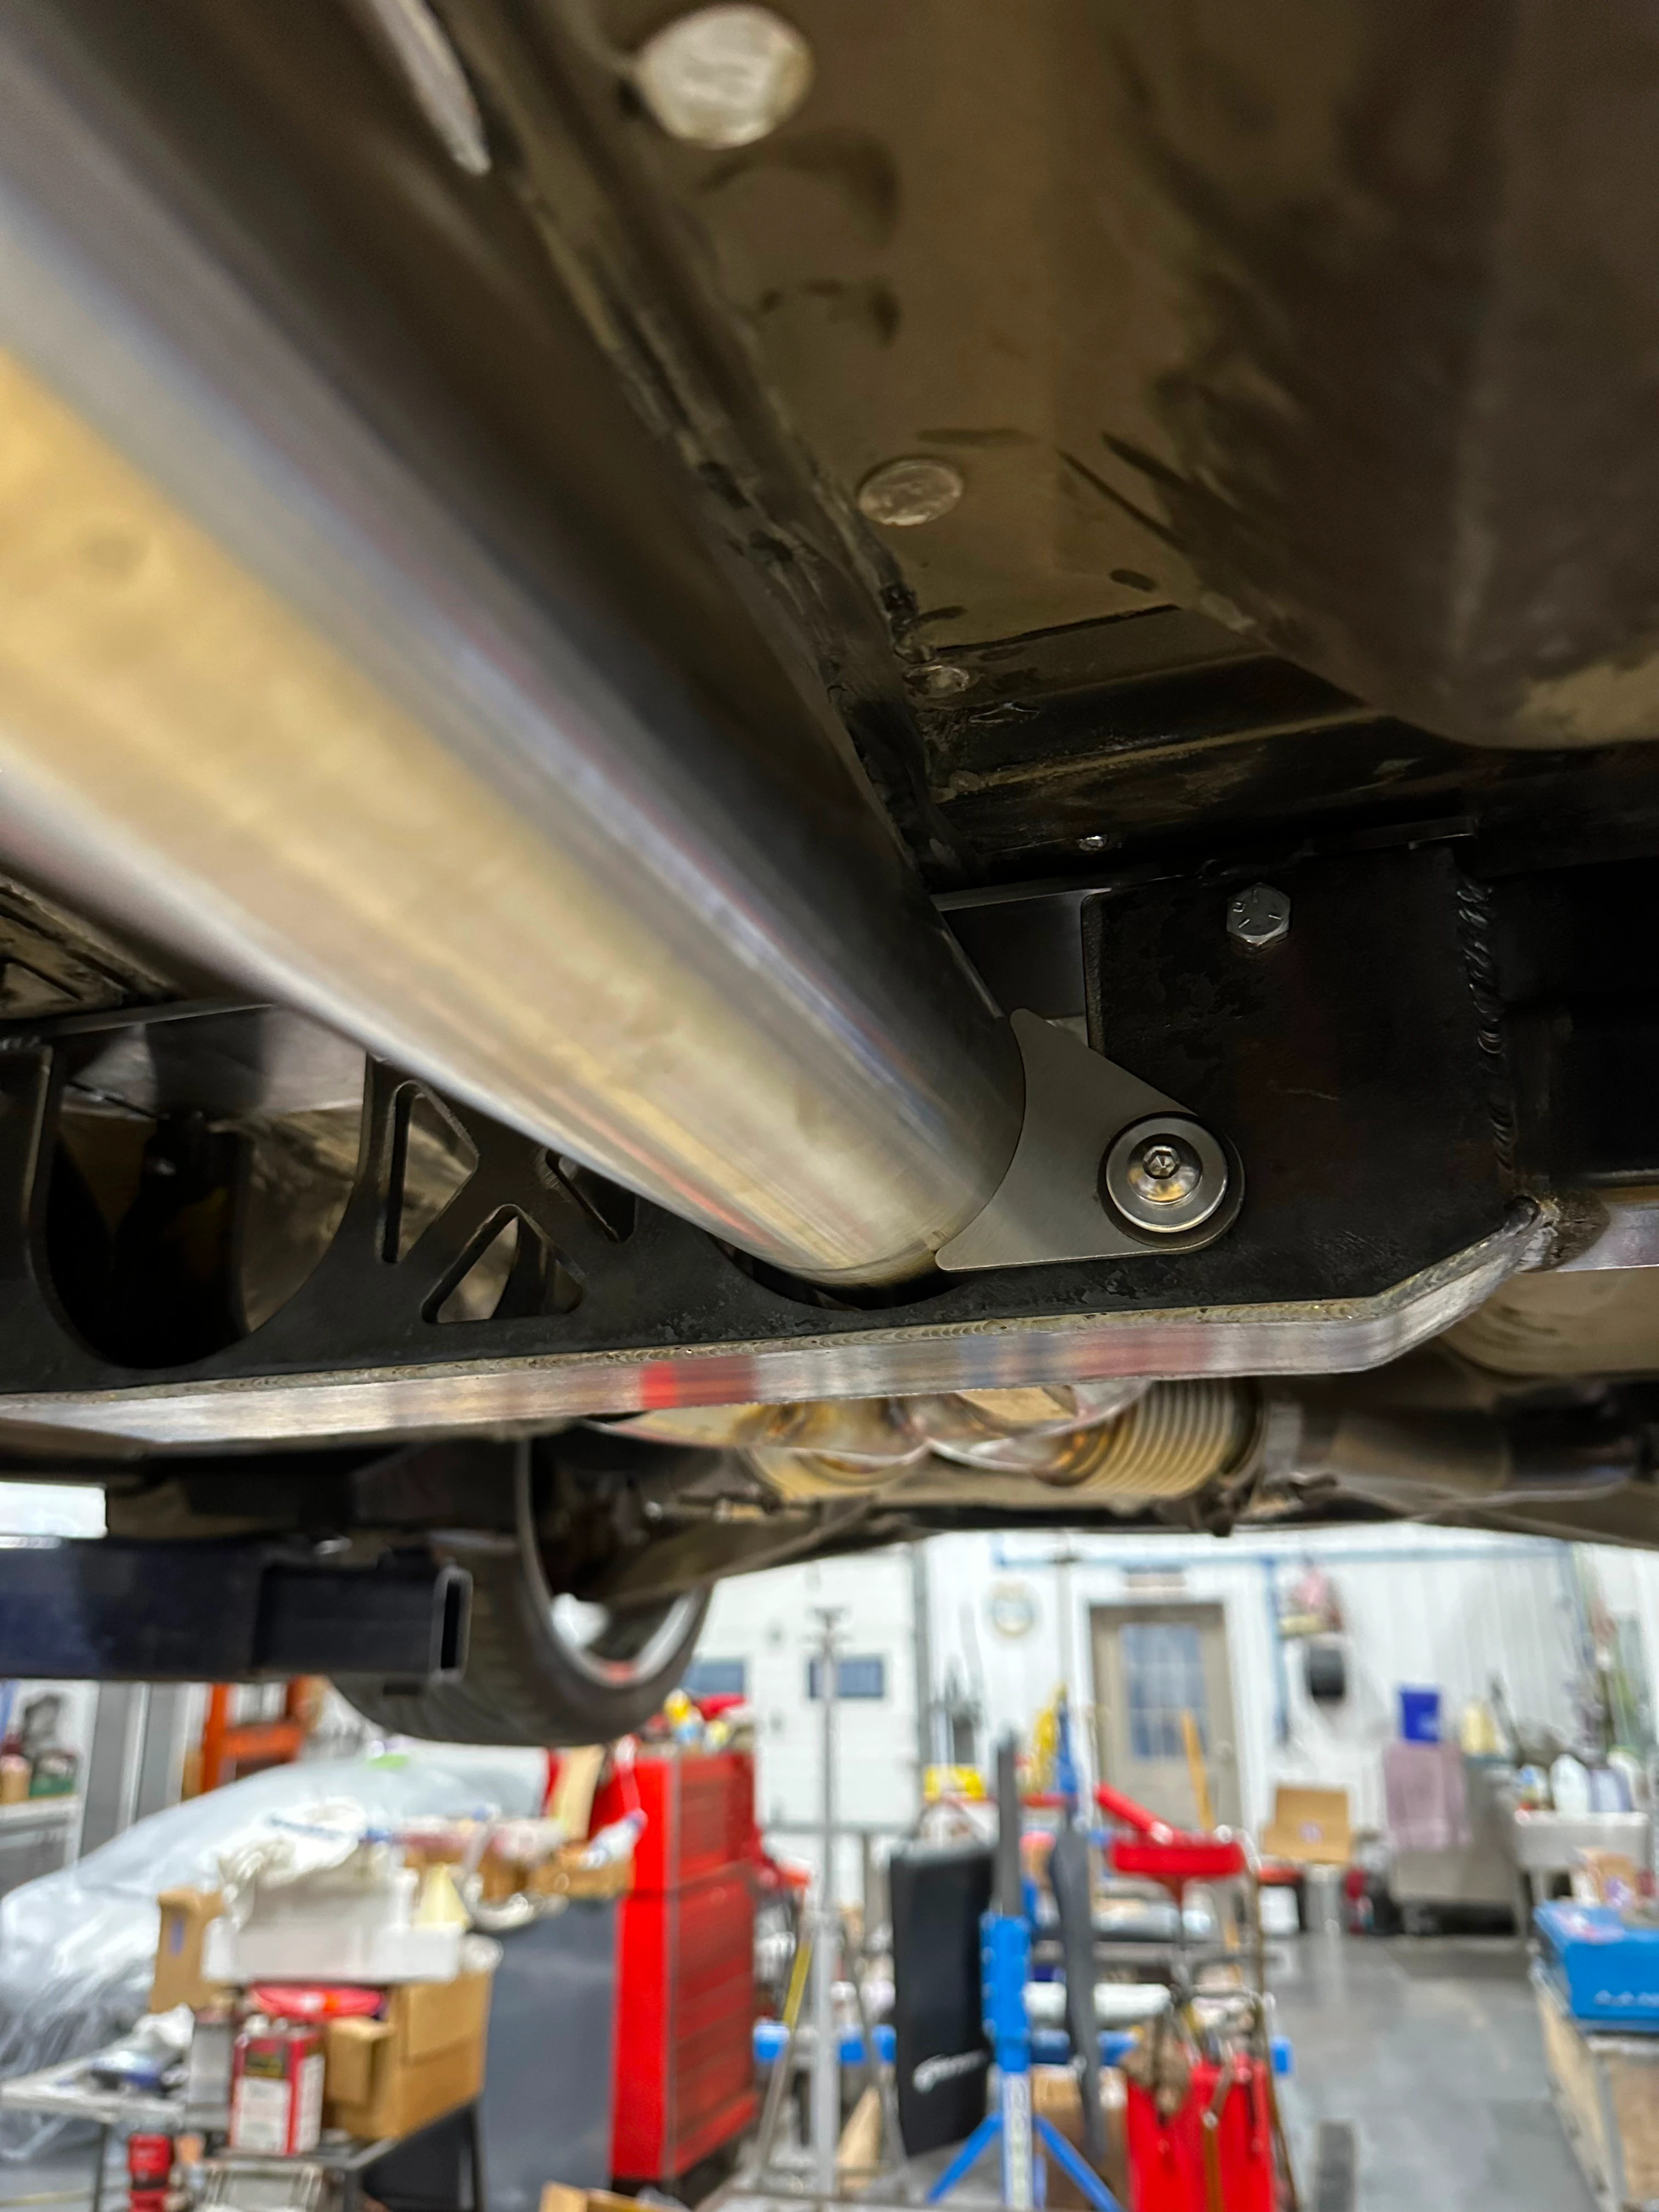
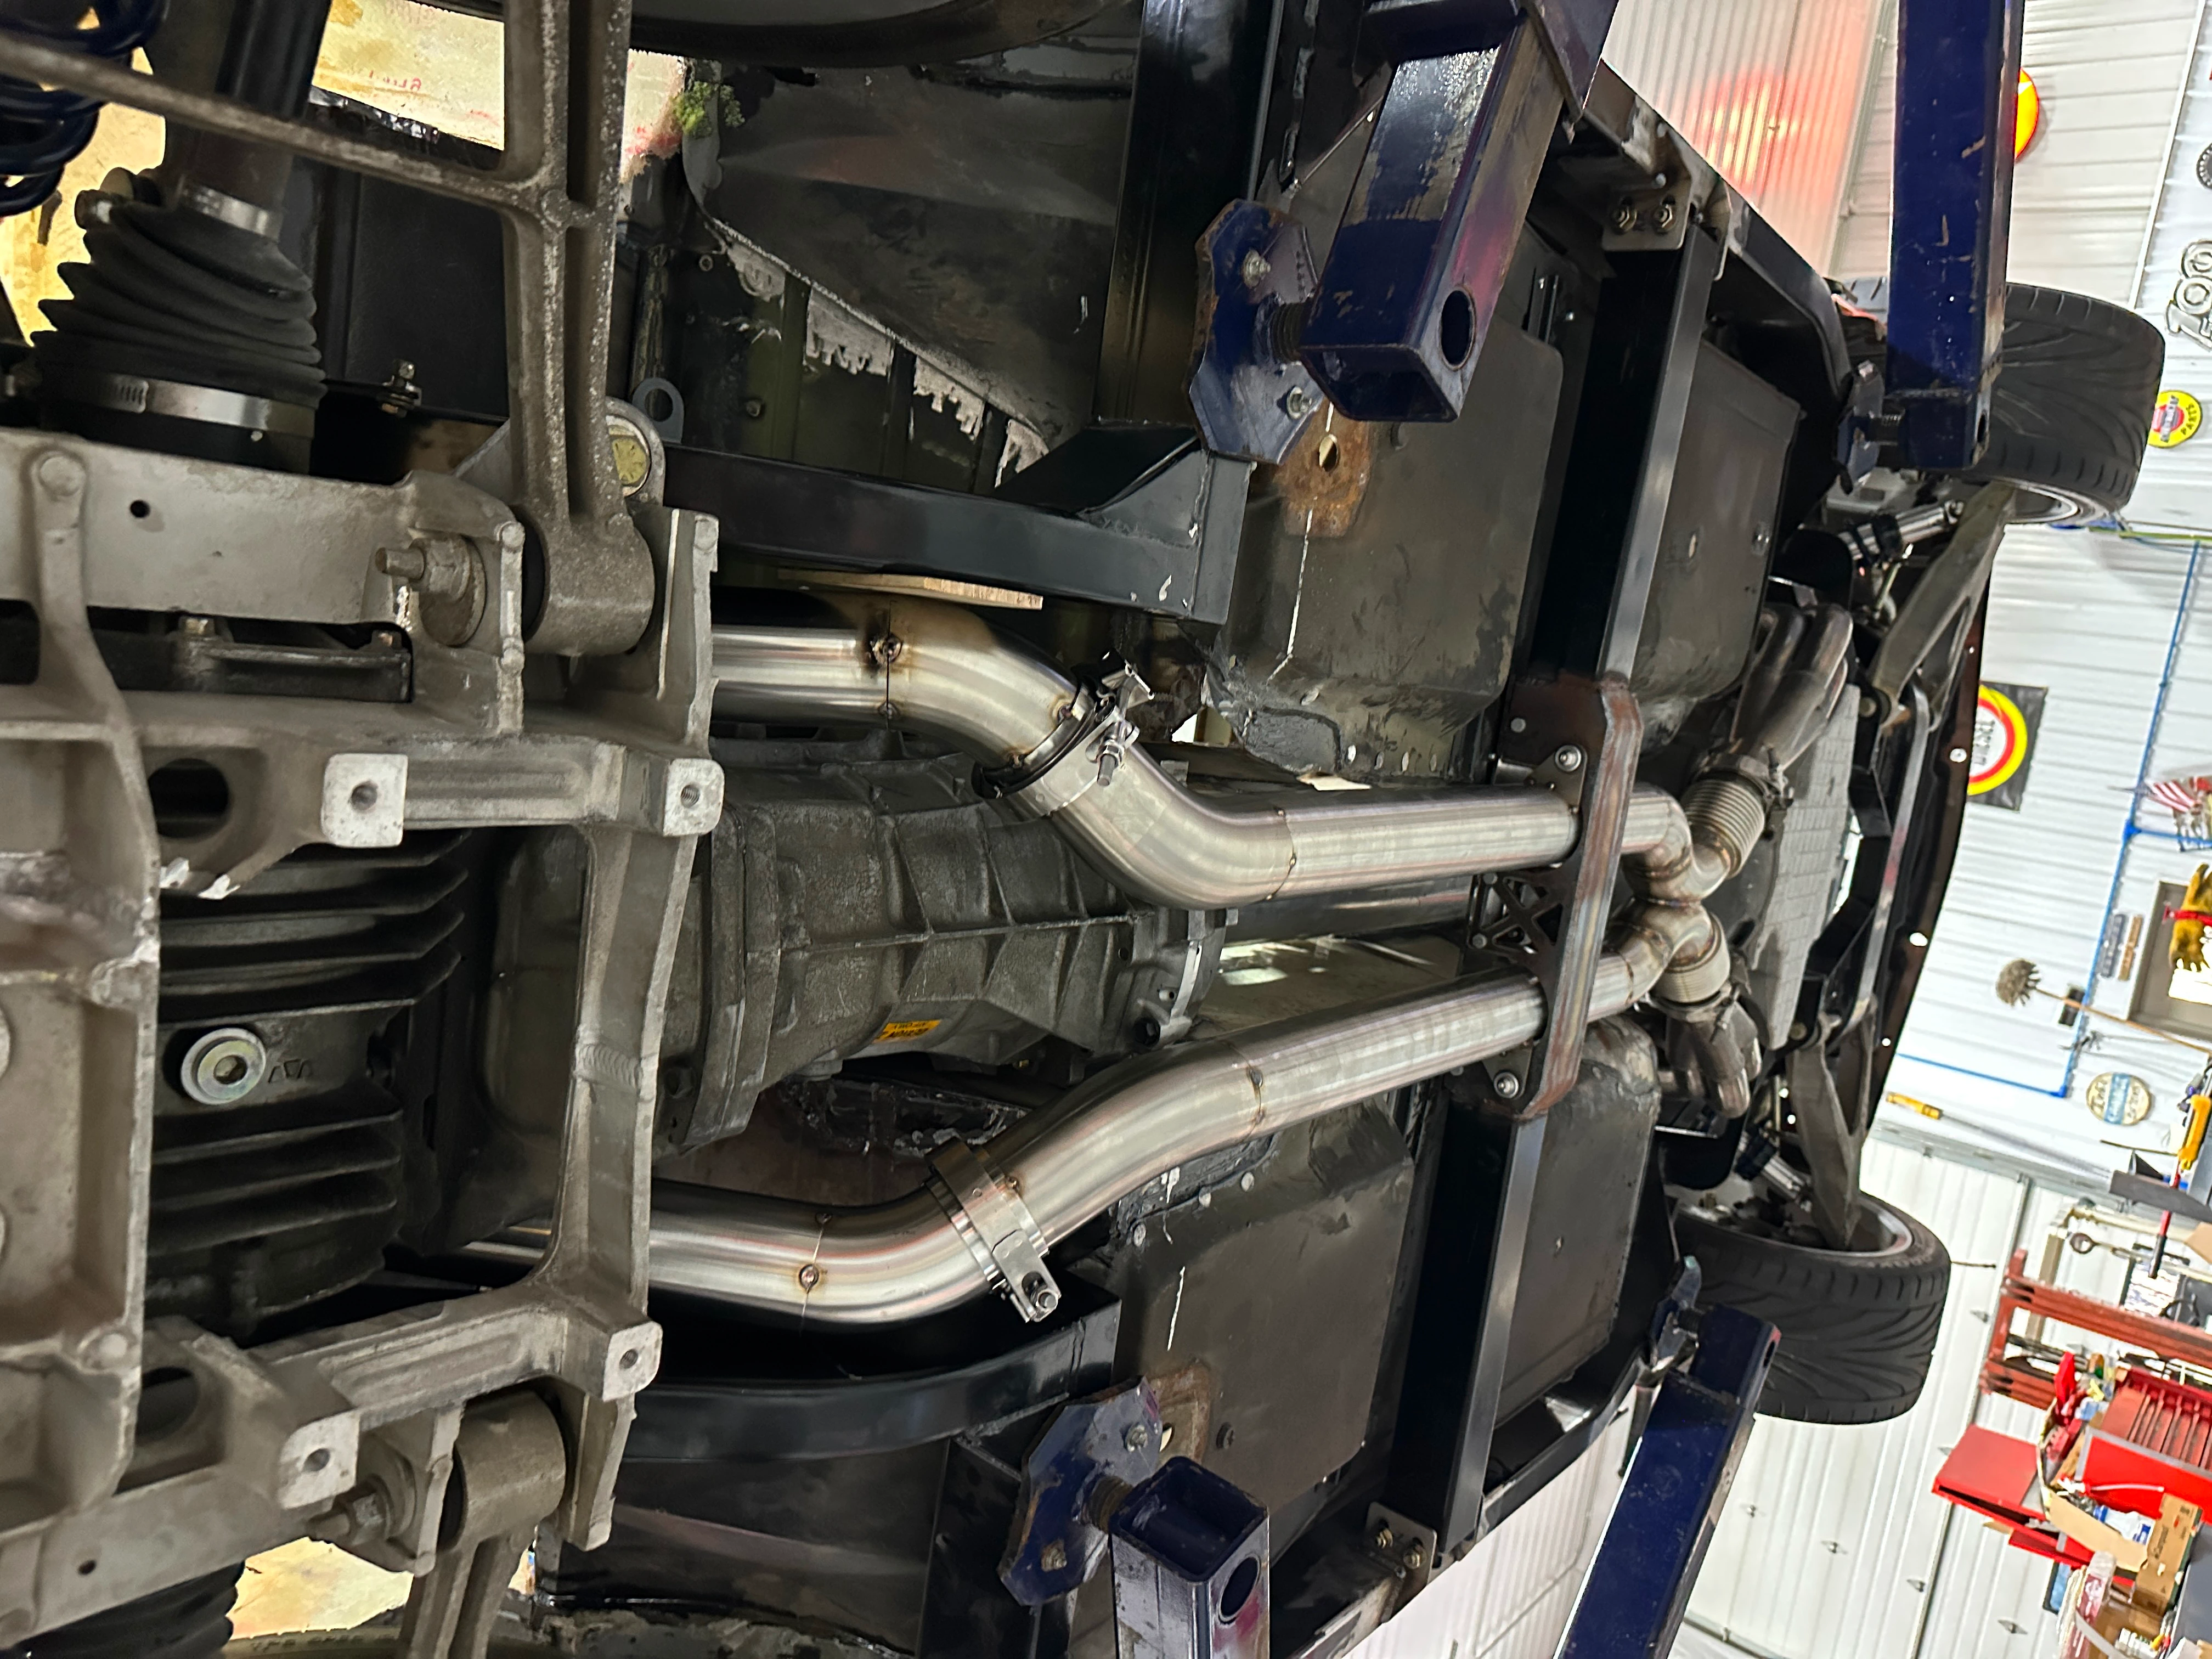
The exhaust is, in my opinion, one of the most important parts of a car. It can give or take away so much character. We made everything out of 3" stainless steel. The headers are from a C6 Corvette and they fit perfectly.
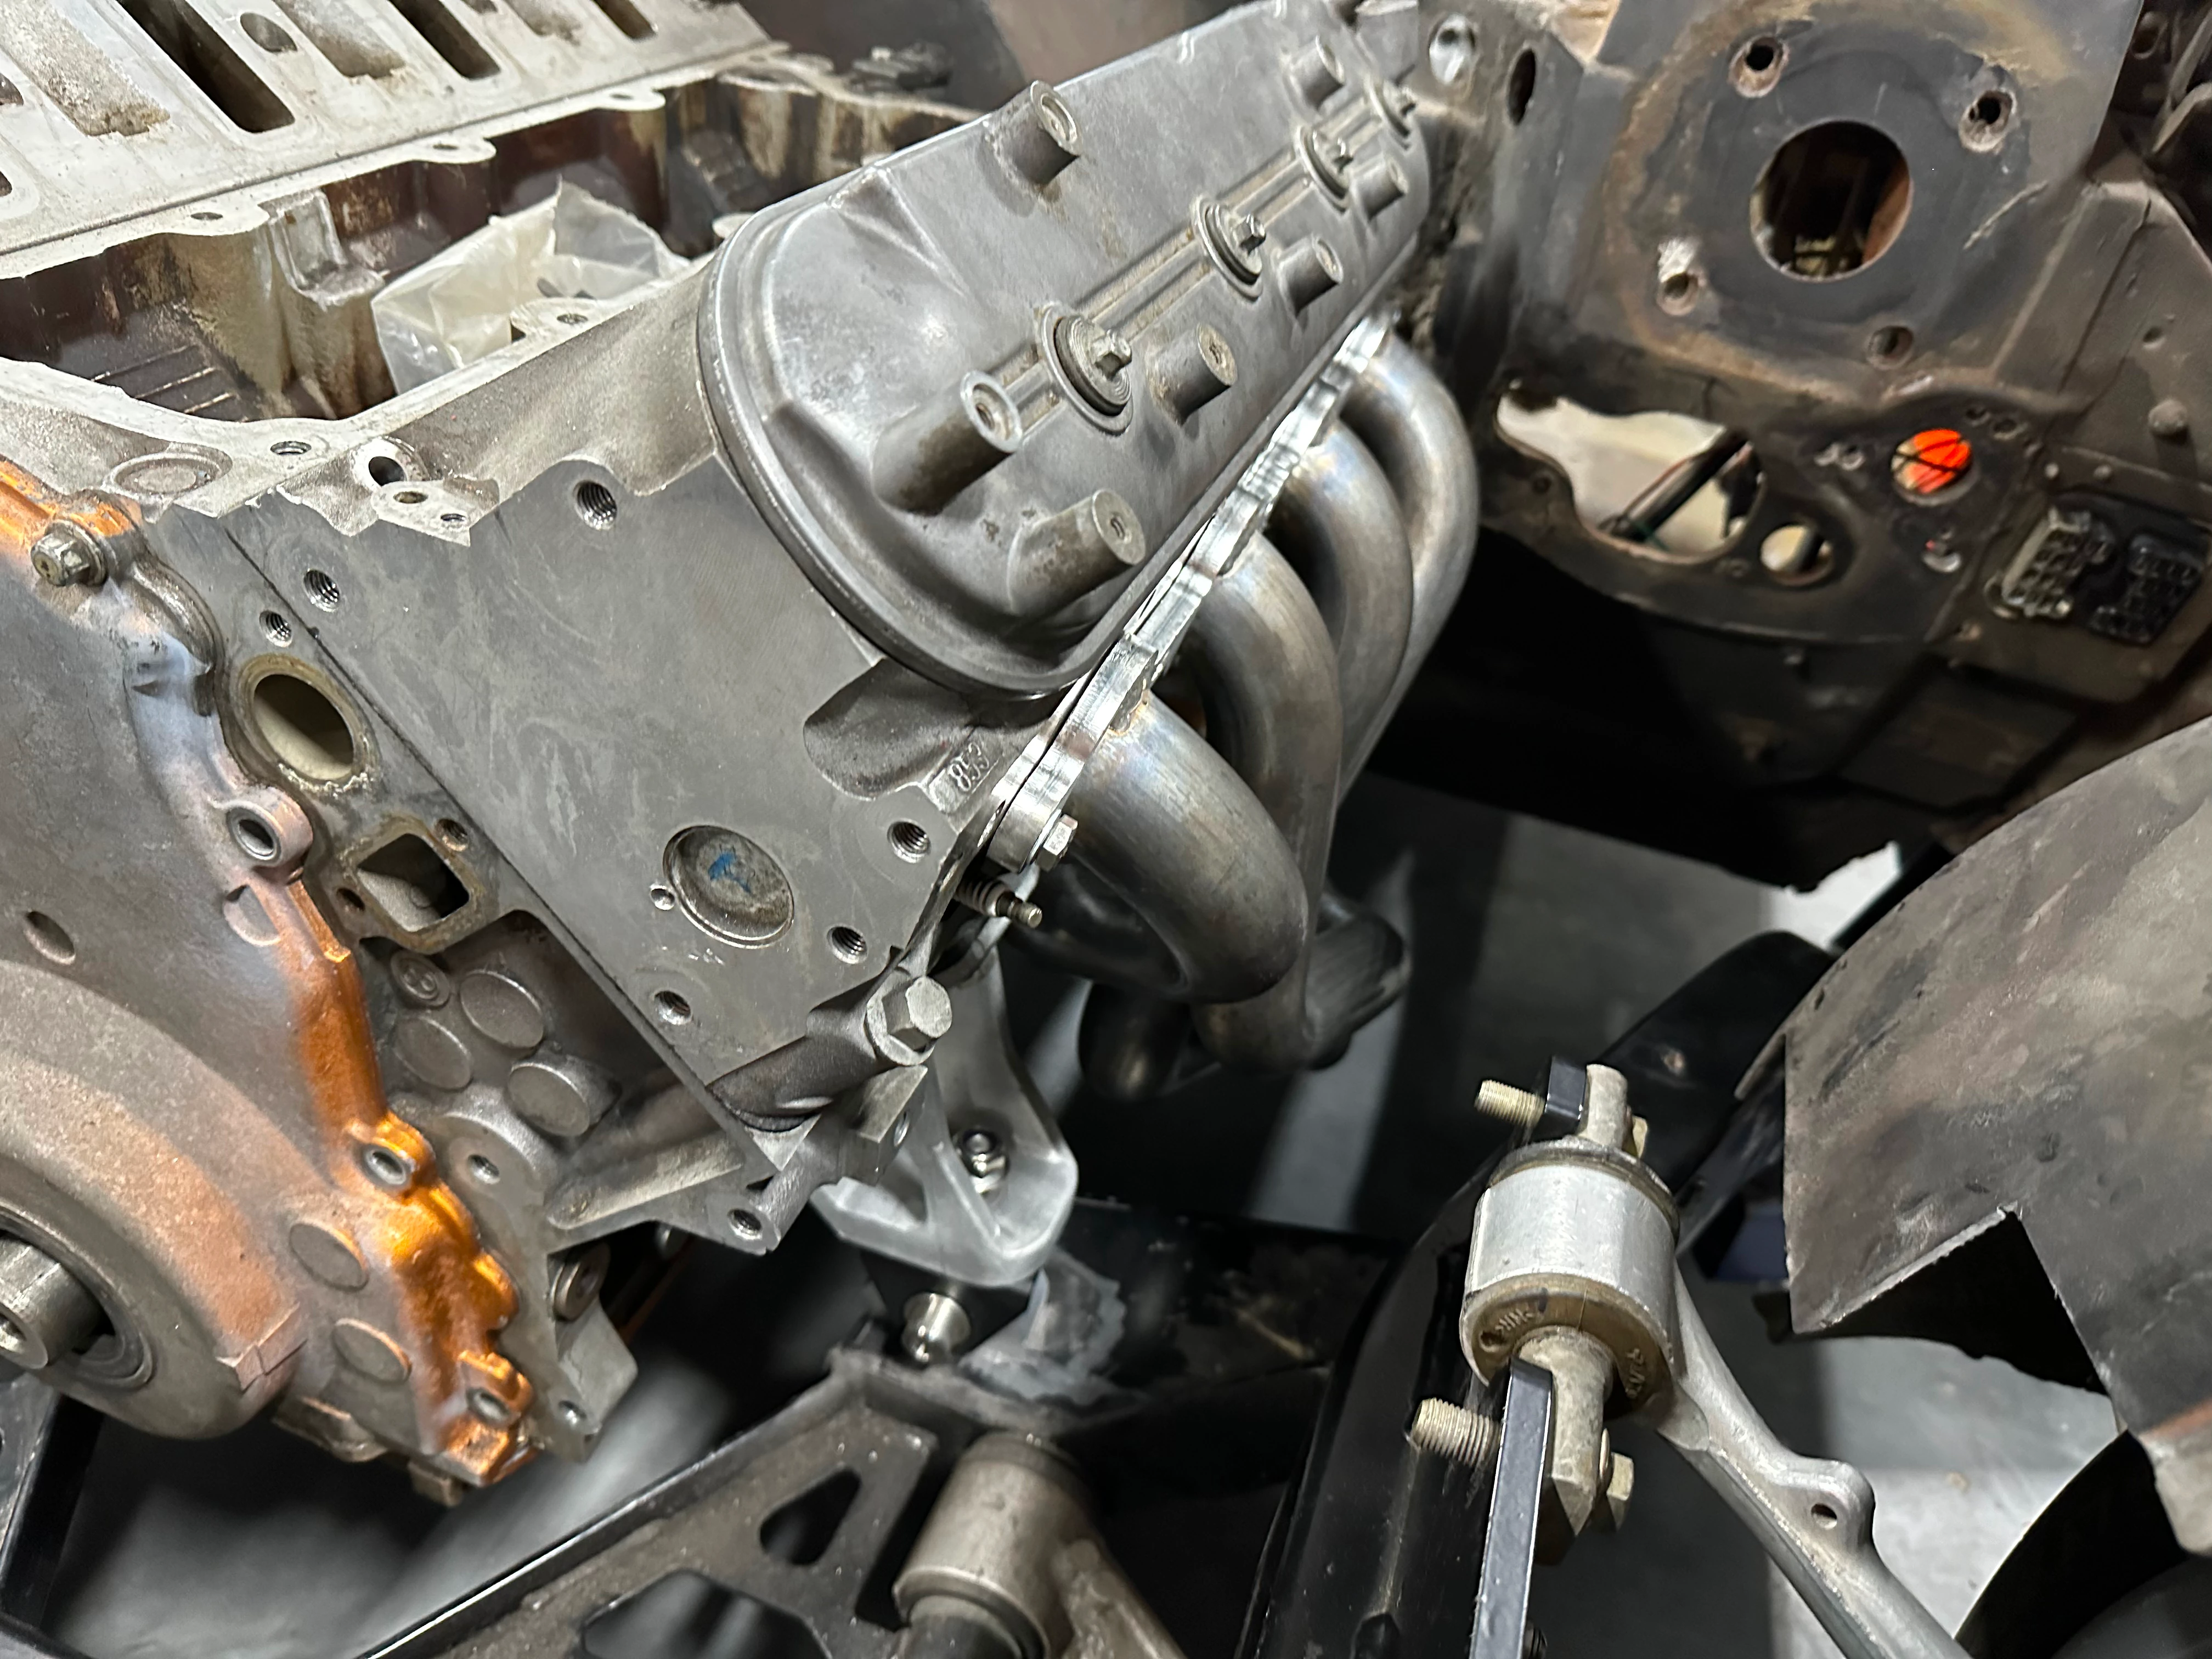
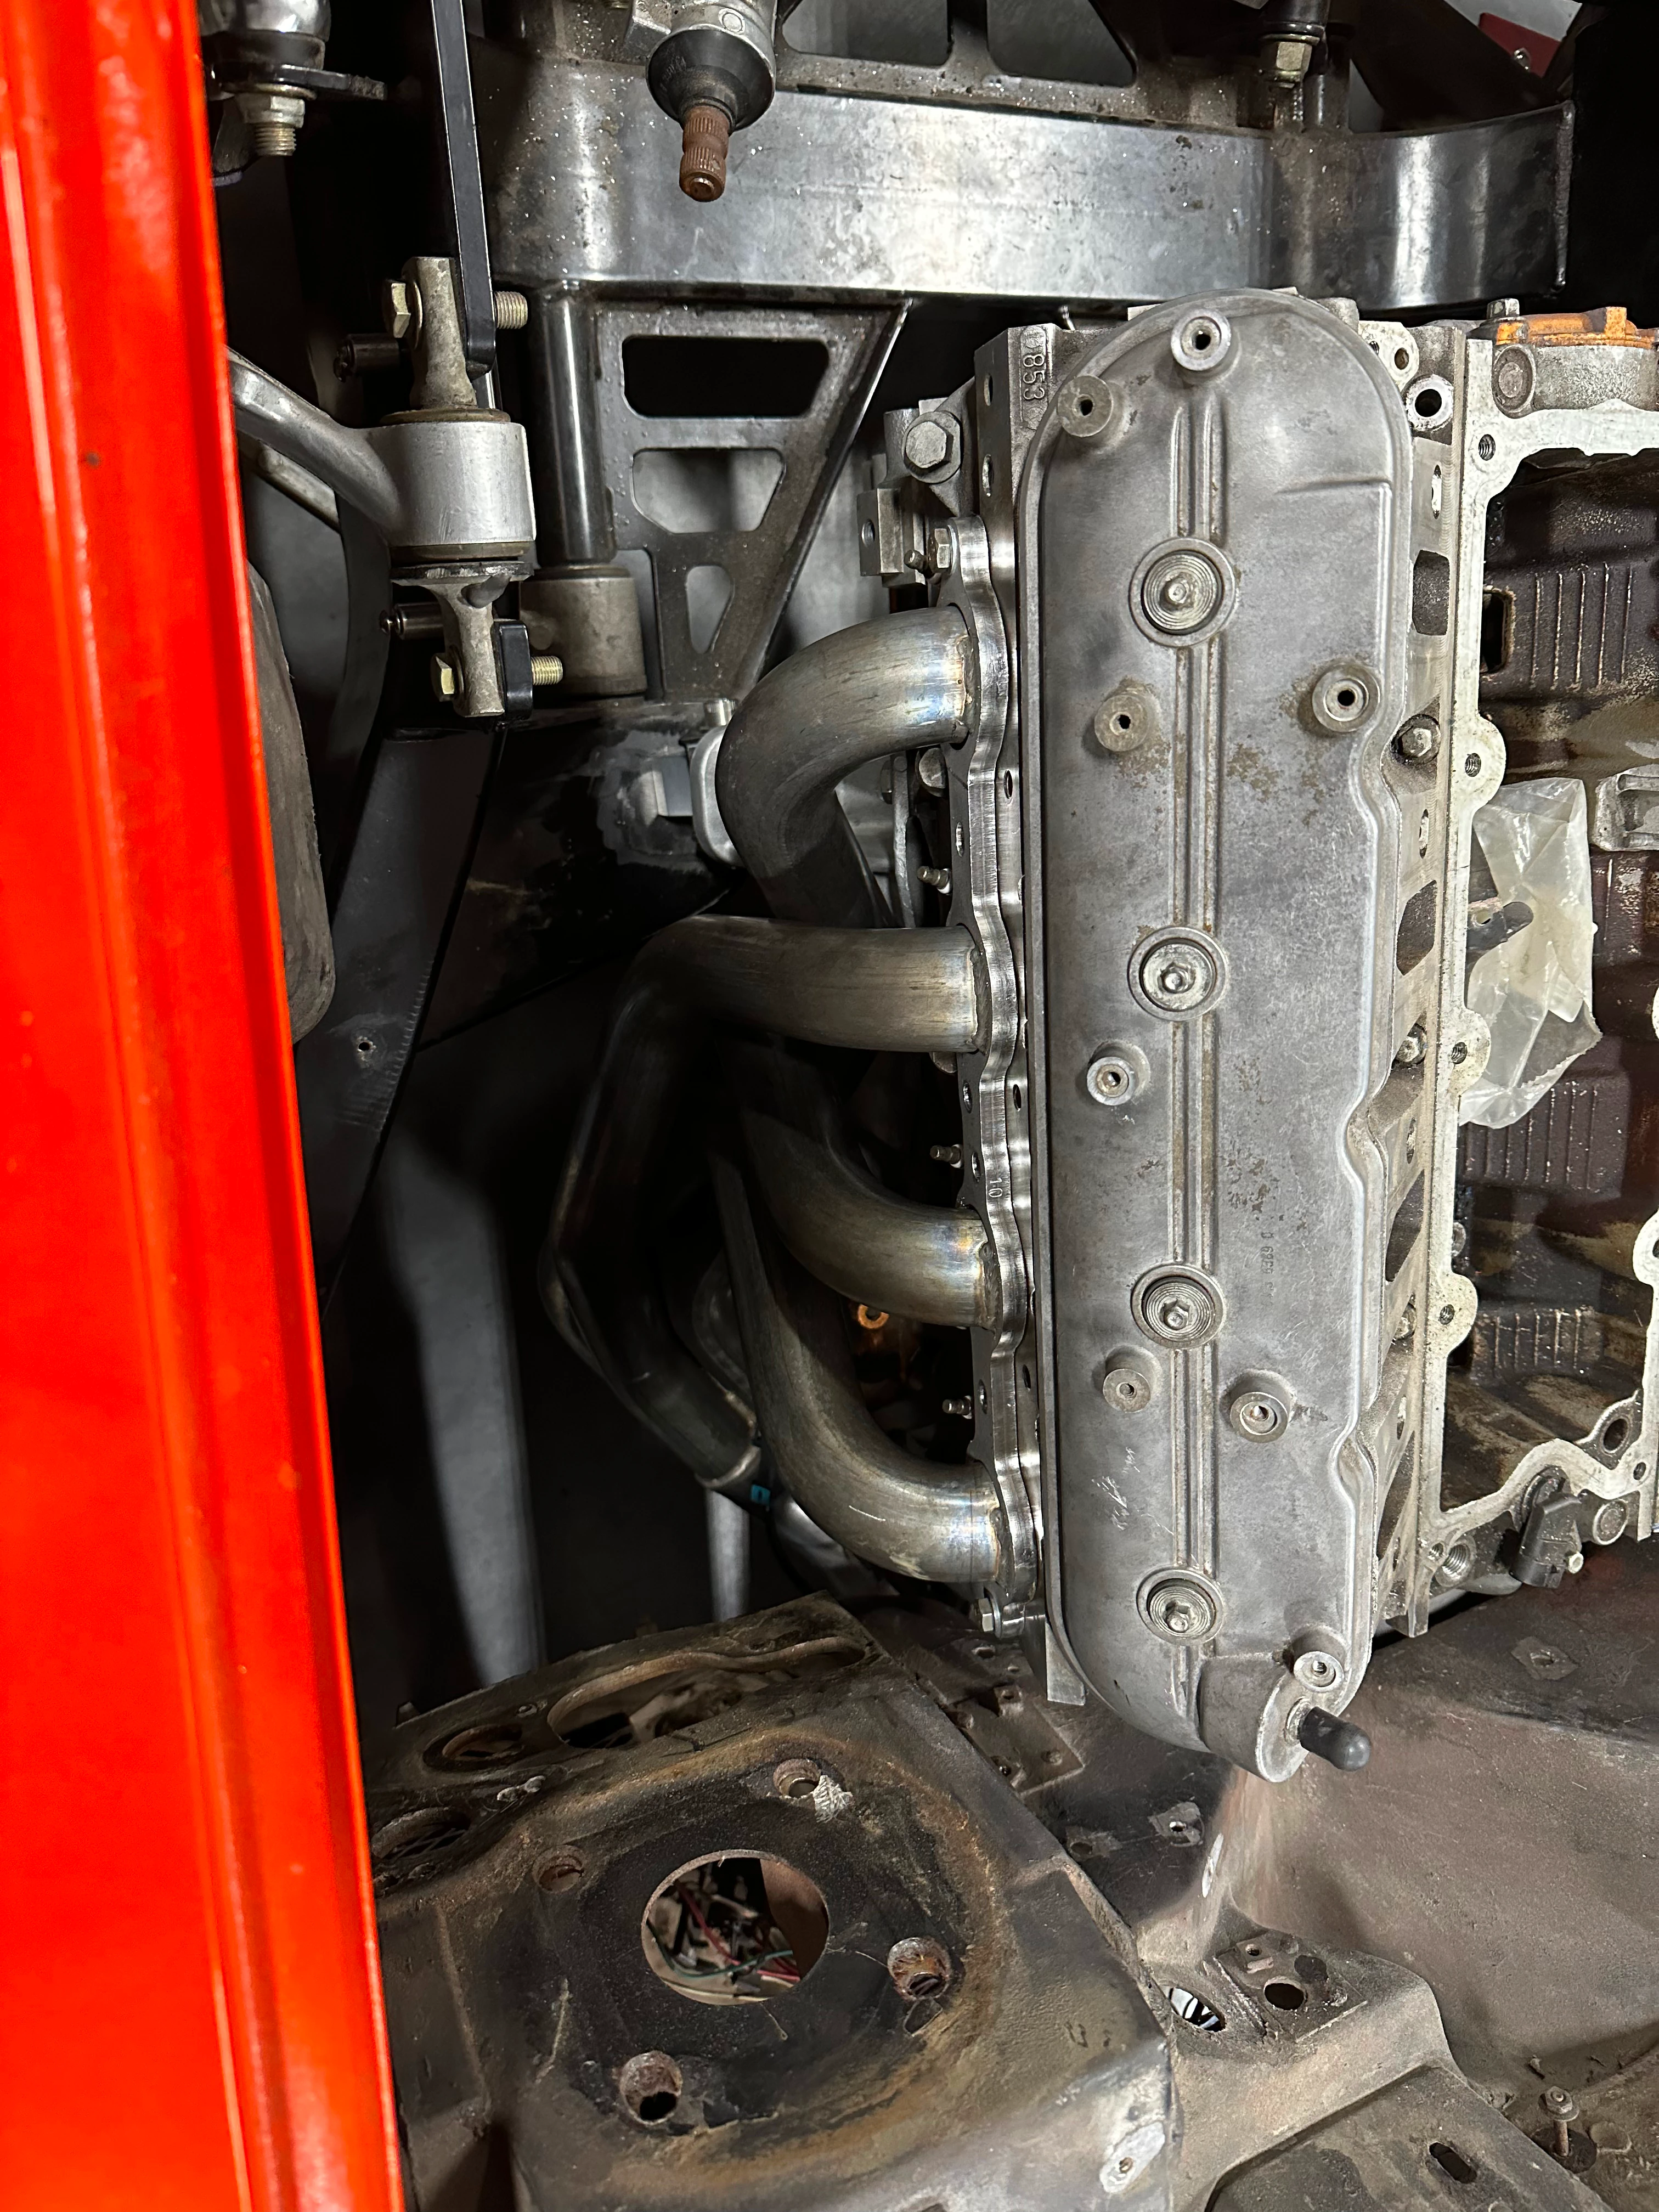
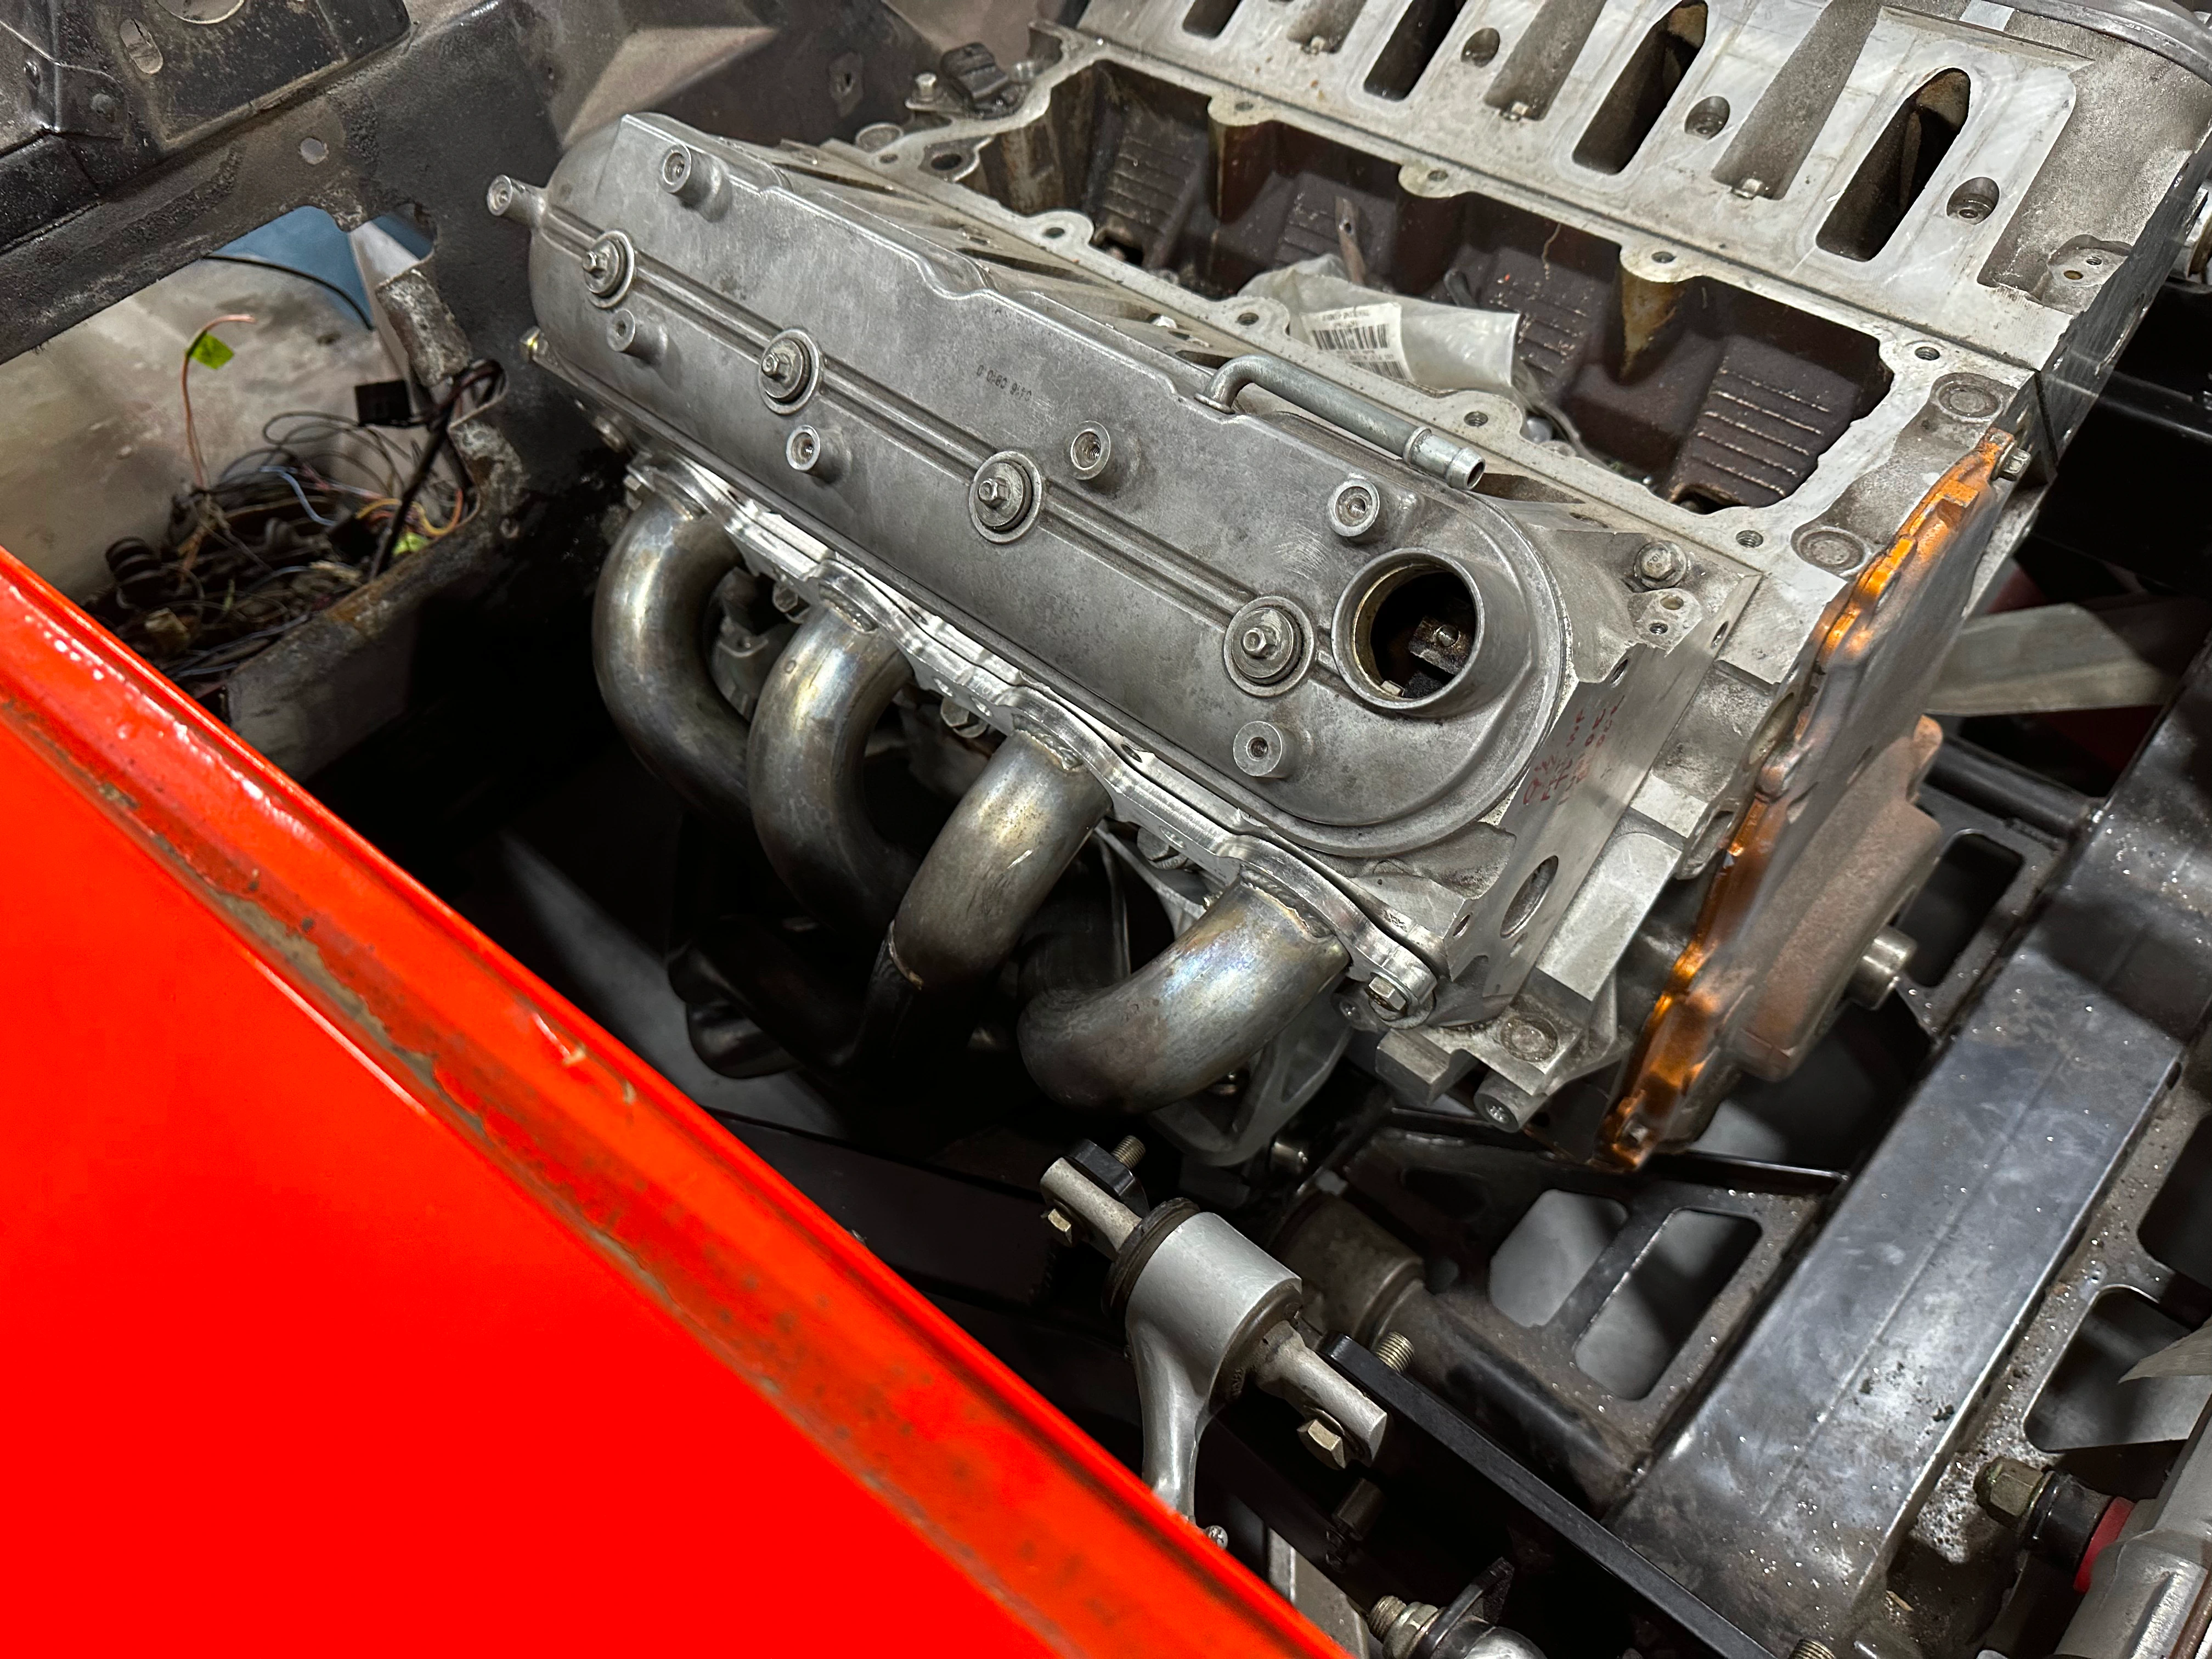
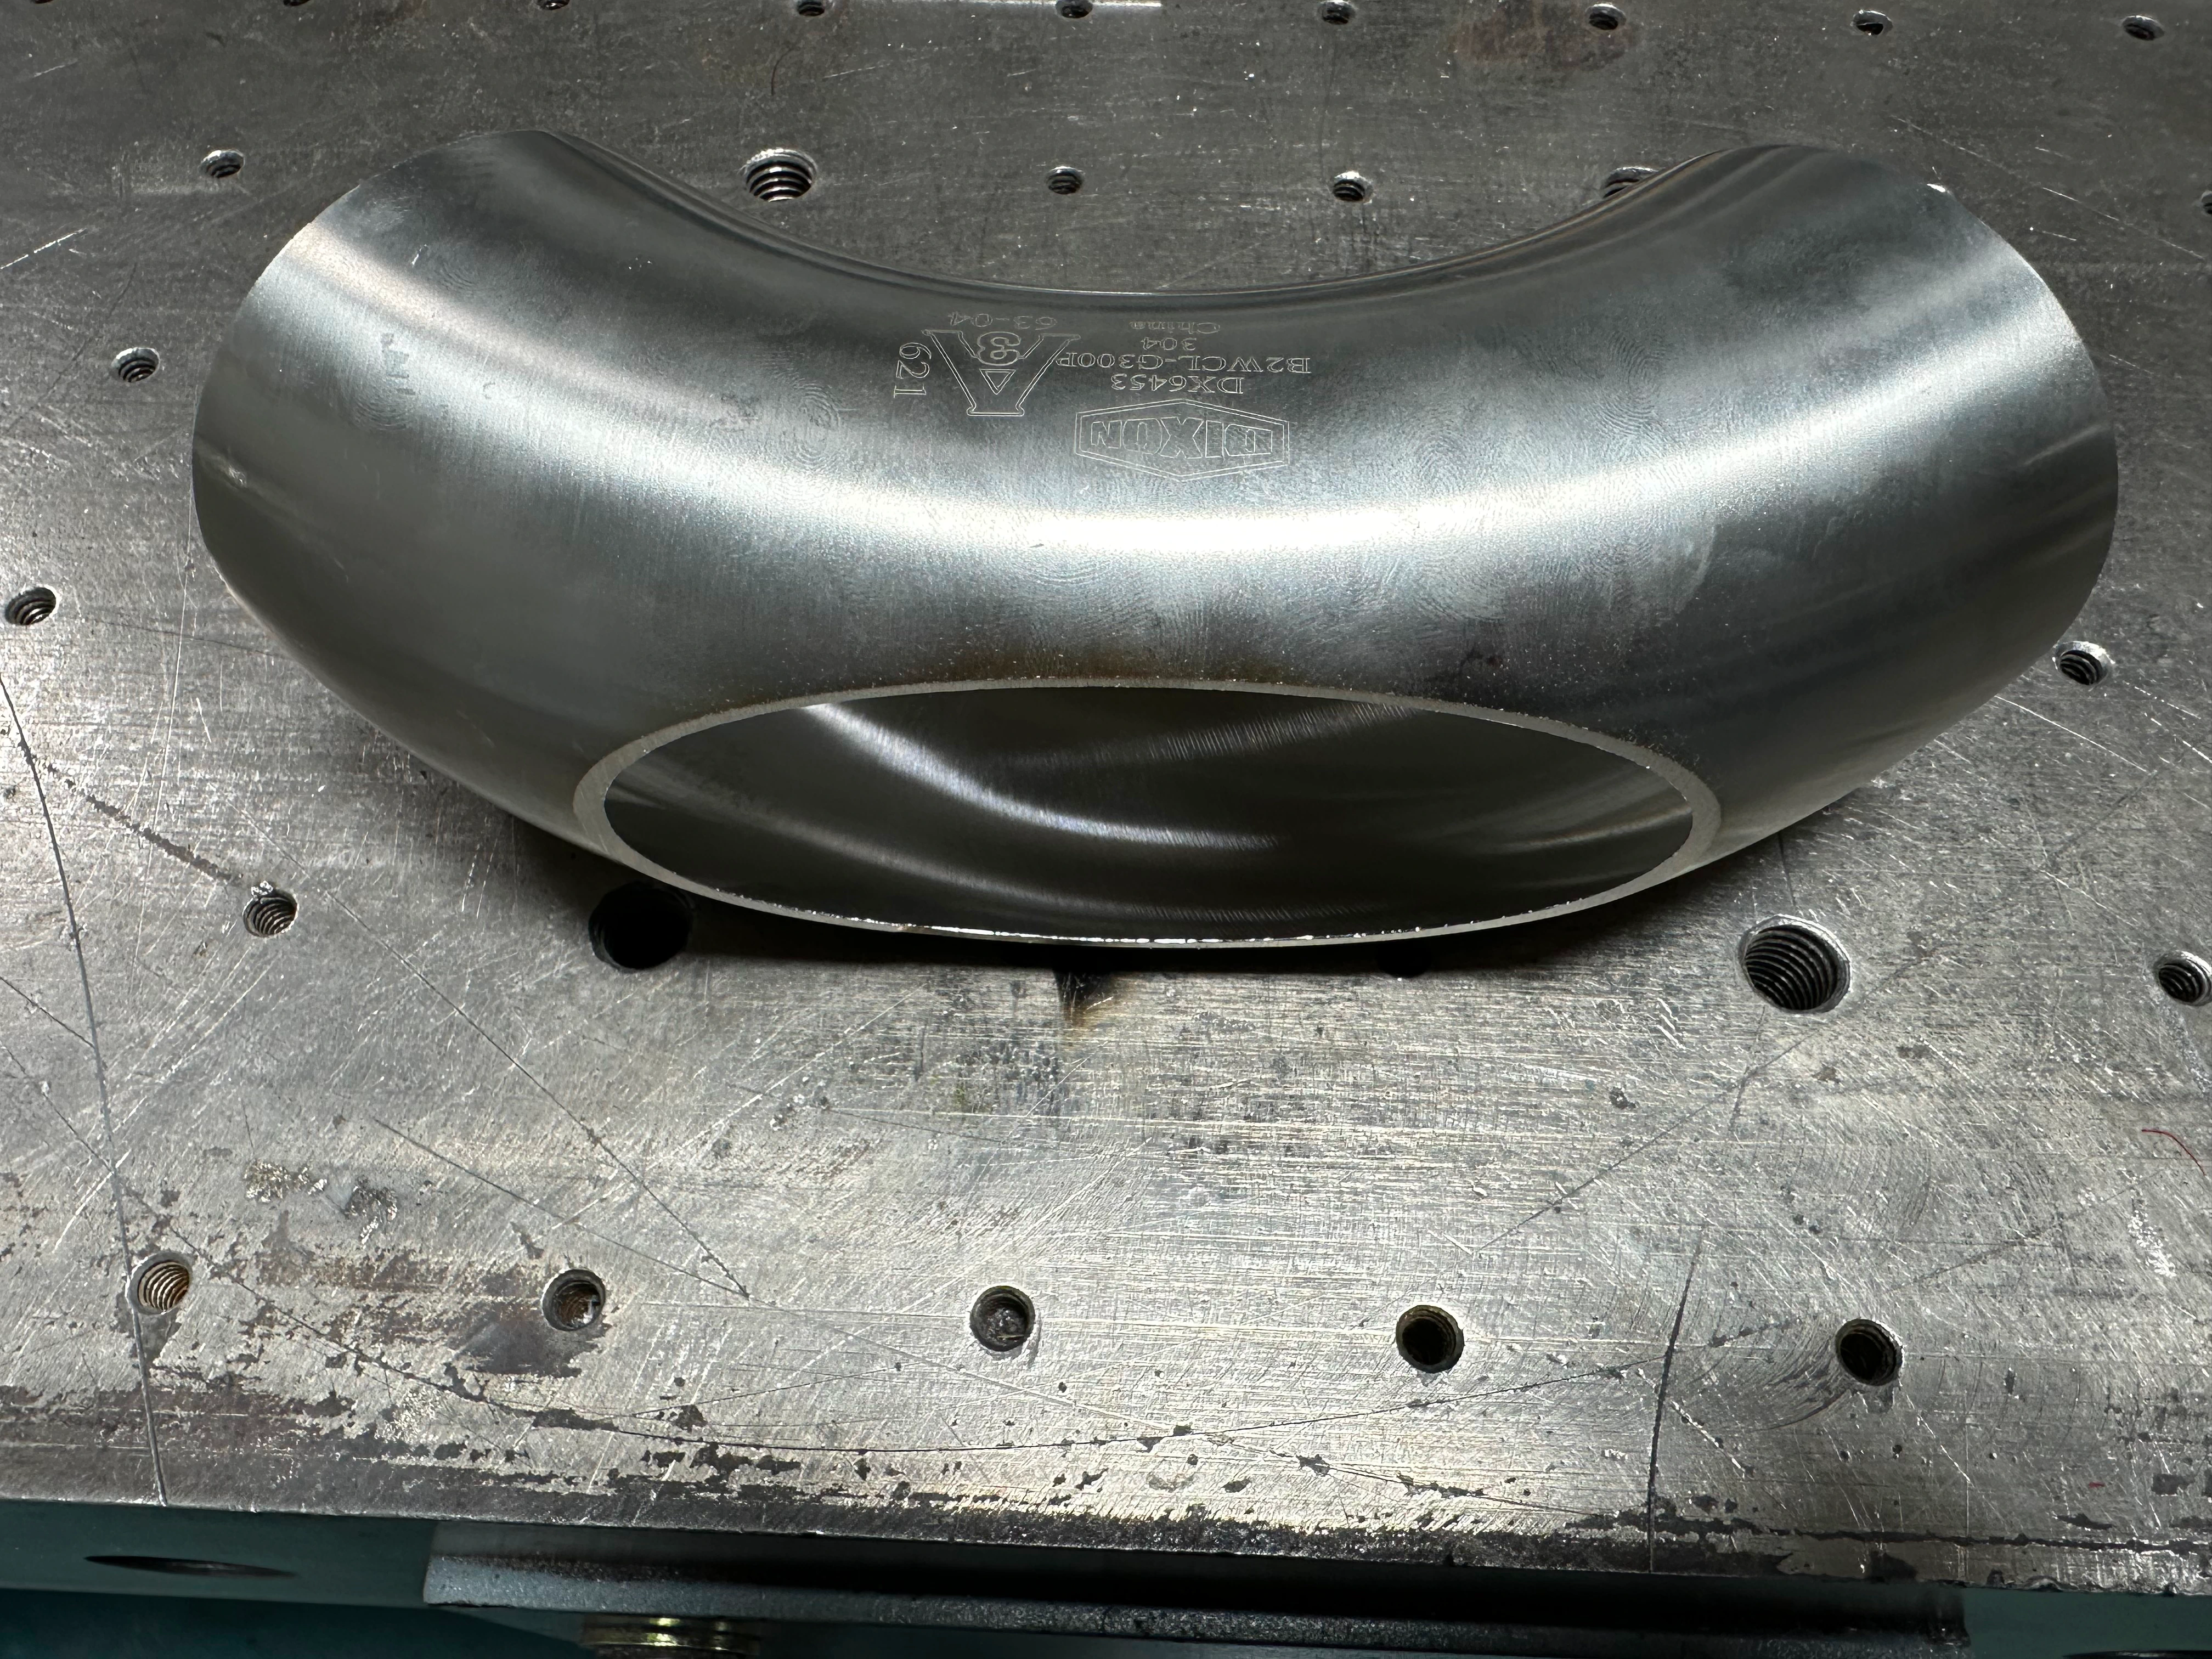
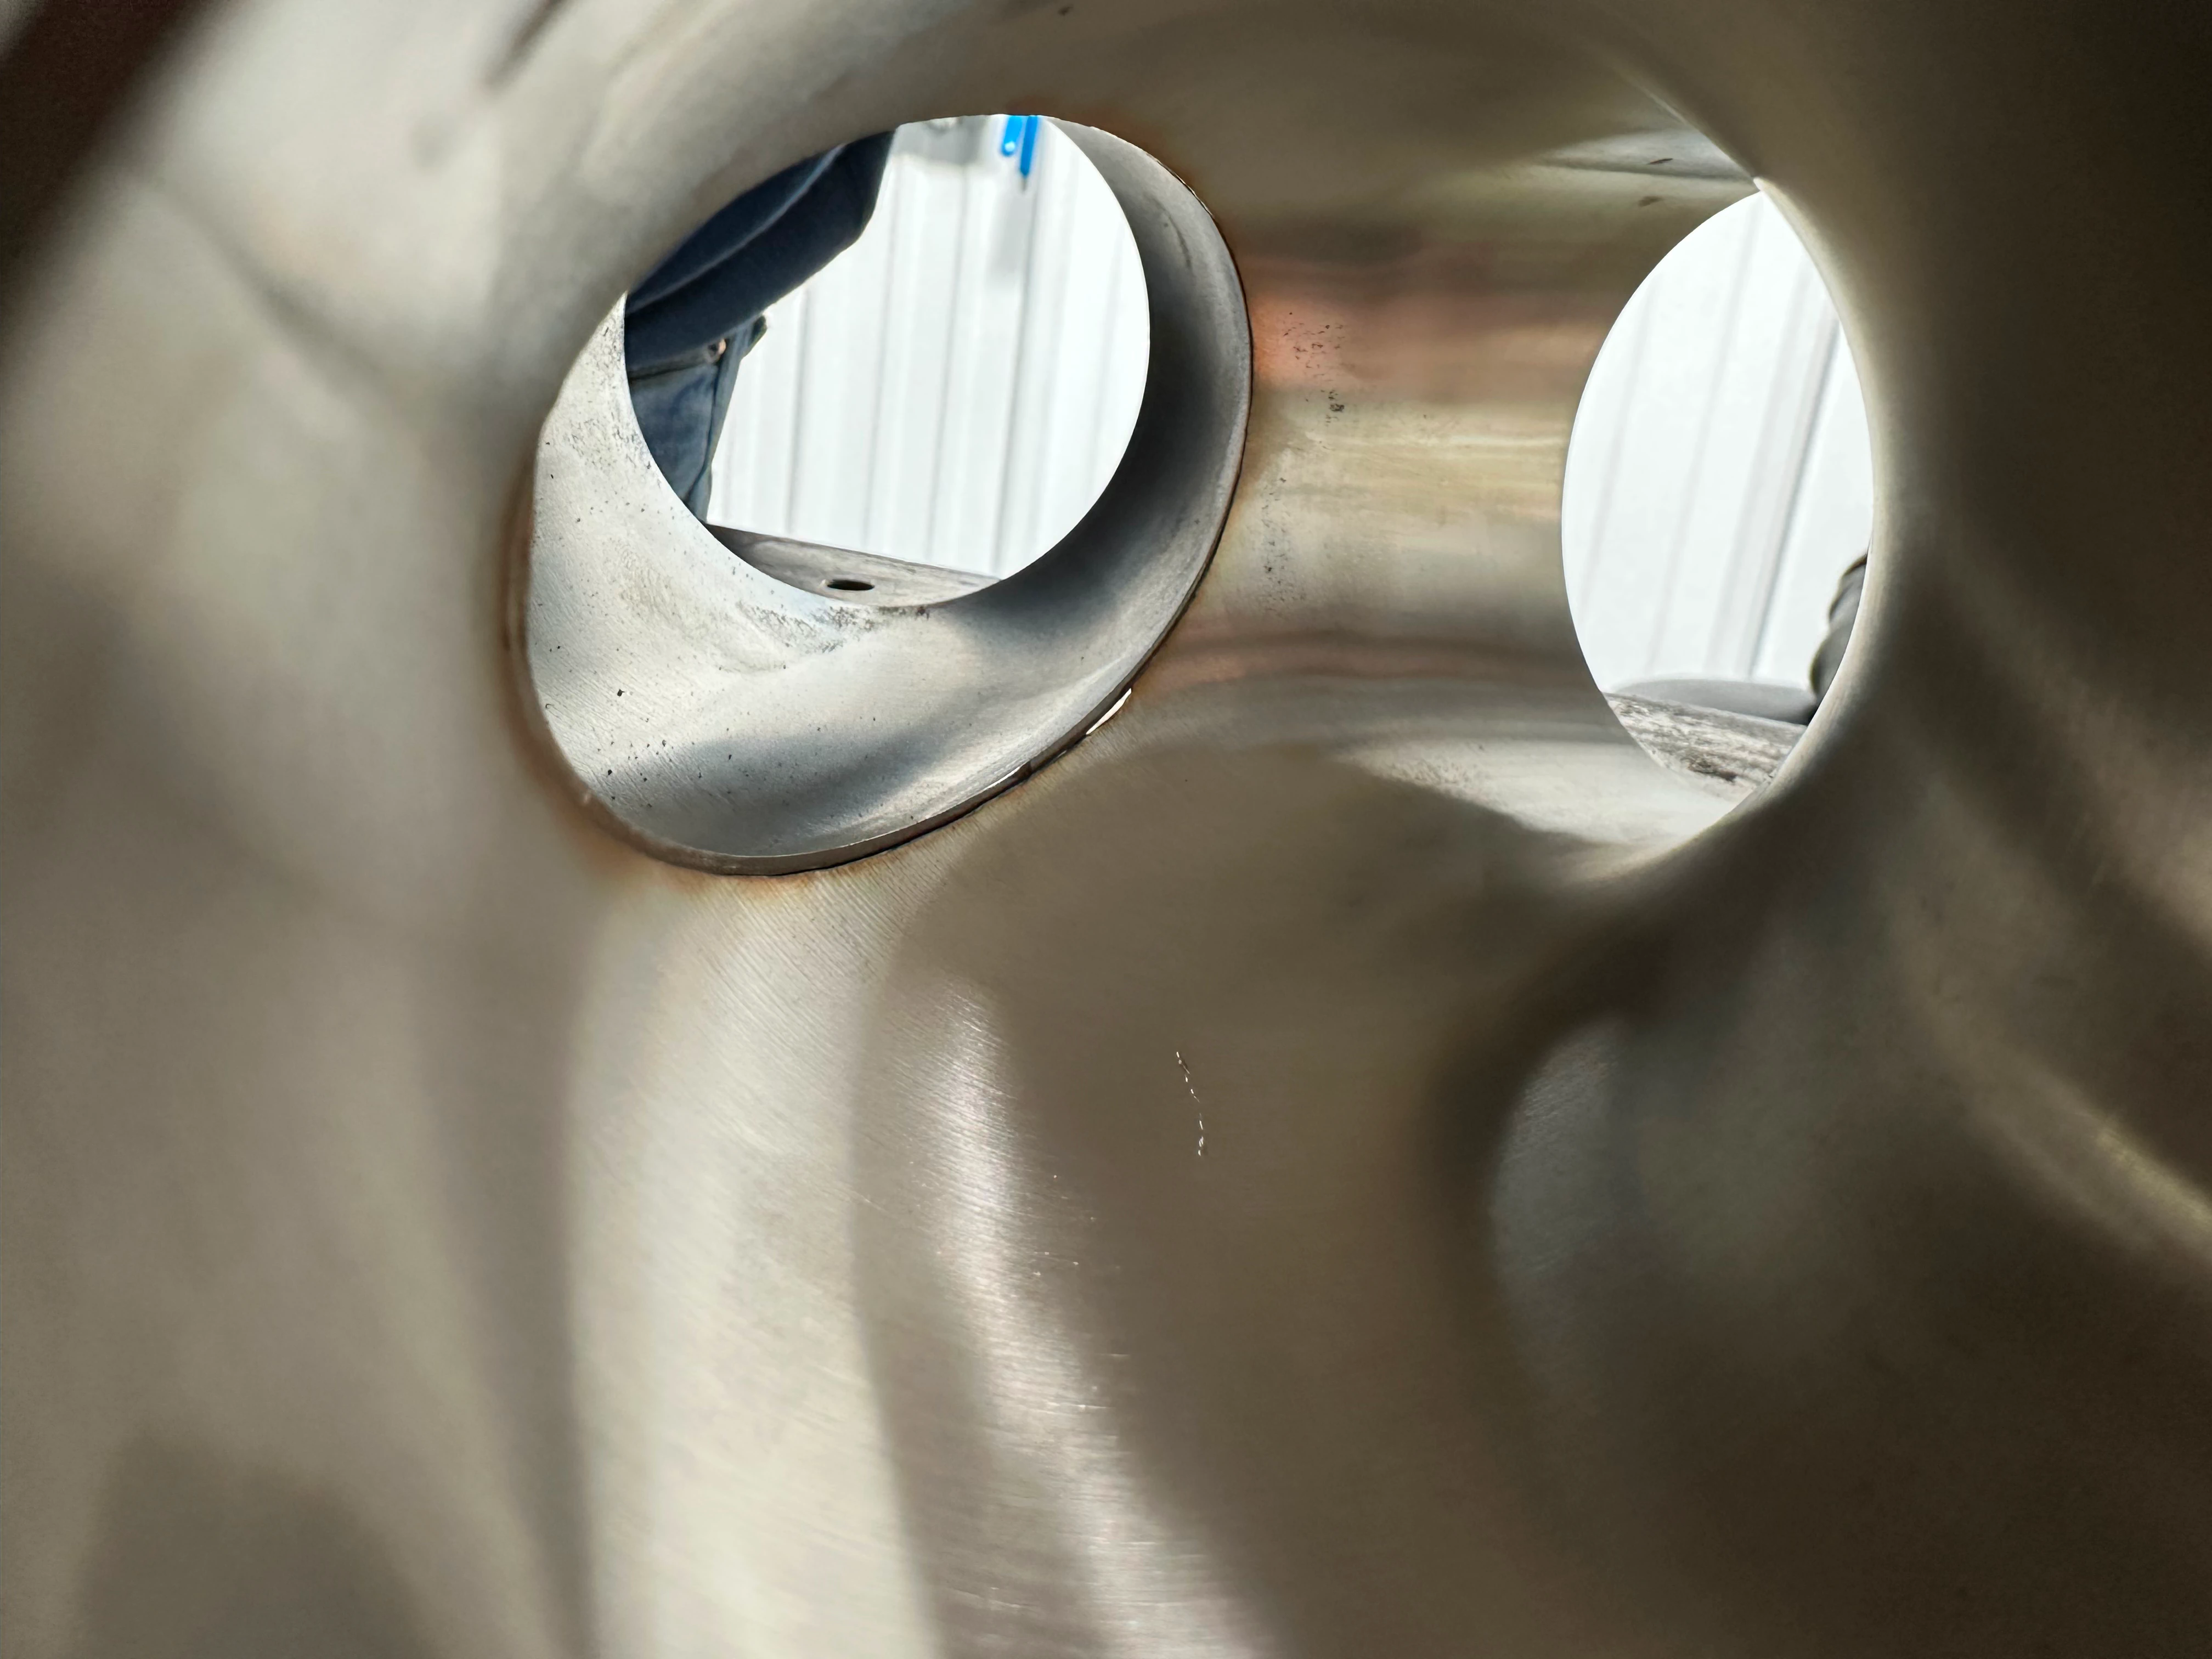
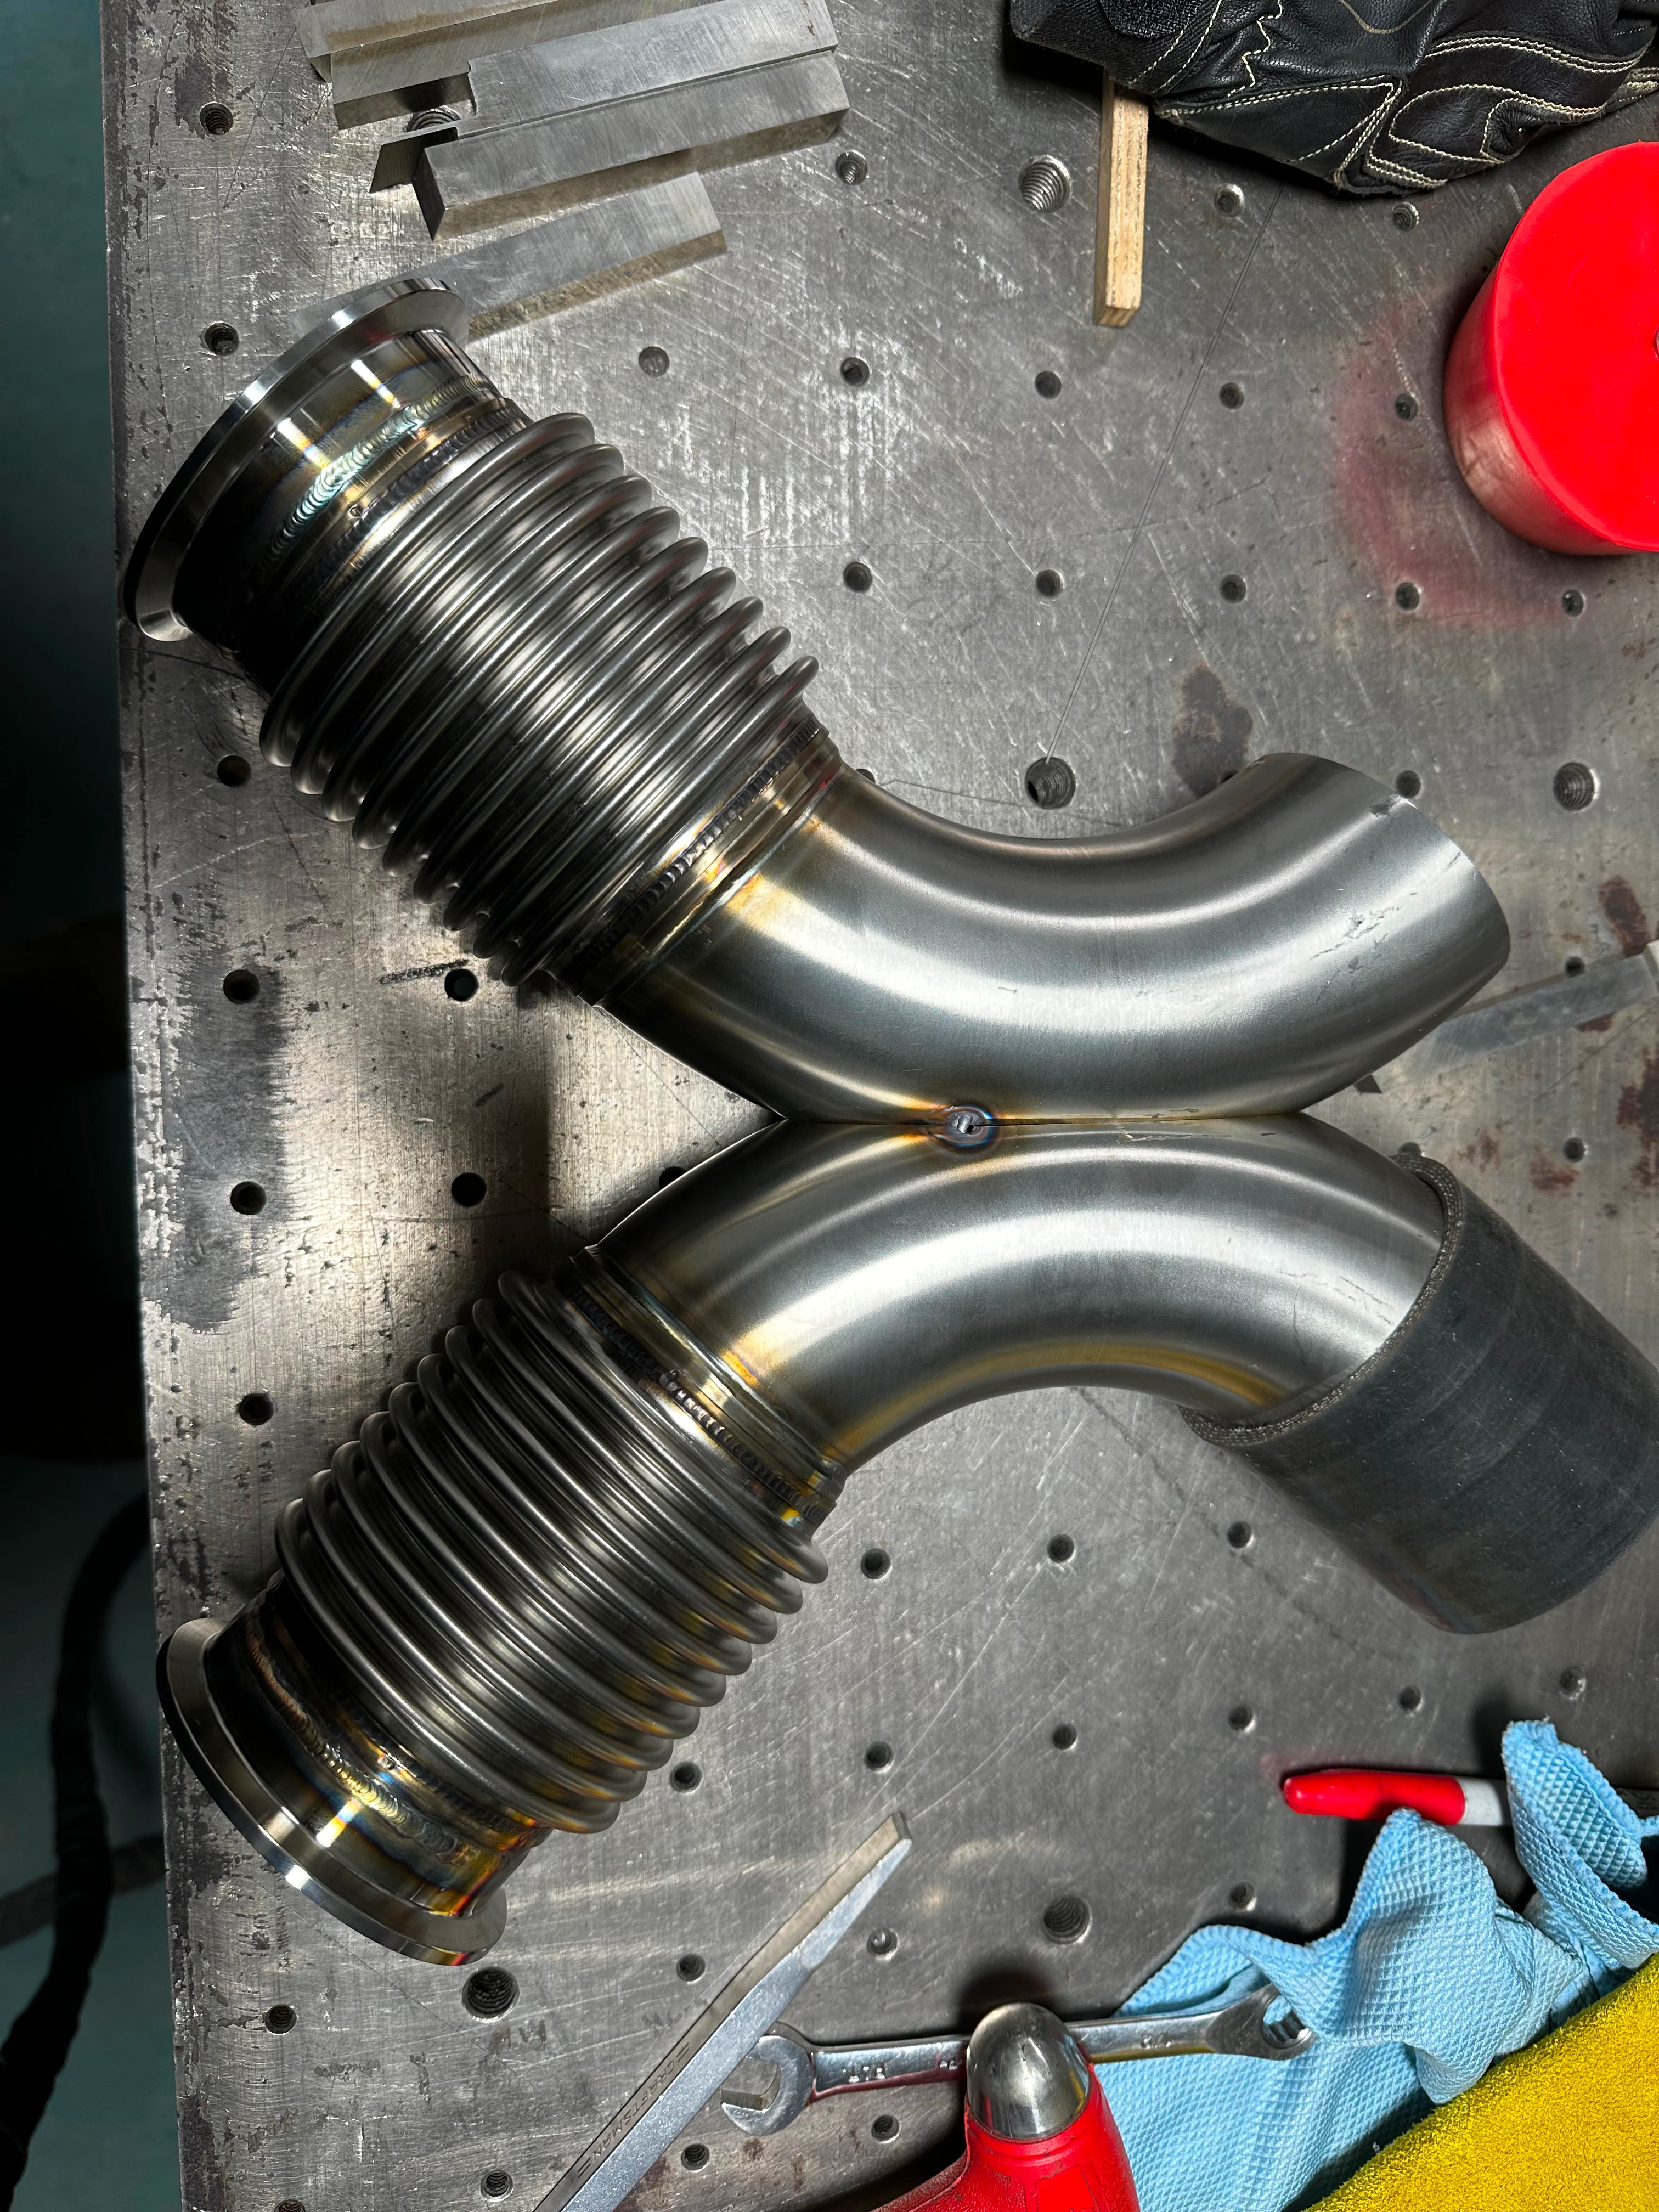
Out of the headers we go almost immediately into a custom X Pipe.
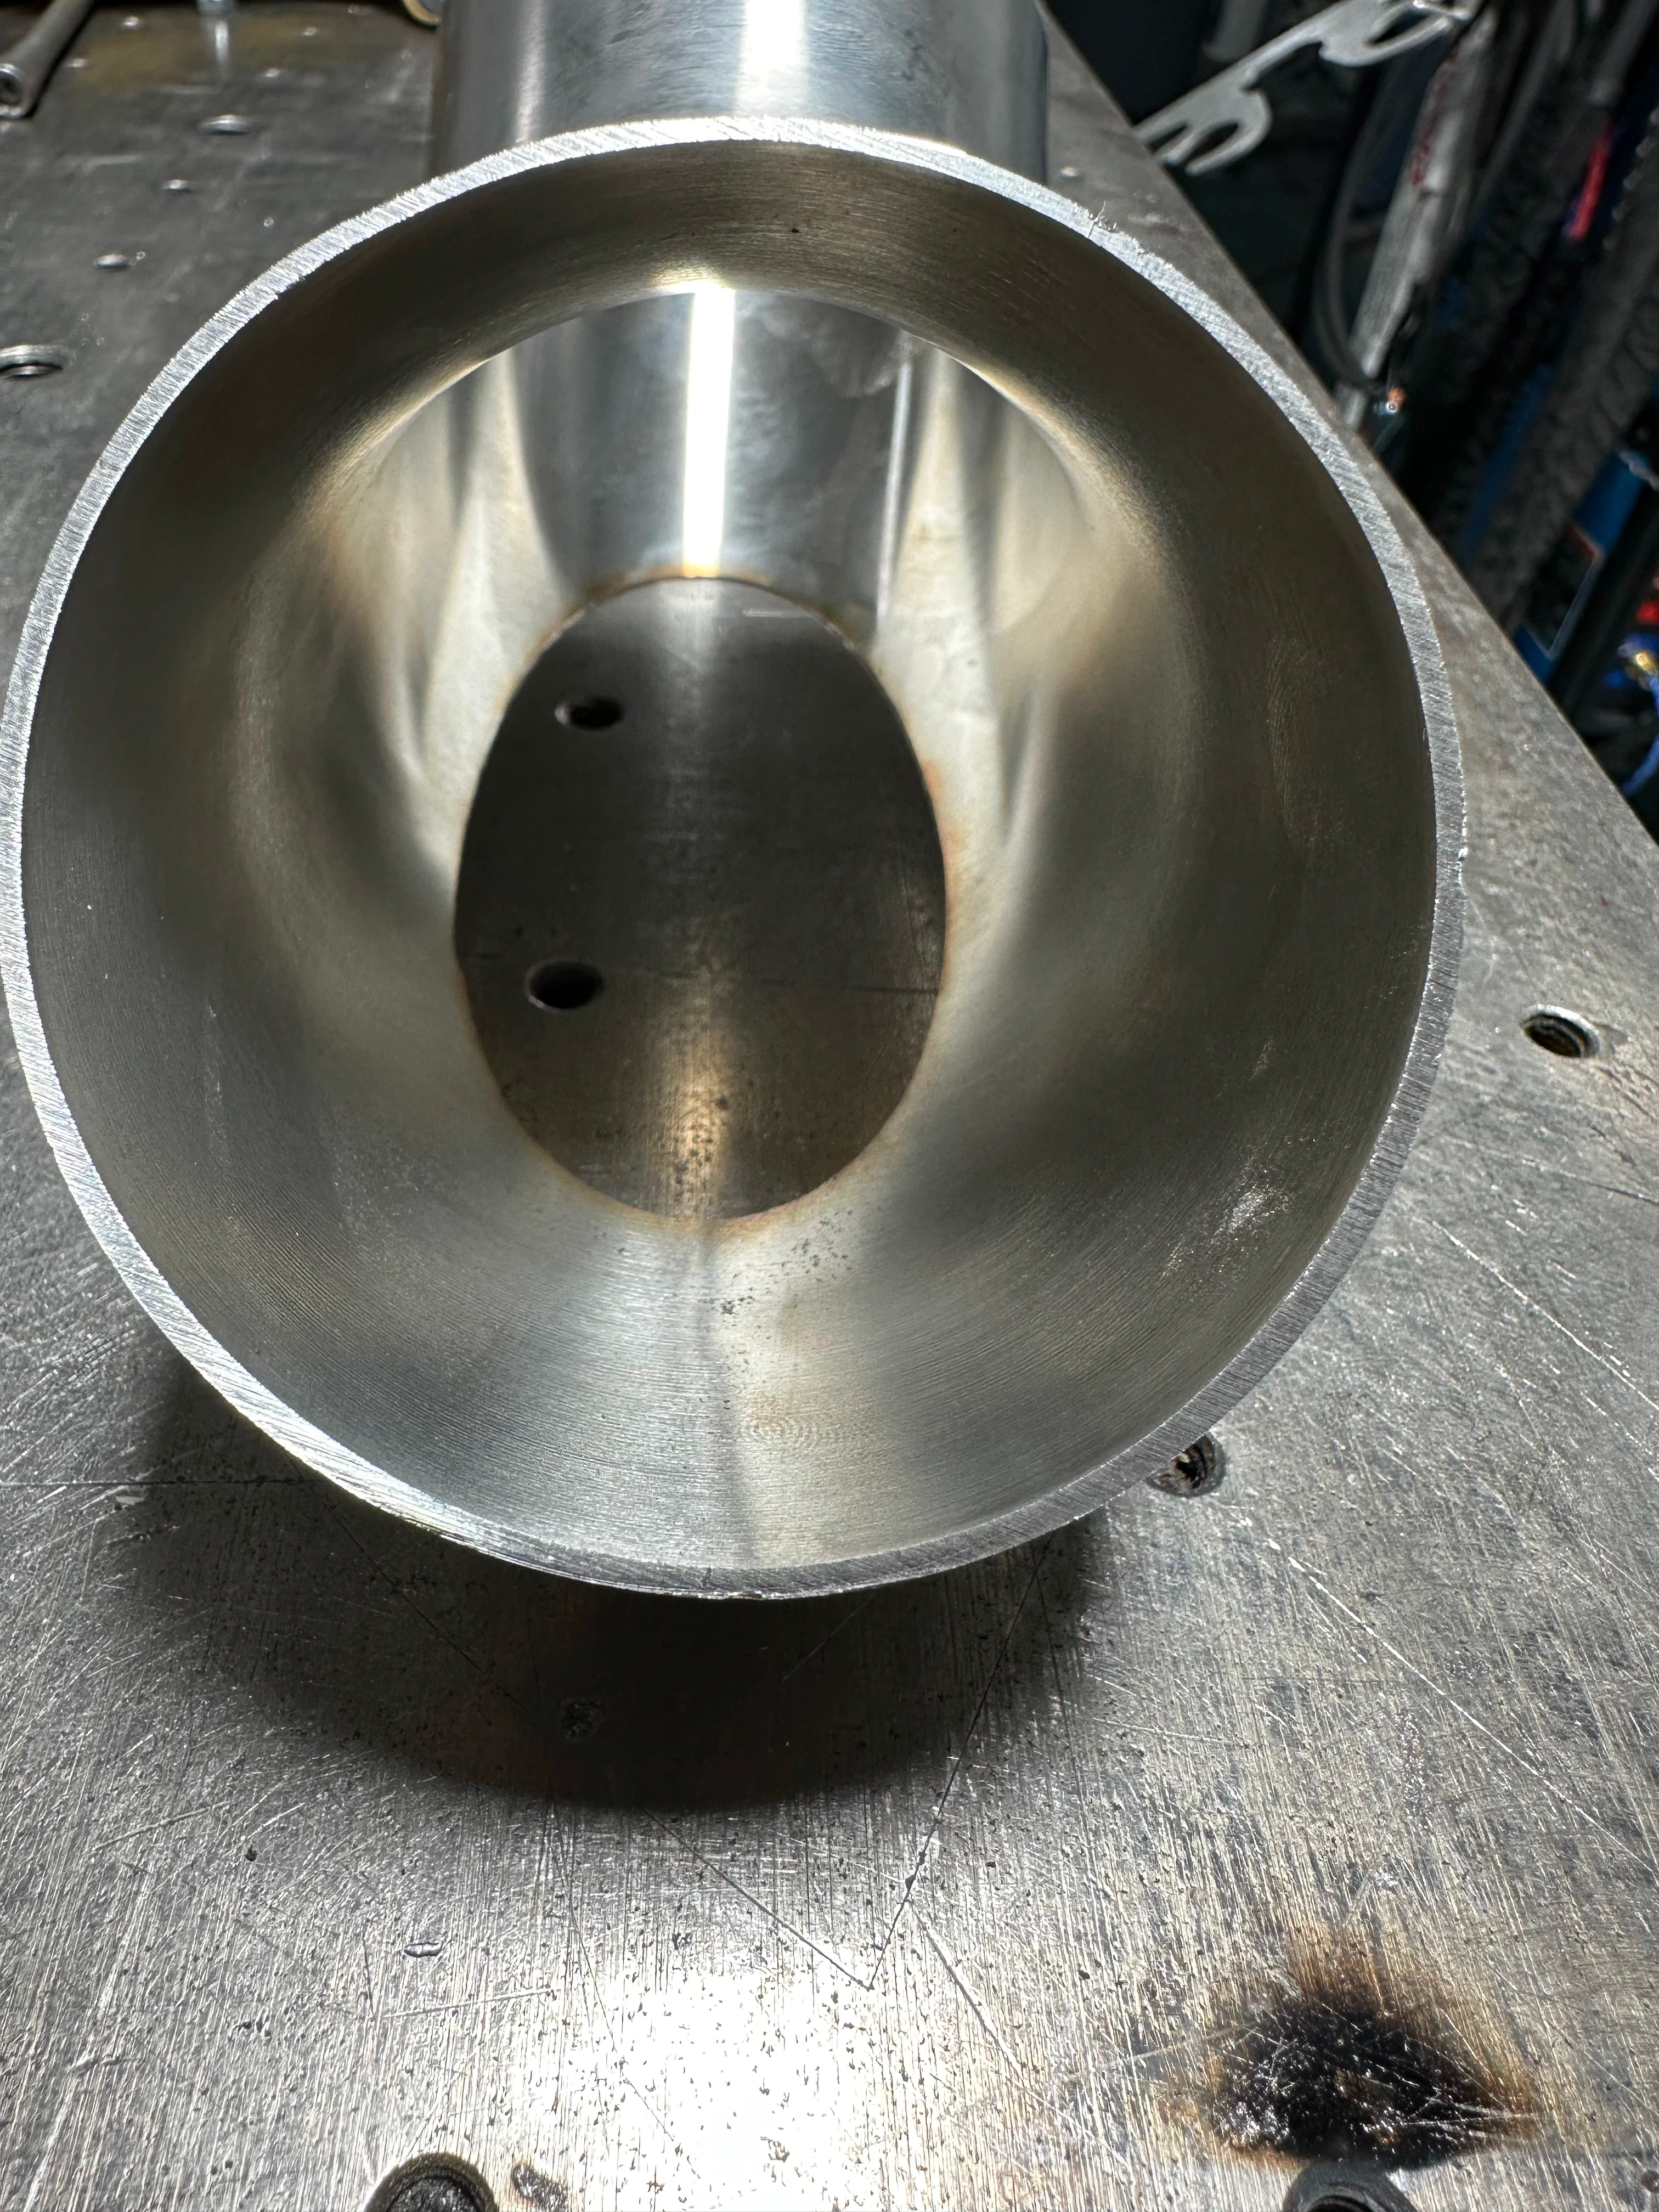
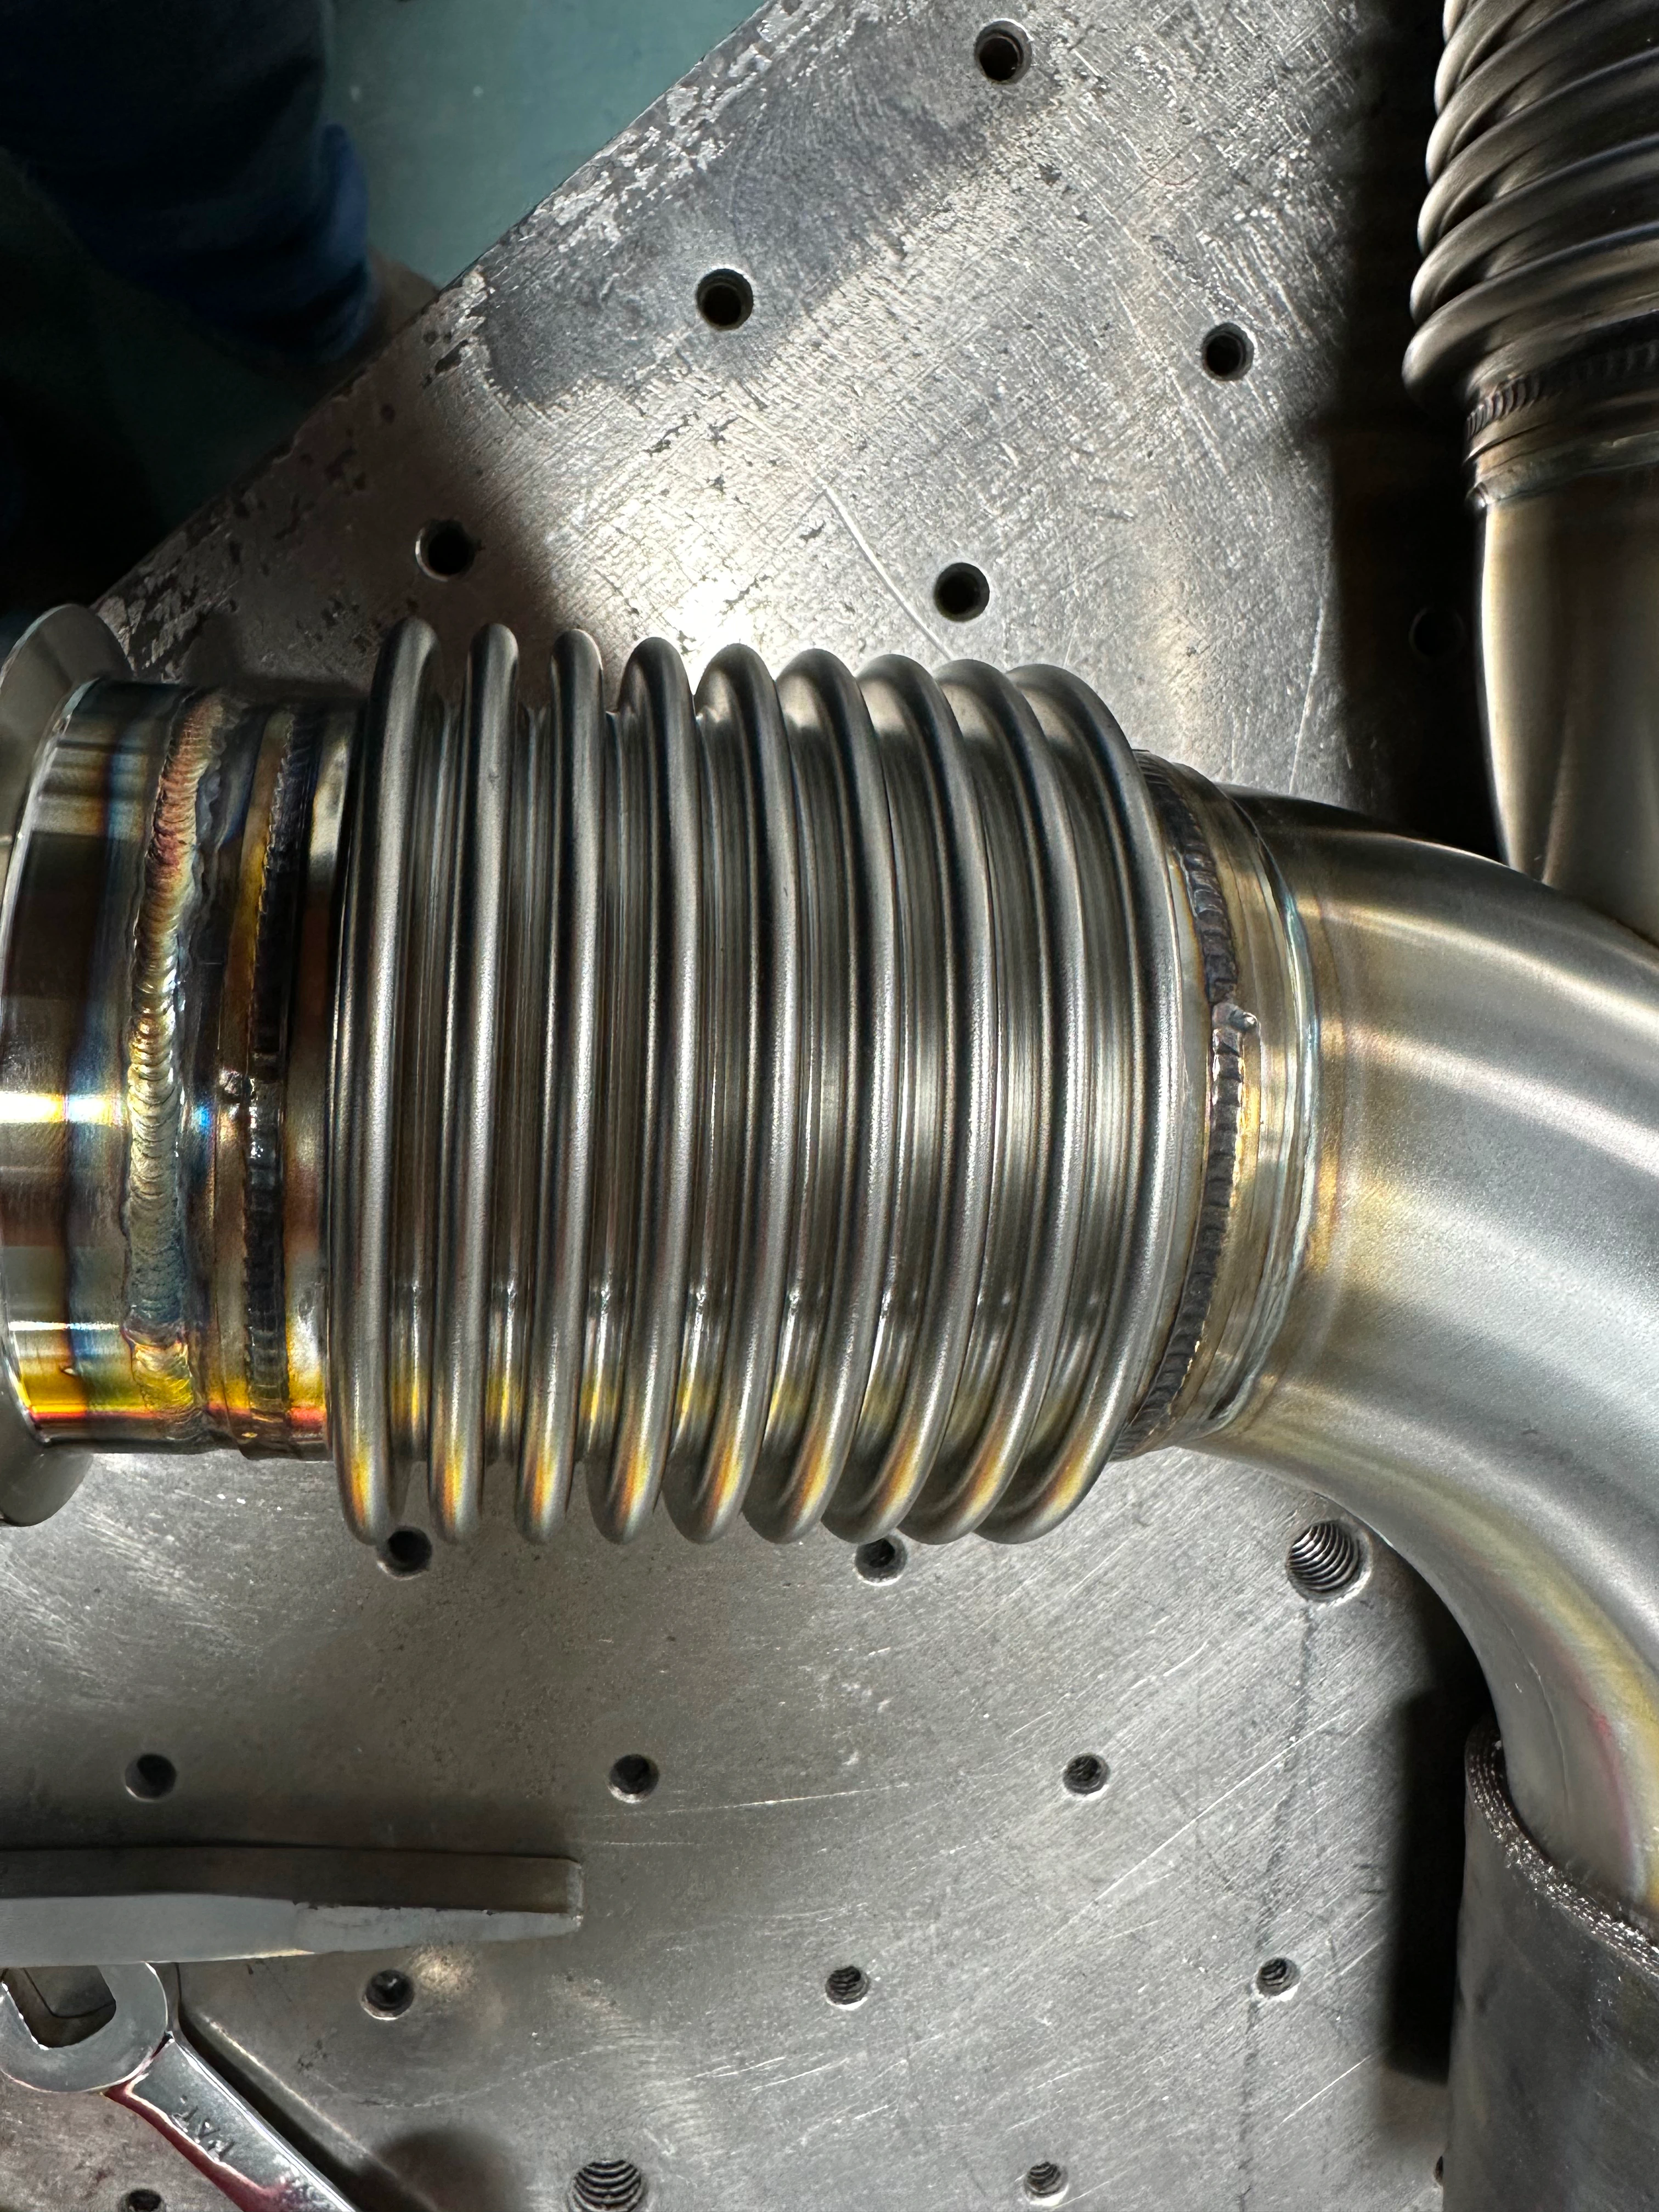
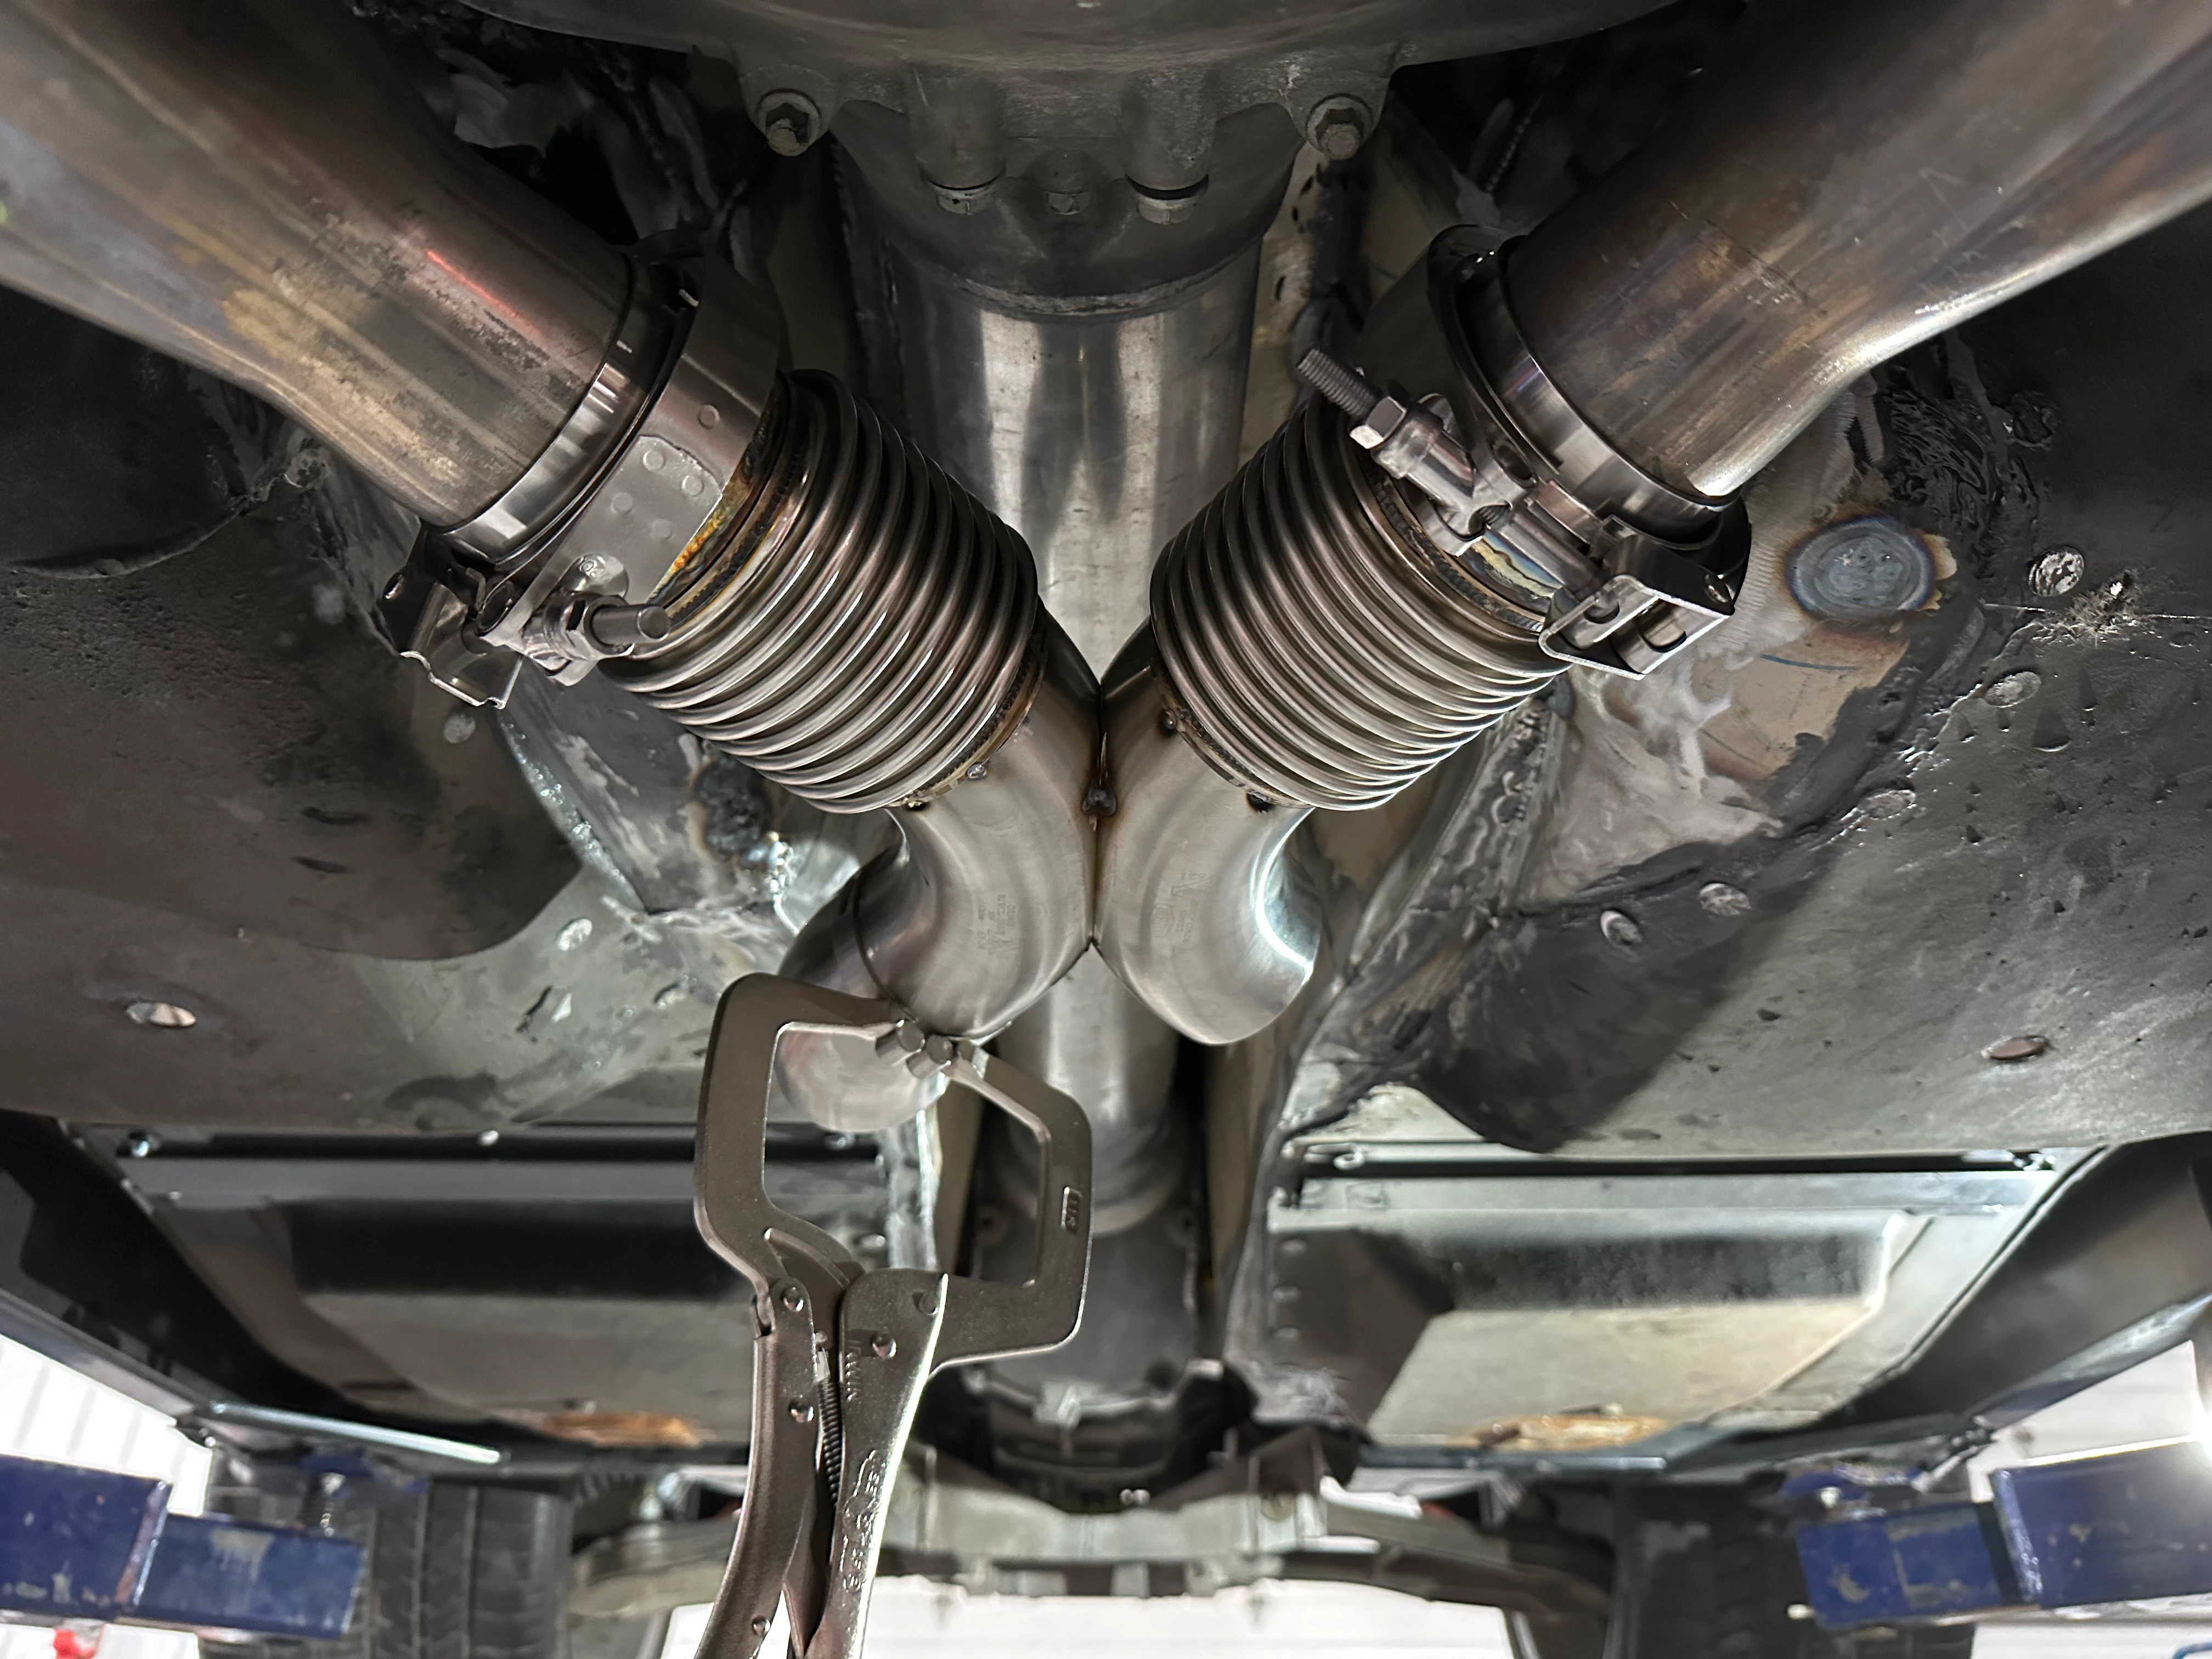
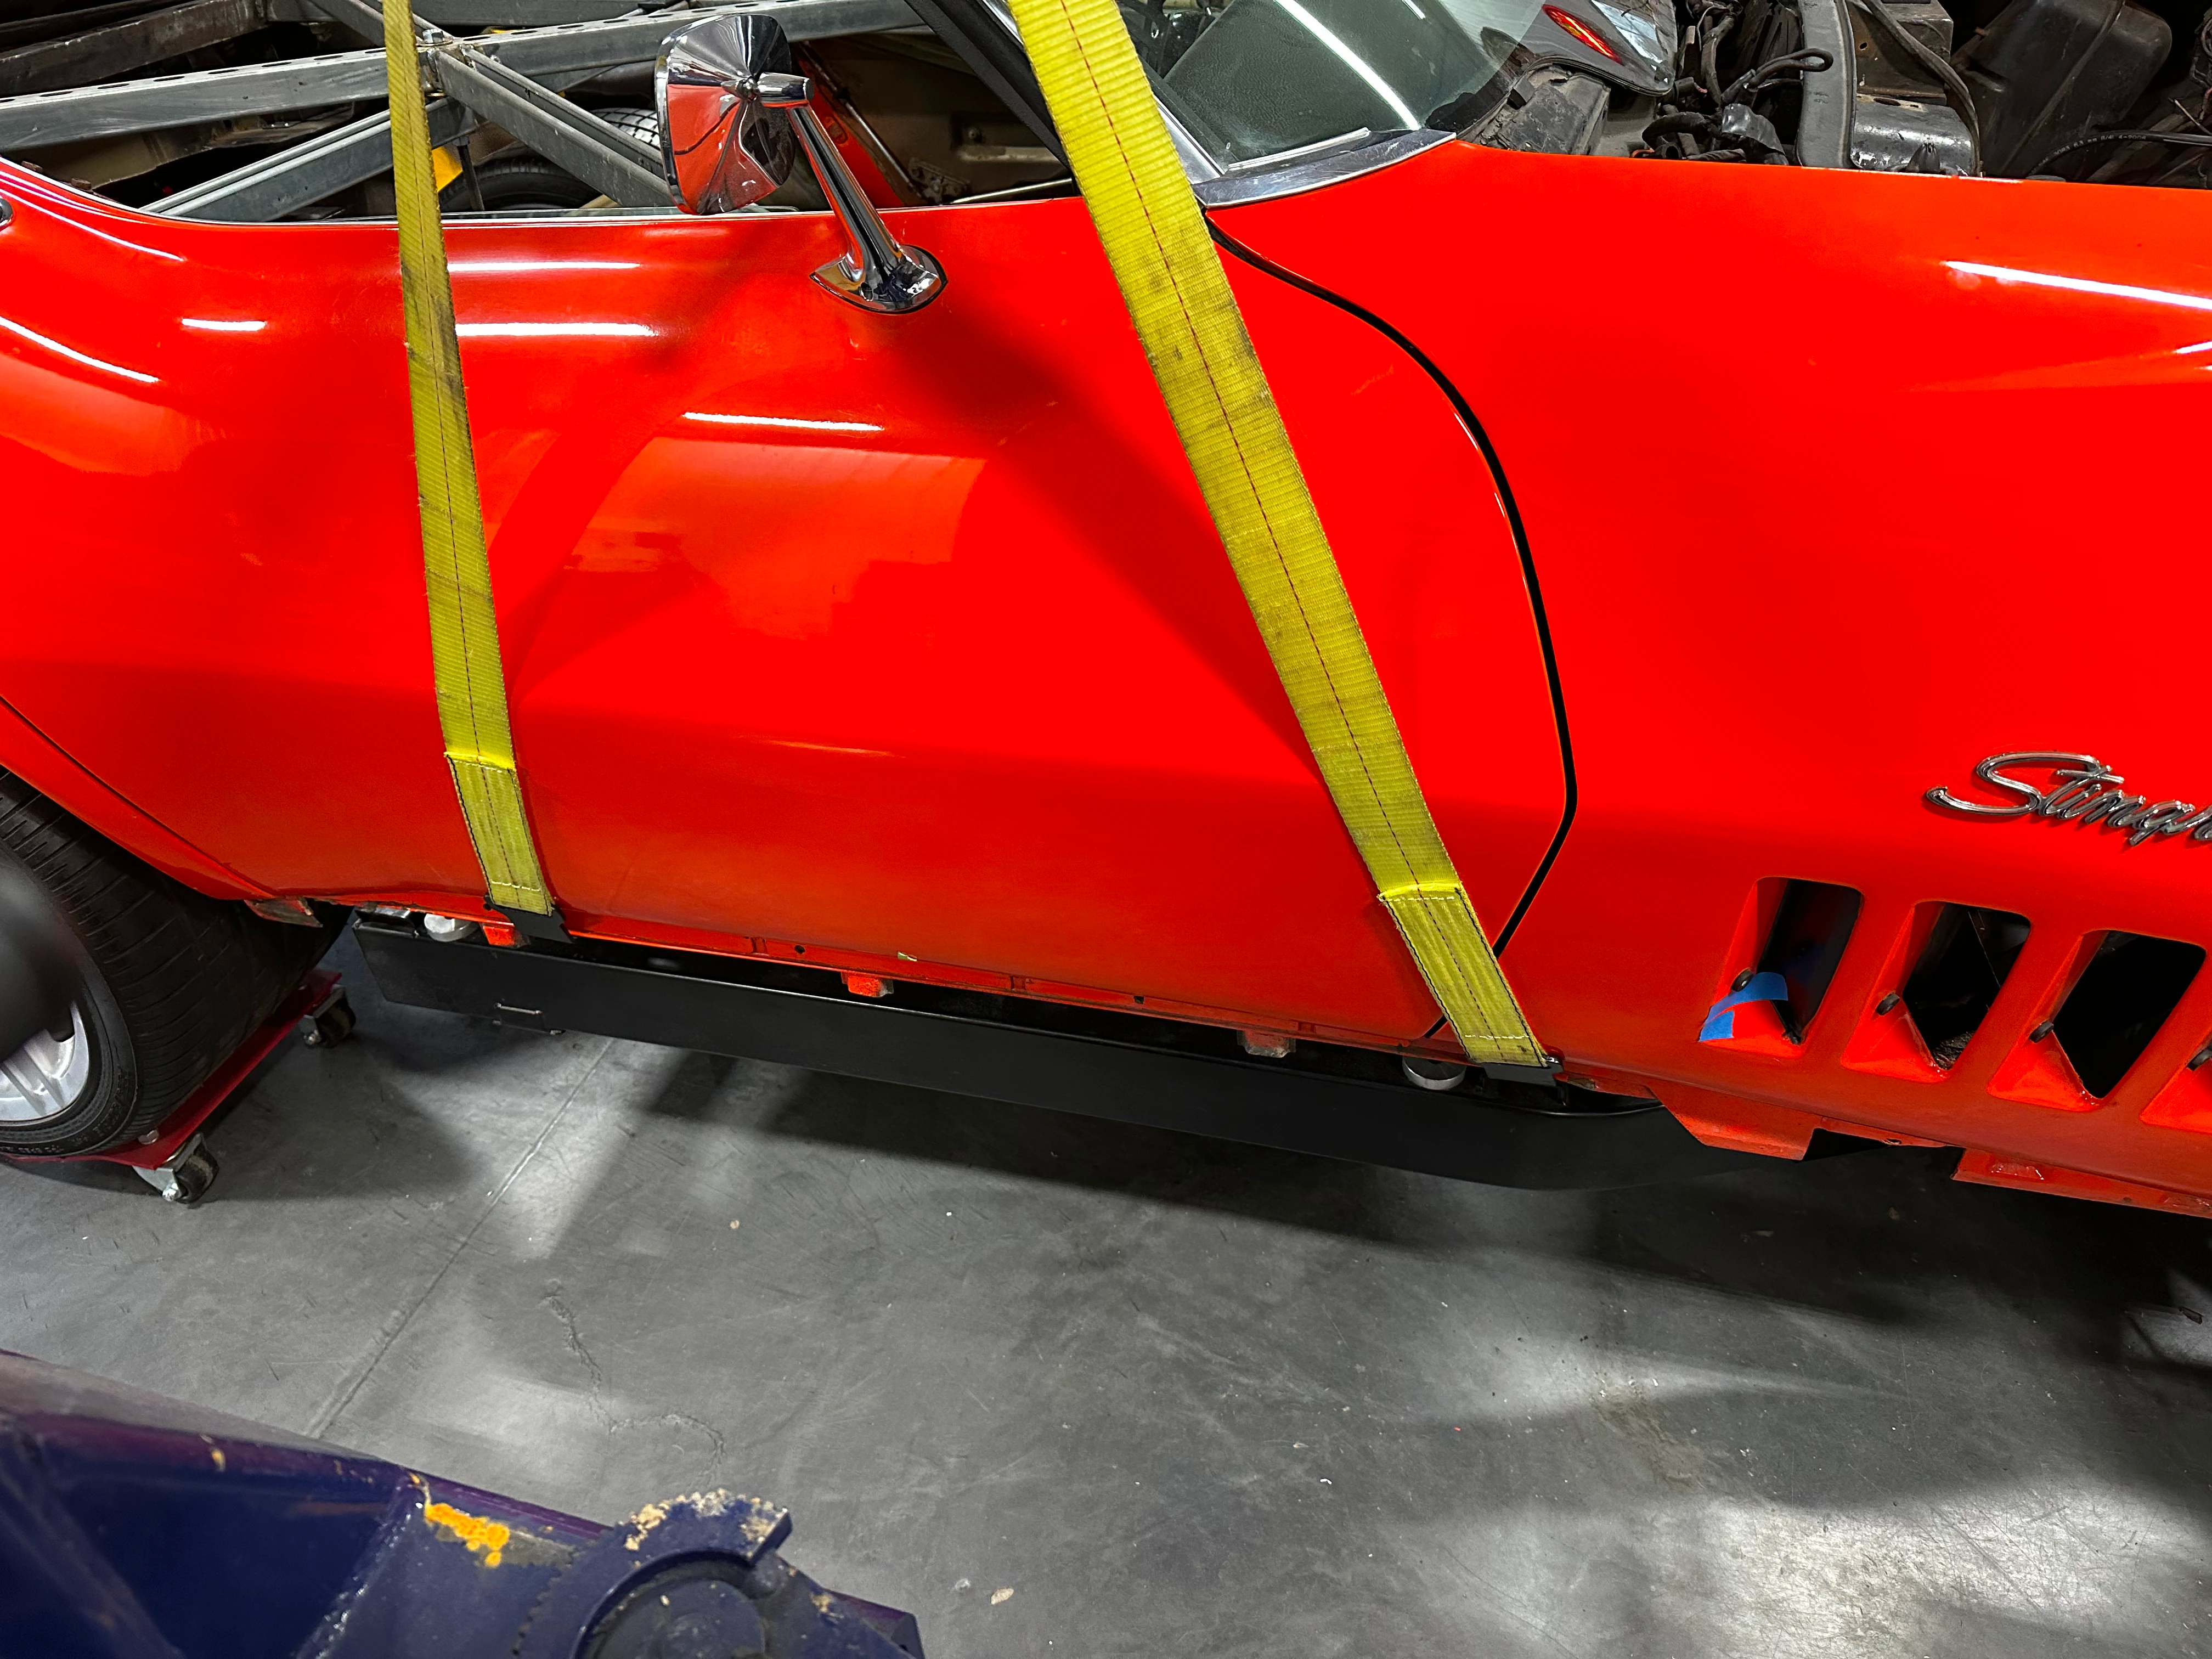
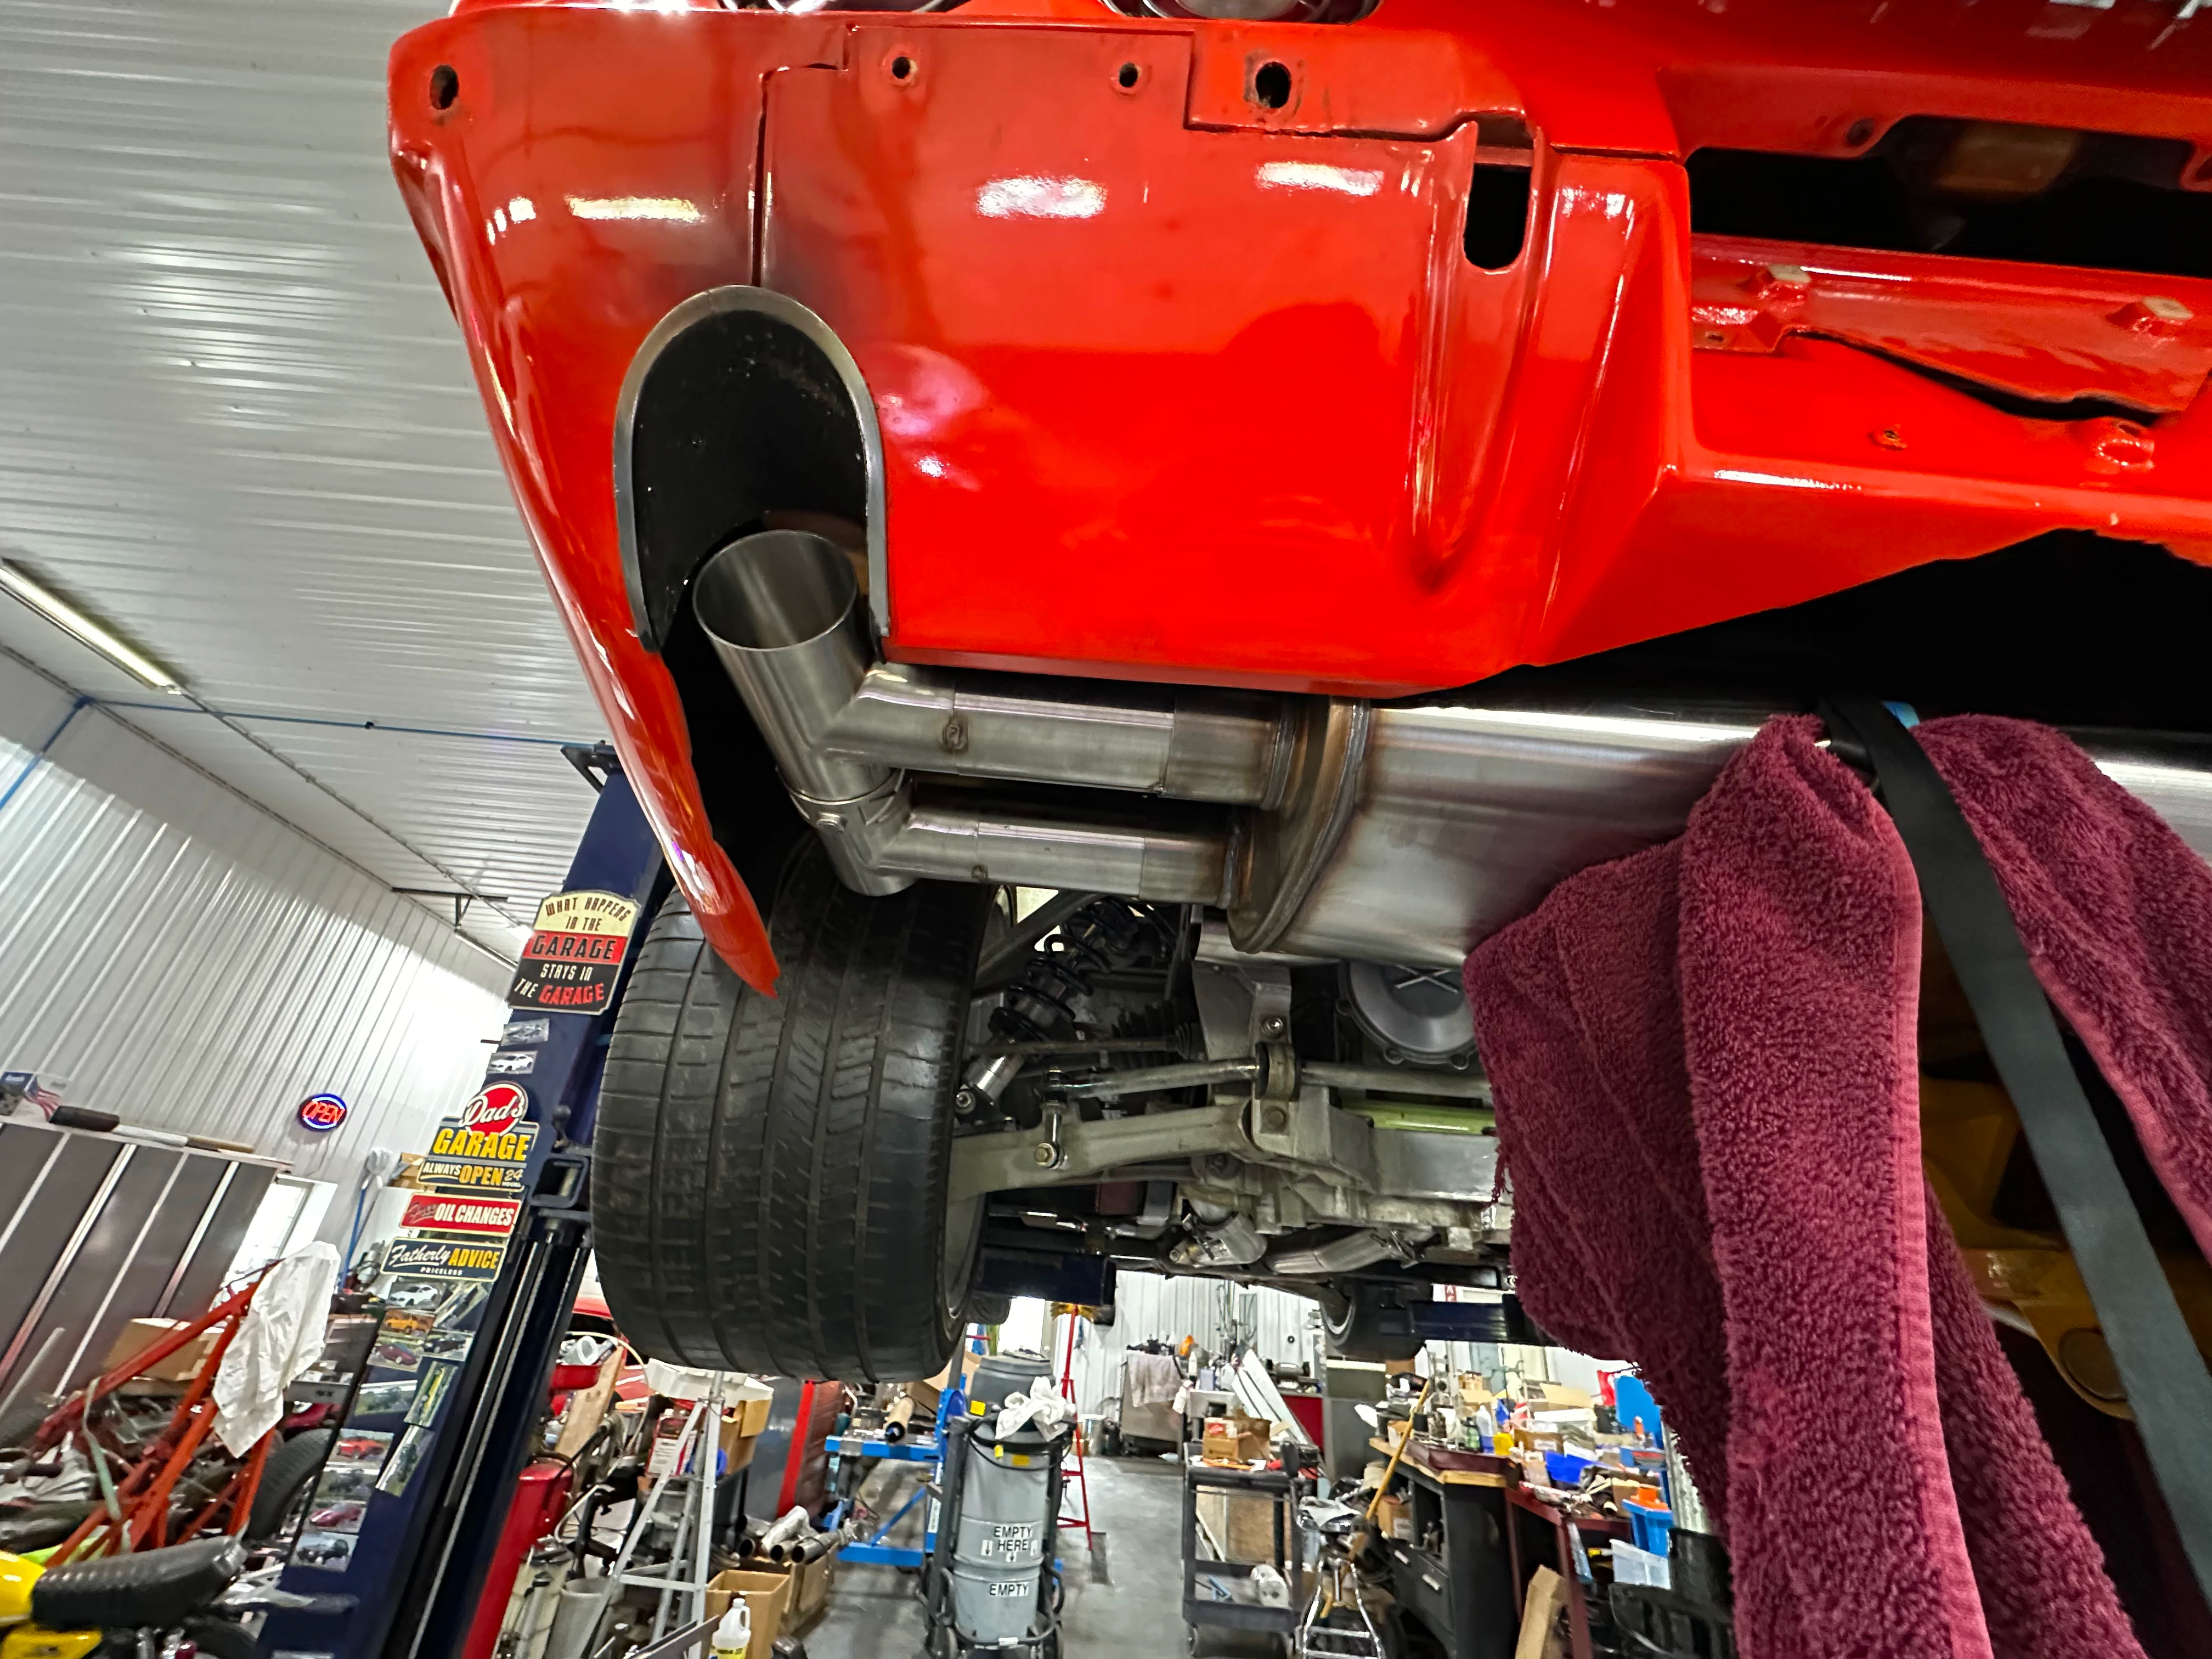
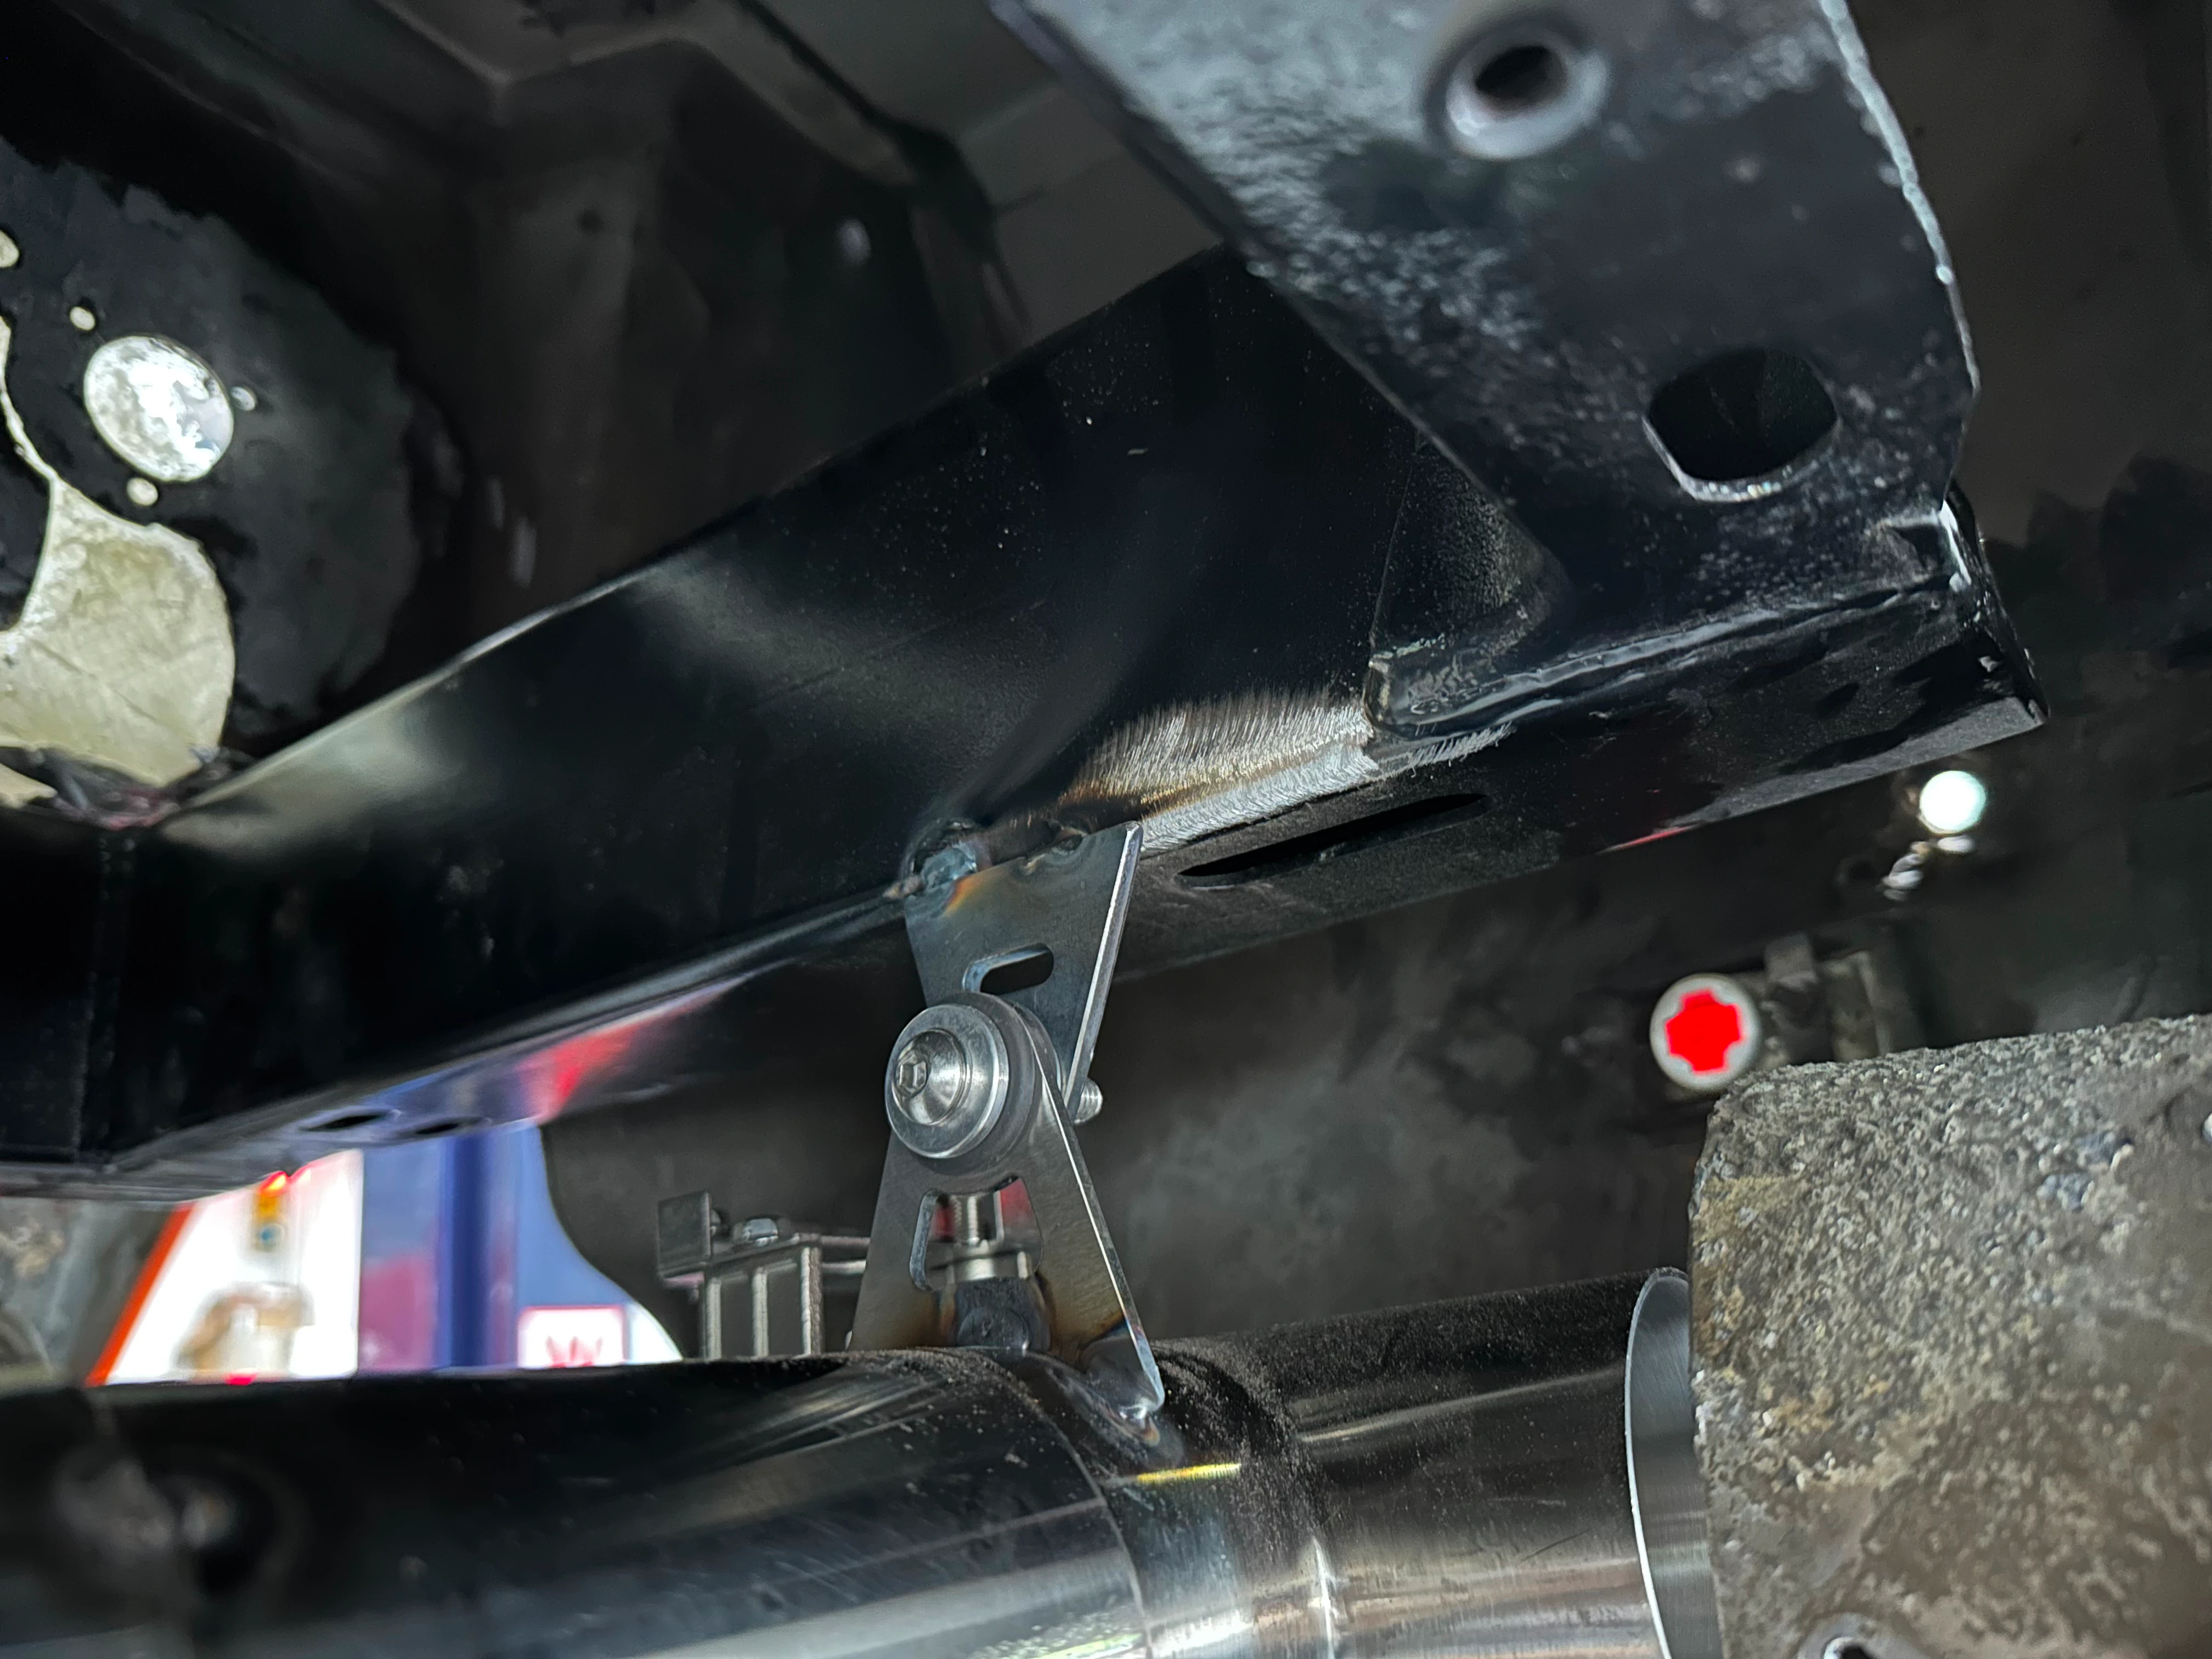
Like everything on this car, the exhaust is extremely tight on space. We had to clearance cut the floor right around the upper thigh area to tuck the exhaust as high as possible.

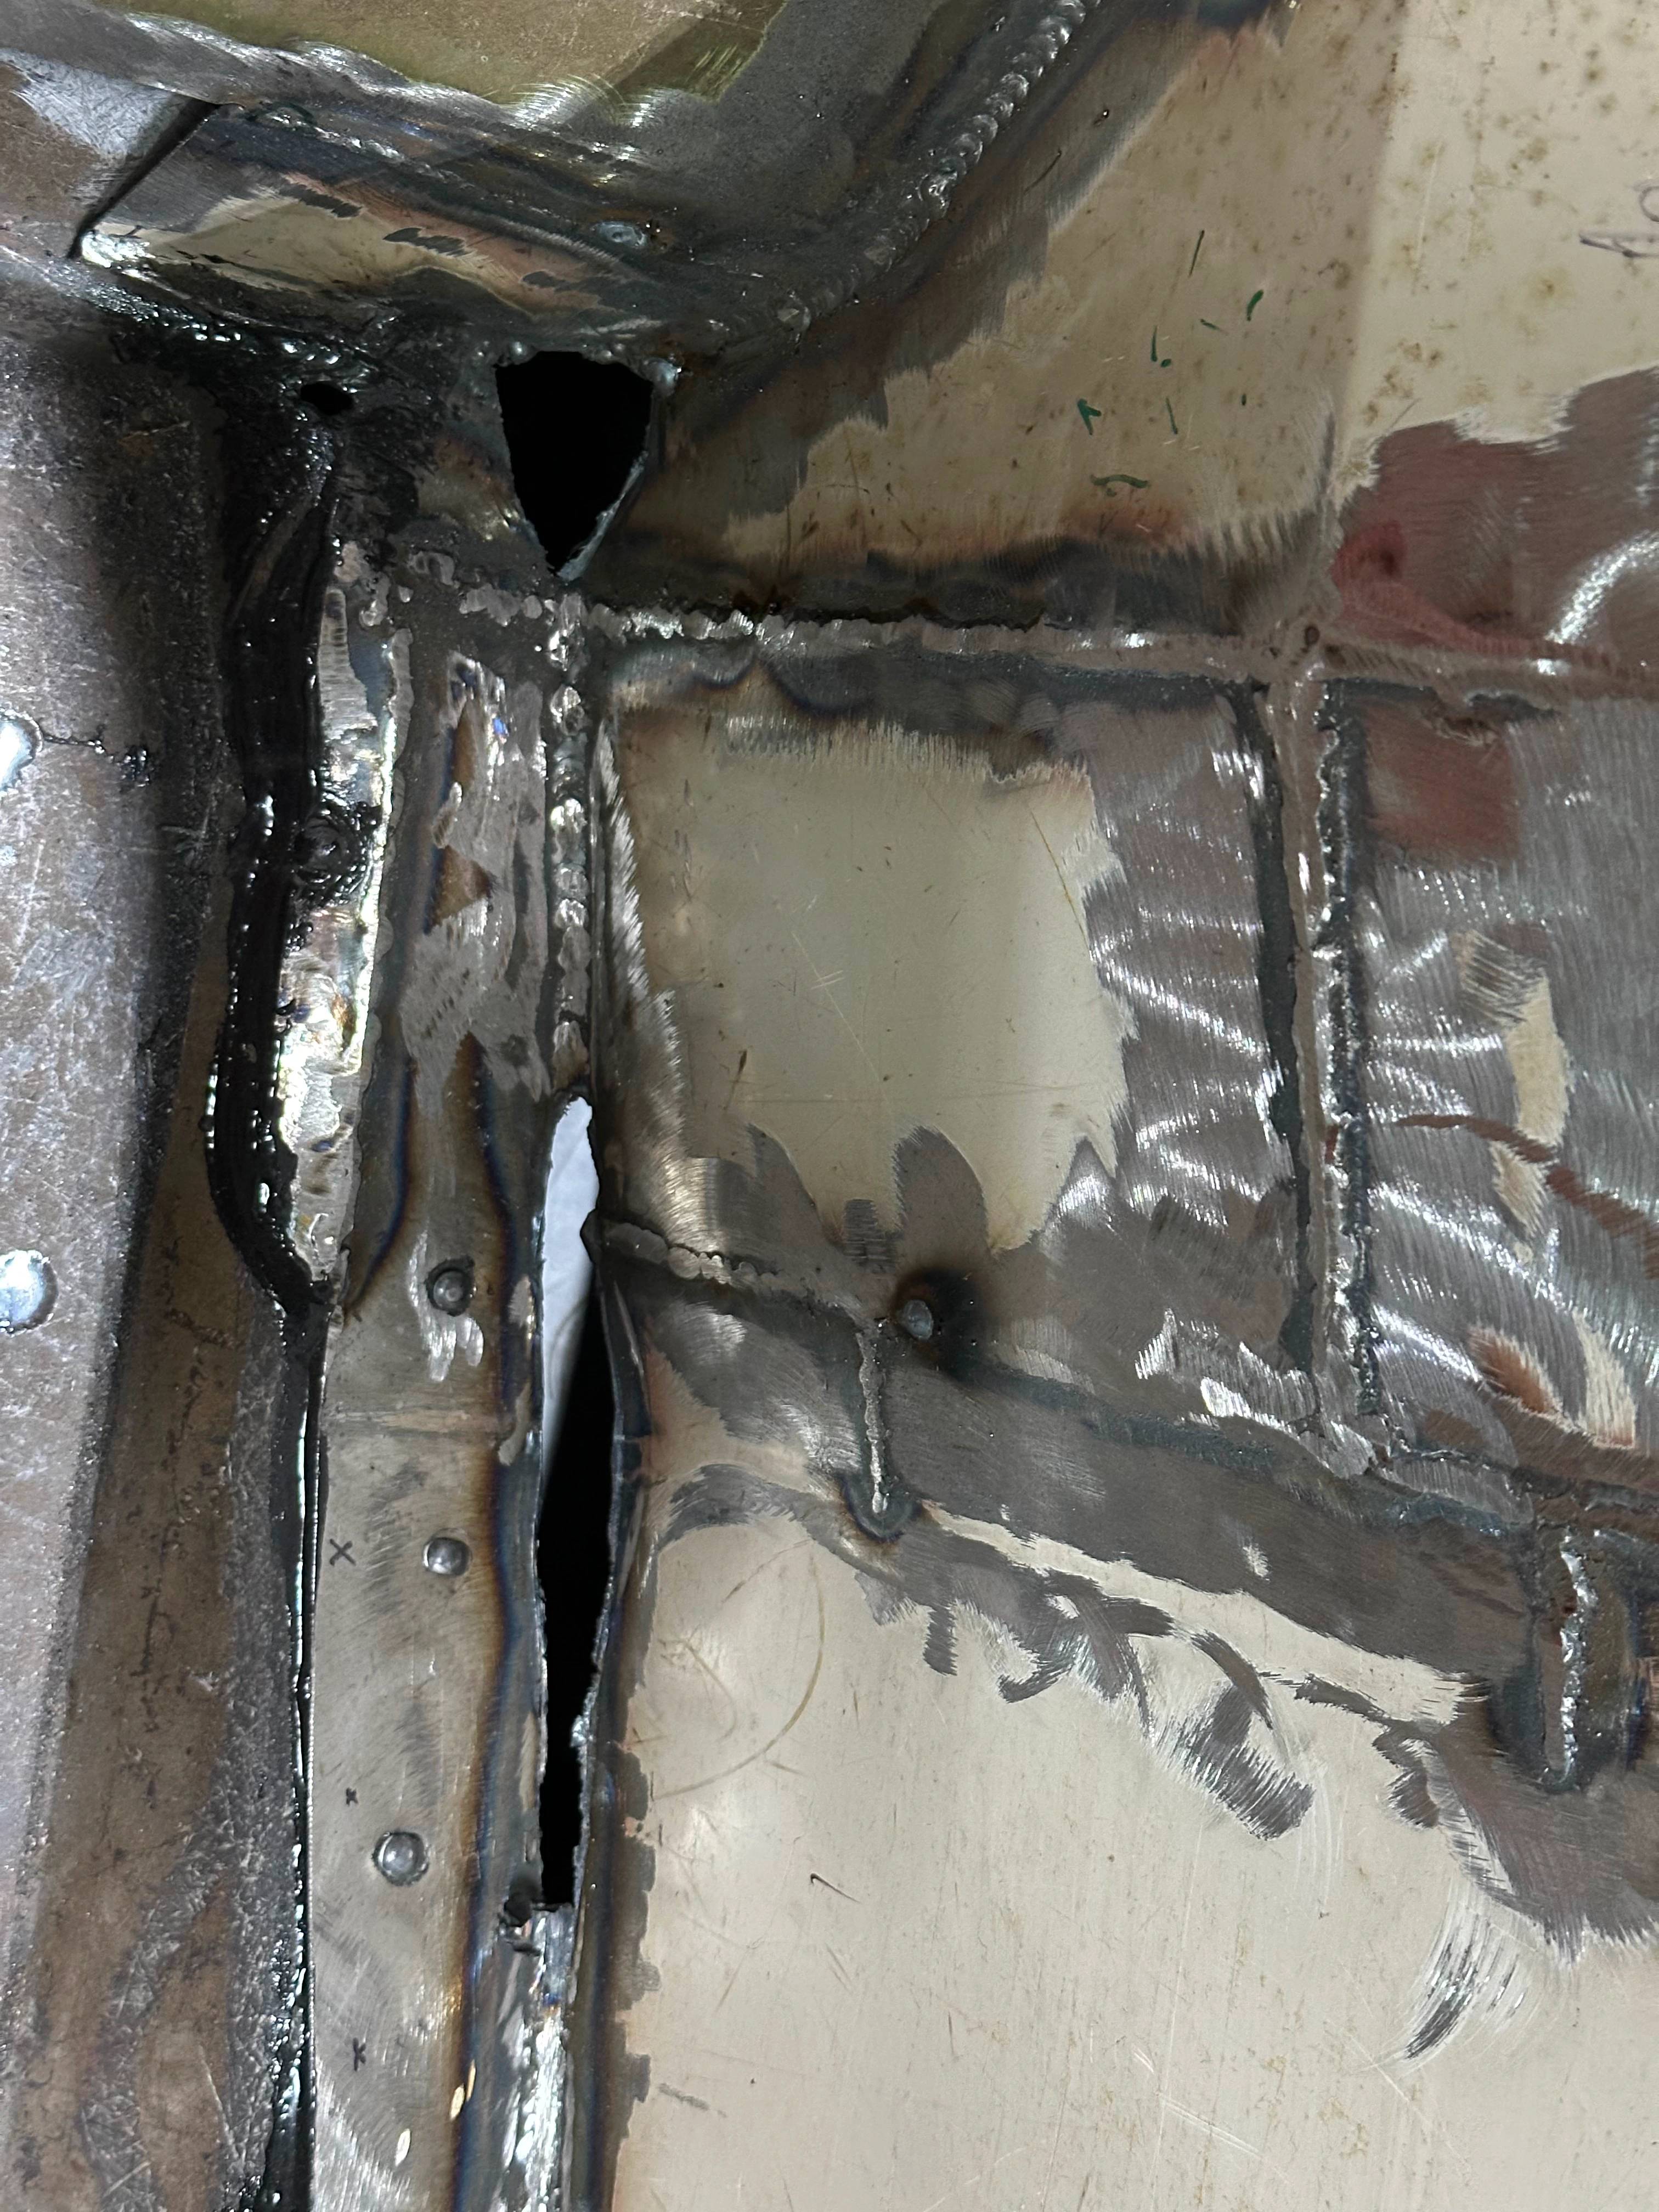
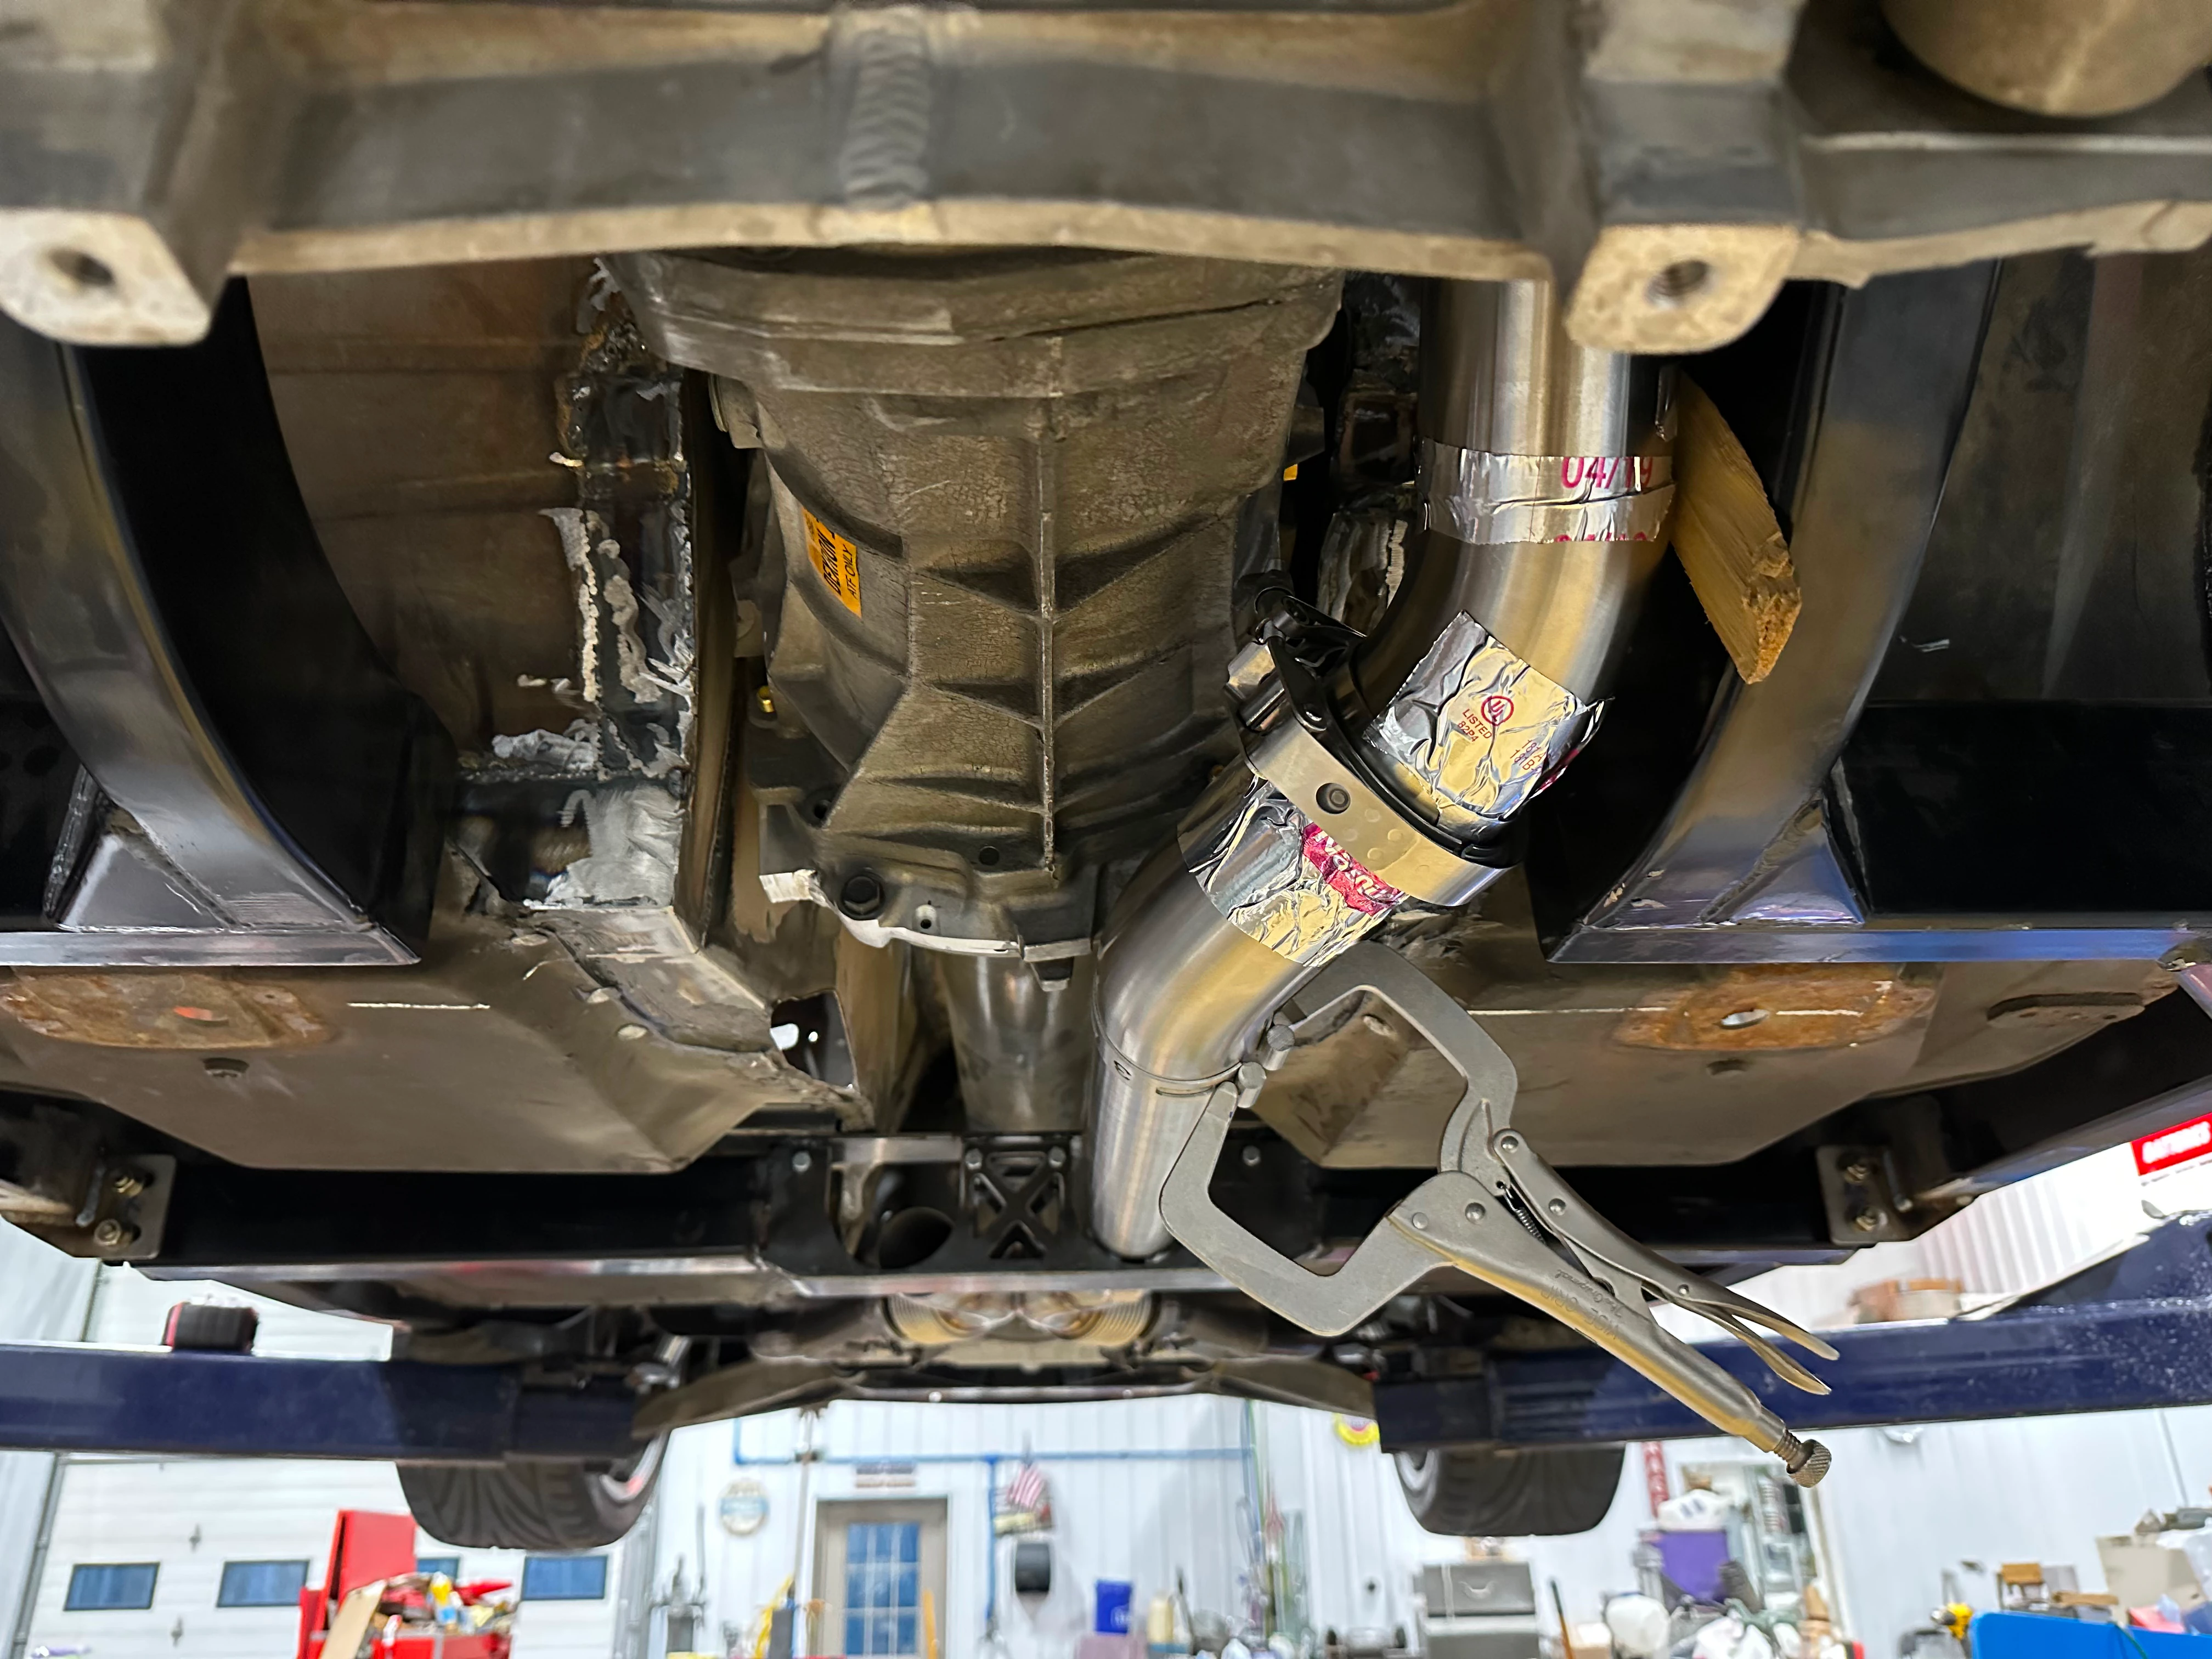
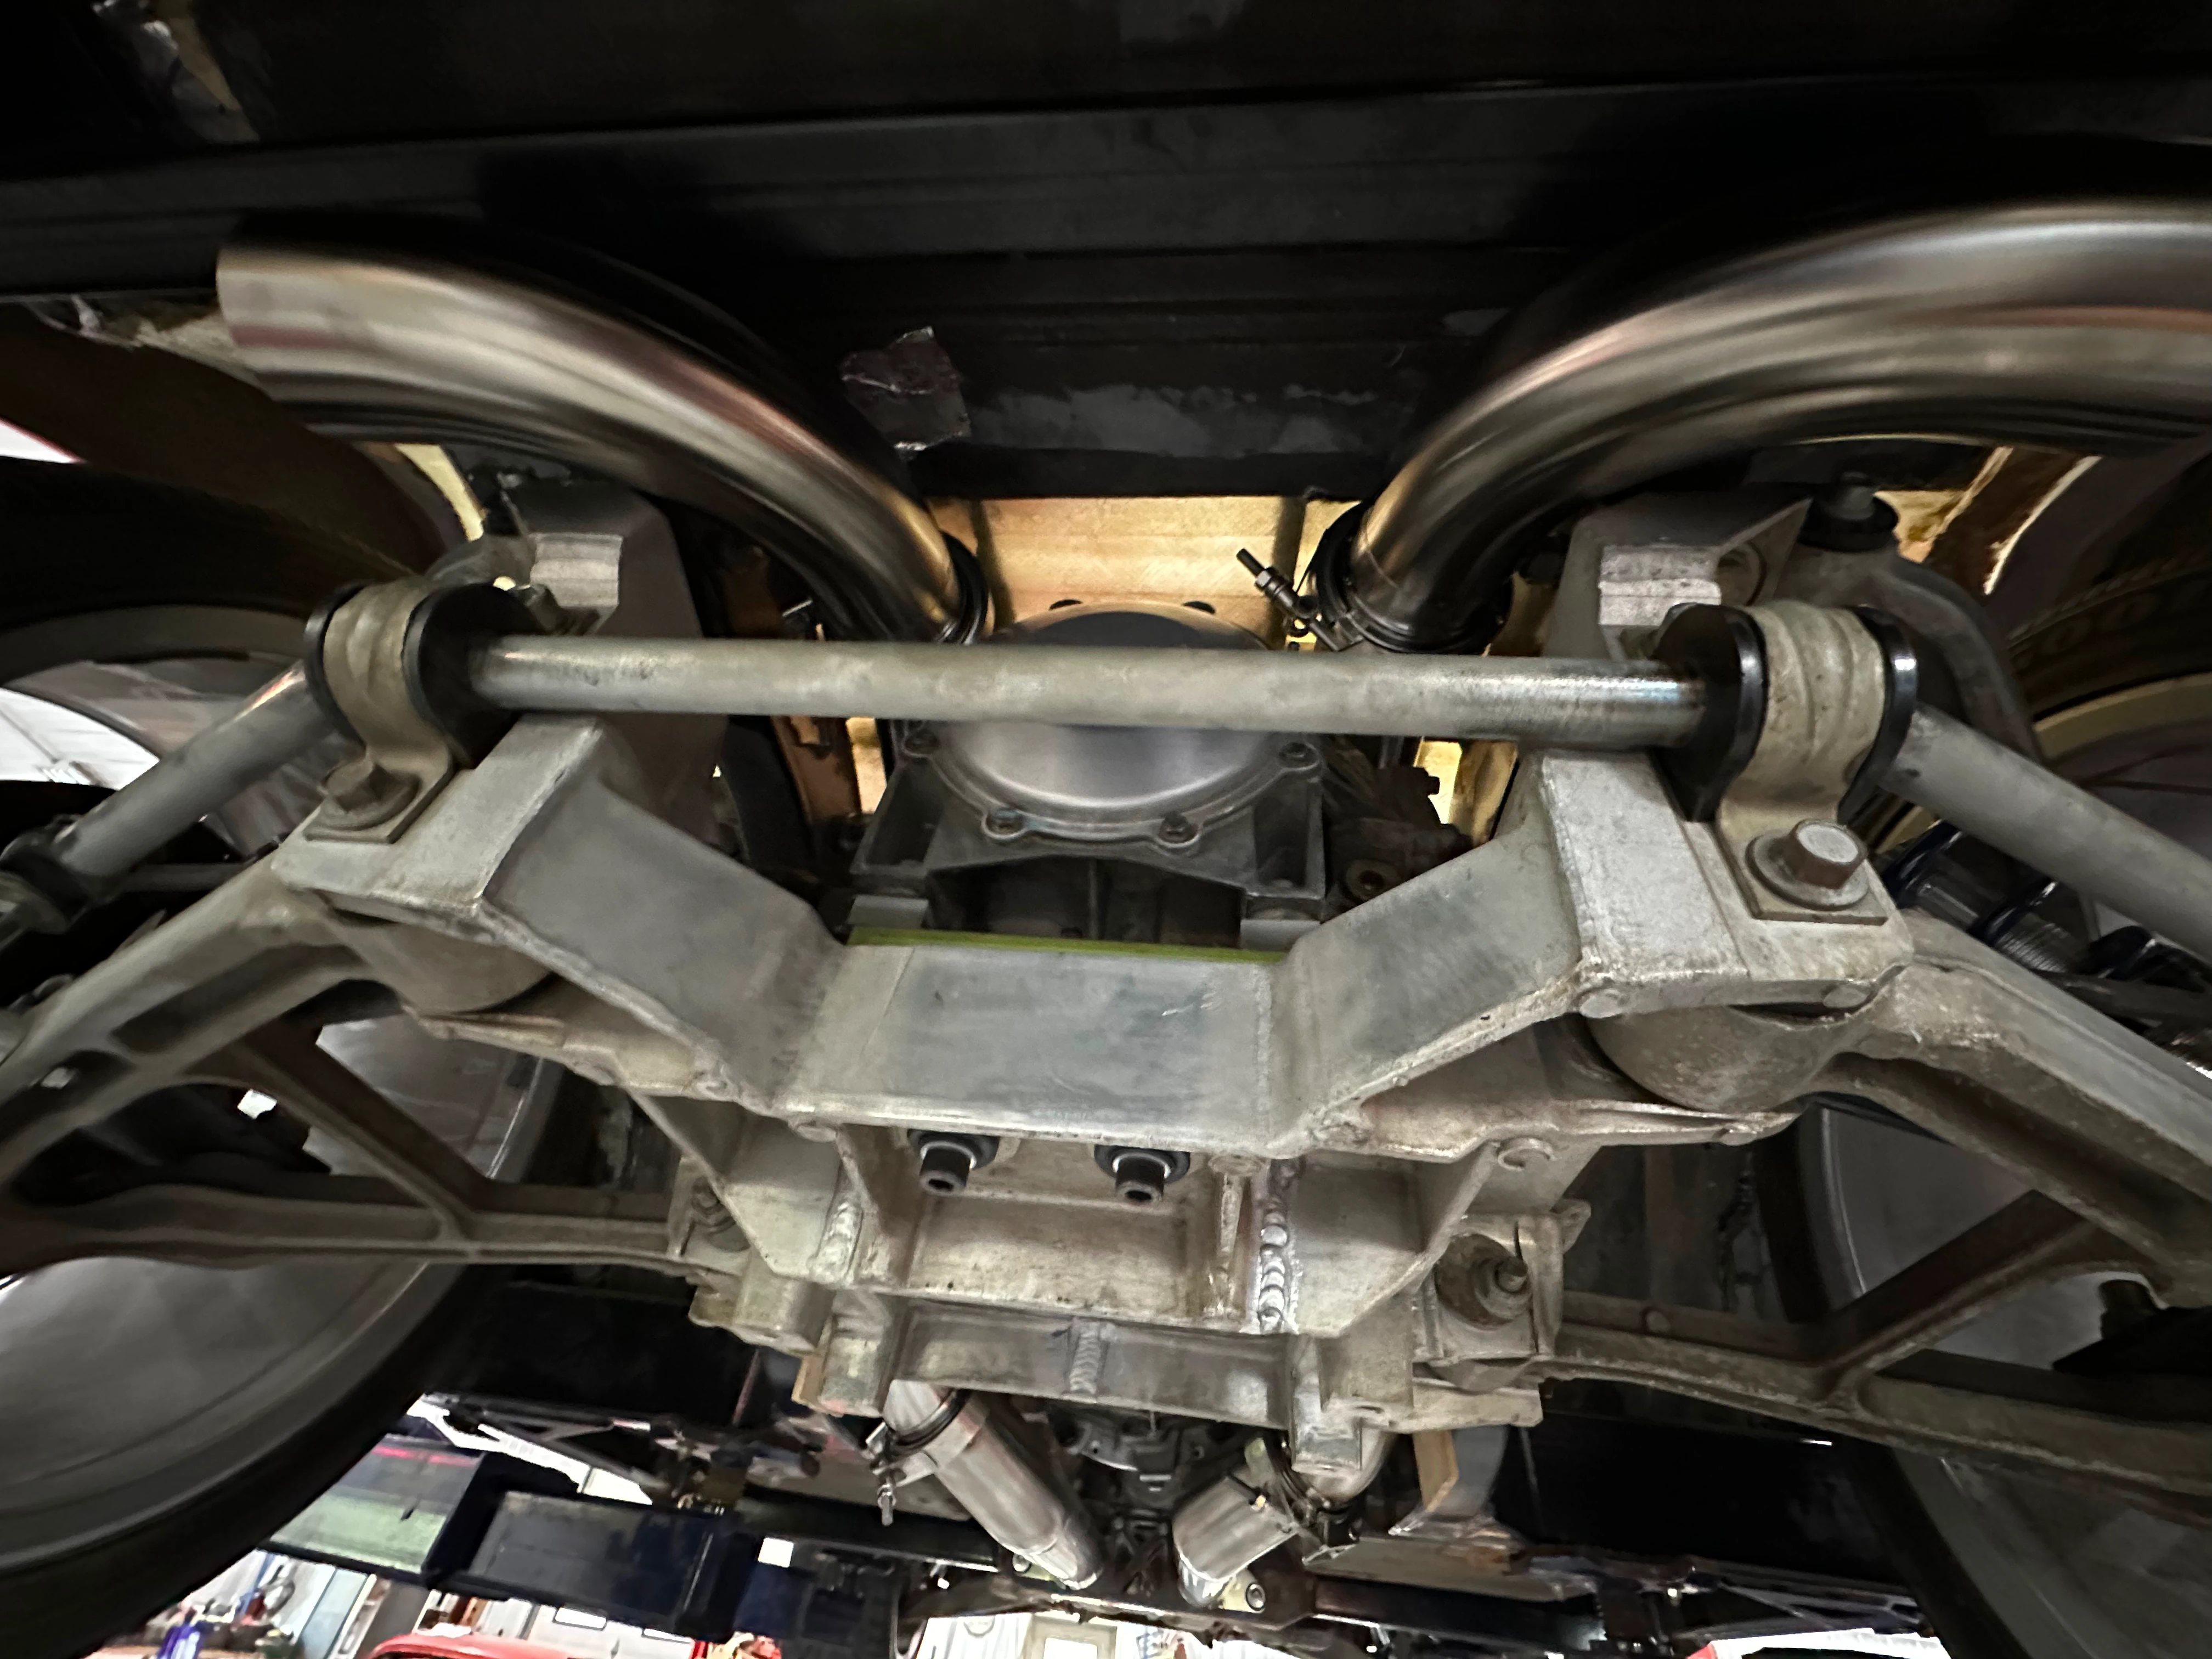
The transmission crossmember was designed for cars that use a typical transmission, so we were able to modify that to better fit our exhaust.
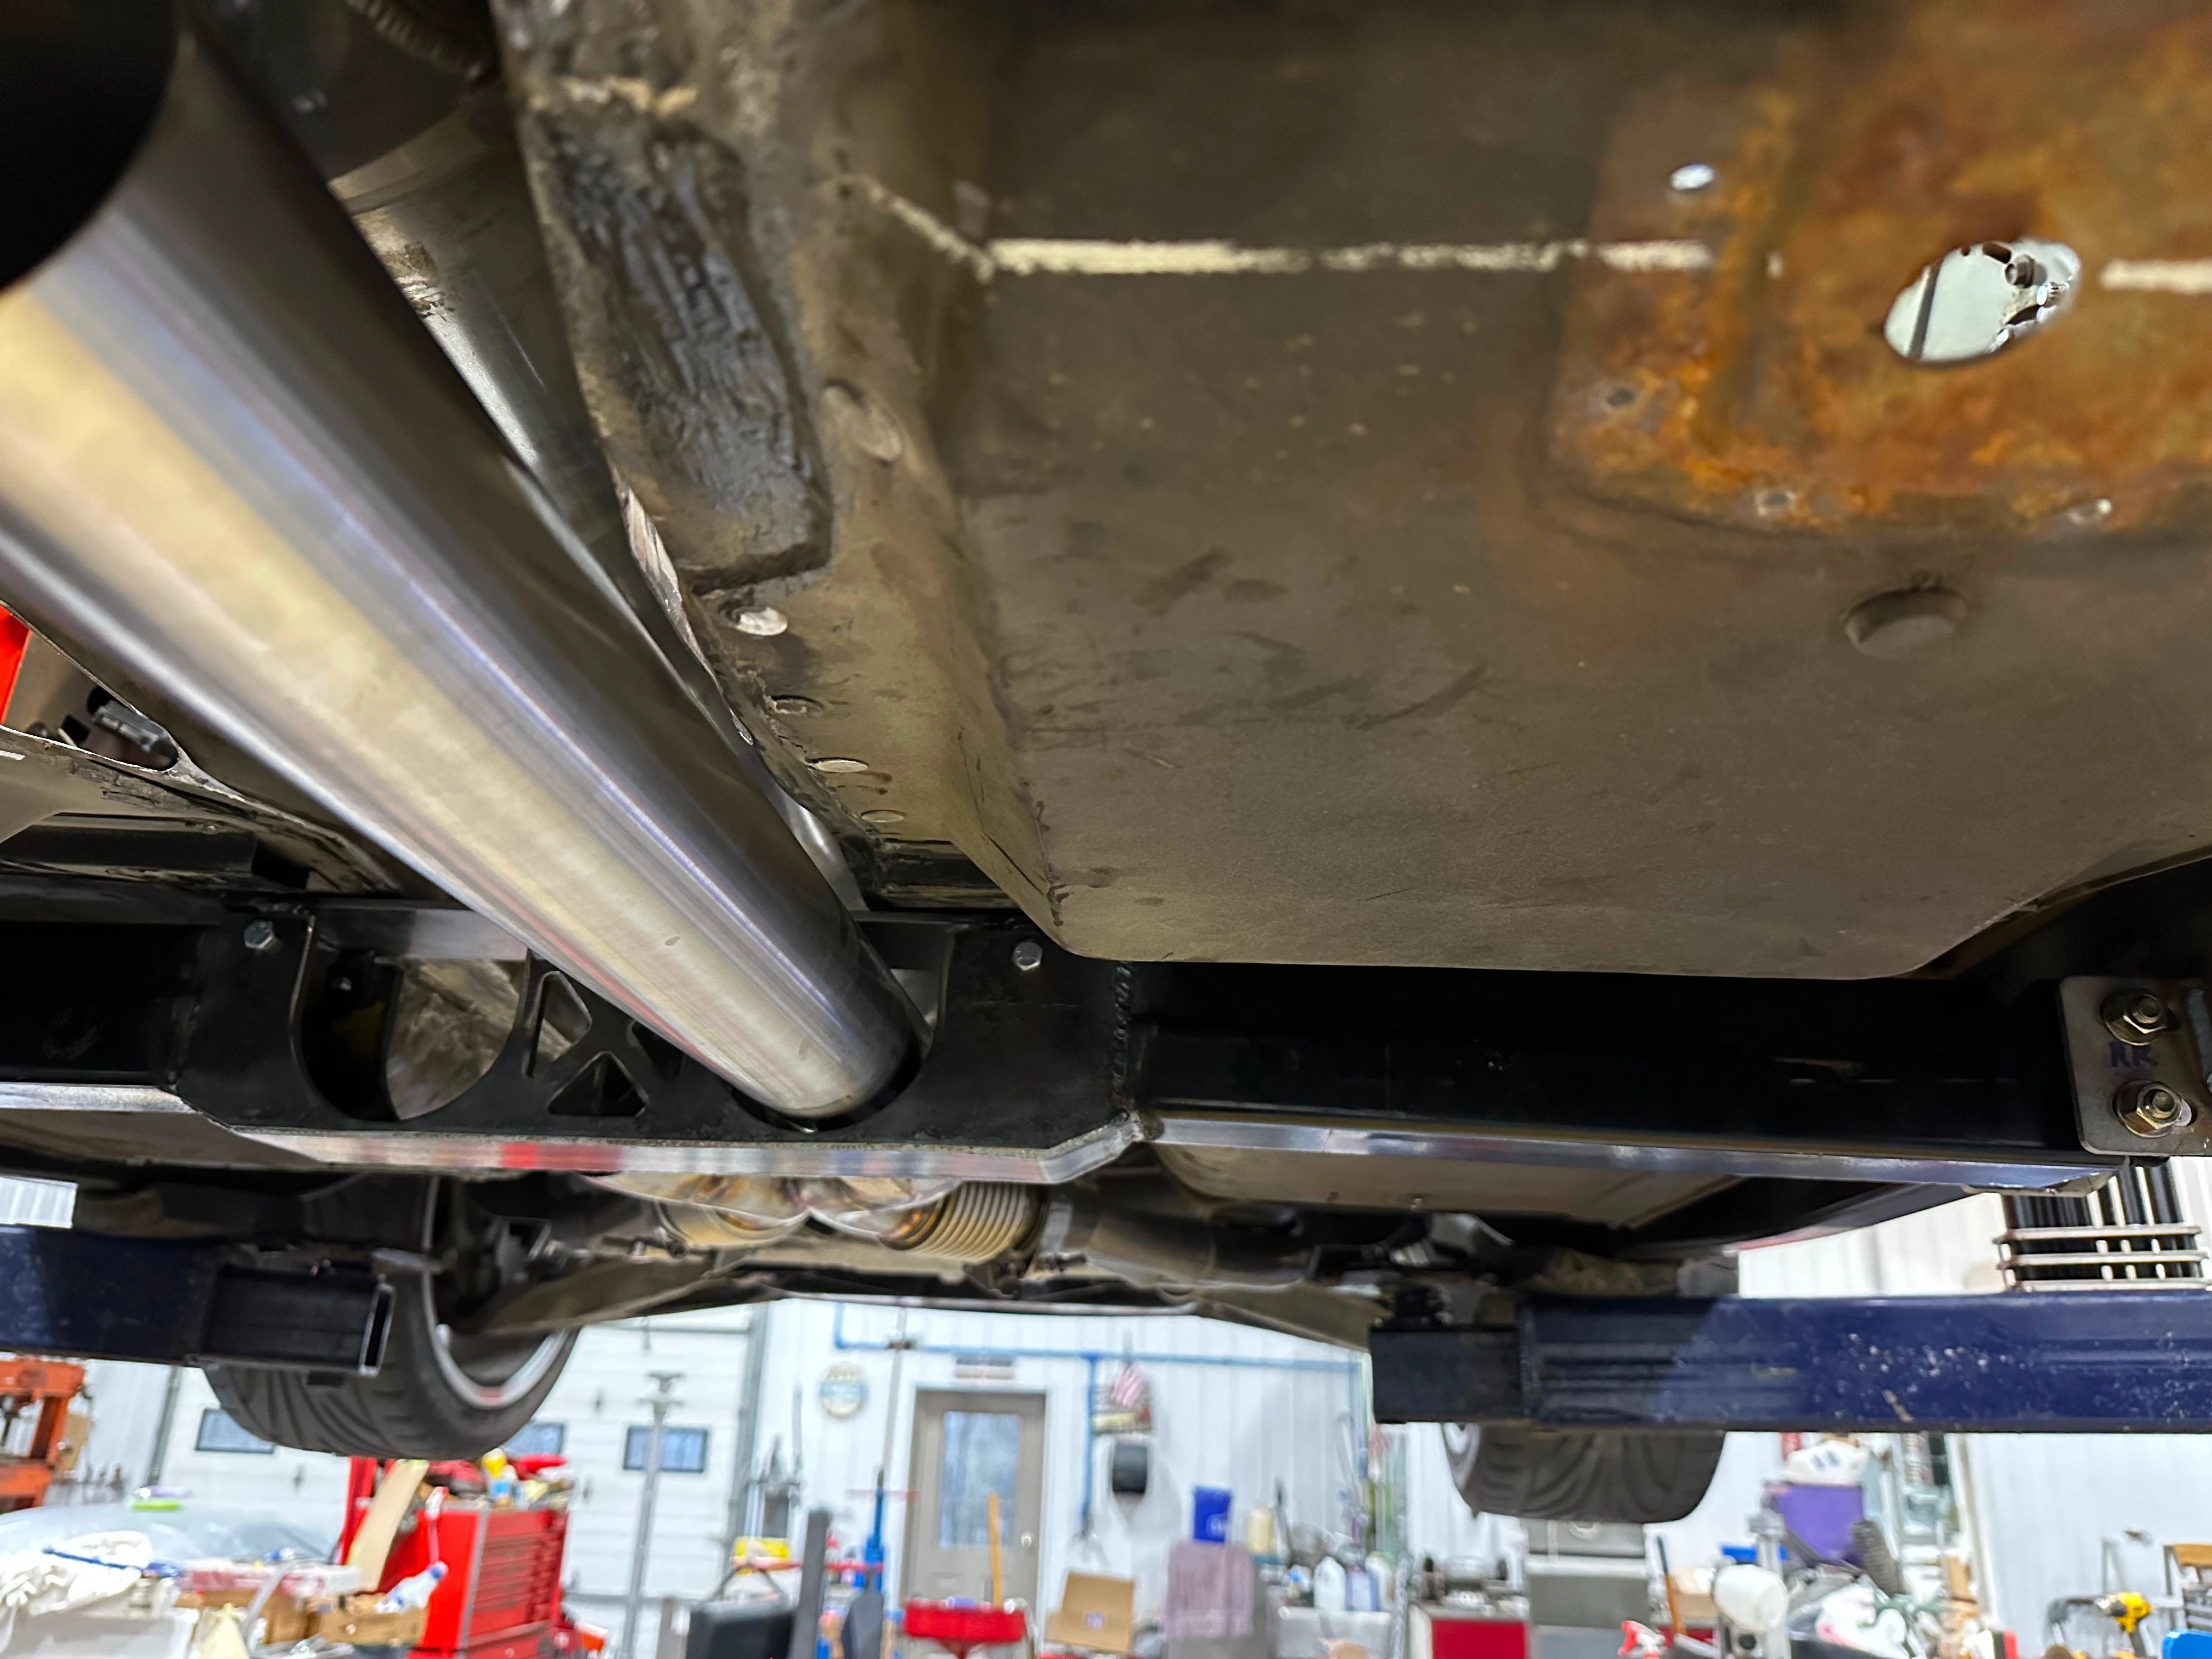
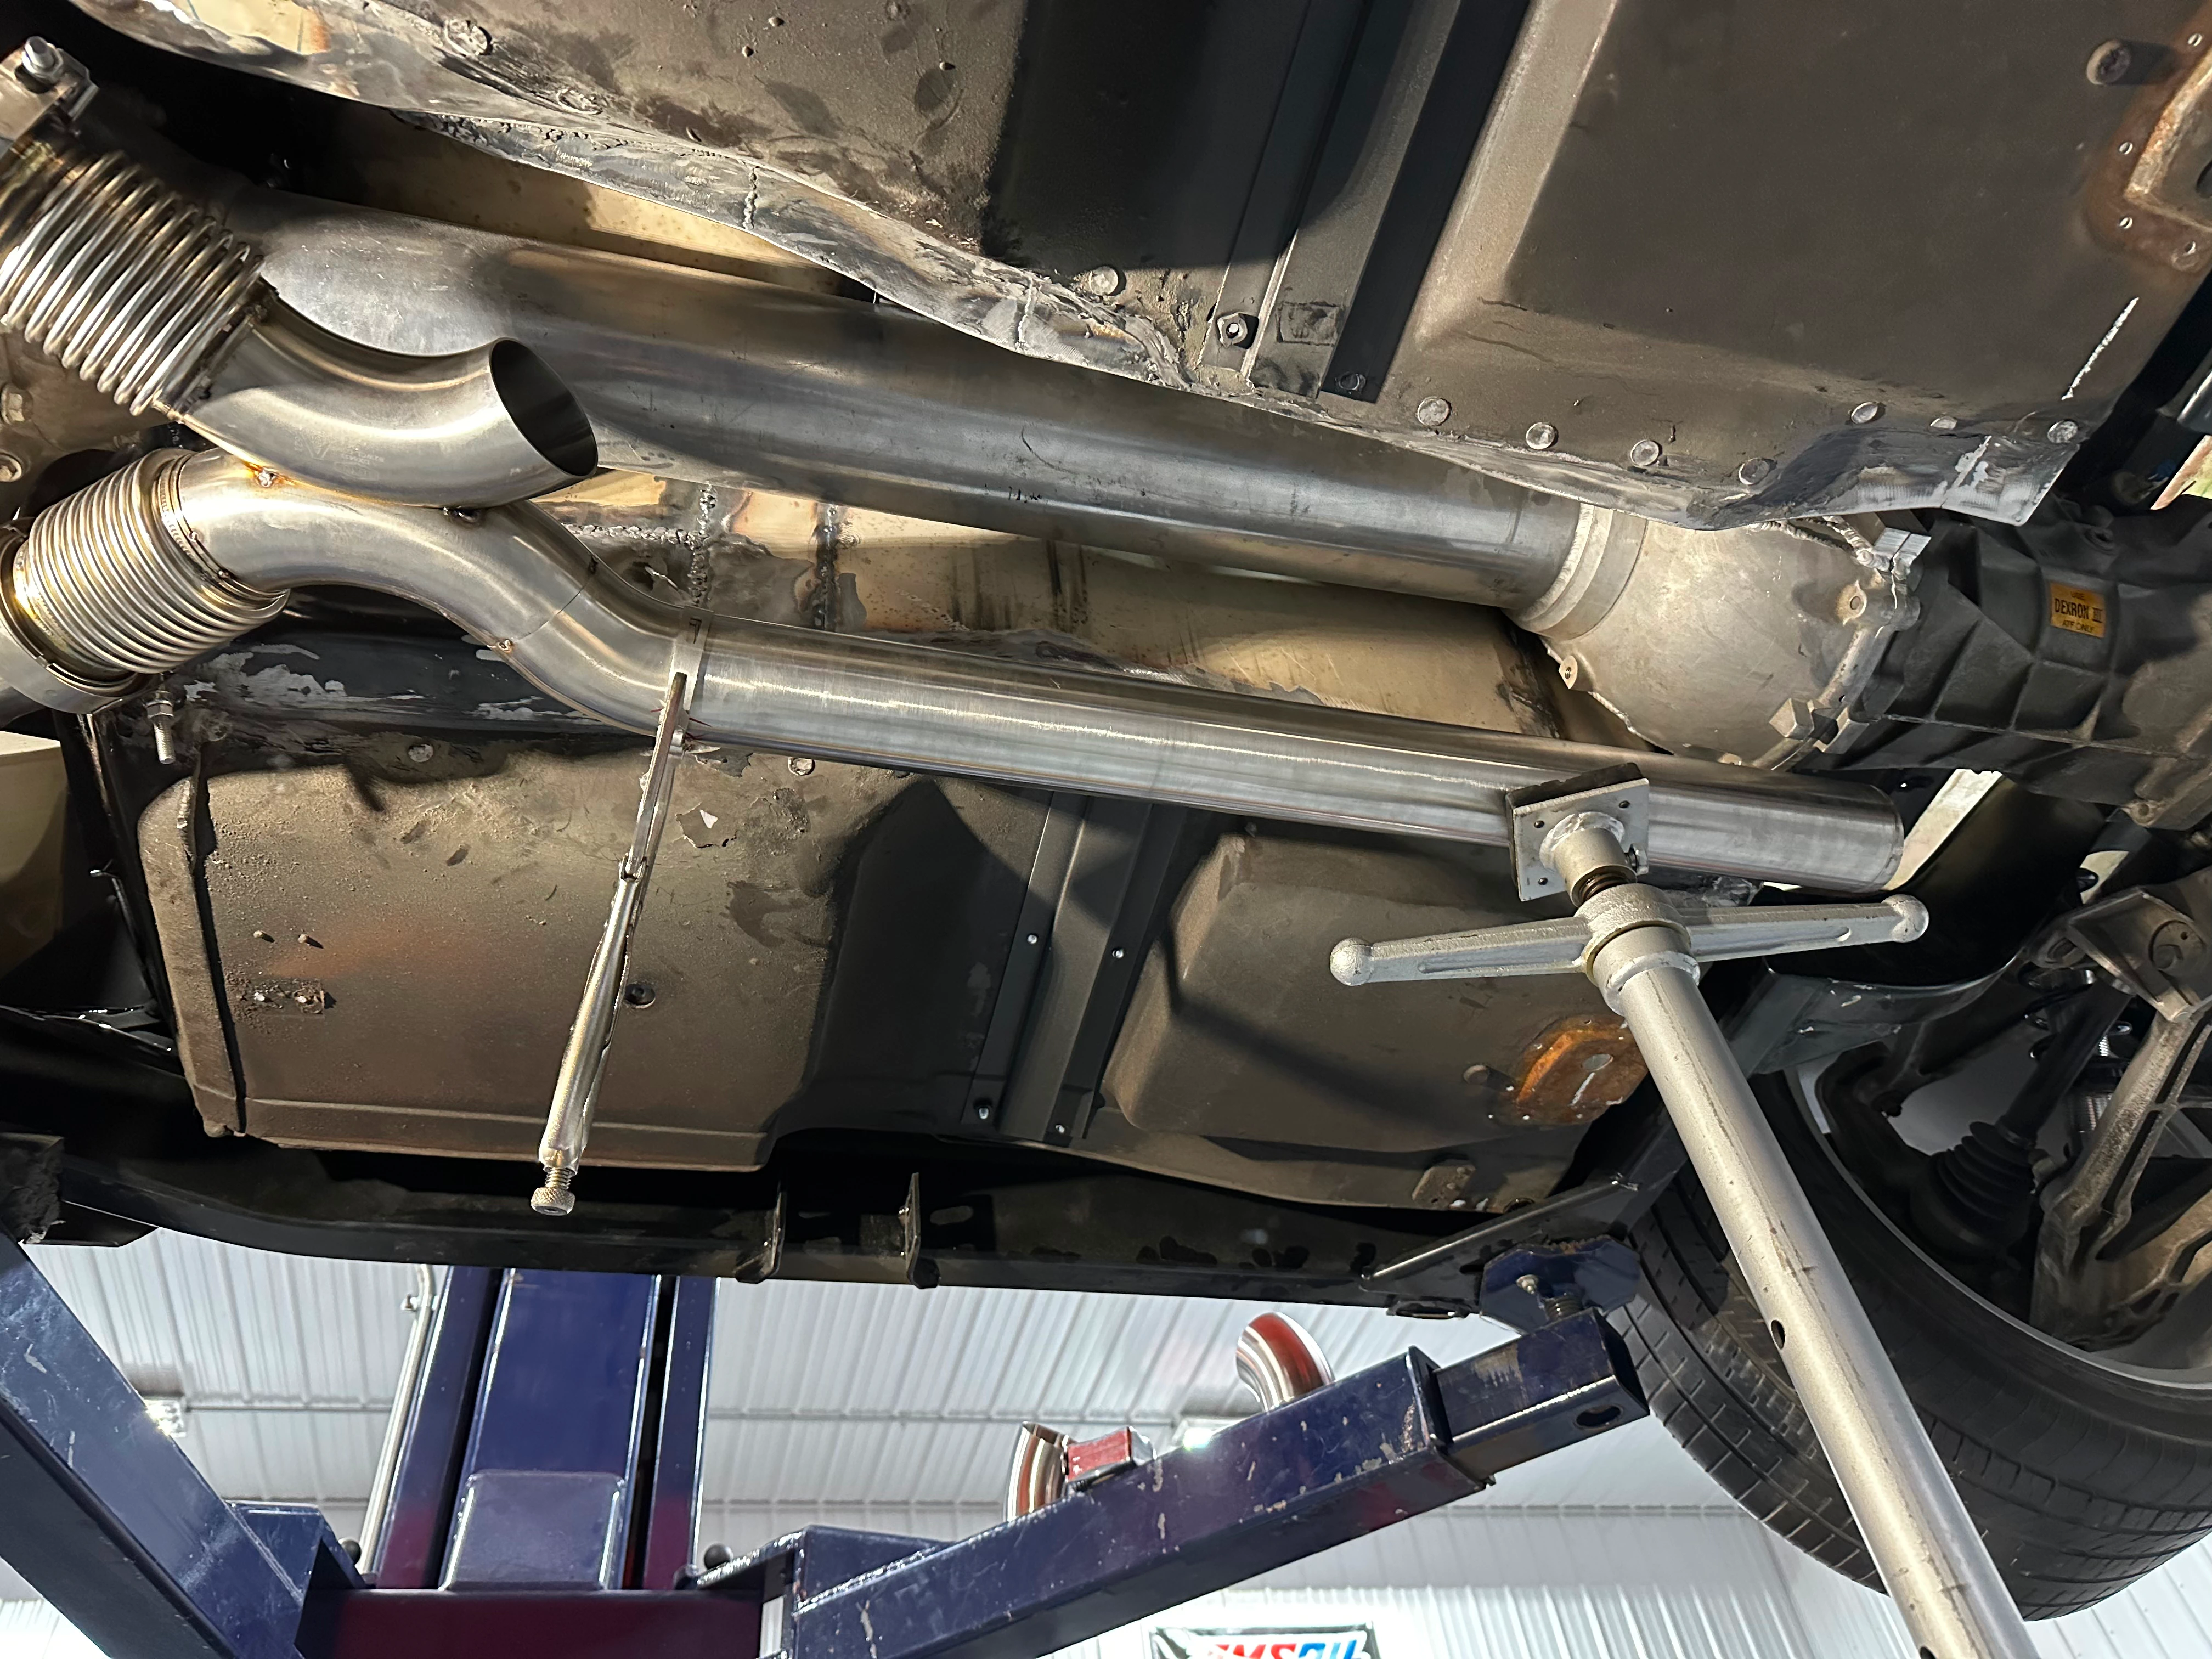
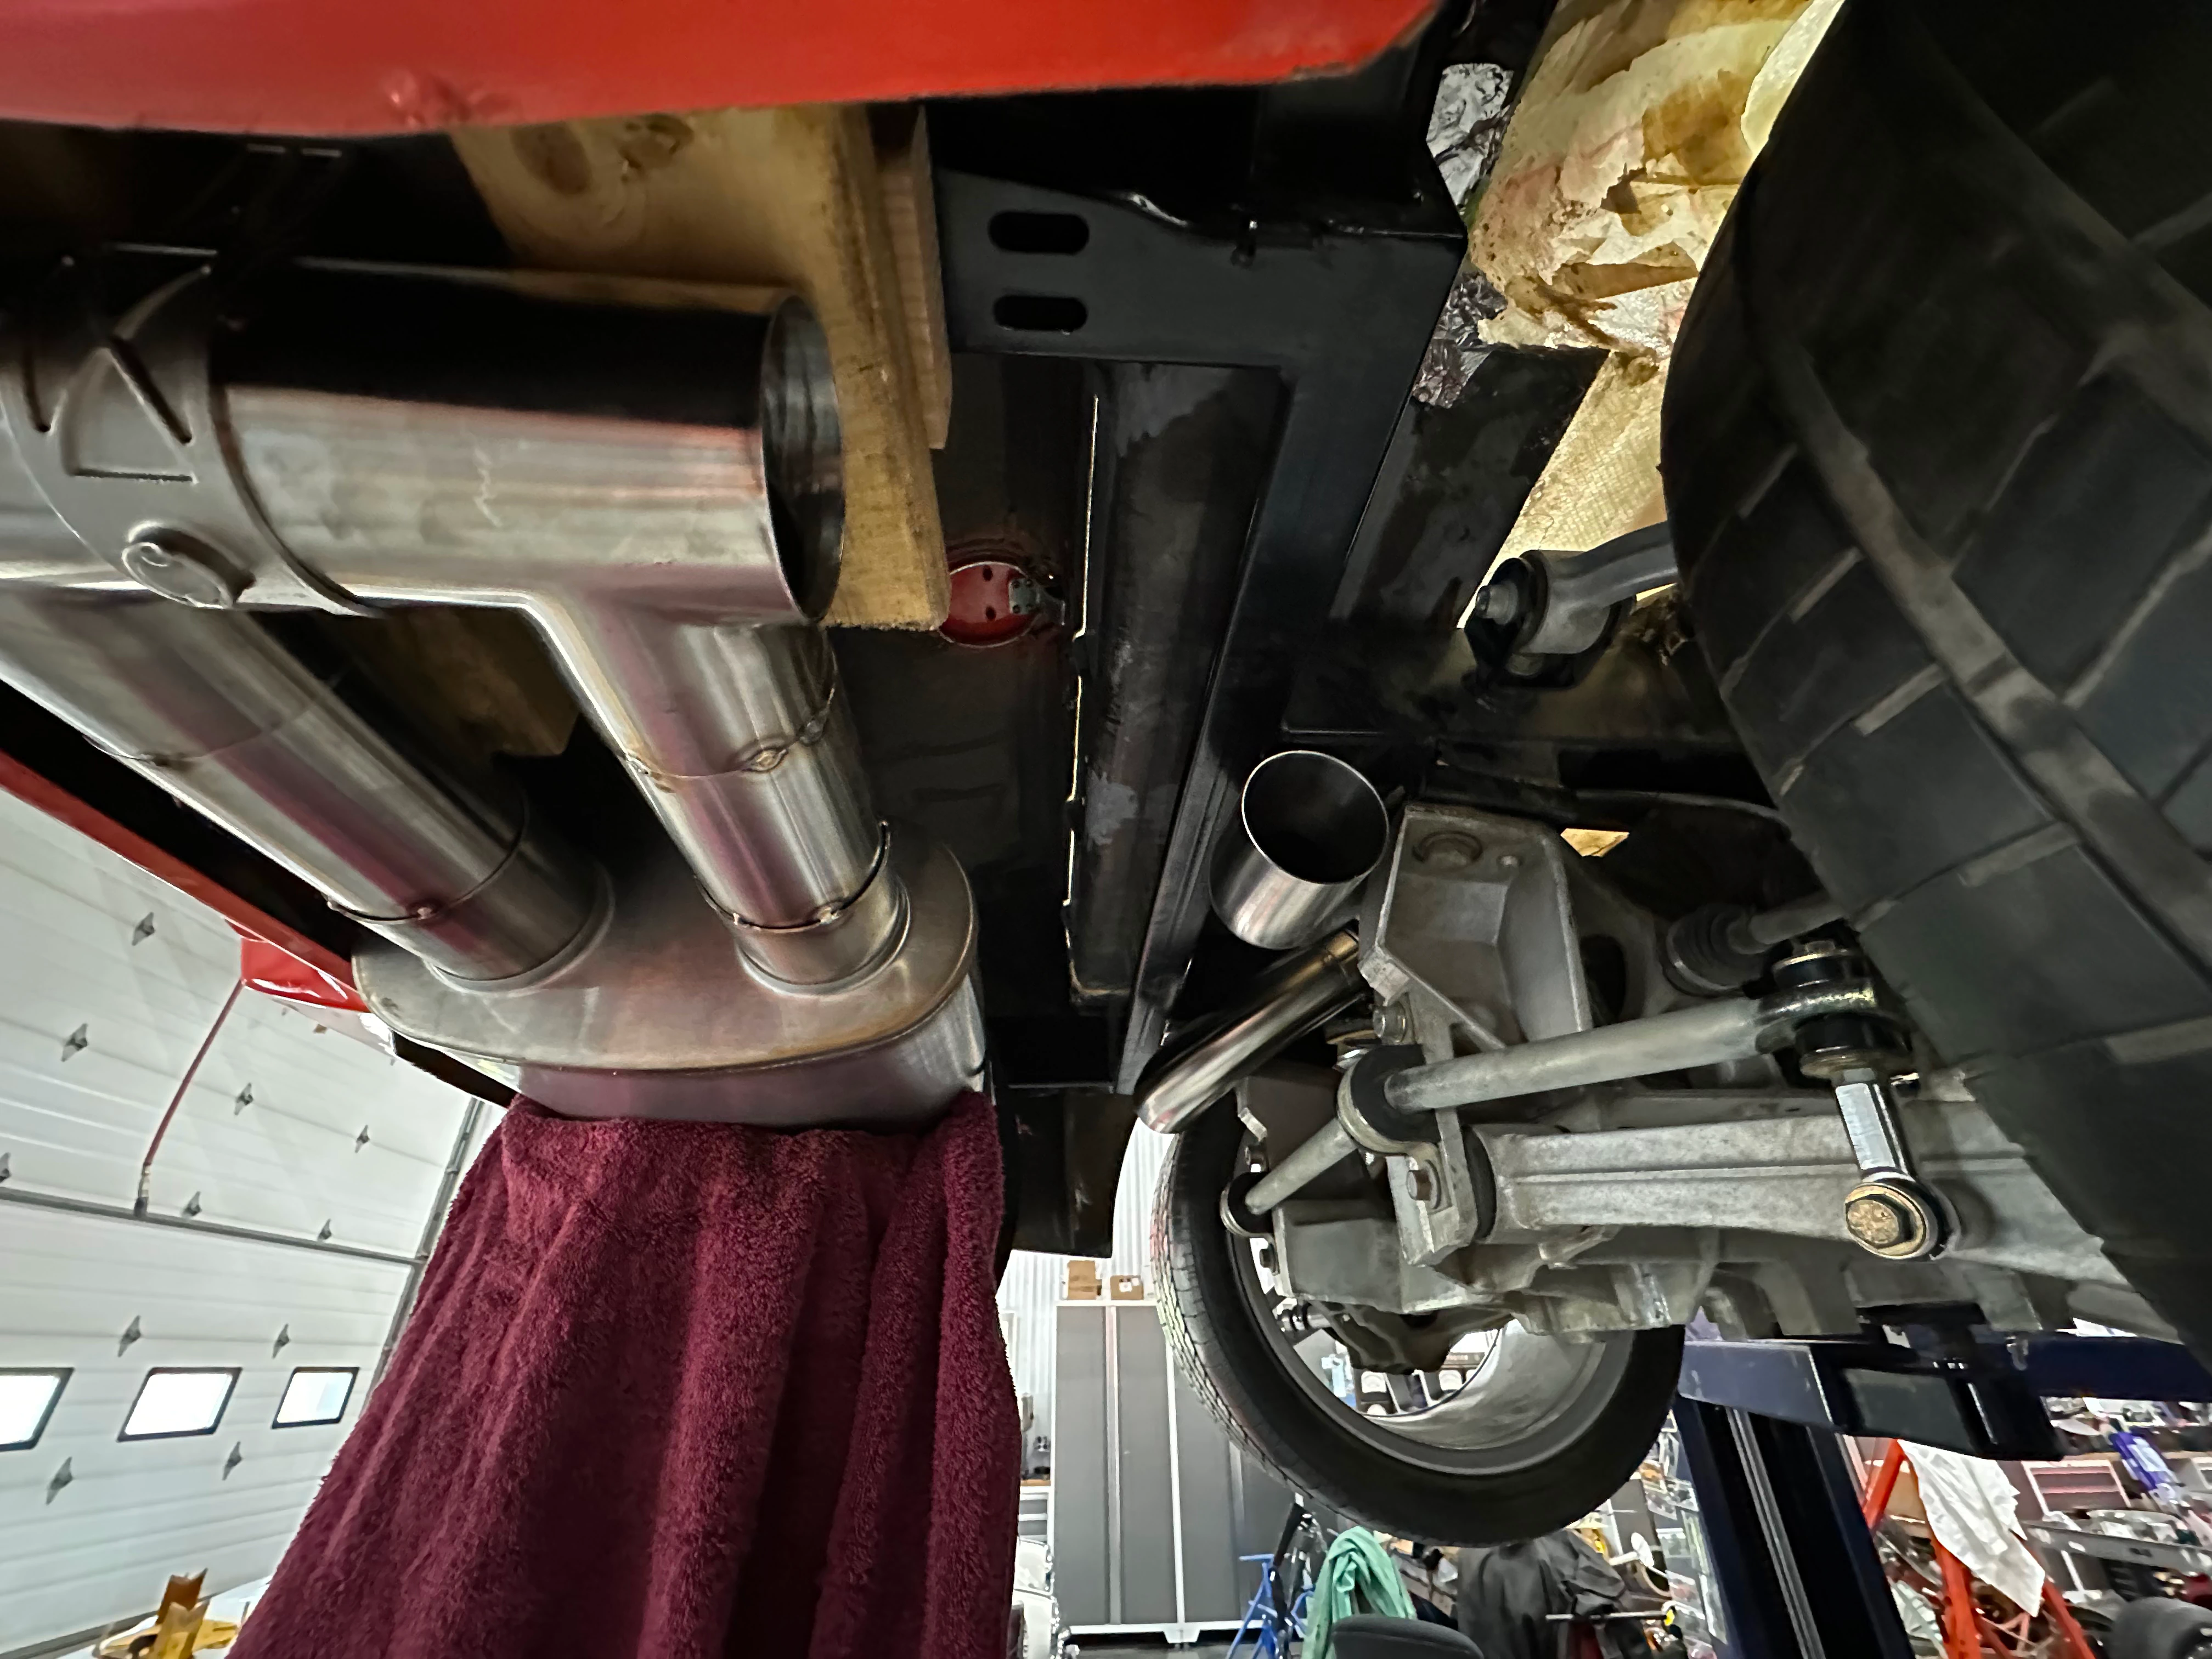
Getting over the differential without hitting any obstacles was a mission, but we got it done eventually.
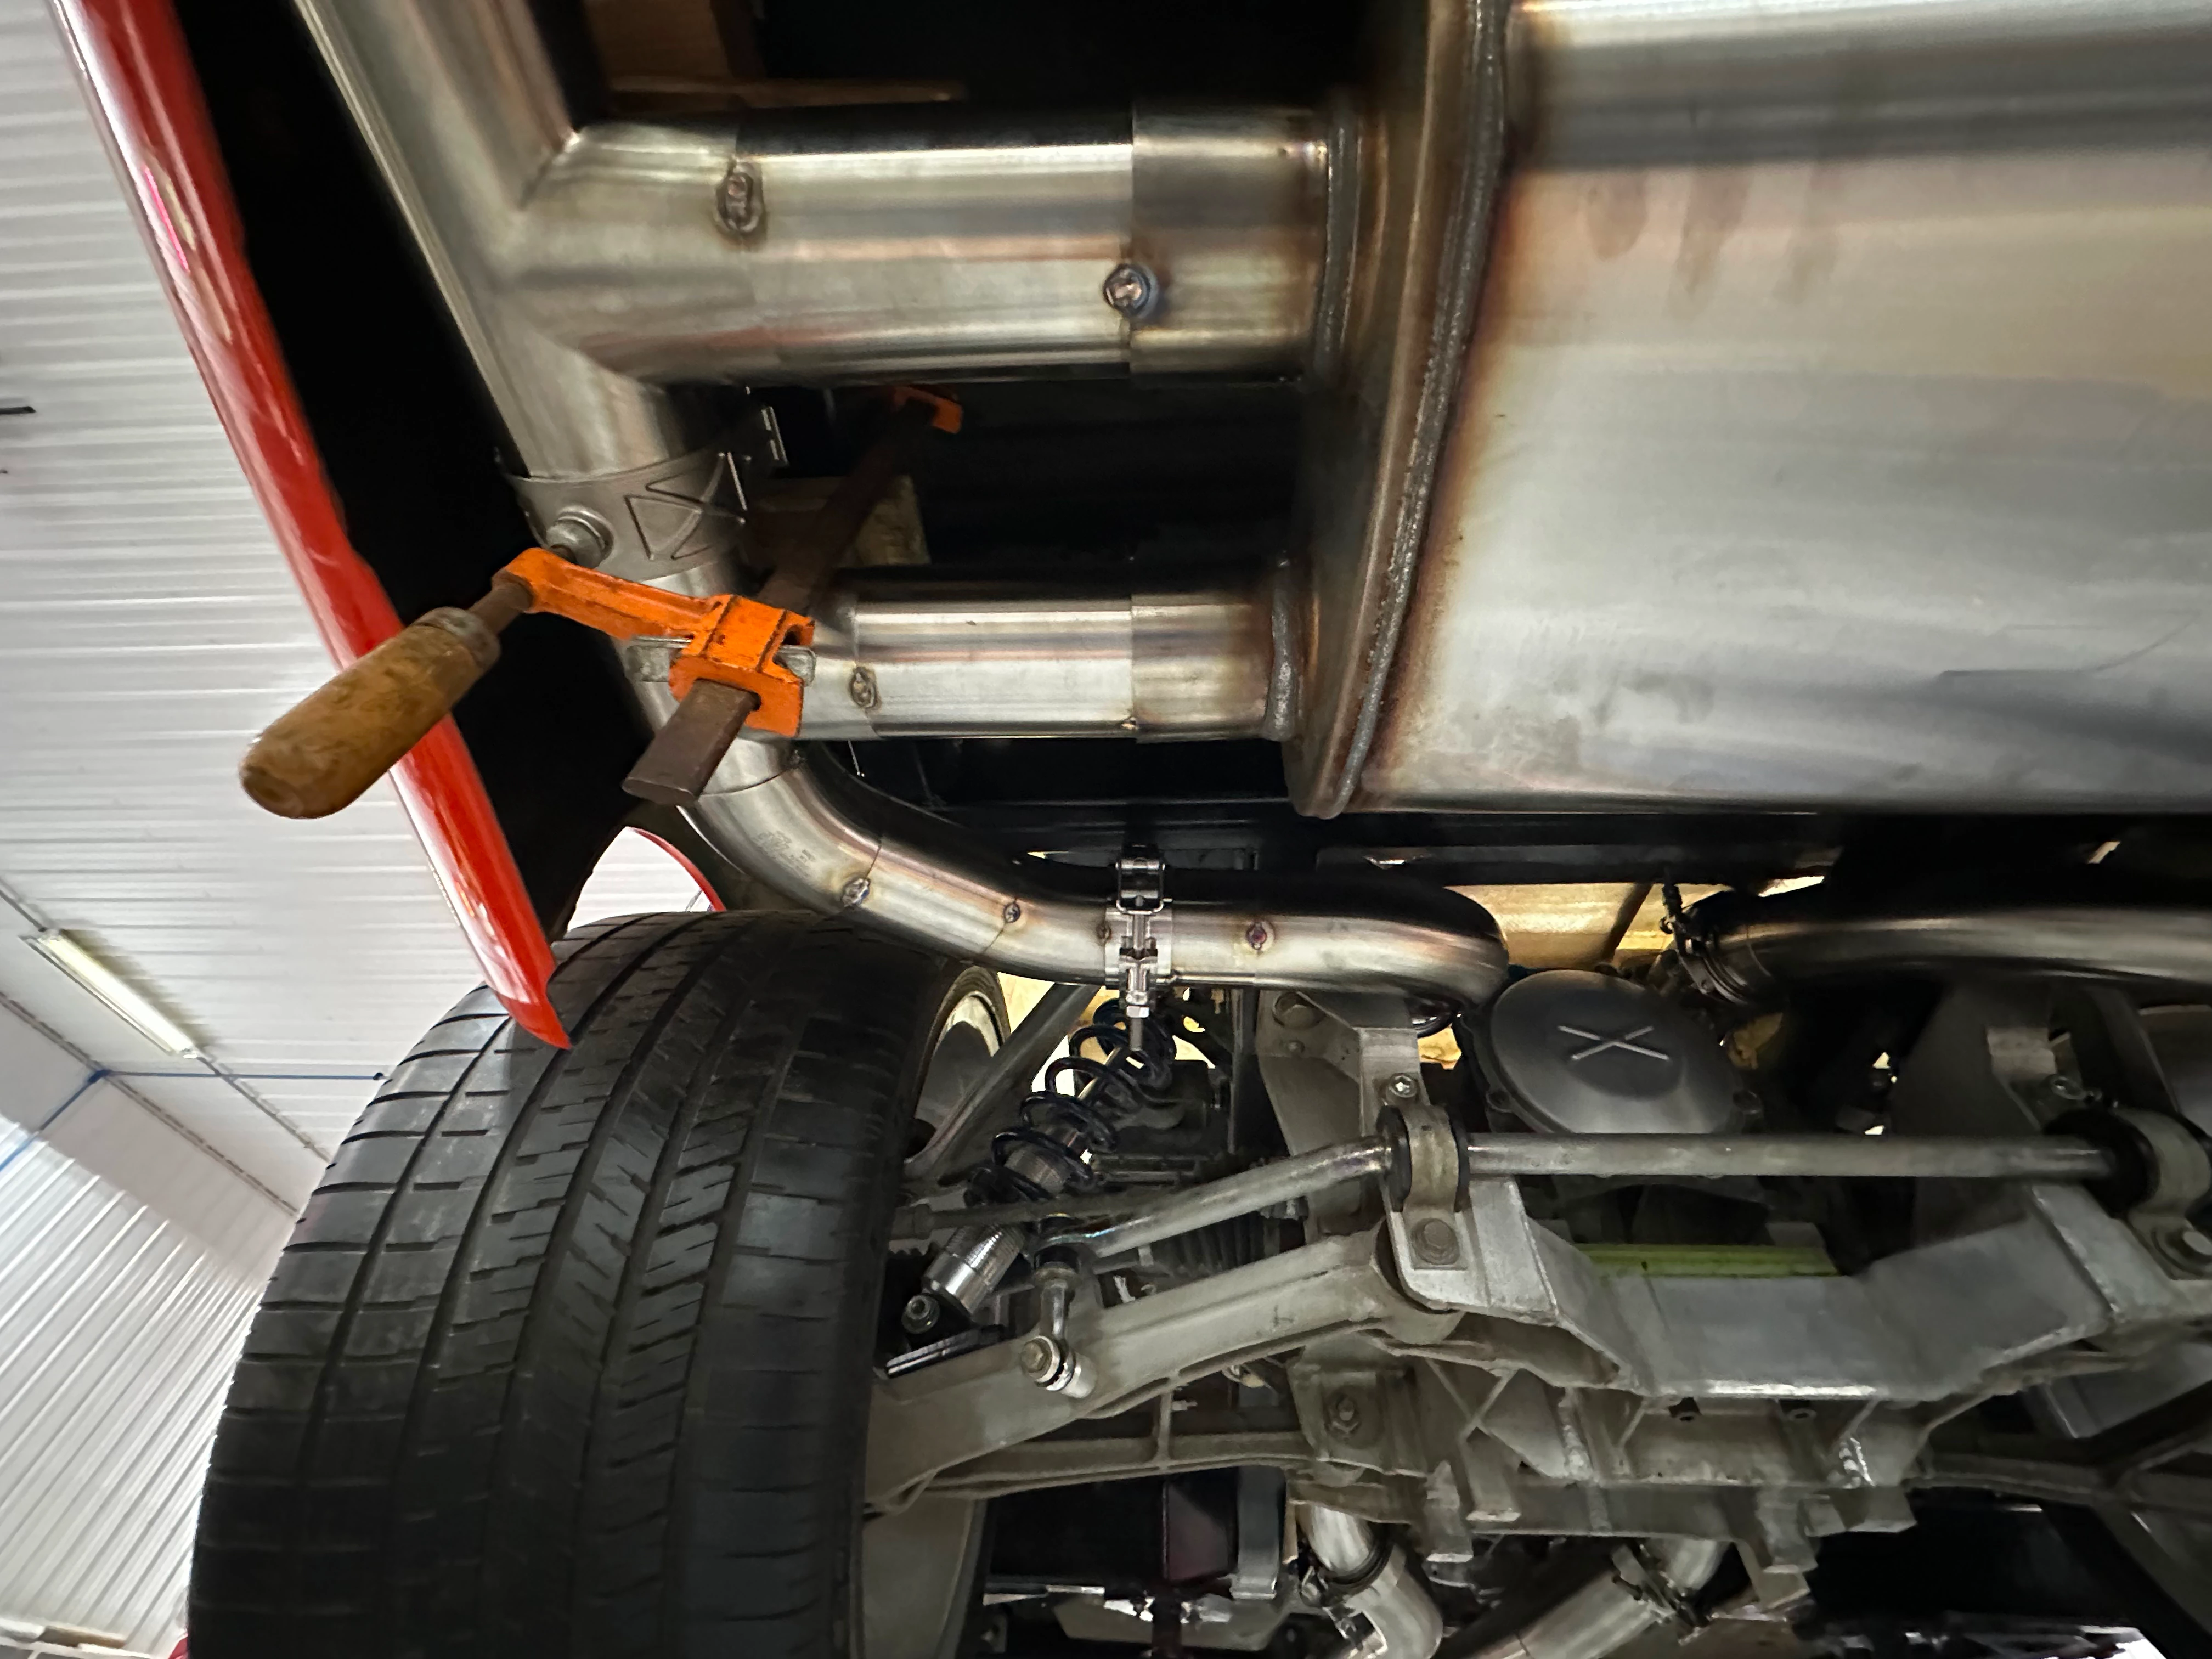
A big trick of the car will be the muffler. The car won't have a spare tire, so this was the only room for any kind of fun activities like this.
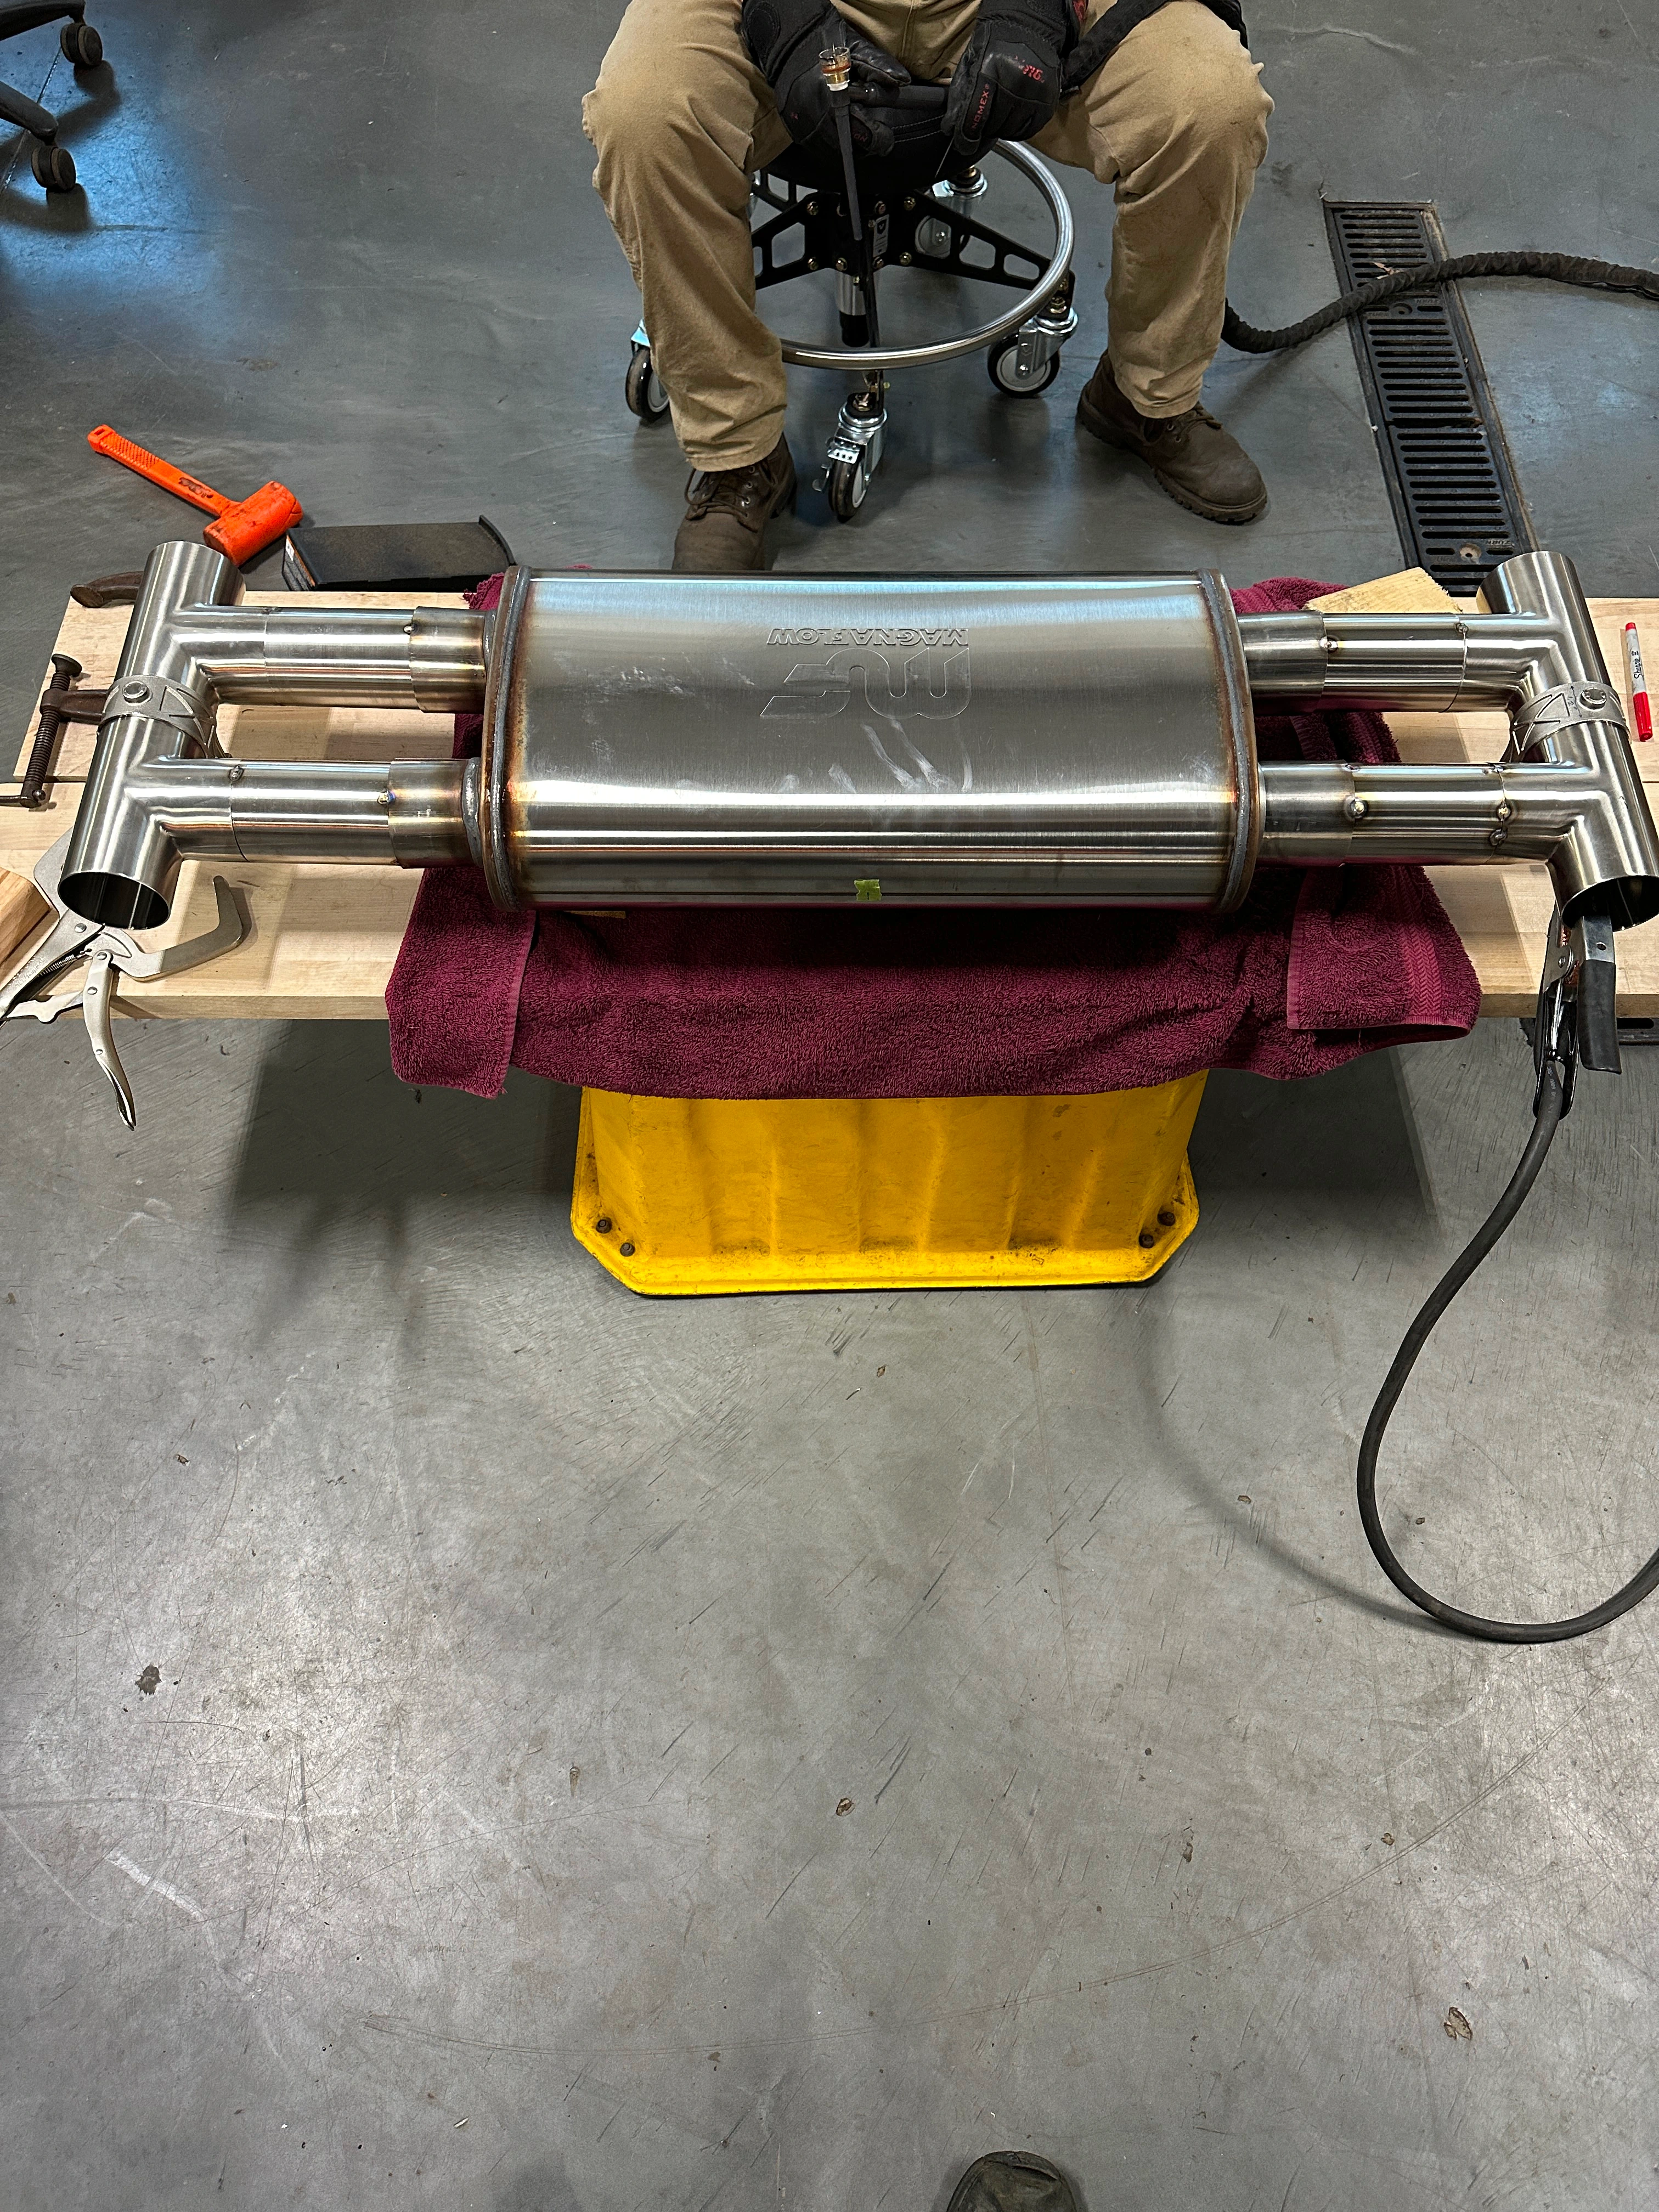
From the diff, the exhaust comes to a T fitting, on one side, towards the center of the car, is a Magnaflow X Pipe muffler and the other side a valve. Normally the valve will be closed forcing the air through the muffler. Out of the muffler it comes to another T fitting, one side to the other end of the valve and the other side to the tailpipe.
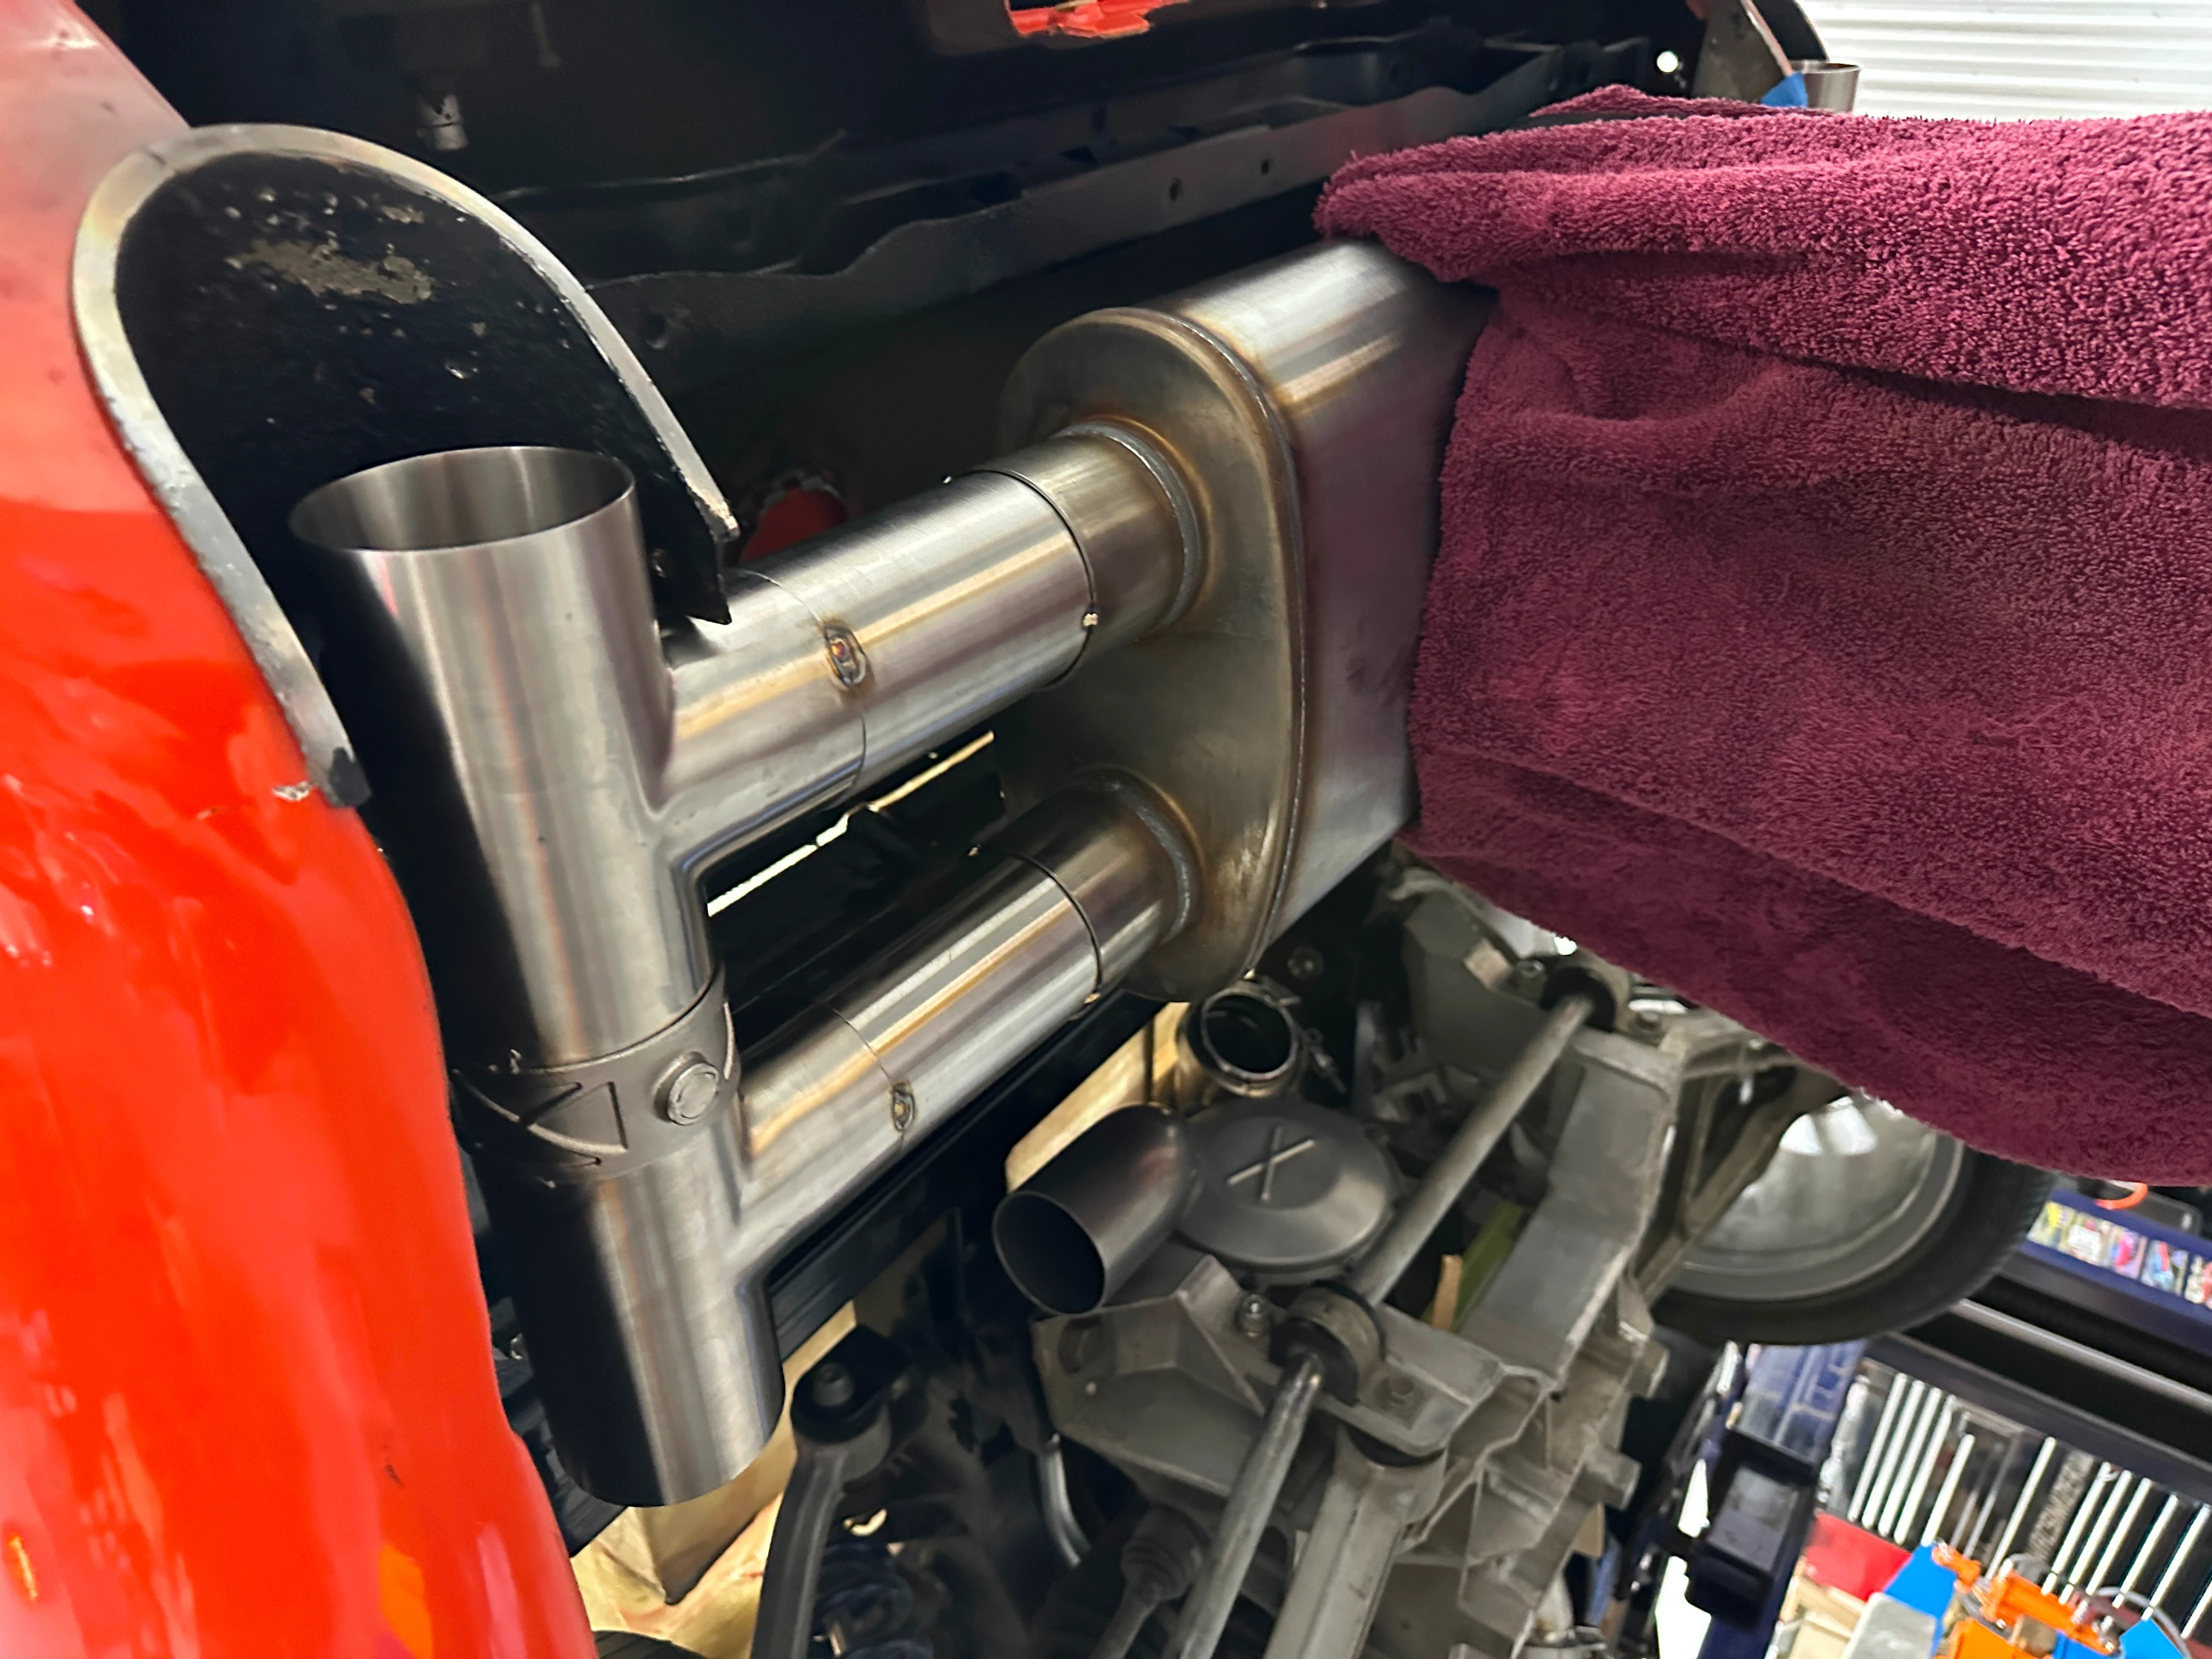
When we want to have some fun, the valve will be open, allowing the exhaust to flow freely out of the tailpipe. Like cutouts, but everything out the same pipe.
The system was lightly inspired by the C6 and C7 Corvette loud exhaust mode (the tailpipes will actually be from a C7 Corvette too), but also by a couple of other cars that have done something similar.
I'm not worried about the restriction of the hard turns from the T fittings because the valve will bypass all of that.
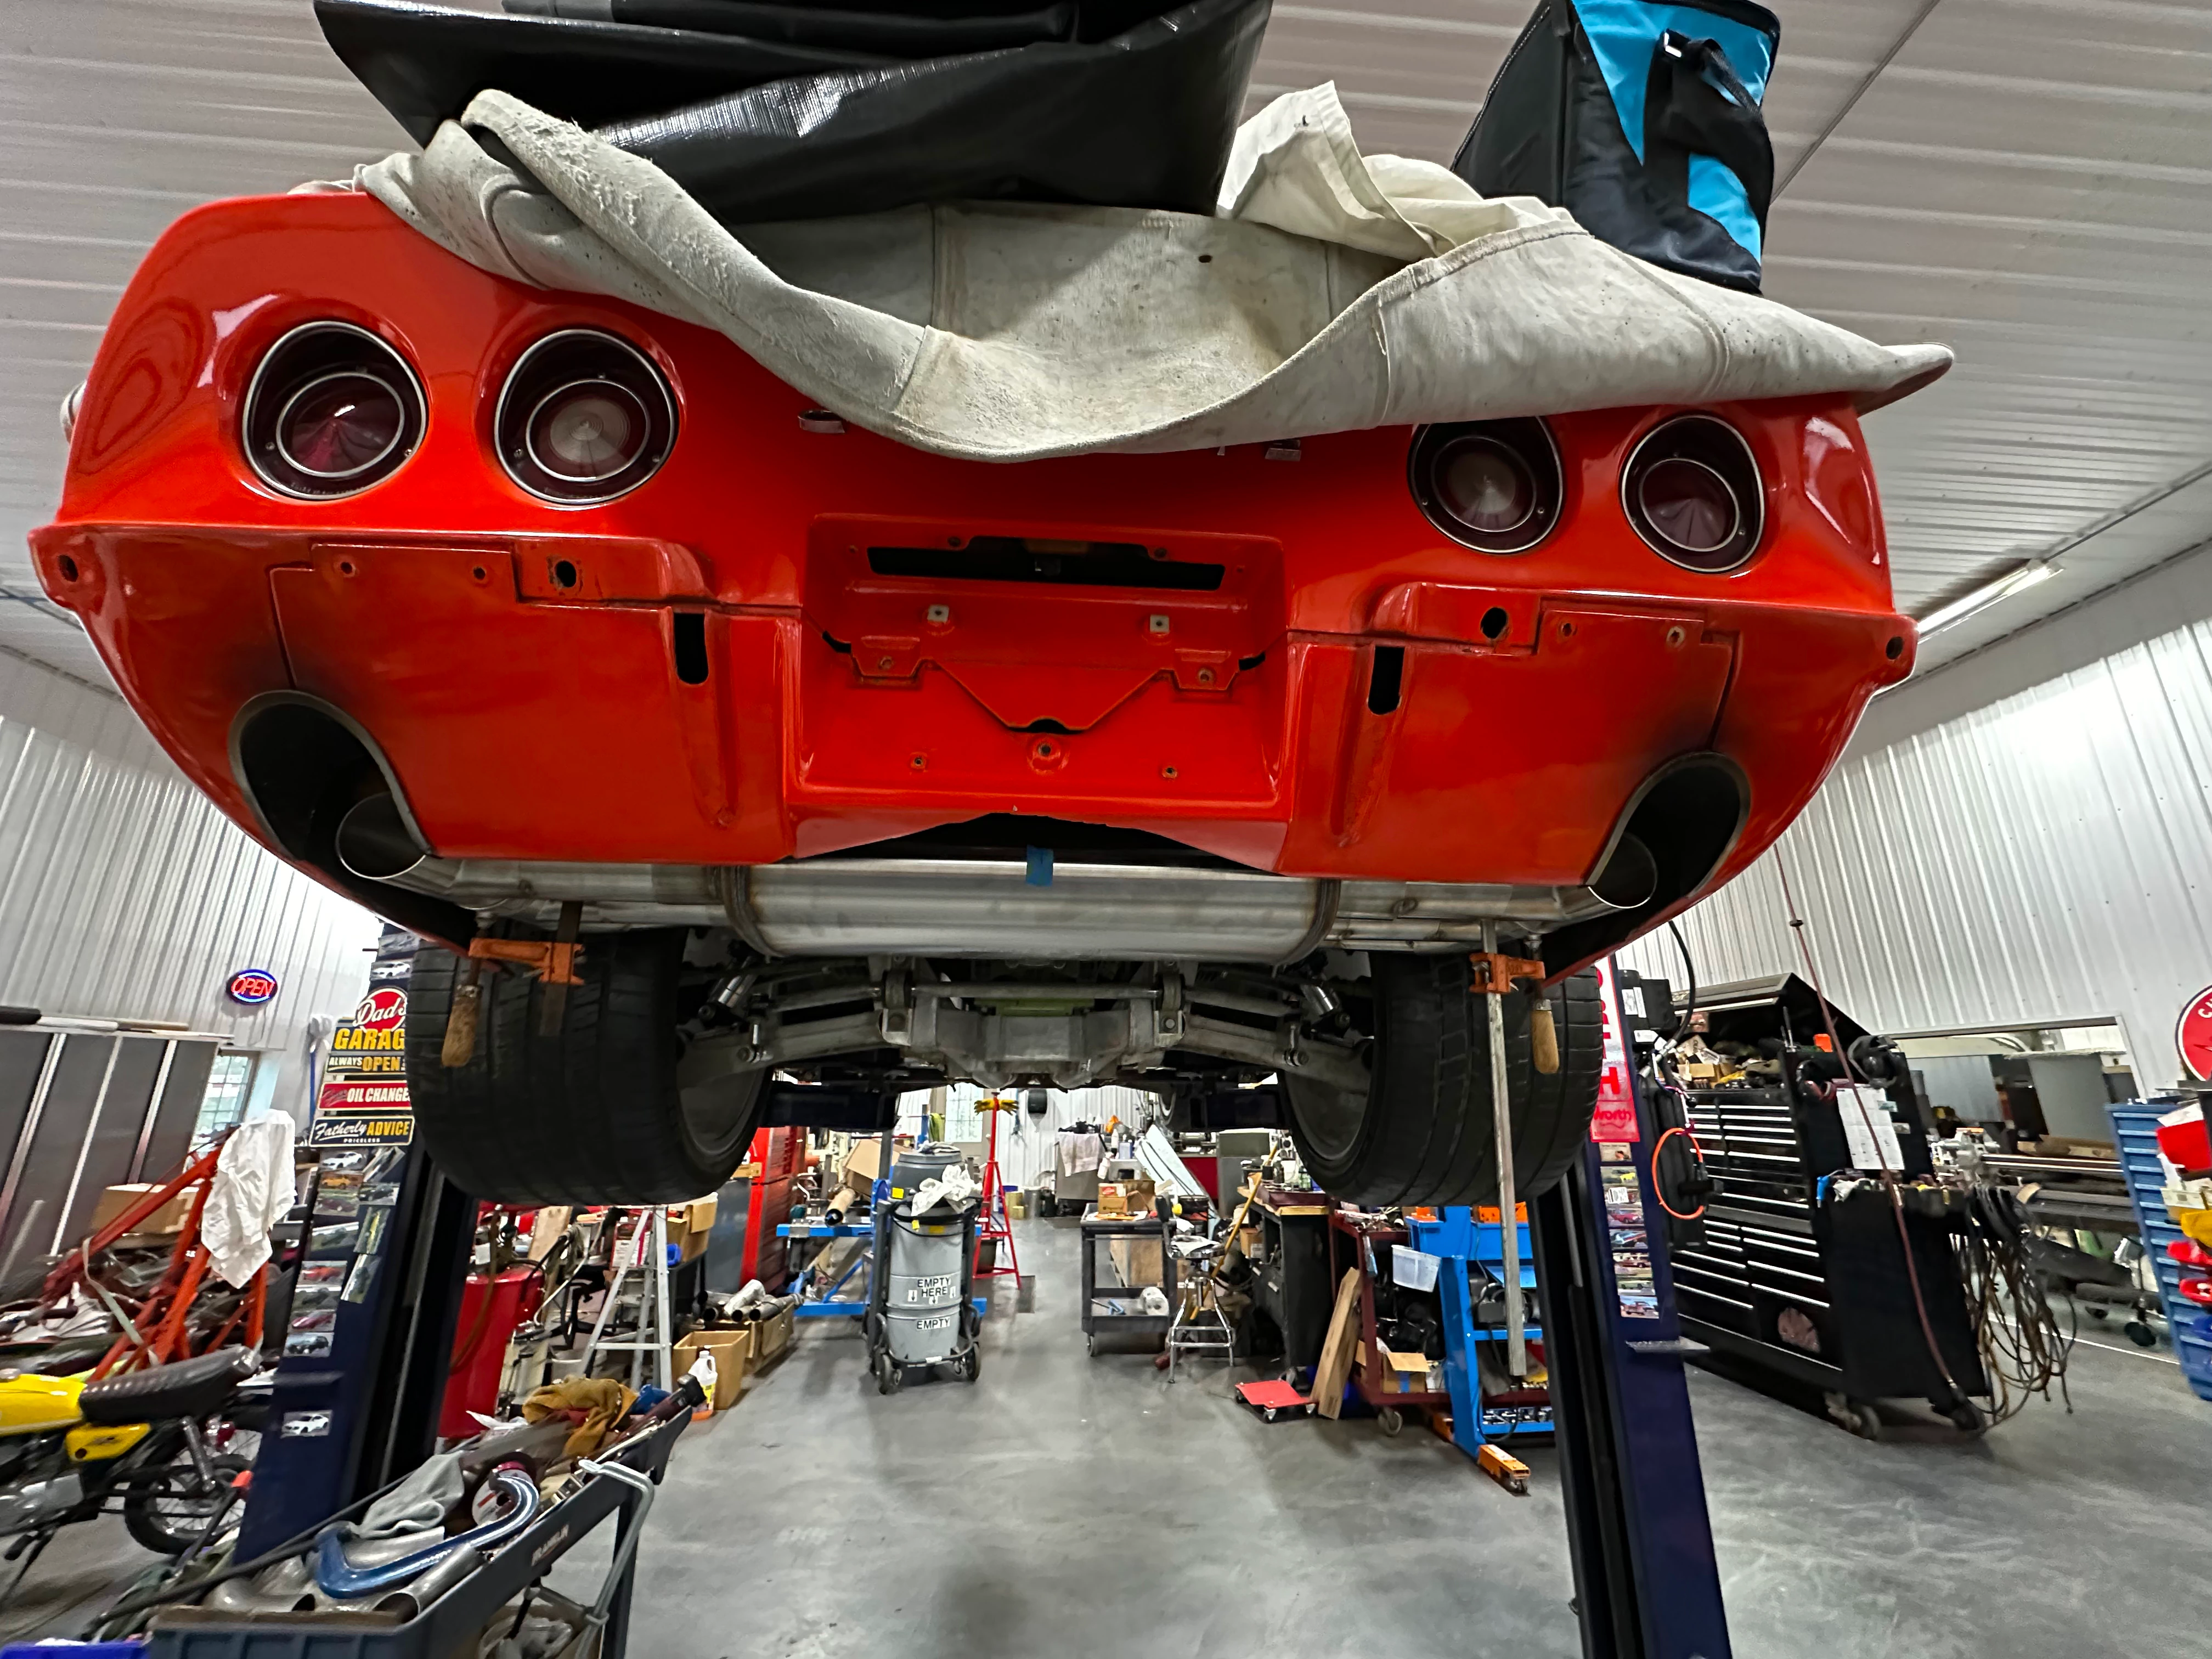
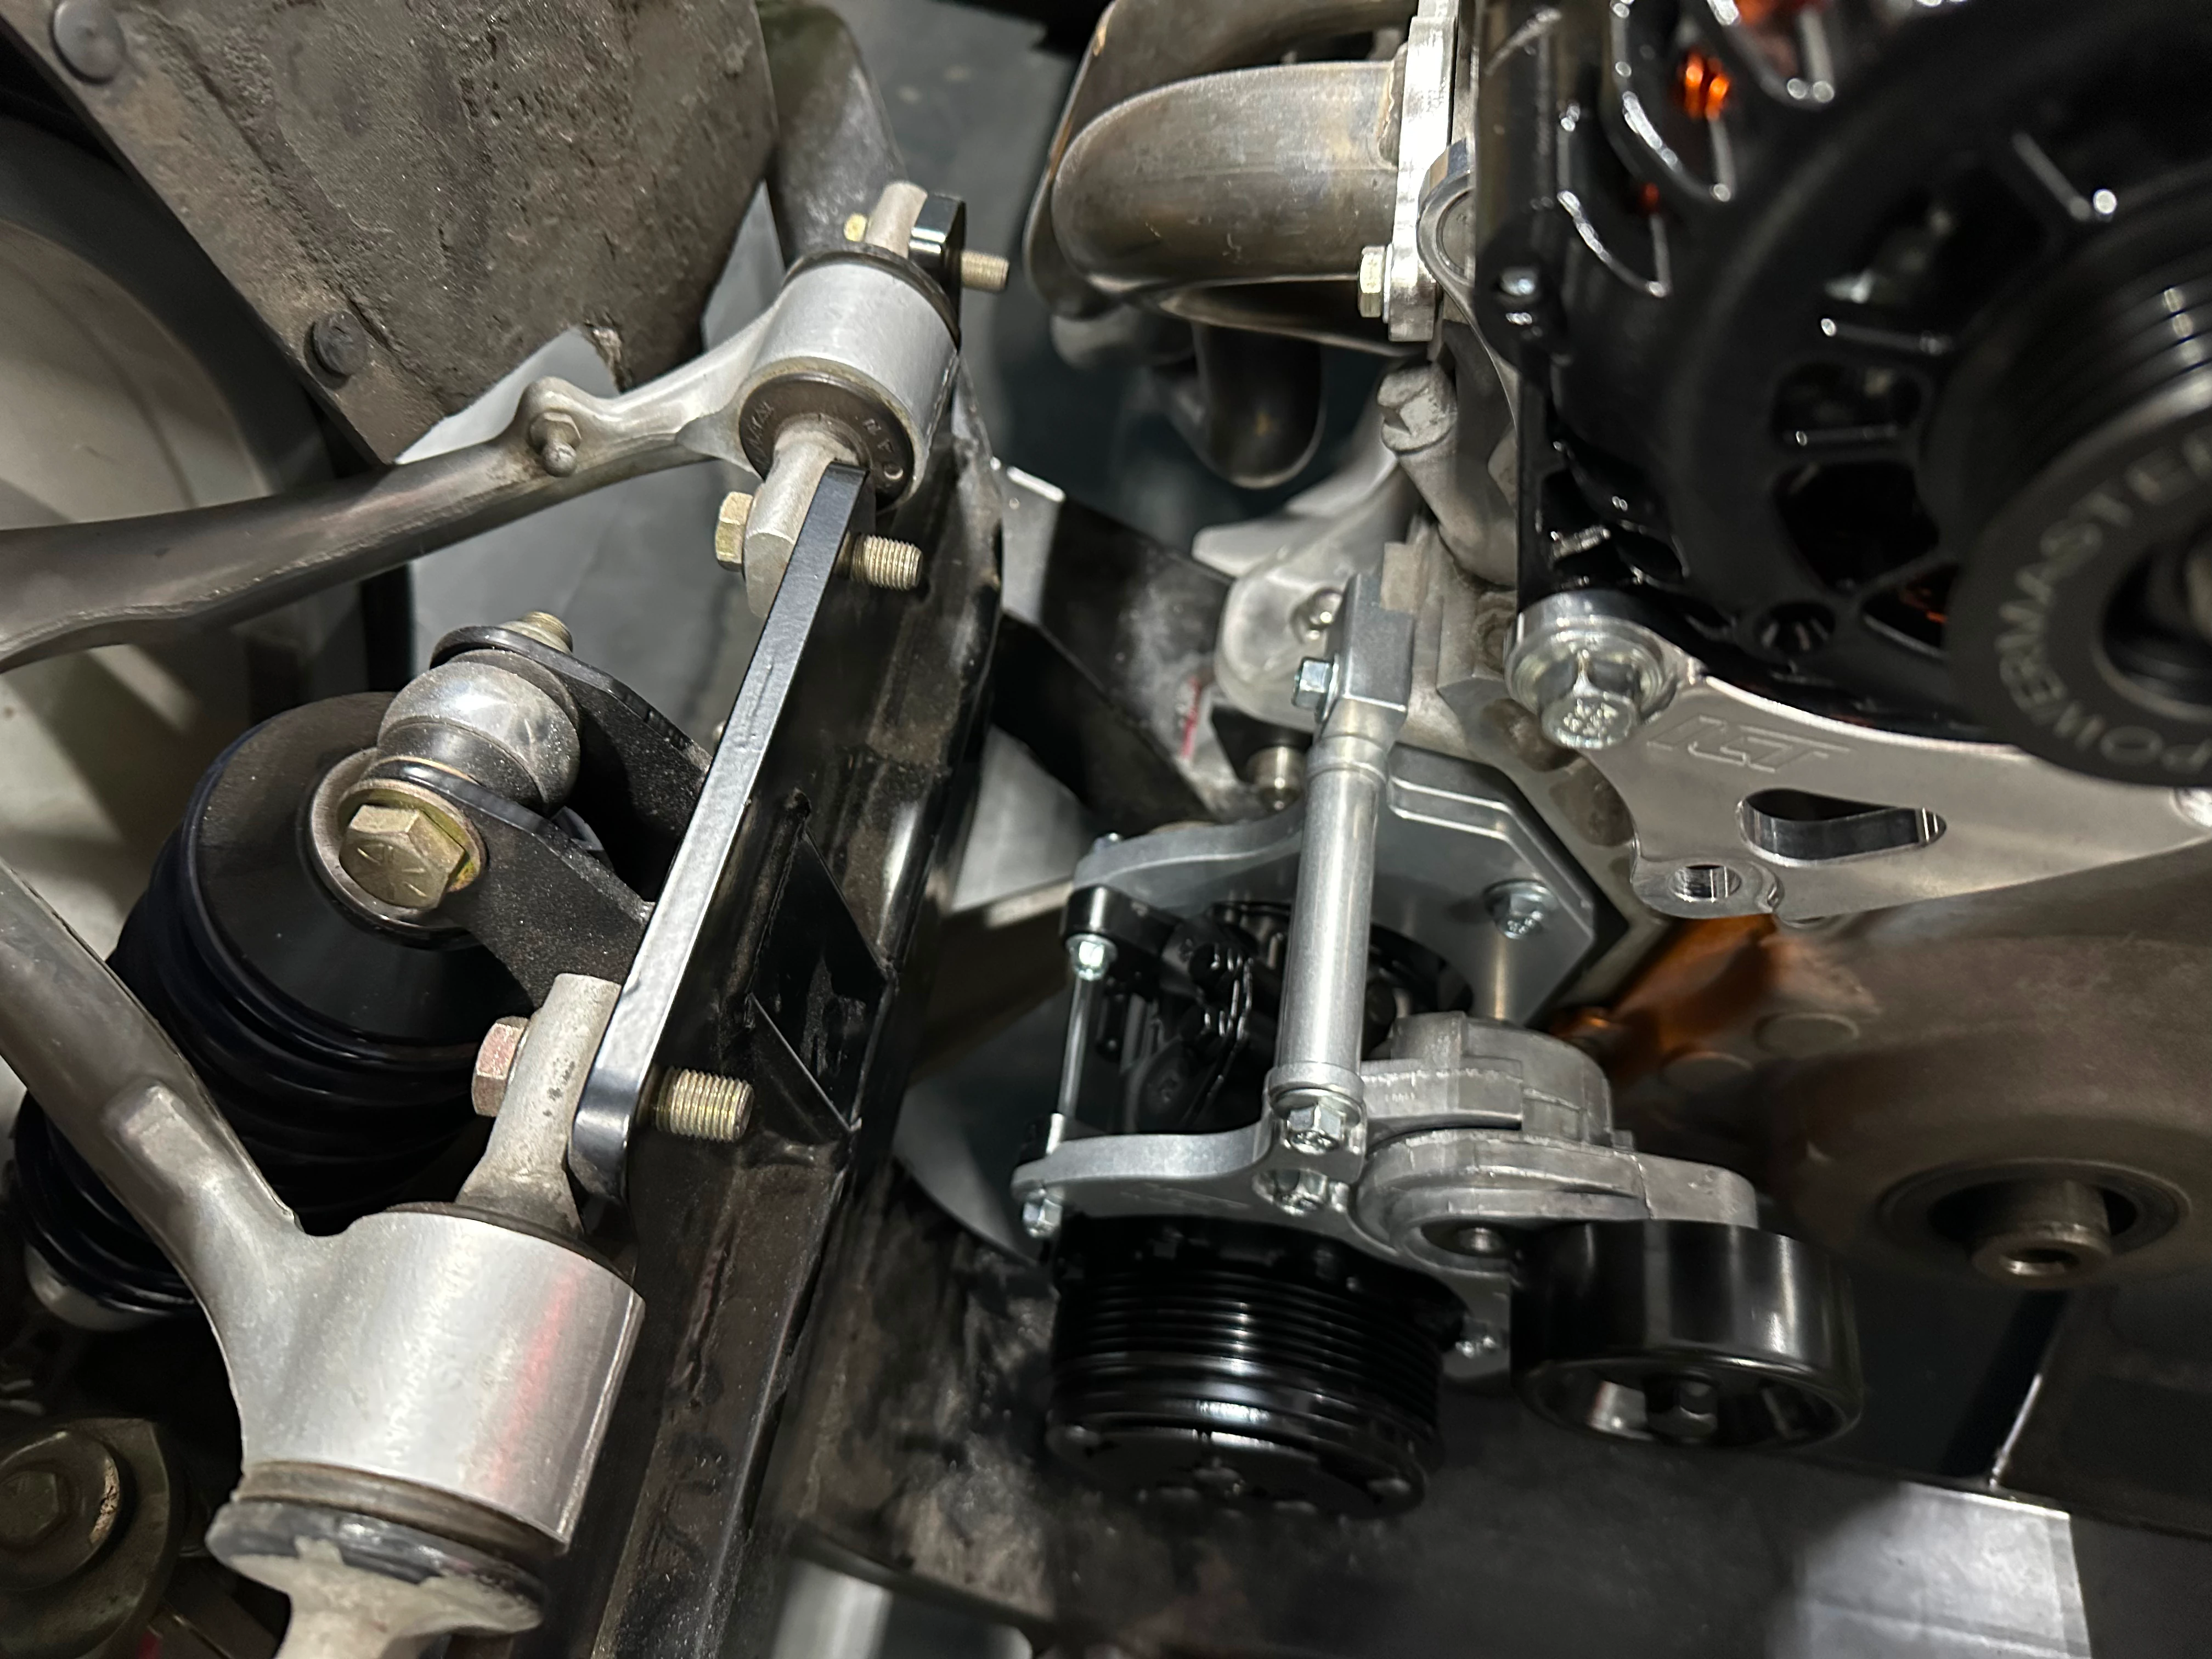
Bonus Round
Some extra pictures for the road.
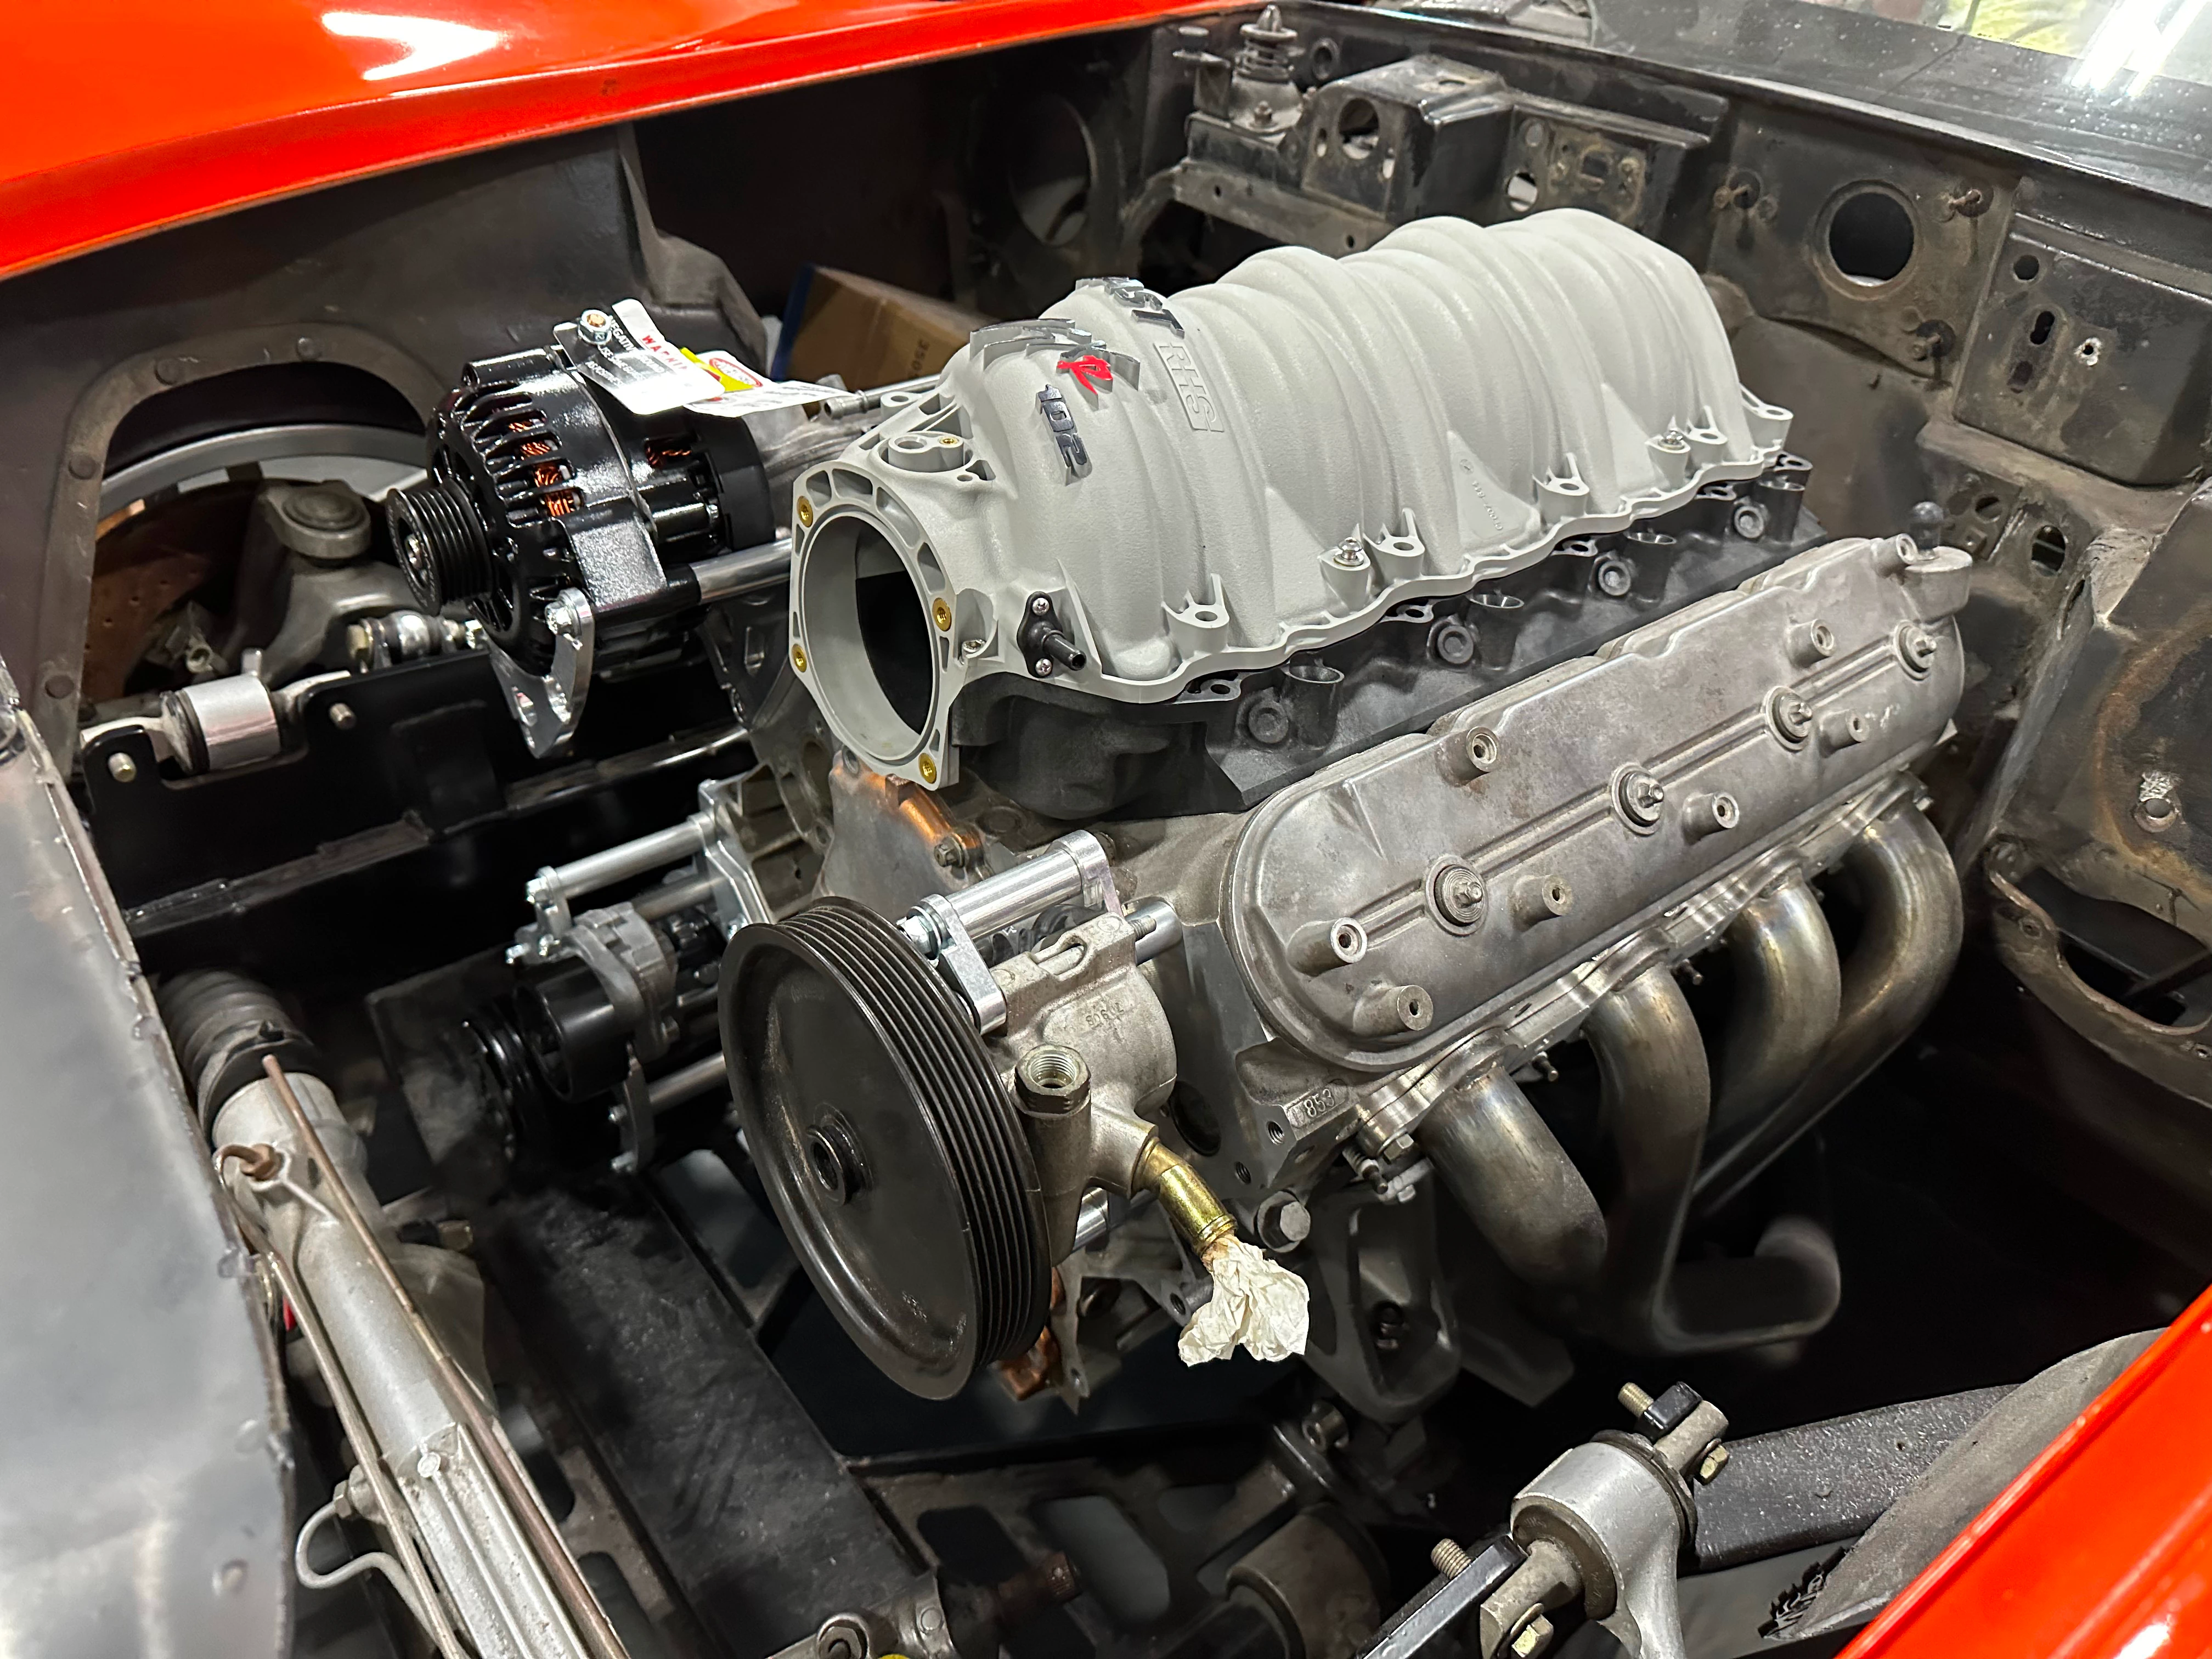
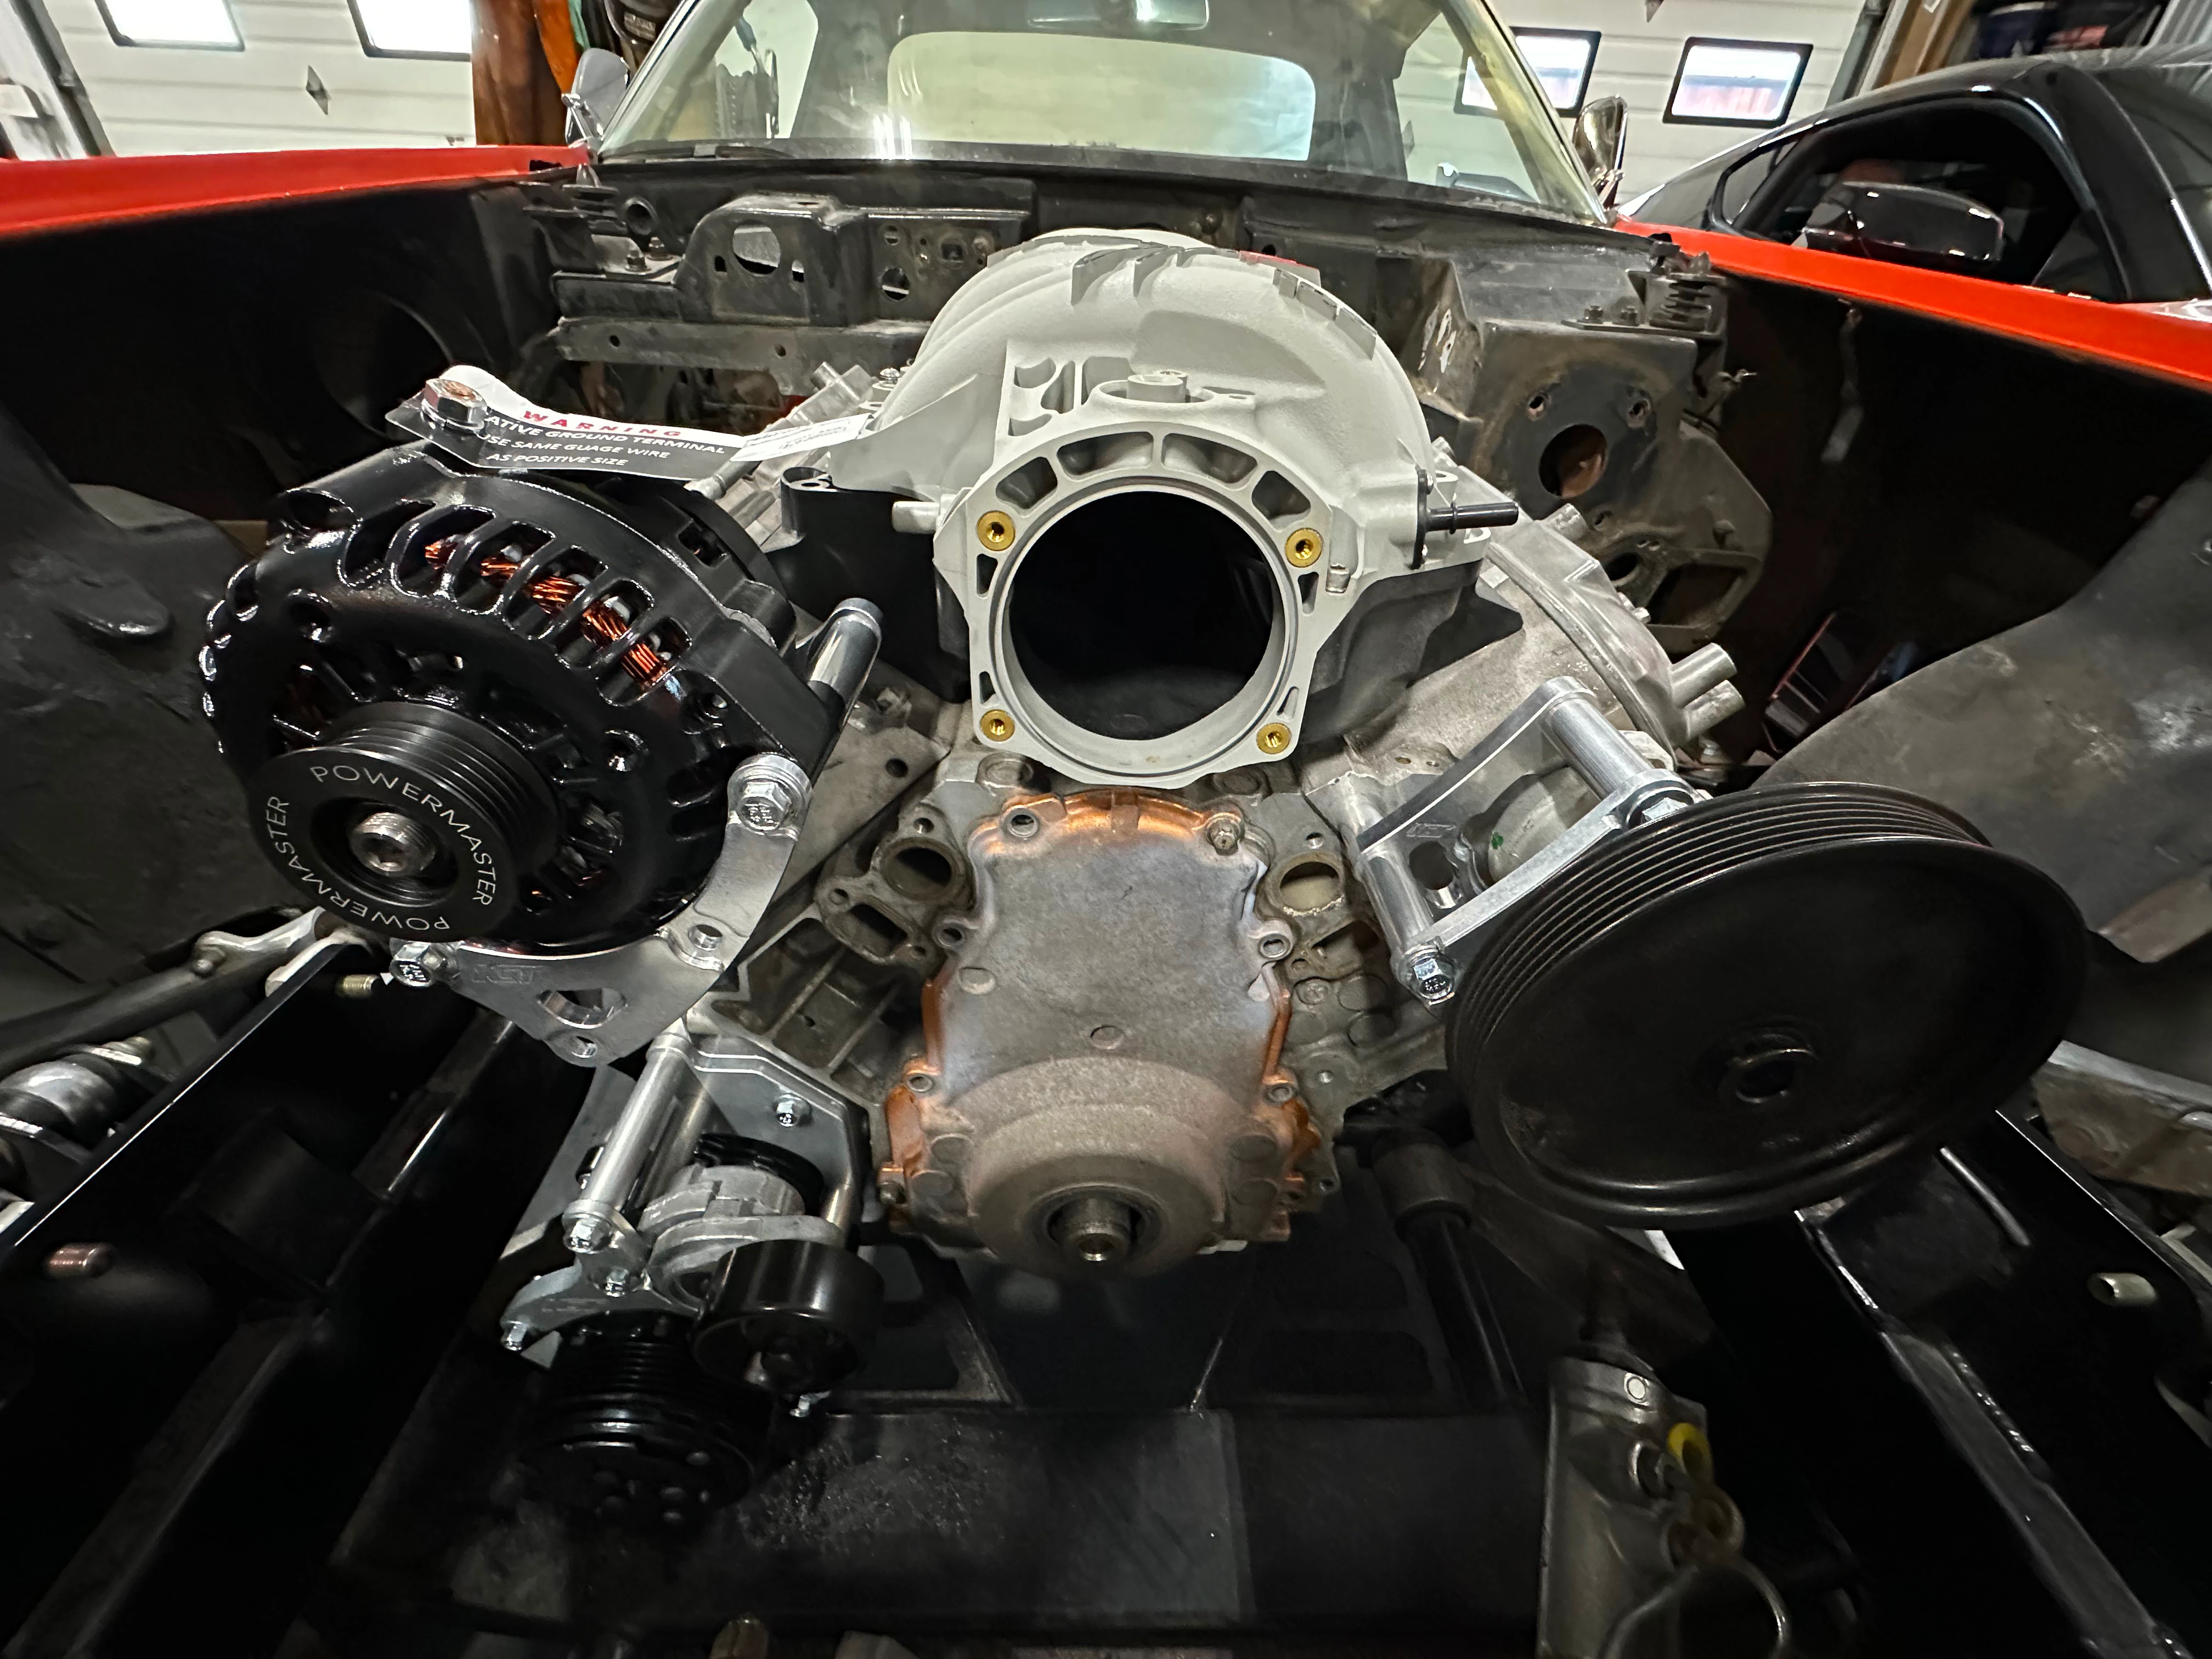
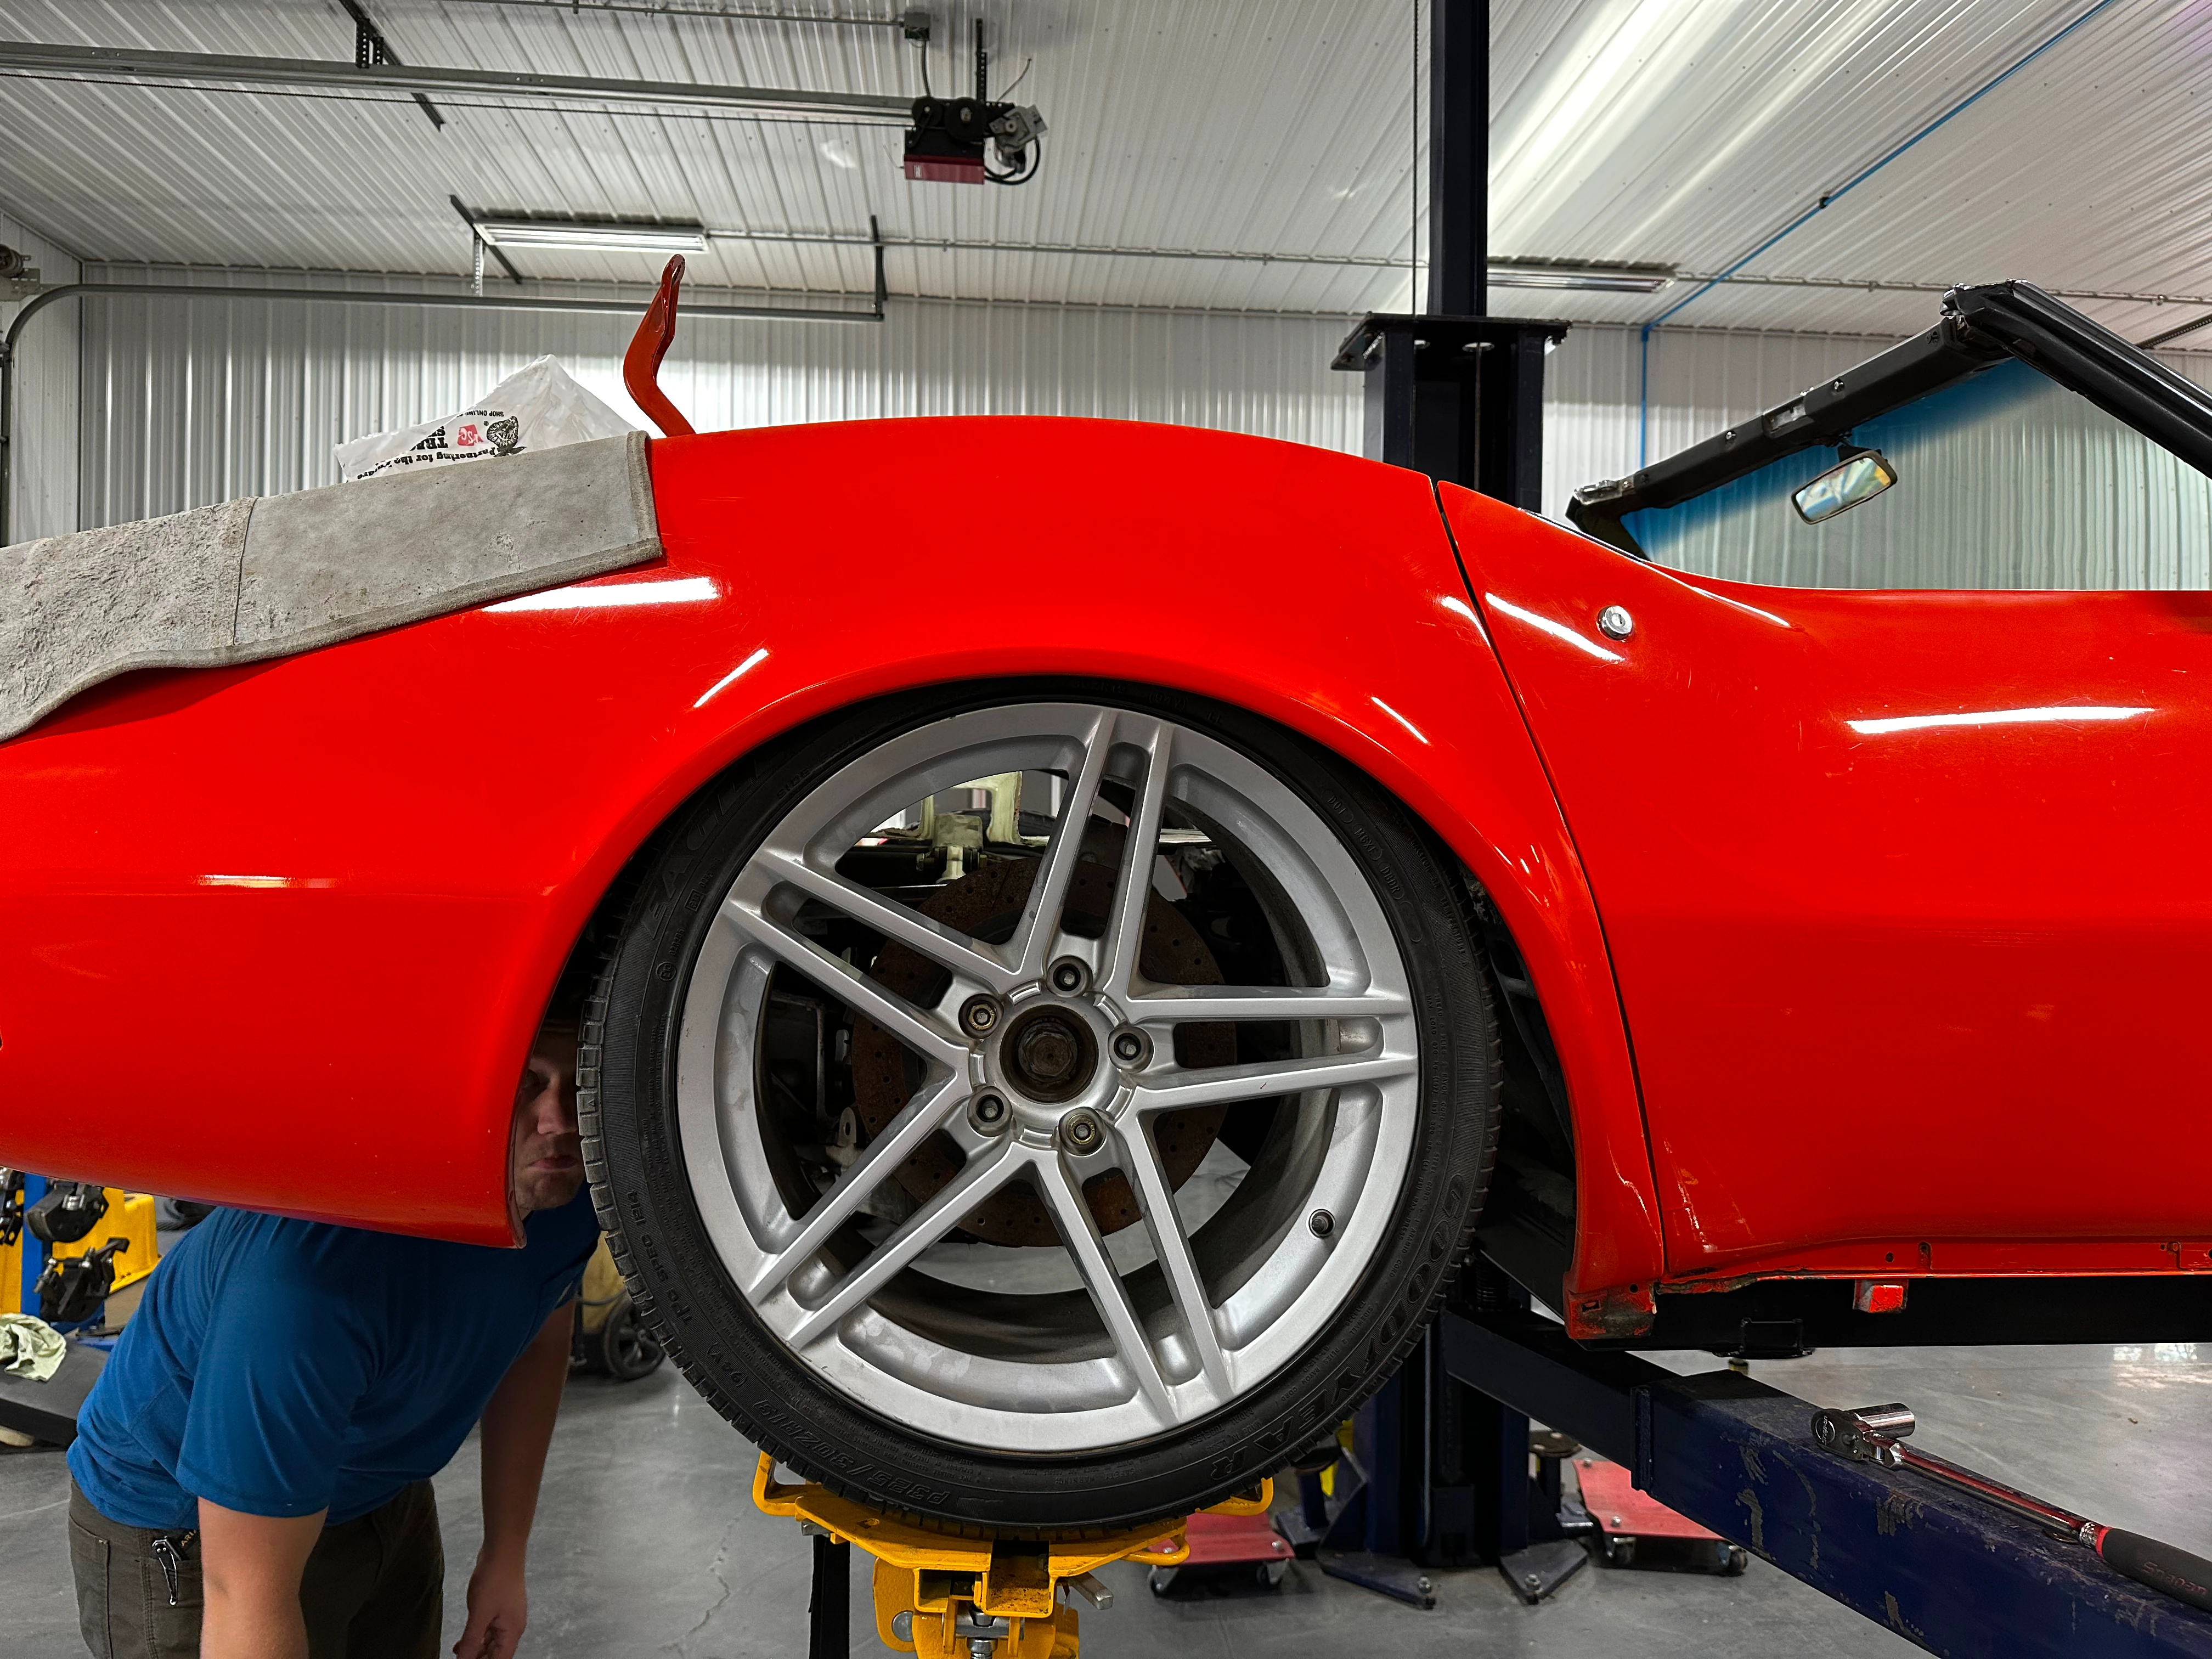
As you can see, there is not a lot of room around the engine, dropping it with the new mounts lost us some room in that department. But, I found a single possible solution, and I kind of like the look.
Hopefully progress and updates will both be more consistent moving forward.