Intermission: The LSX454Runner
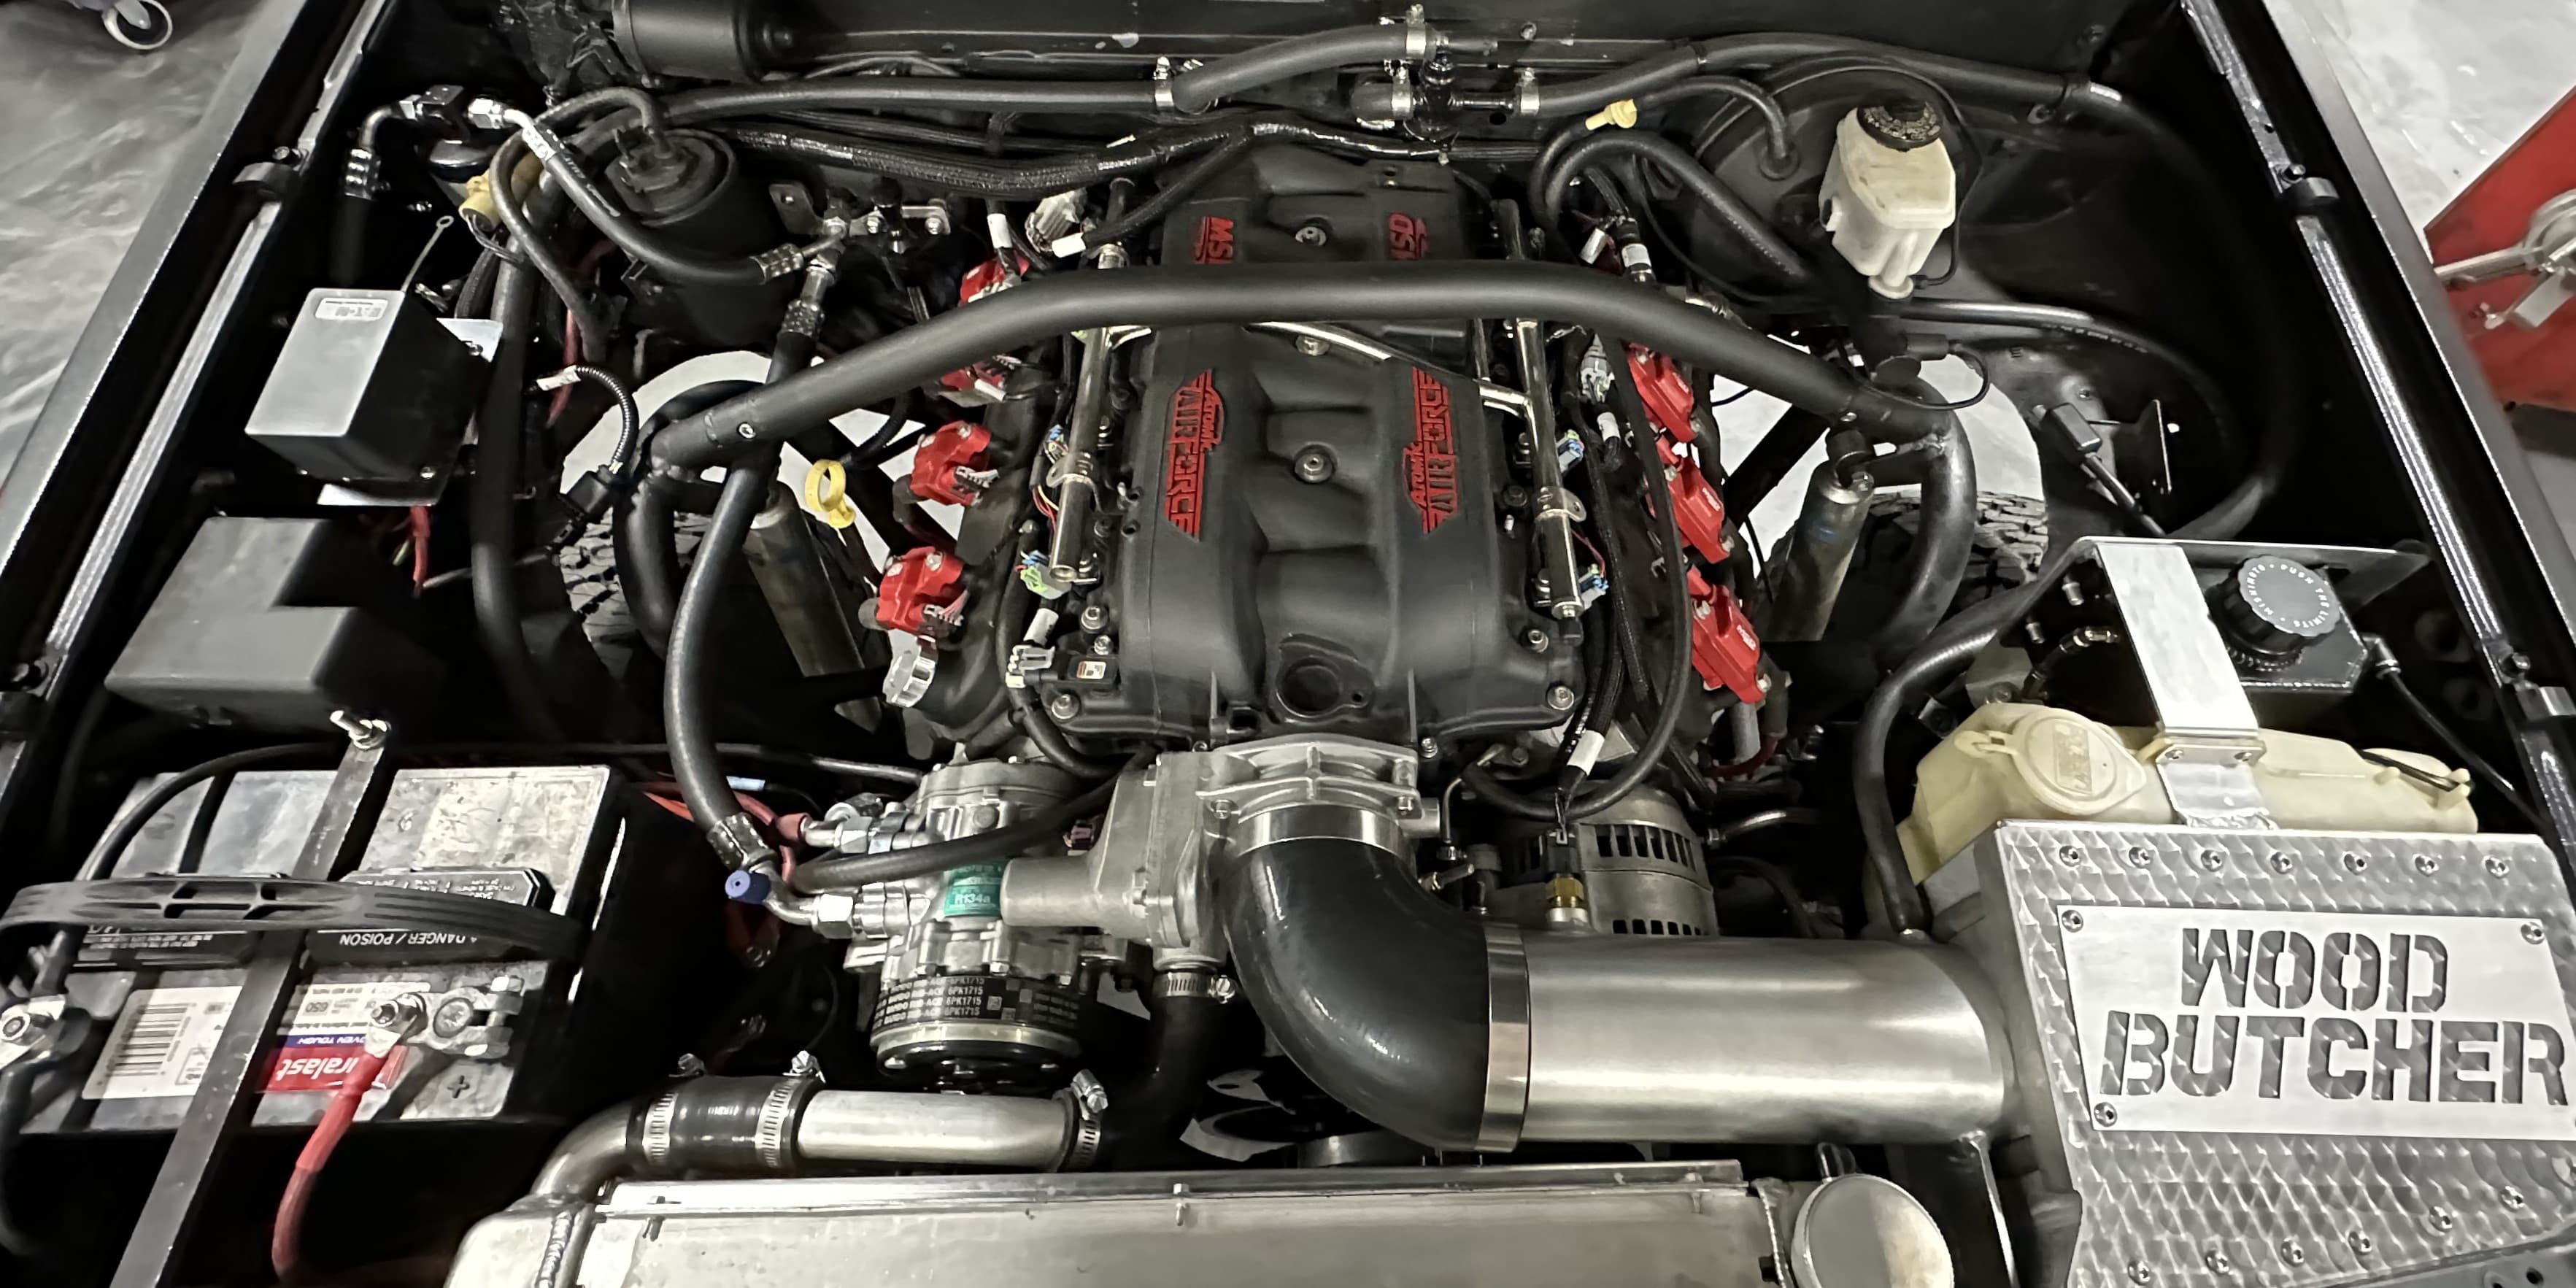
The project known as the LSX454Rnner was started end of 2020 and stretched itself out until mid 2023.
Before going more in depth on the next steps of my 1969 Corvette project, I thought it might be a good idea to go through some of the projects that were ahead of my car in line. The biggest (and coolest) project was what we have named the LSX454Runner, which is a 1985 Toyota 4Runner that we swapped an LSX454 with a built 4L60E and NP205 transfer case that we built for a family friend. We built a custom stainless 3 inch exhaust, cold air intake, sway bar kit, and all of the other necessary miscellaneous parts for the car. We also installed a roll cage built from a kit we bought online and a set of nerf bars. We also fixed and modified many of the existing modifications from the previous owner. We'll go through in relatively close to chronological order, but the car has been on the road for a while now (though it may be back soon enough).
The owner of the truck had a similar first-gen 4Runner when it was nearly new in the late 80's with a small block Chevrolet in it with minimal work done to fit it other than a 2-3 inch body lift. In this iteration, he wanted to forego that body lift, which would prove to be the wrong decision. Almost every obstacle we faced, likely would have been nonexistant or at the very least minimized if we had gone with even a 1 inch body lift.
The Engine
The first step in our endeavor was to make the very difficult choice of deciding what engine to use. Keep in mind, this was a different time. We had barely gotten through 6 months of pandemic-time (very different than normal/real time), everything was just starting to transition from the previous normal to the new normal. A brand new LS3 with 525 horsepower could be bought for around $8,000... an LS7 with 570 hp for a little over $10,000. The same LS3 is now $3,000 more, the LS7 is discontinued, and I'm sure it will only get worse in 2024. Our conclusion came down to the fact that the 4Runner, while light for a truck, is not a vehicle where we need to be concerned about weight, so we went for the overkill cool route: an LSX454 with extra goodies from Pace Performance. The package at that time was quoted as making 630 horsepower and cost about $16,000 (by the way this package is now $20,000 and has been derated to 599 hp, though from what I can tell, still uses the same parts).
This was NOT the best (i.e. most reasonable, most responsible) choice. But for an owner who can find a way to break anything and is always wanting more (37 inch tires on a Polaris RZR without a lift, SBC in a 4Runner, LS in a 4Runner, see a theme?), an iron block seemed like a wise alternative (especially if the question of "more power?" ever comes along). The engine came with a dyno sheet which I graphed so it's easier to read. It made 633 HP at 6,200 RPM and 613 Ft/Lbs at 4,300 RPM. But the real magic is that it was making over 500 Ft/Lbs at 3,500 RPM.
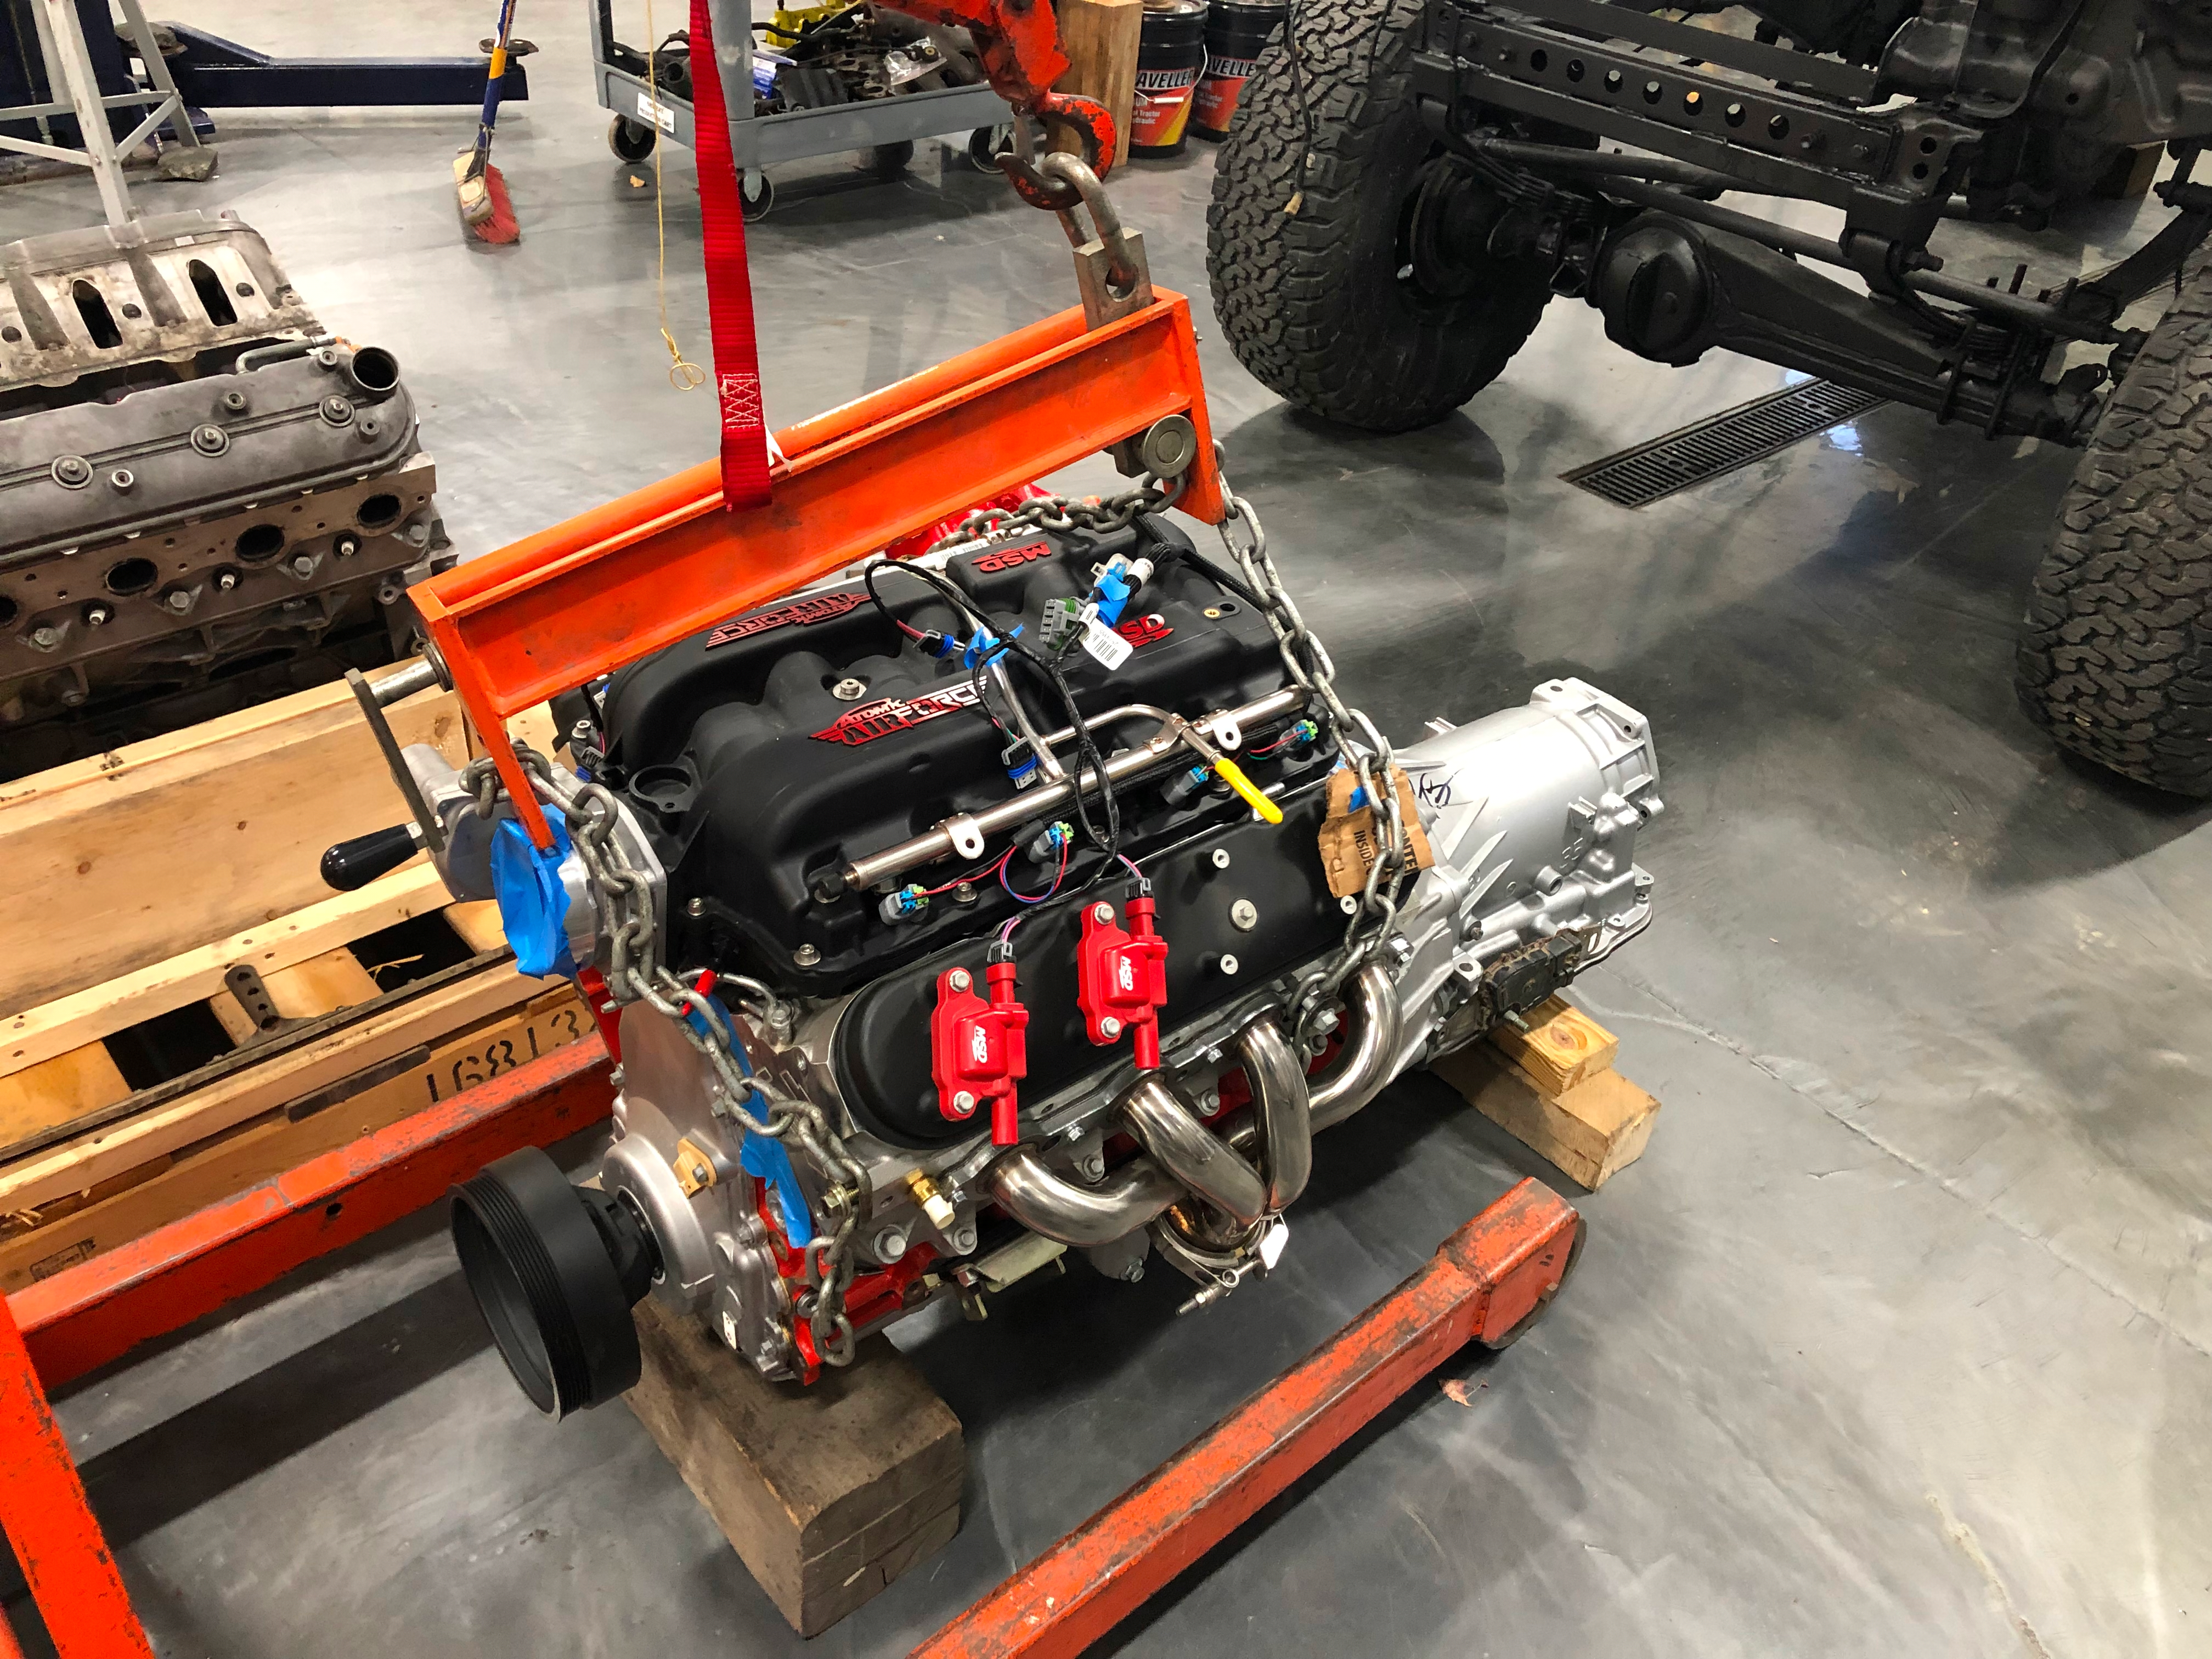

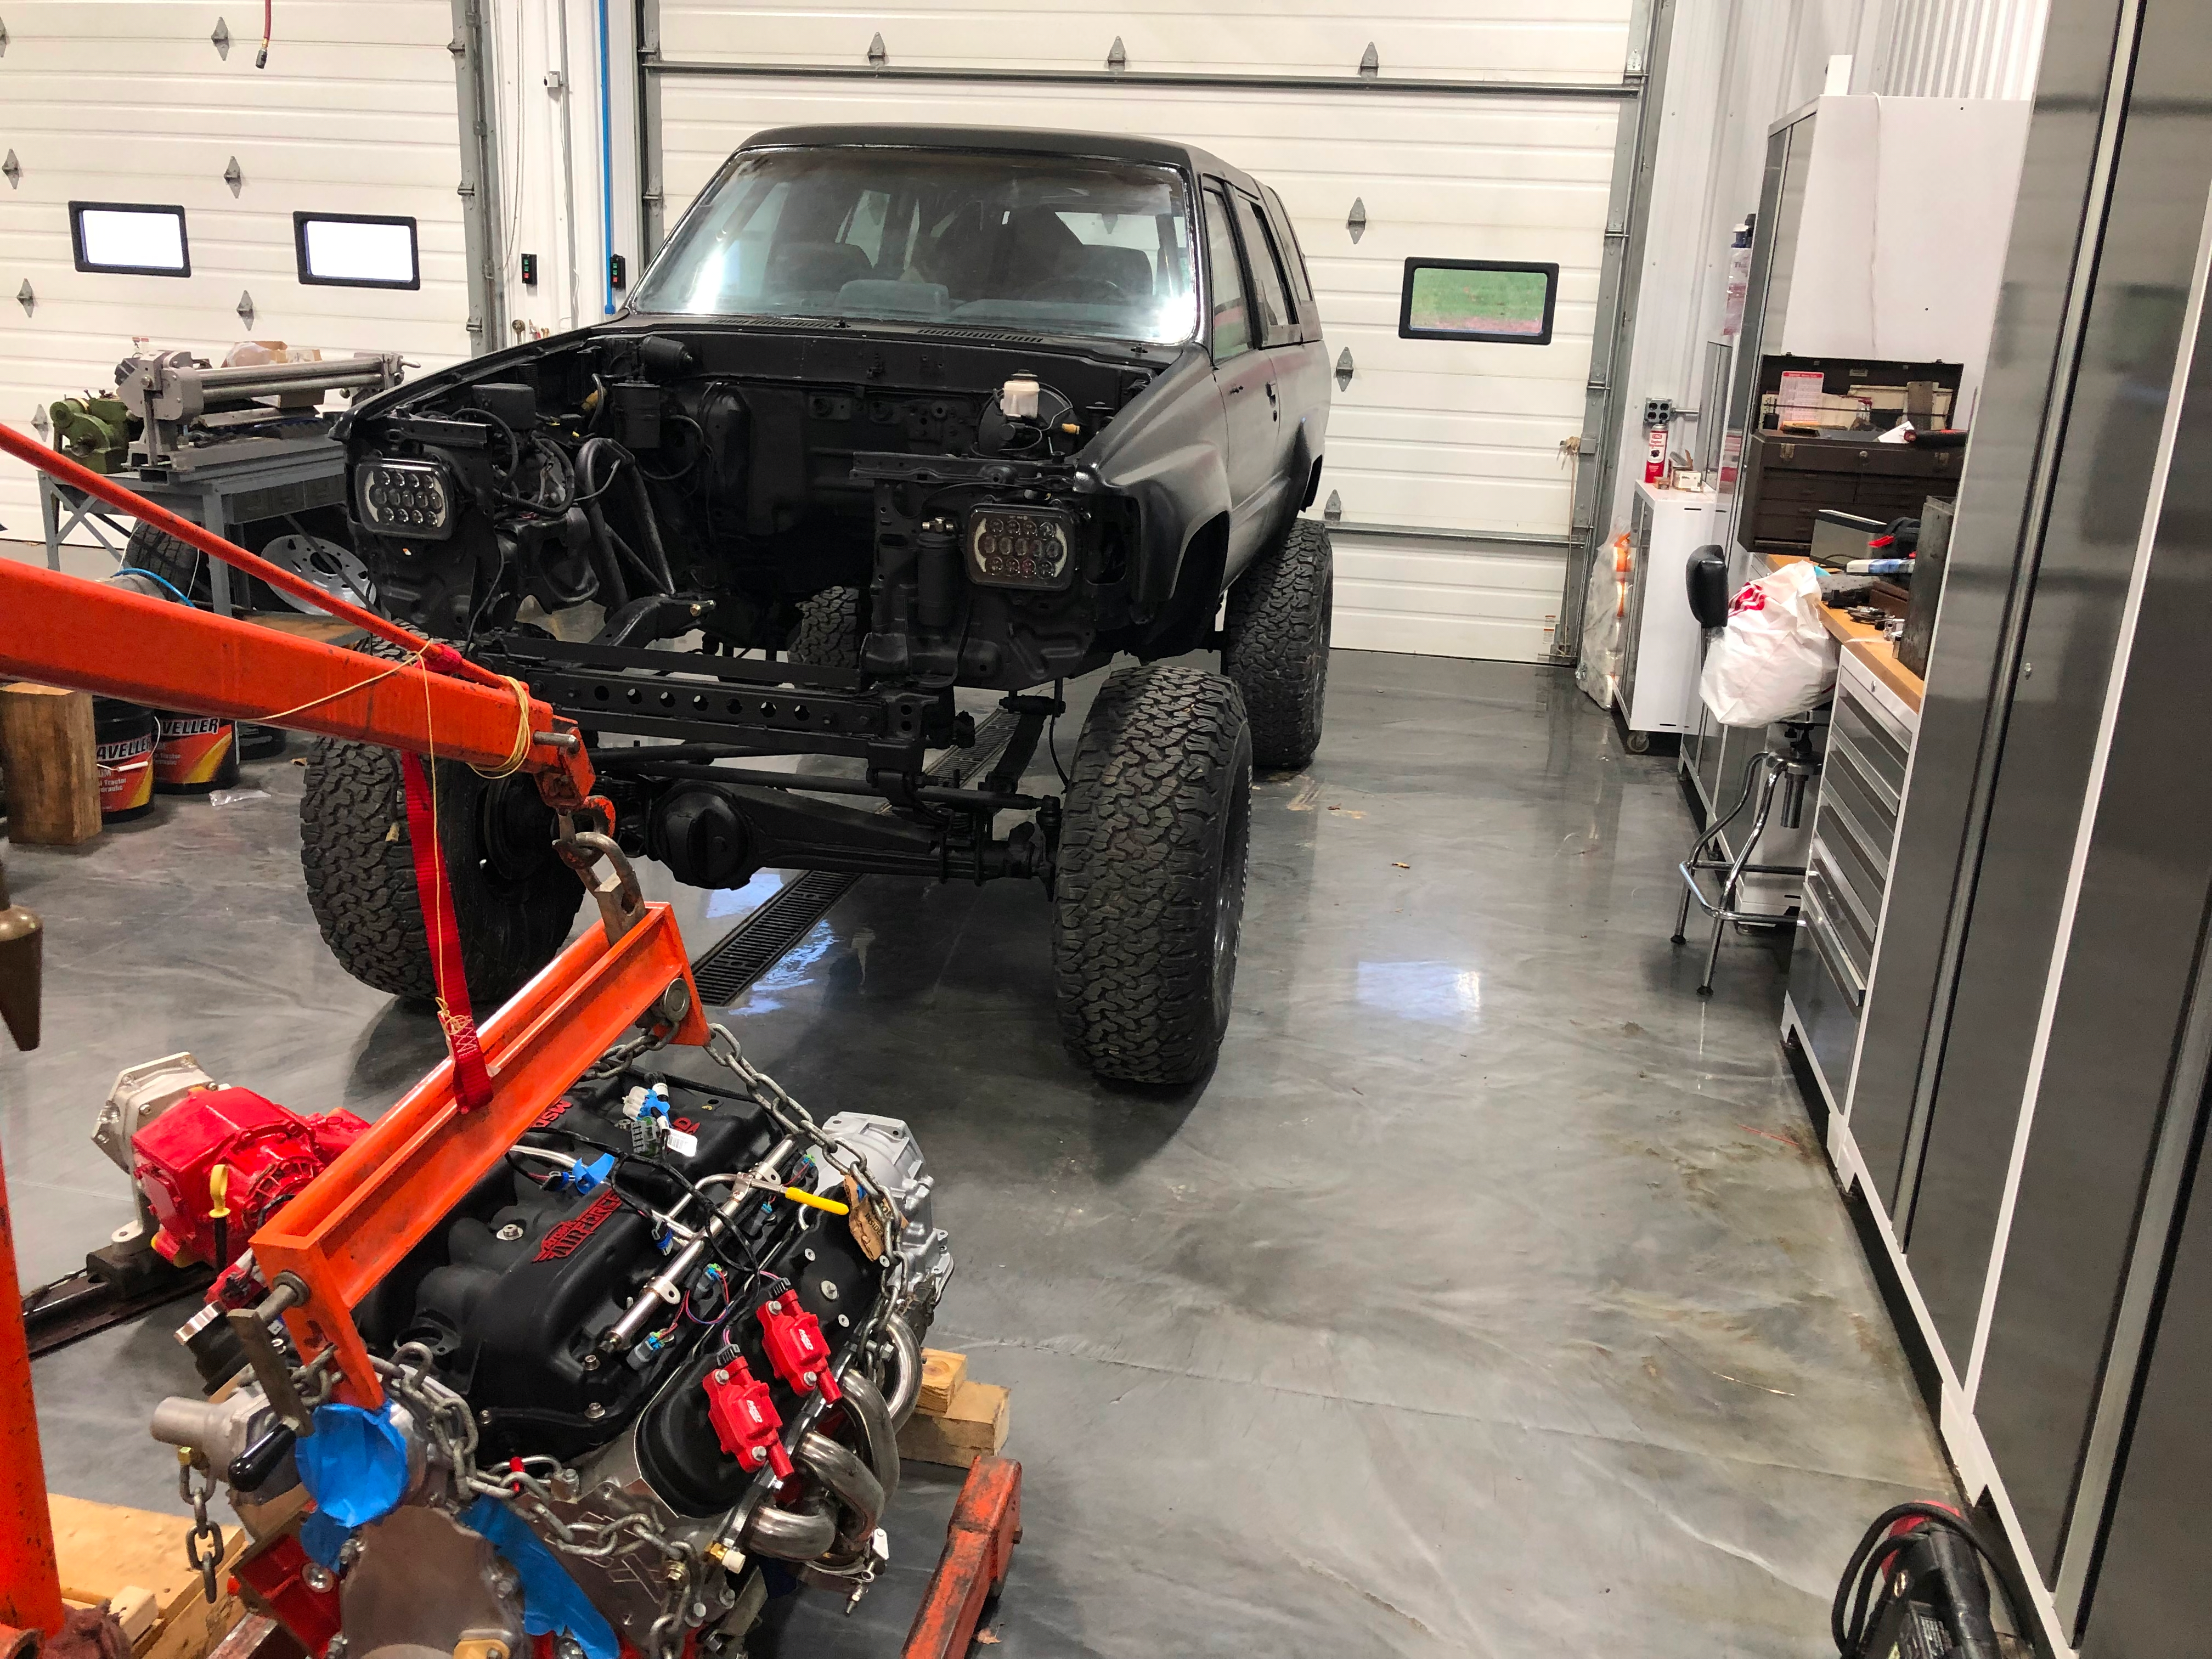
The engine arrived long after we had found a blown up LS1 and used it as a mockup engine to build the exhaust and fit it into the engine bay. Doing so required us to cut most of the core support from between the fender wells and cut the edges of the frame and plate it where the engine sits to allow the engine to fit. If you didn't know, the framerails of a first gen 4Runner are narrower than any of the common LS swap hosts, by a large margin. If I remember correctly, I believe the framrails where the engine sits are about 21 inches apart, and the closest headers we could find were 23 inches in the same area. Needless to say, there was a lot of work in stuffing this bird.
The exhaust from the headers to the back was not straightforward. After the transfer case we had to cross the passenger side pipe over to the driver's side of the truck because the fuel tank left no room, but we needed to snake around the transfer case and driveshaft. Before that though, we installed electric cut outs that make the truck sound awesome, definitely loud, but awesome. With both exhaust pipes on one side, they go into a Magnaflow X-pipe muffler that is dual 3 inch in, dual 3 inch out stainless with a built in X-pipe and it sounds great. It keeps a cool, mean rumble to the truck while not making it too obnoxious. From there the exhaust splits and they exit at either corner of the rear bumper in downward angled 45* pipes.
How Tight is Too Tight?
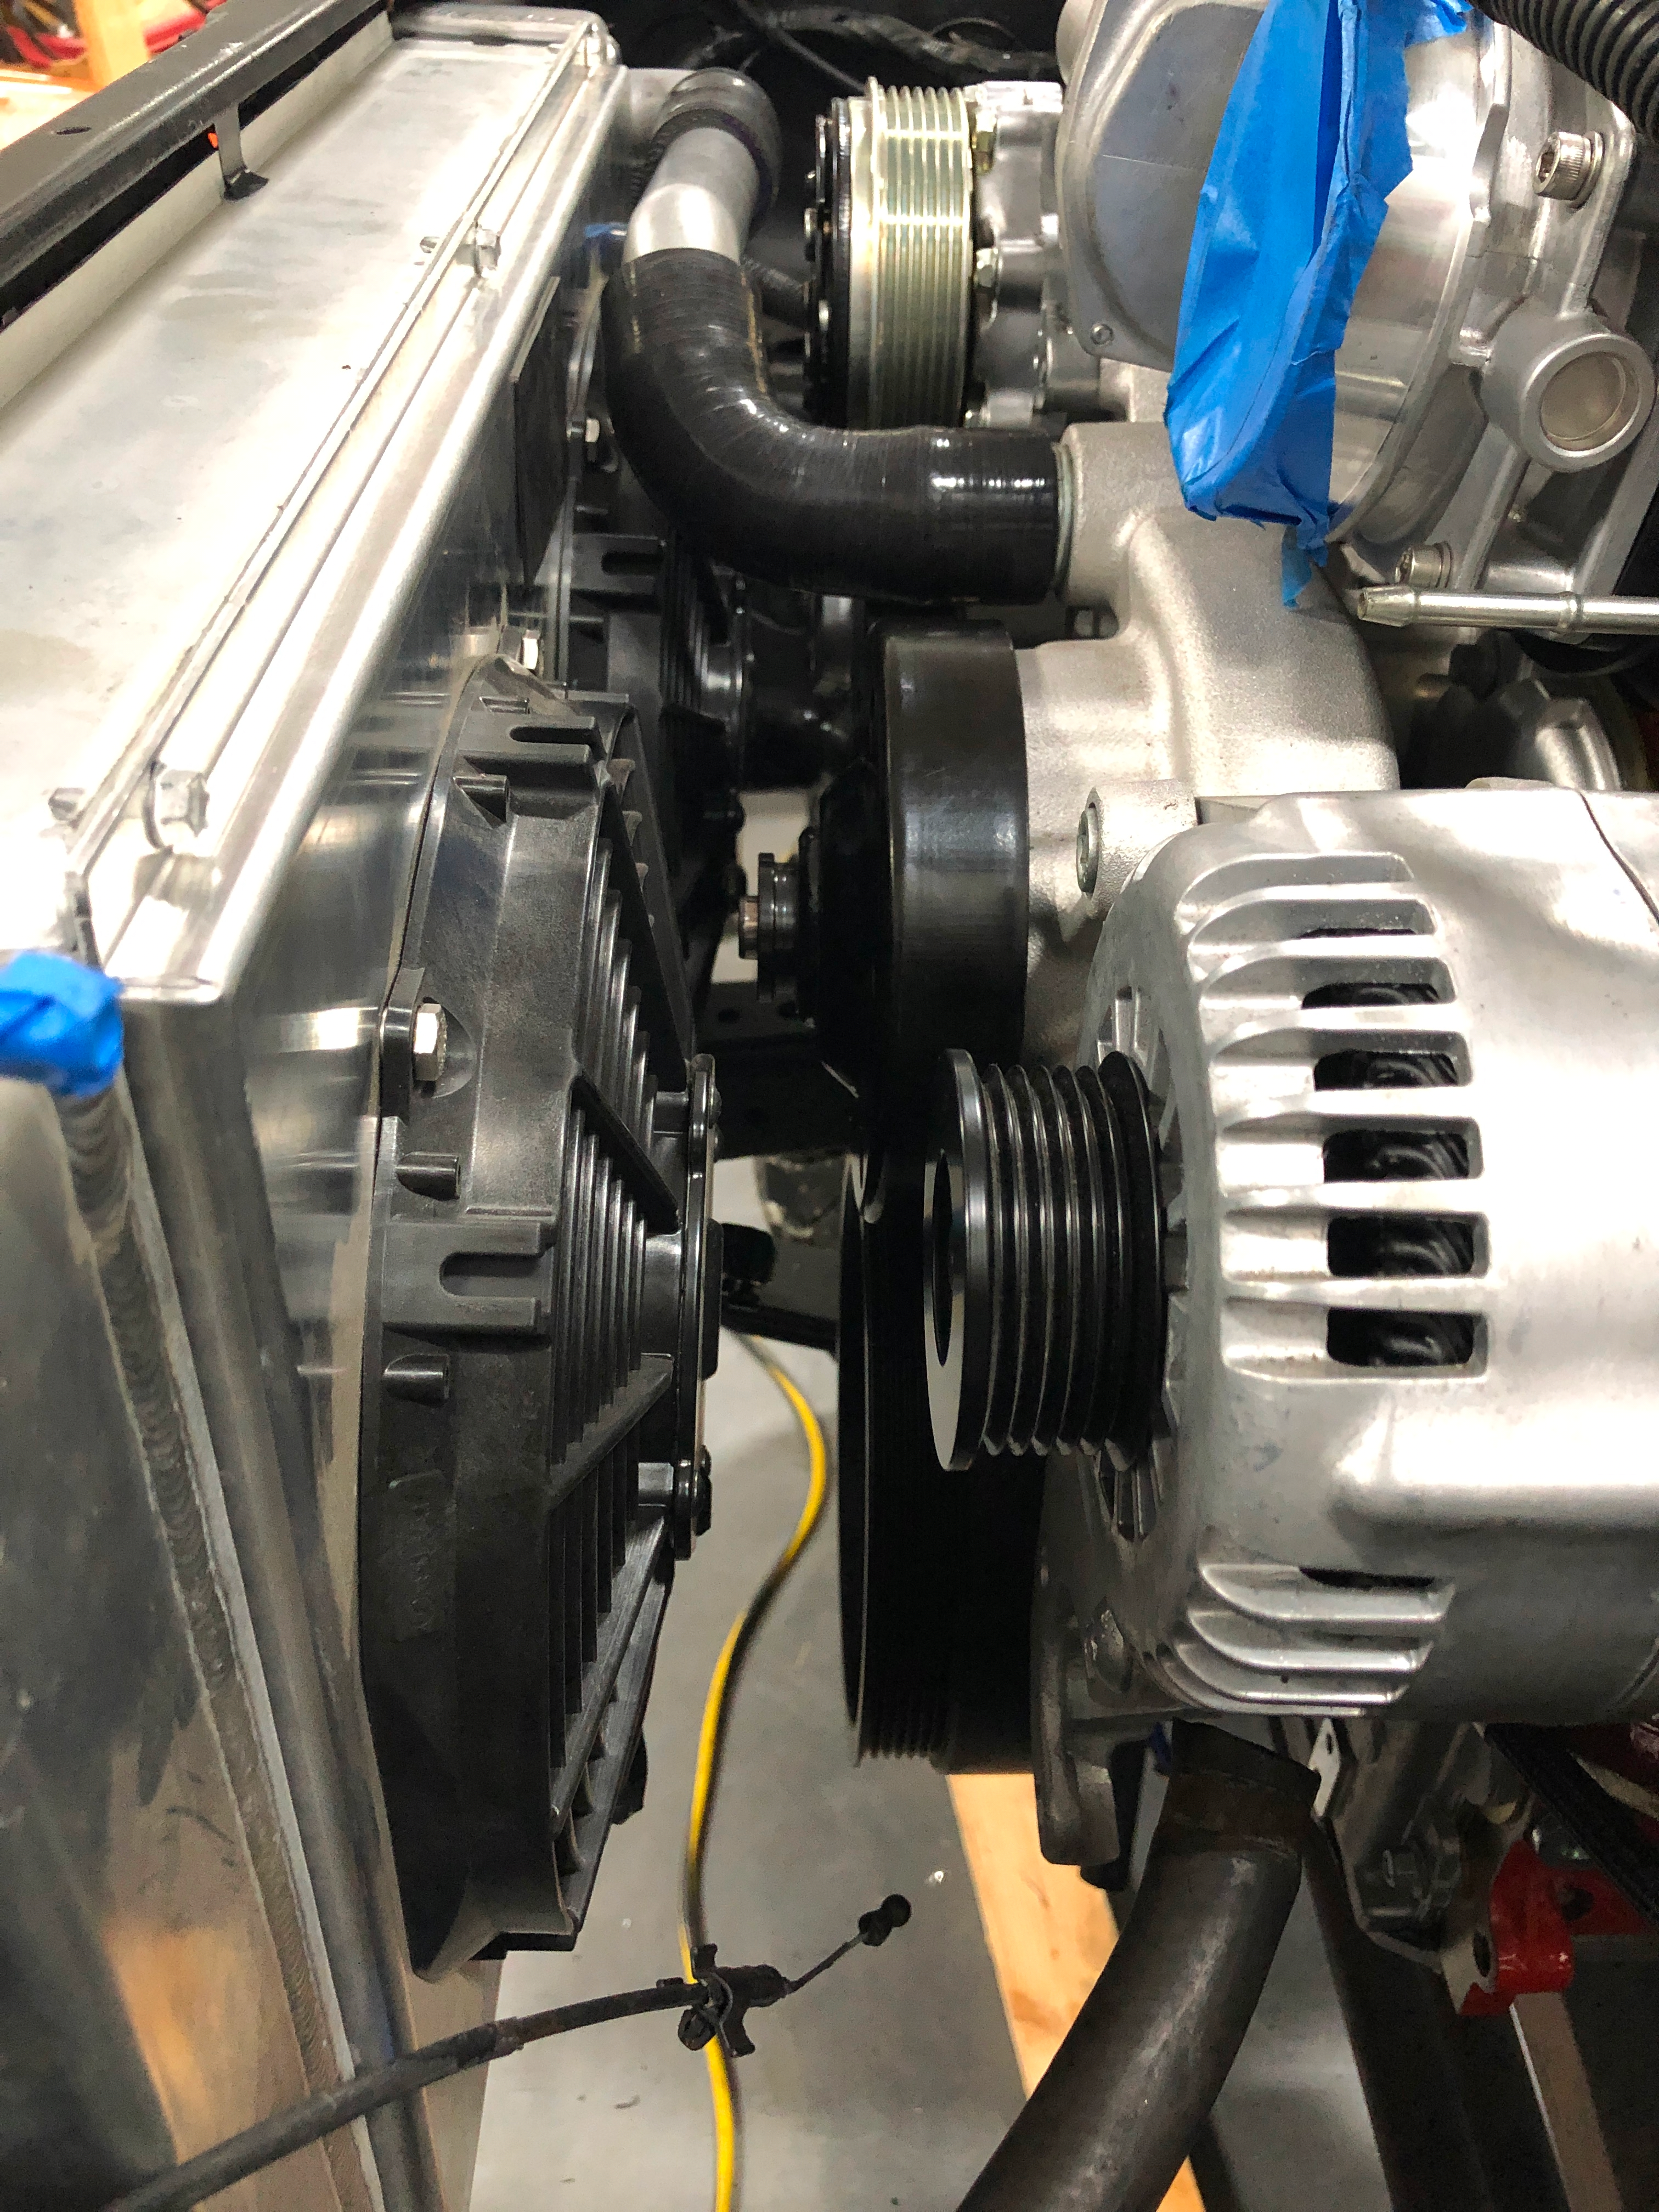
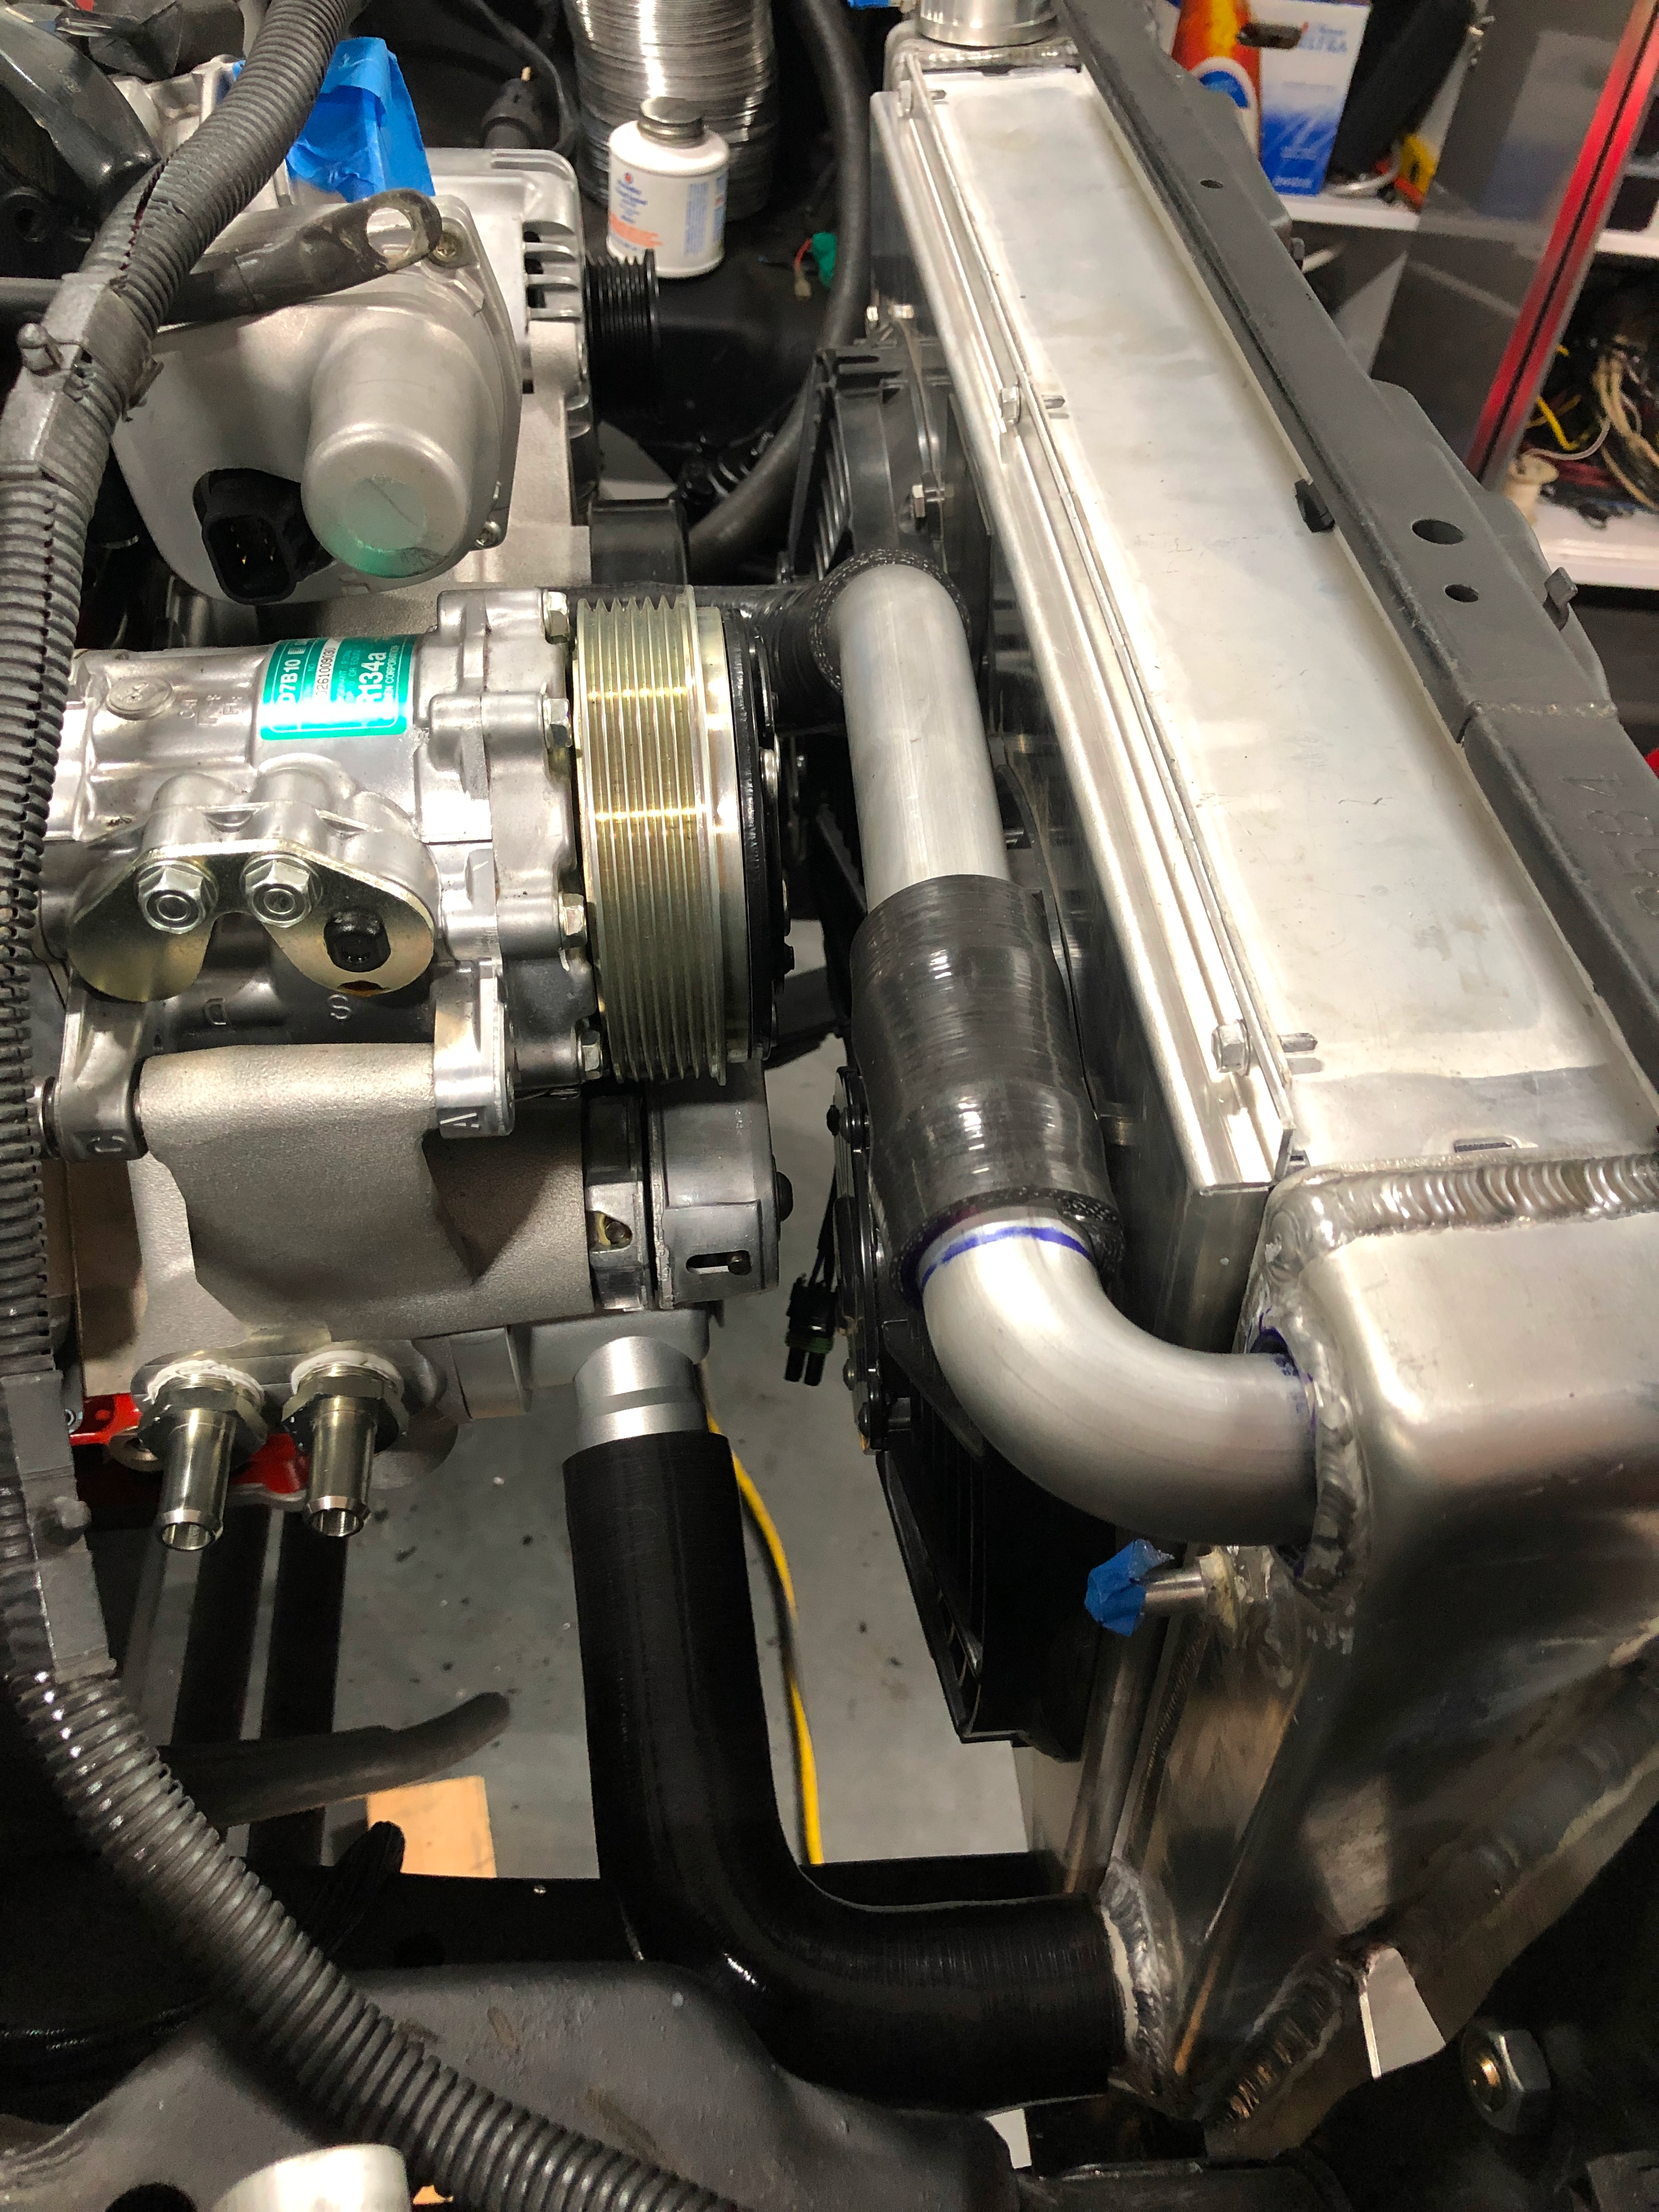
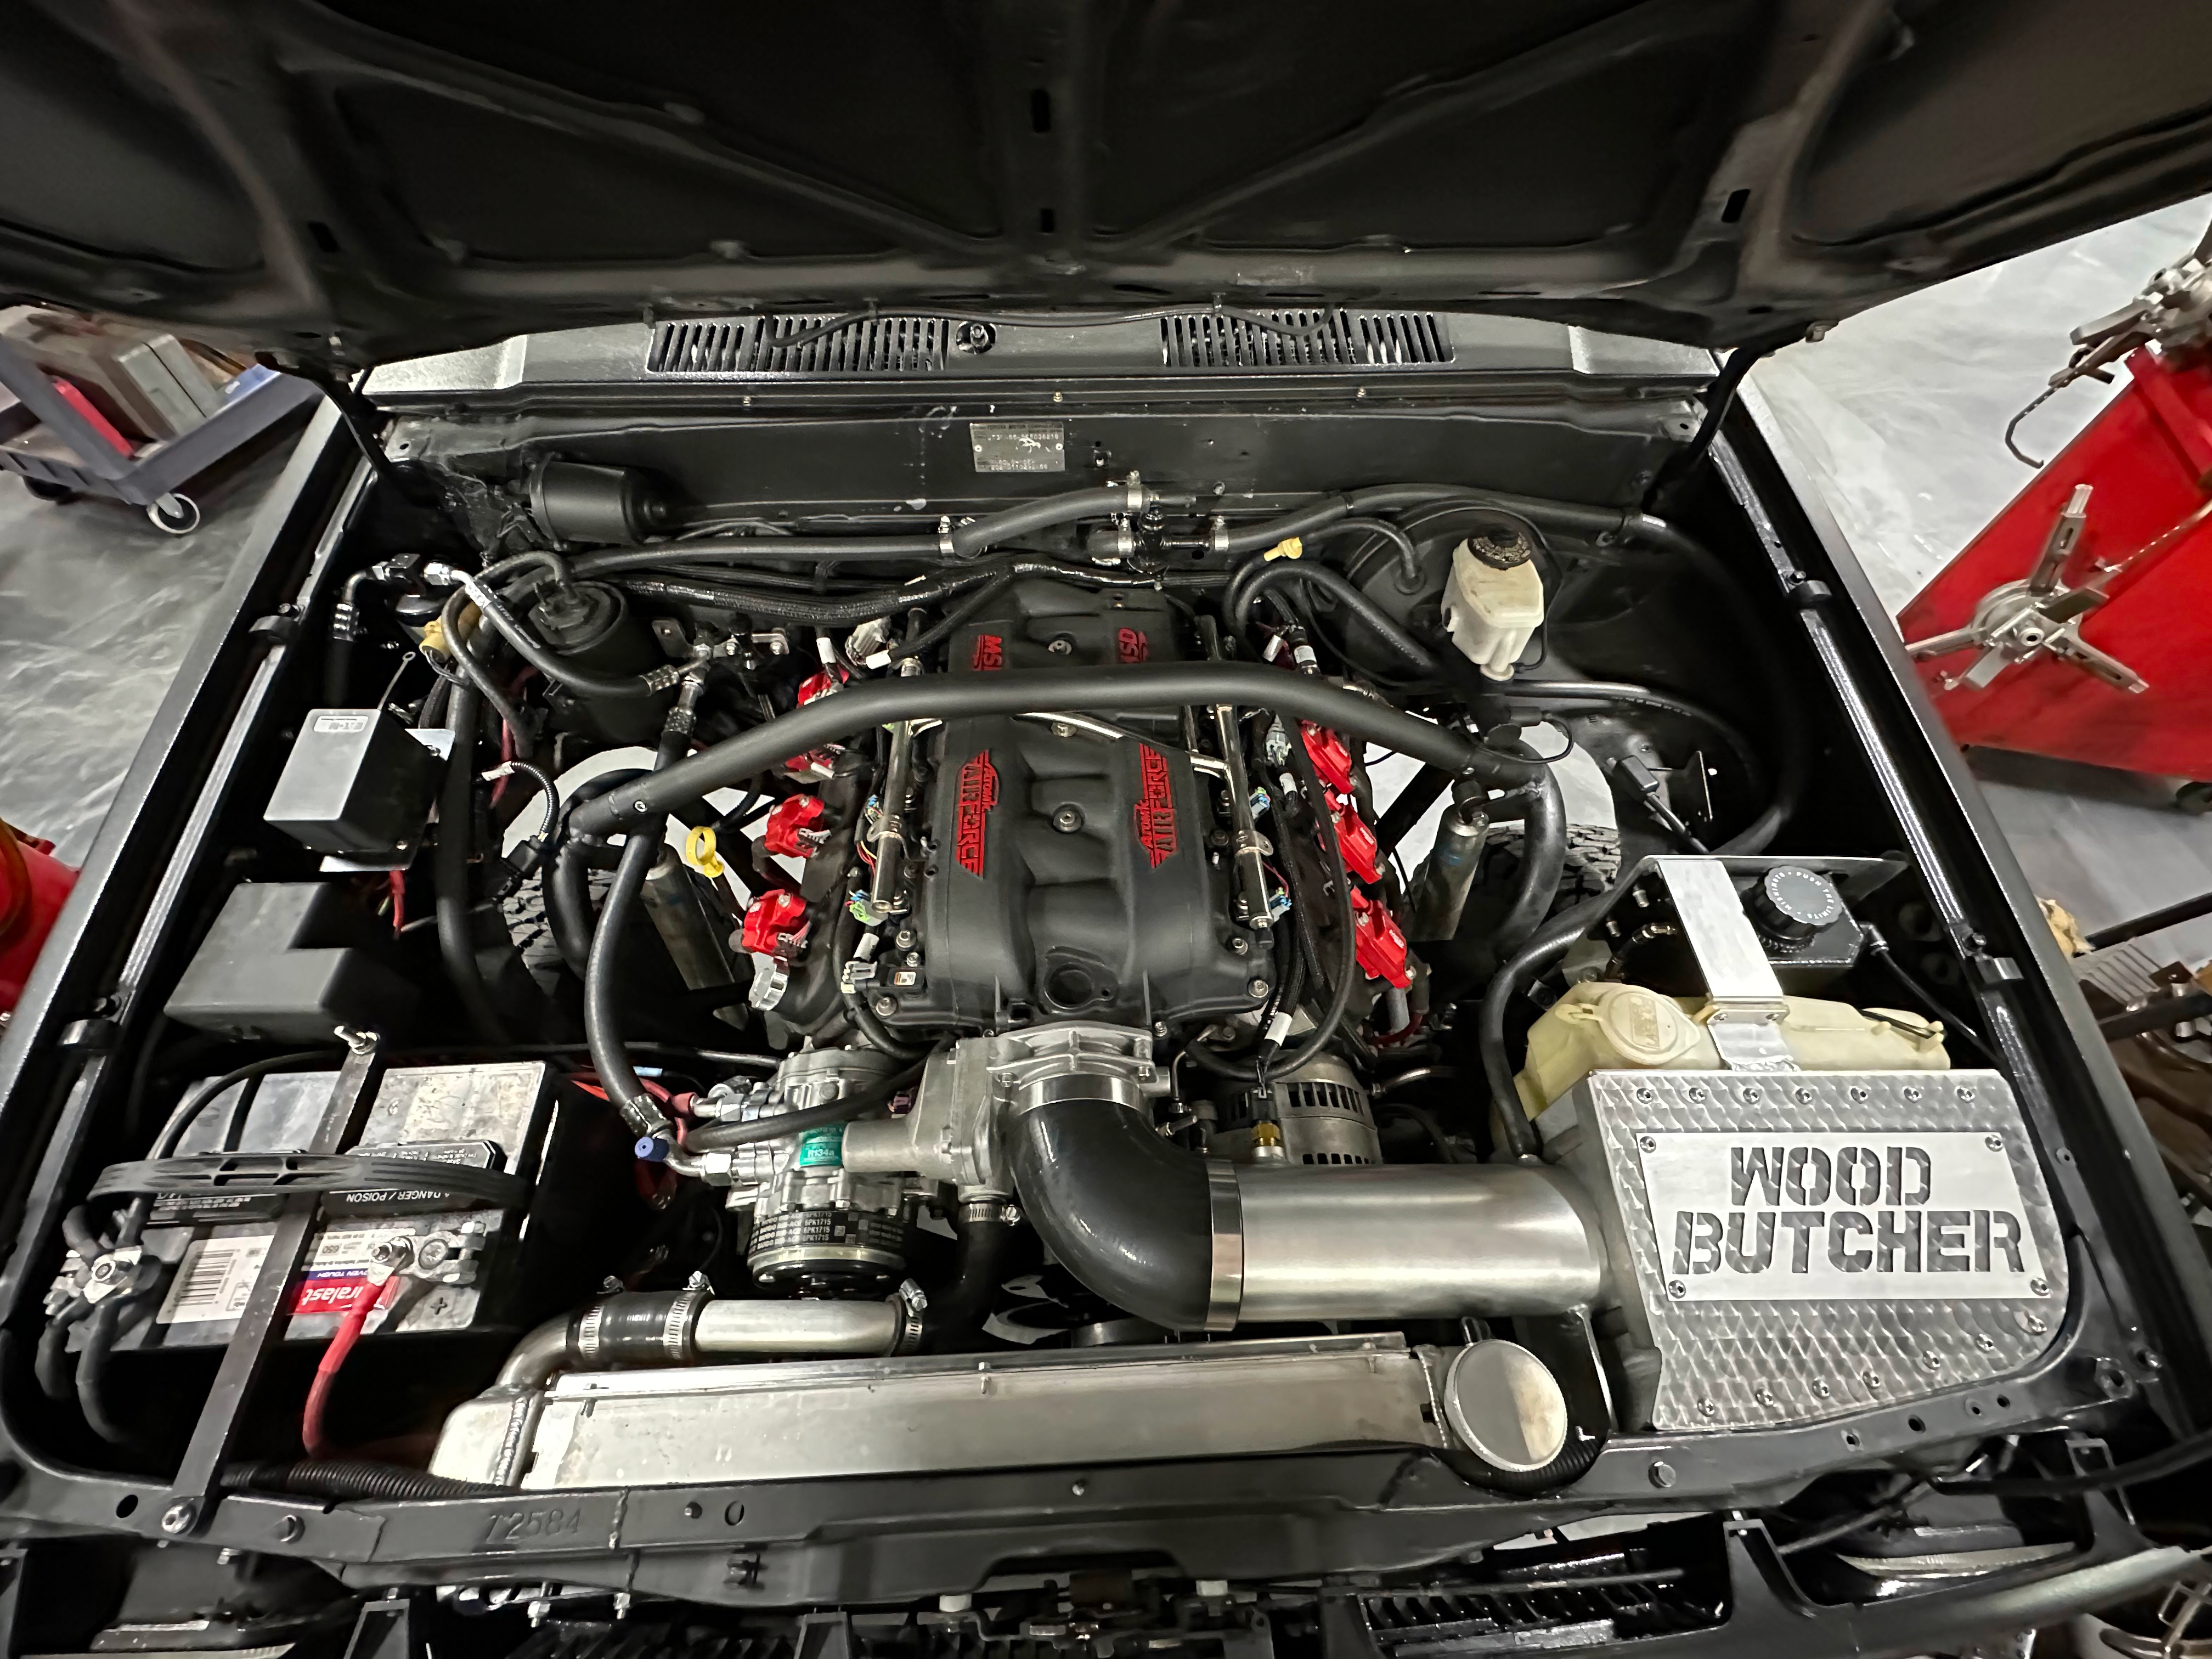
We wanted to fit the biggest radiator possible so we continued to cut the core support away and began to cut the grille. We ended up with a radiator from Griffin, though I don't remember the exact specs. It has dual electric fans and just barely fits where we need it, but that left another fitment issue. The snouts of most water pumps were inside of the radiator from our measurements, not to mention the framerails rearing their ugly head again. We ended up with a Holley mid-mount*, which isn't the most compact at the damper, or between the framerails, but is the most compact in those areas while having a water pump that has clearance.
* If you plan on buying a Holley mid-mount, DO NOT BUY THE FULL KIT FROM HOLLEY. Their price is outrageous. Buy the pump housing, pump cartridge, and cast damper from them. Then buy a type II power steering pump (might need to go with a remote reservoir version like this https://www.summitracing.com/parts/ems-ms100-70m) and pulley (PN 12568997), an alternator from a 2015+ LT engine-equipped truck, Camaro, or Corvette, a solution to control said alternator as it is 5V PWM rather than 1-wire, an SD7 compressor, and a tensioner from a Jeep Wrangler (PN 38163). Supply your own bolts and you will save anywhere from $600 to $800. Video inspiration: https://youtu.be/nrGy92F9yxQ?si=hYrCBmX9a7iu41LY
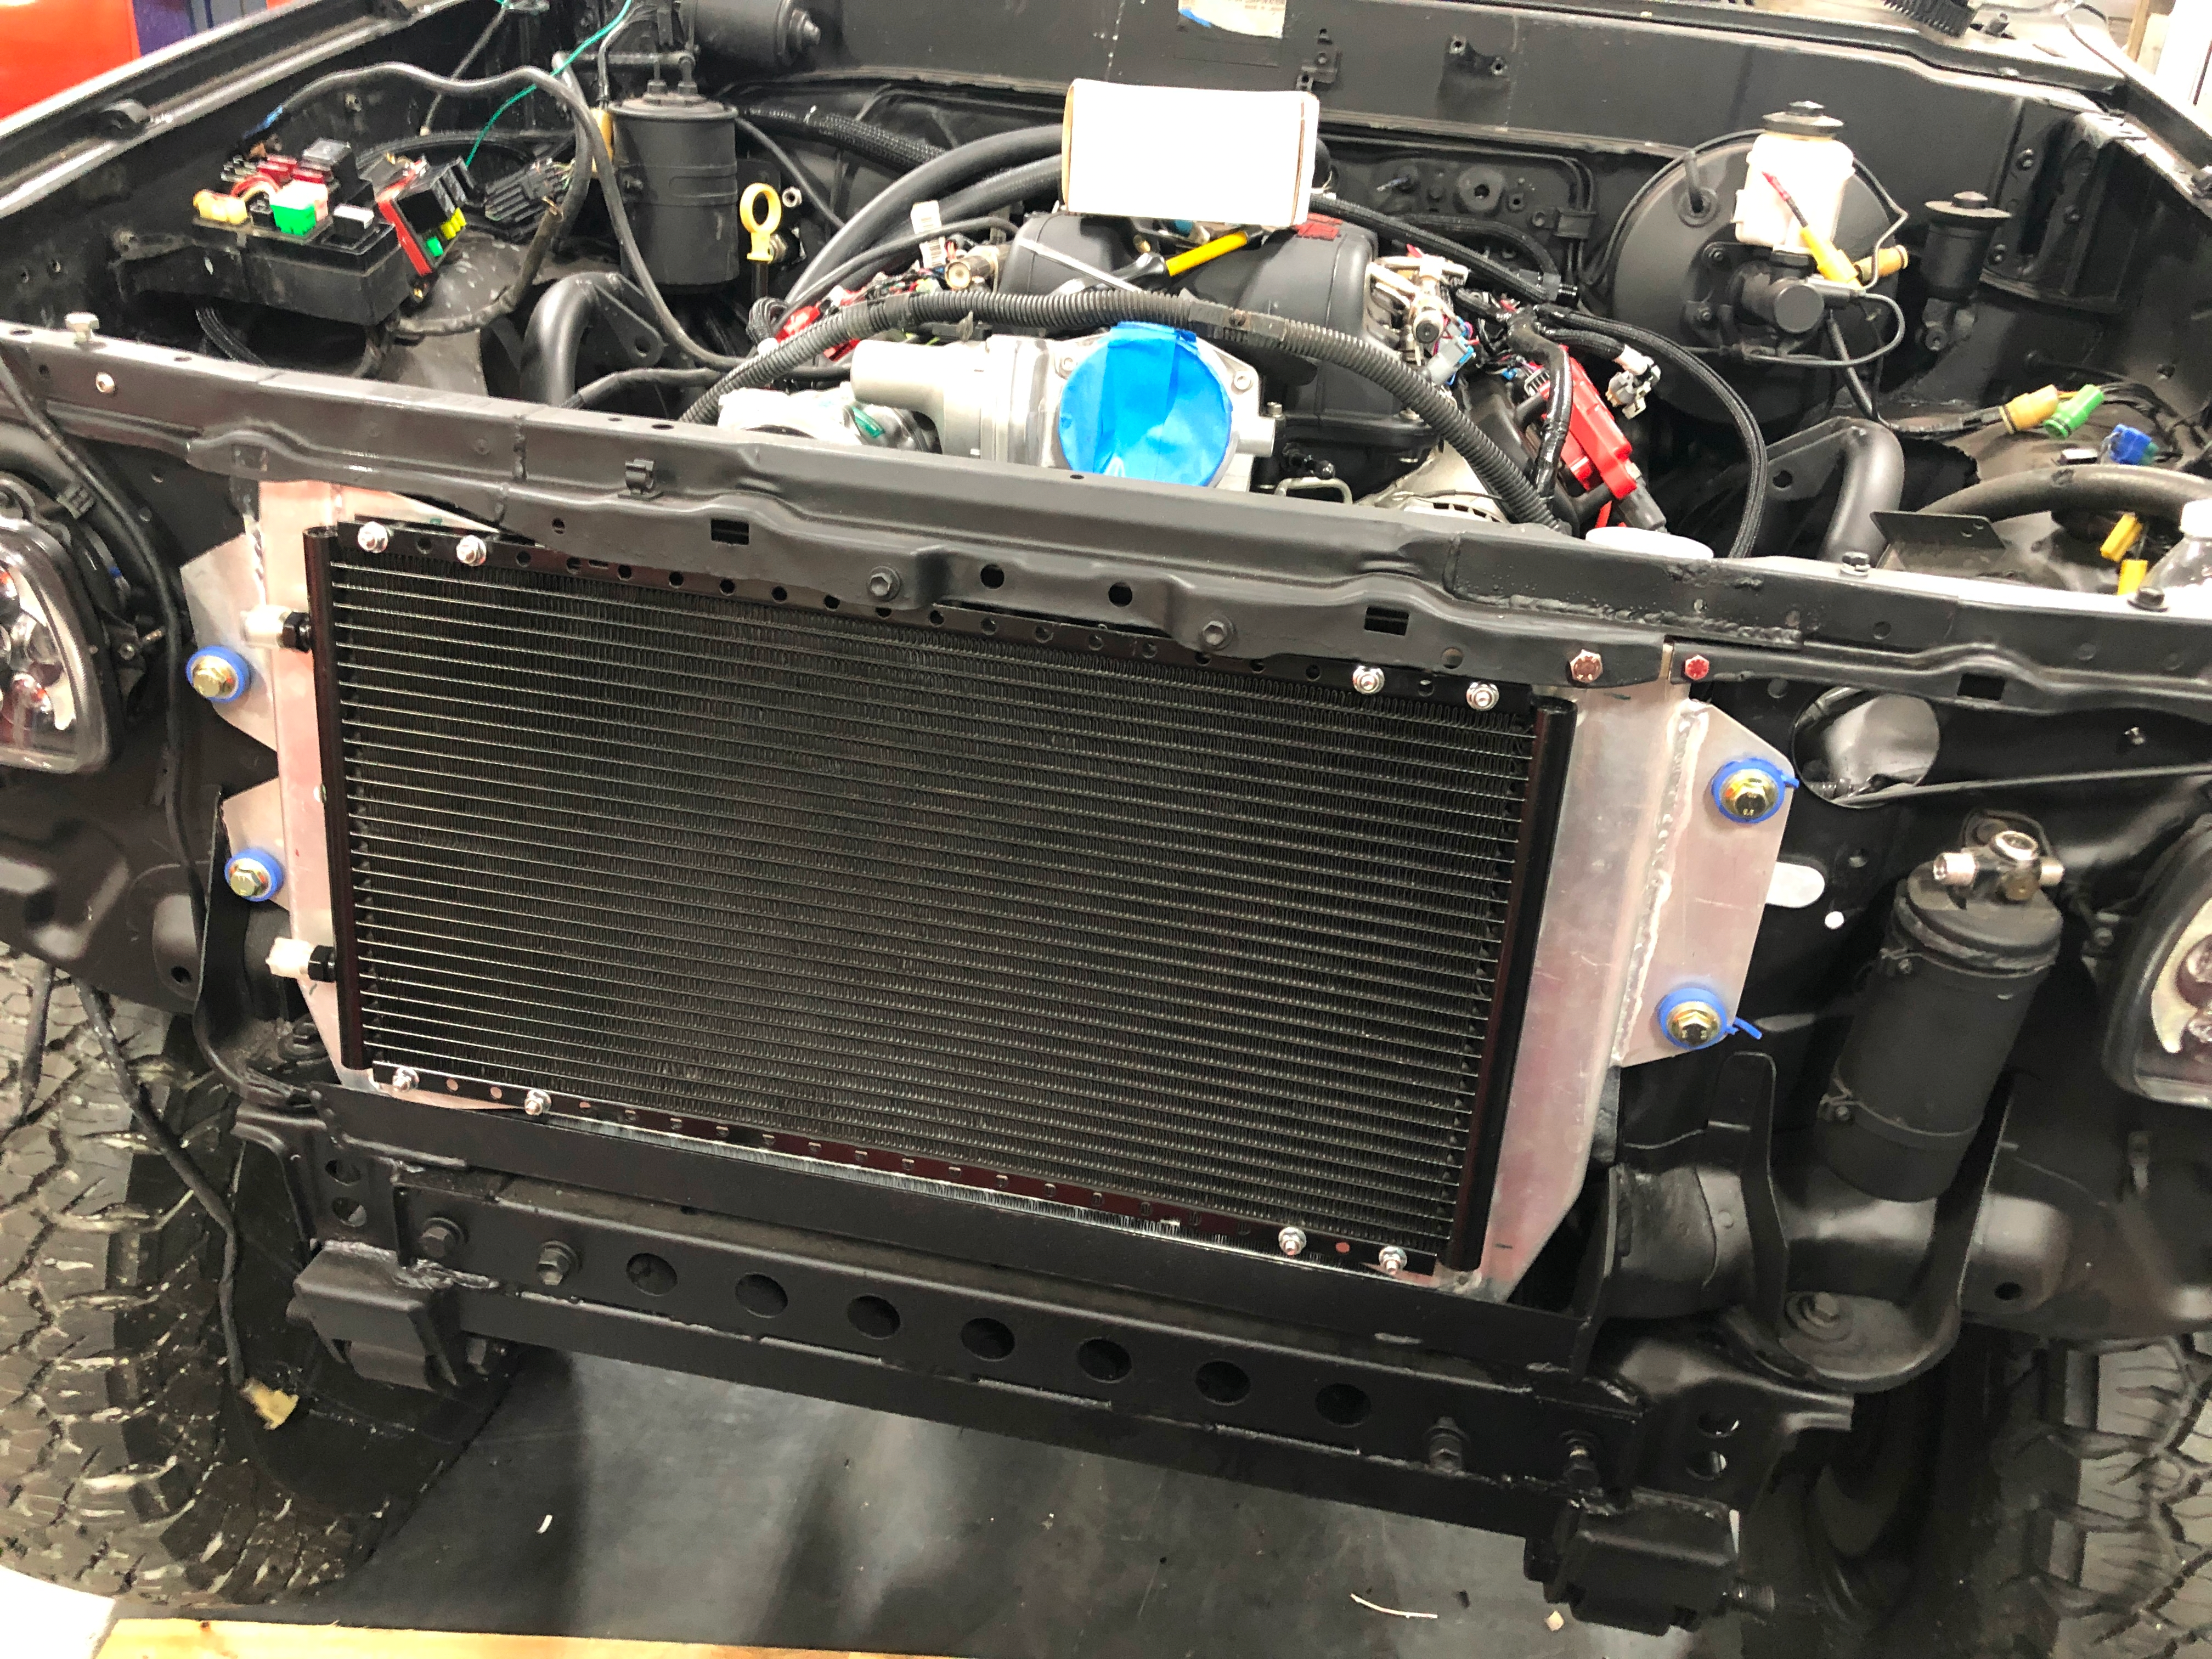
Add the intake tube and there is no room at all. Seriously, this engine bay is tight.
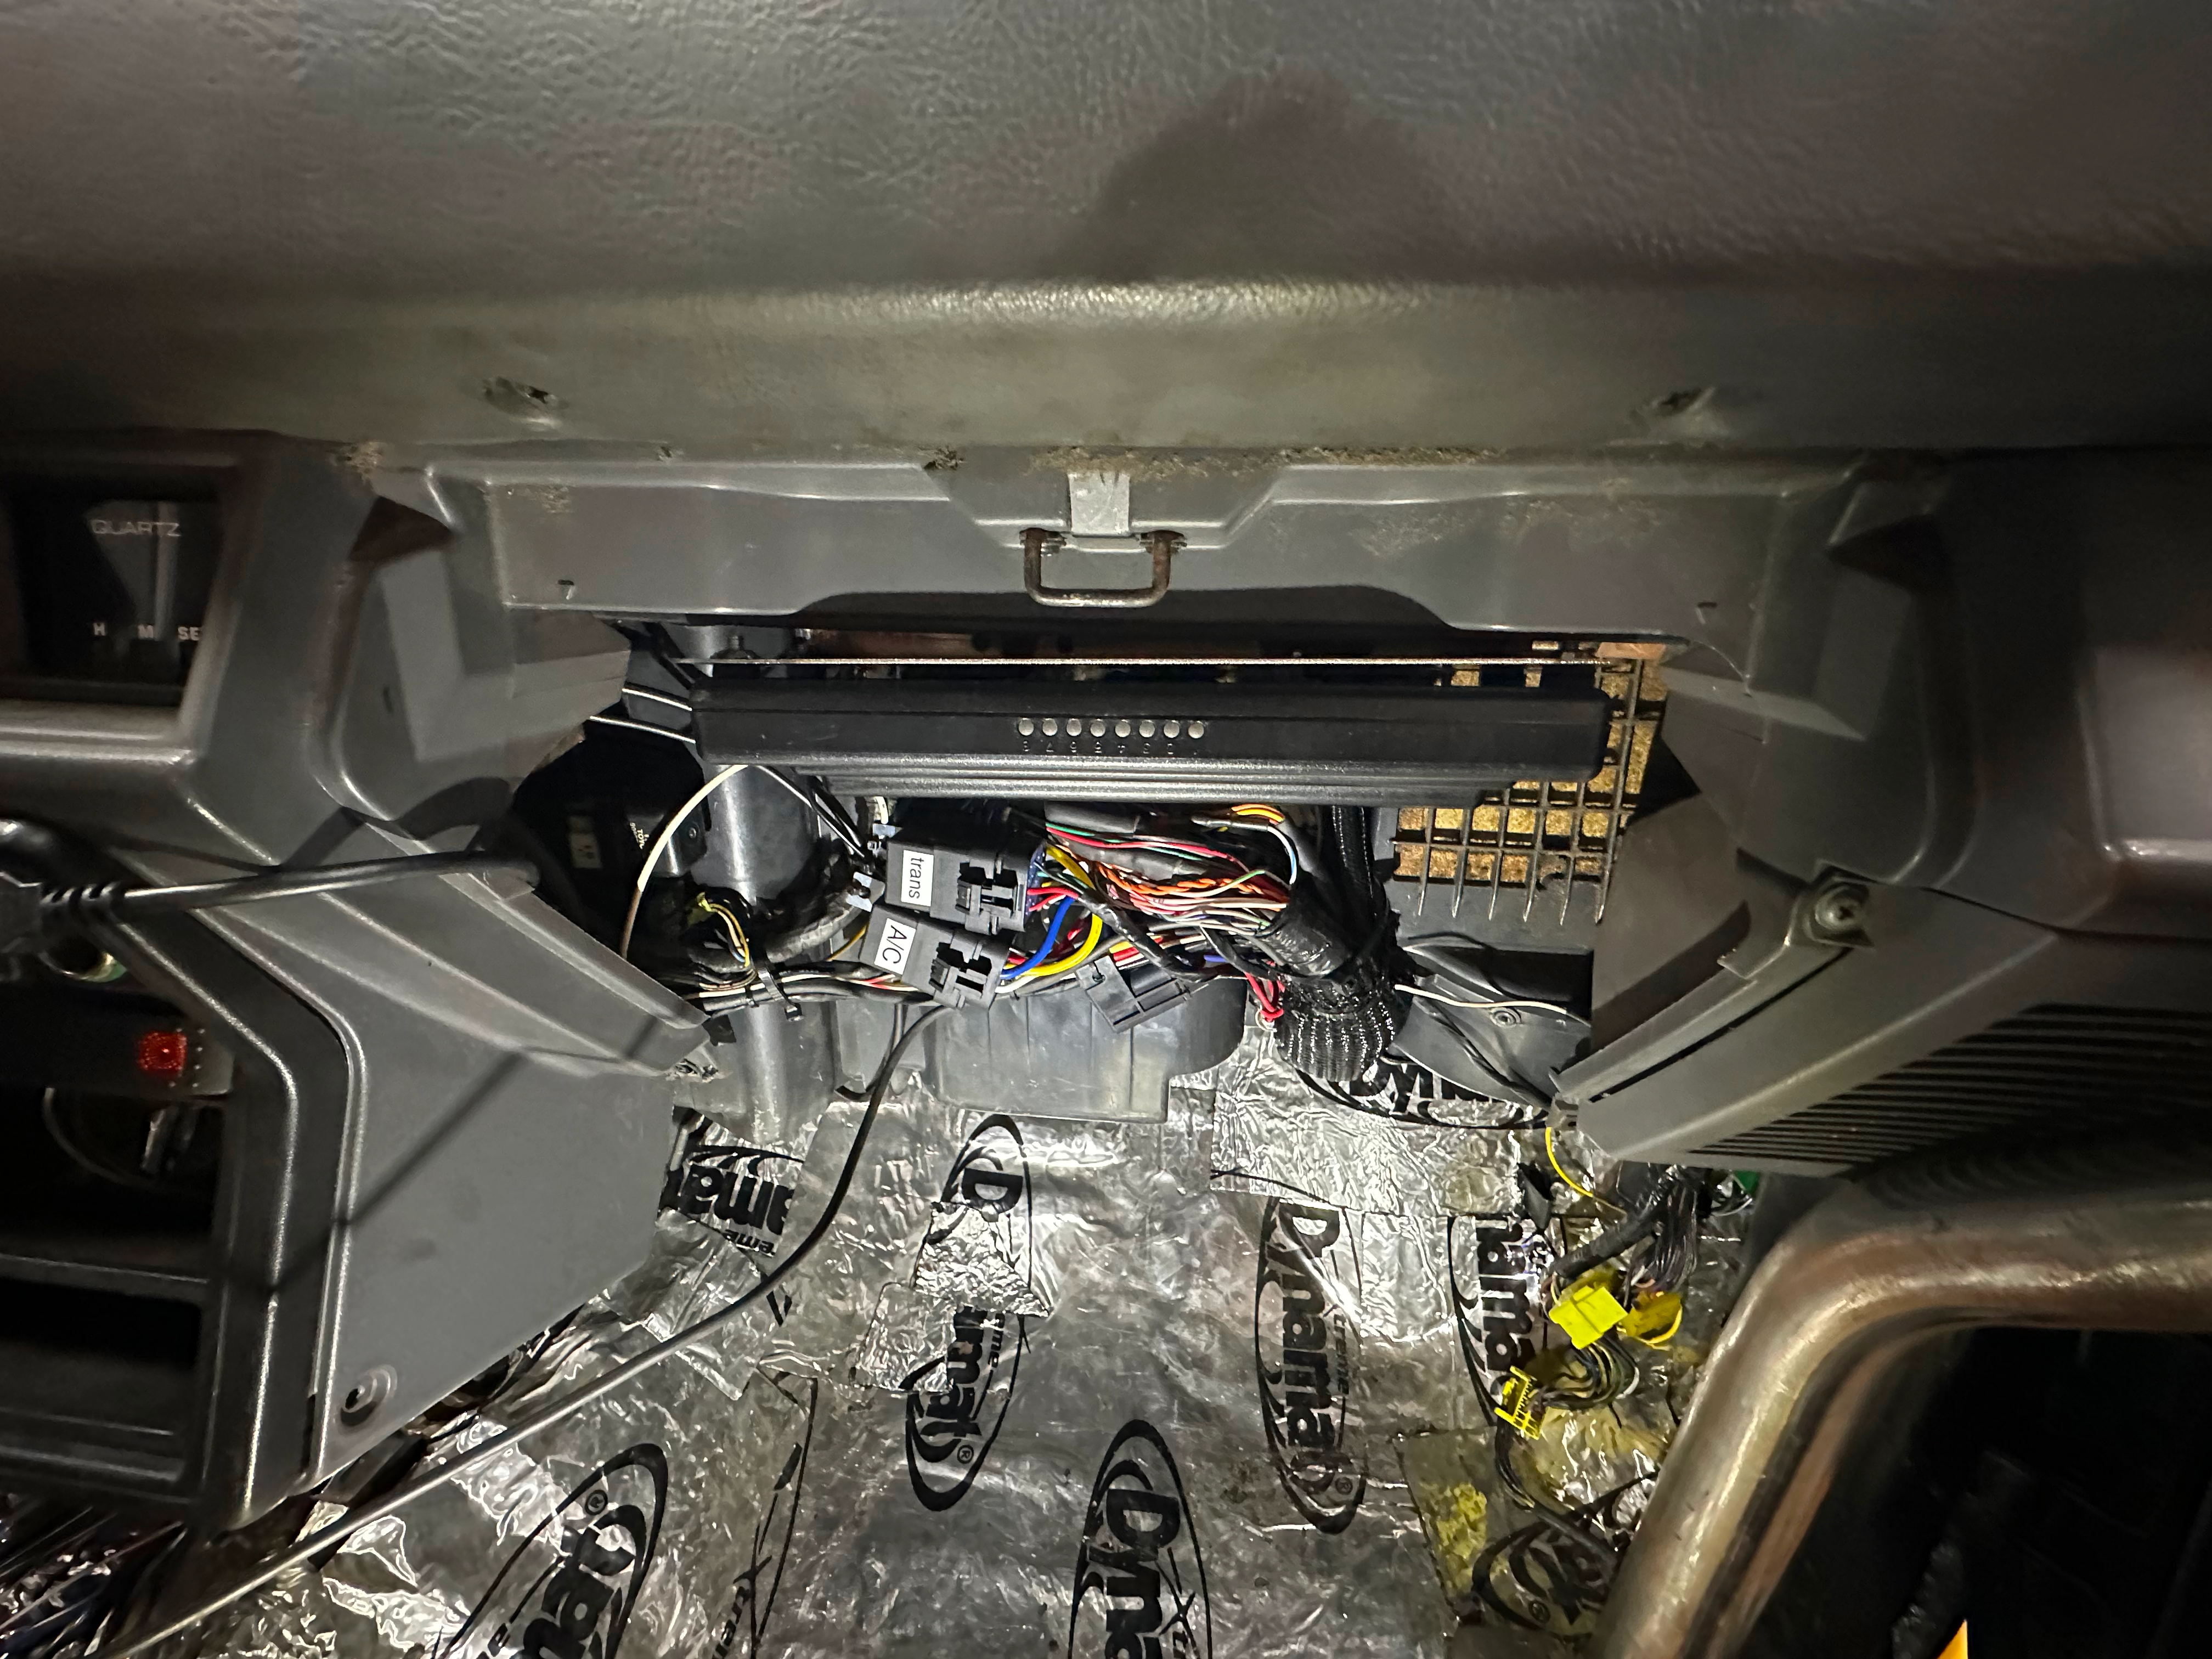
We ran the engine and transmission with Holley's Terminator X Max which, for a change, IS a good price. We also ran their 12 inch digital dash, which is NOT a good price, but is very cool. And it fits the screen perfectly in the original dash hole, the bezels are the only things hidden. We created a surround to close off the bottom and sides that would have been closed by the original cluster. The ECU has worked great, a few issues with the tune, but just as you might expect with a bunch of new builders (HA noobs) to the EFI world. We squeezed it behind the glovebox of the truck, some demolition required. Tuning is a lot of fun because honestly, it just means driving and changing some numbers. When I was tuning the car, I made the transmission shift points and took some data logs. As many pulls as we did with the data logging on, we never got a 2-3 full throttle shift. The truck pulls like a freight train all the way, even through the 1st to 2nd shift. But before you reach 3rd at full throttle you're going 90 MPH+ (professional drivers on a closed track of course :)) and the pucker factor is too high, so you lift and the transmission shifts due to speed rather than RPM. Just a funny tid bit of information.
We housed all of the fuses and relays for the electrical system in an Eaton Bussman fuse and relay box. They're pretty neat and much less expensive than the alternative Power Distribution Modules like a Motec or Racepak.
The Shakedown
Too Hot for Comfort
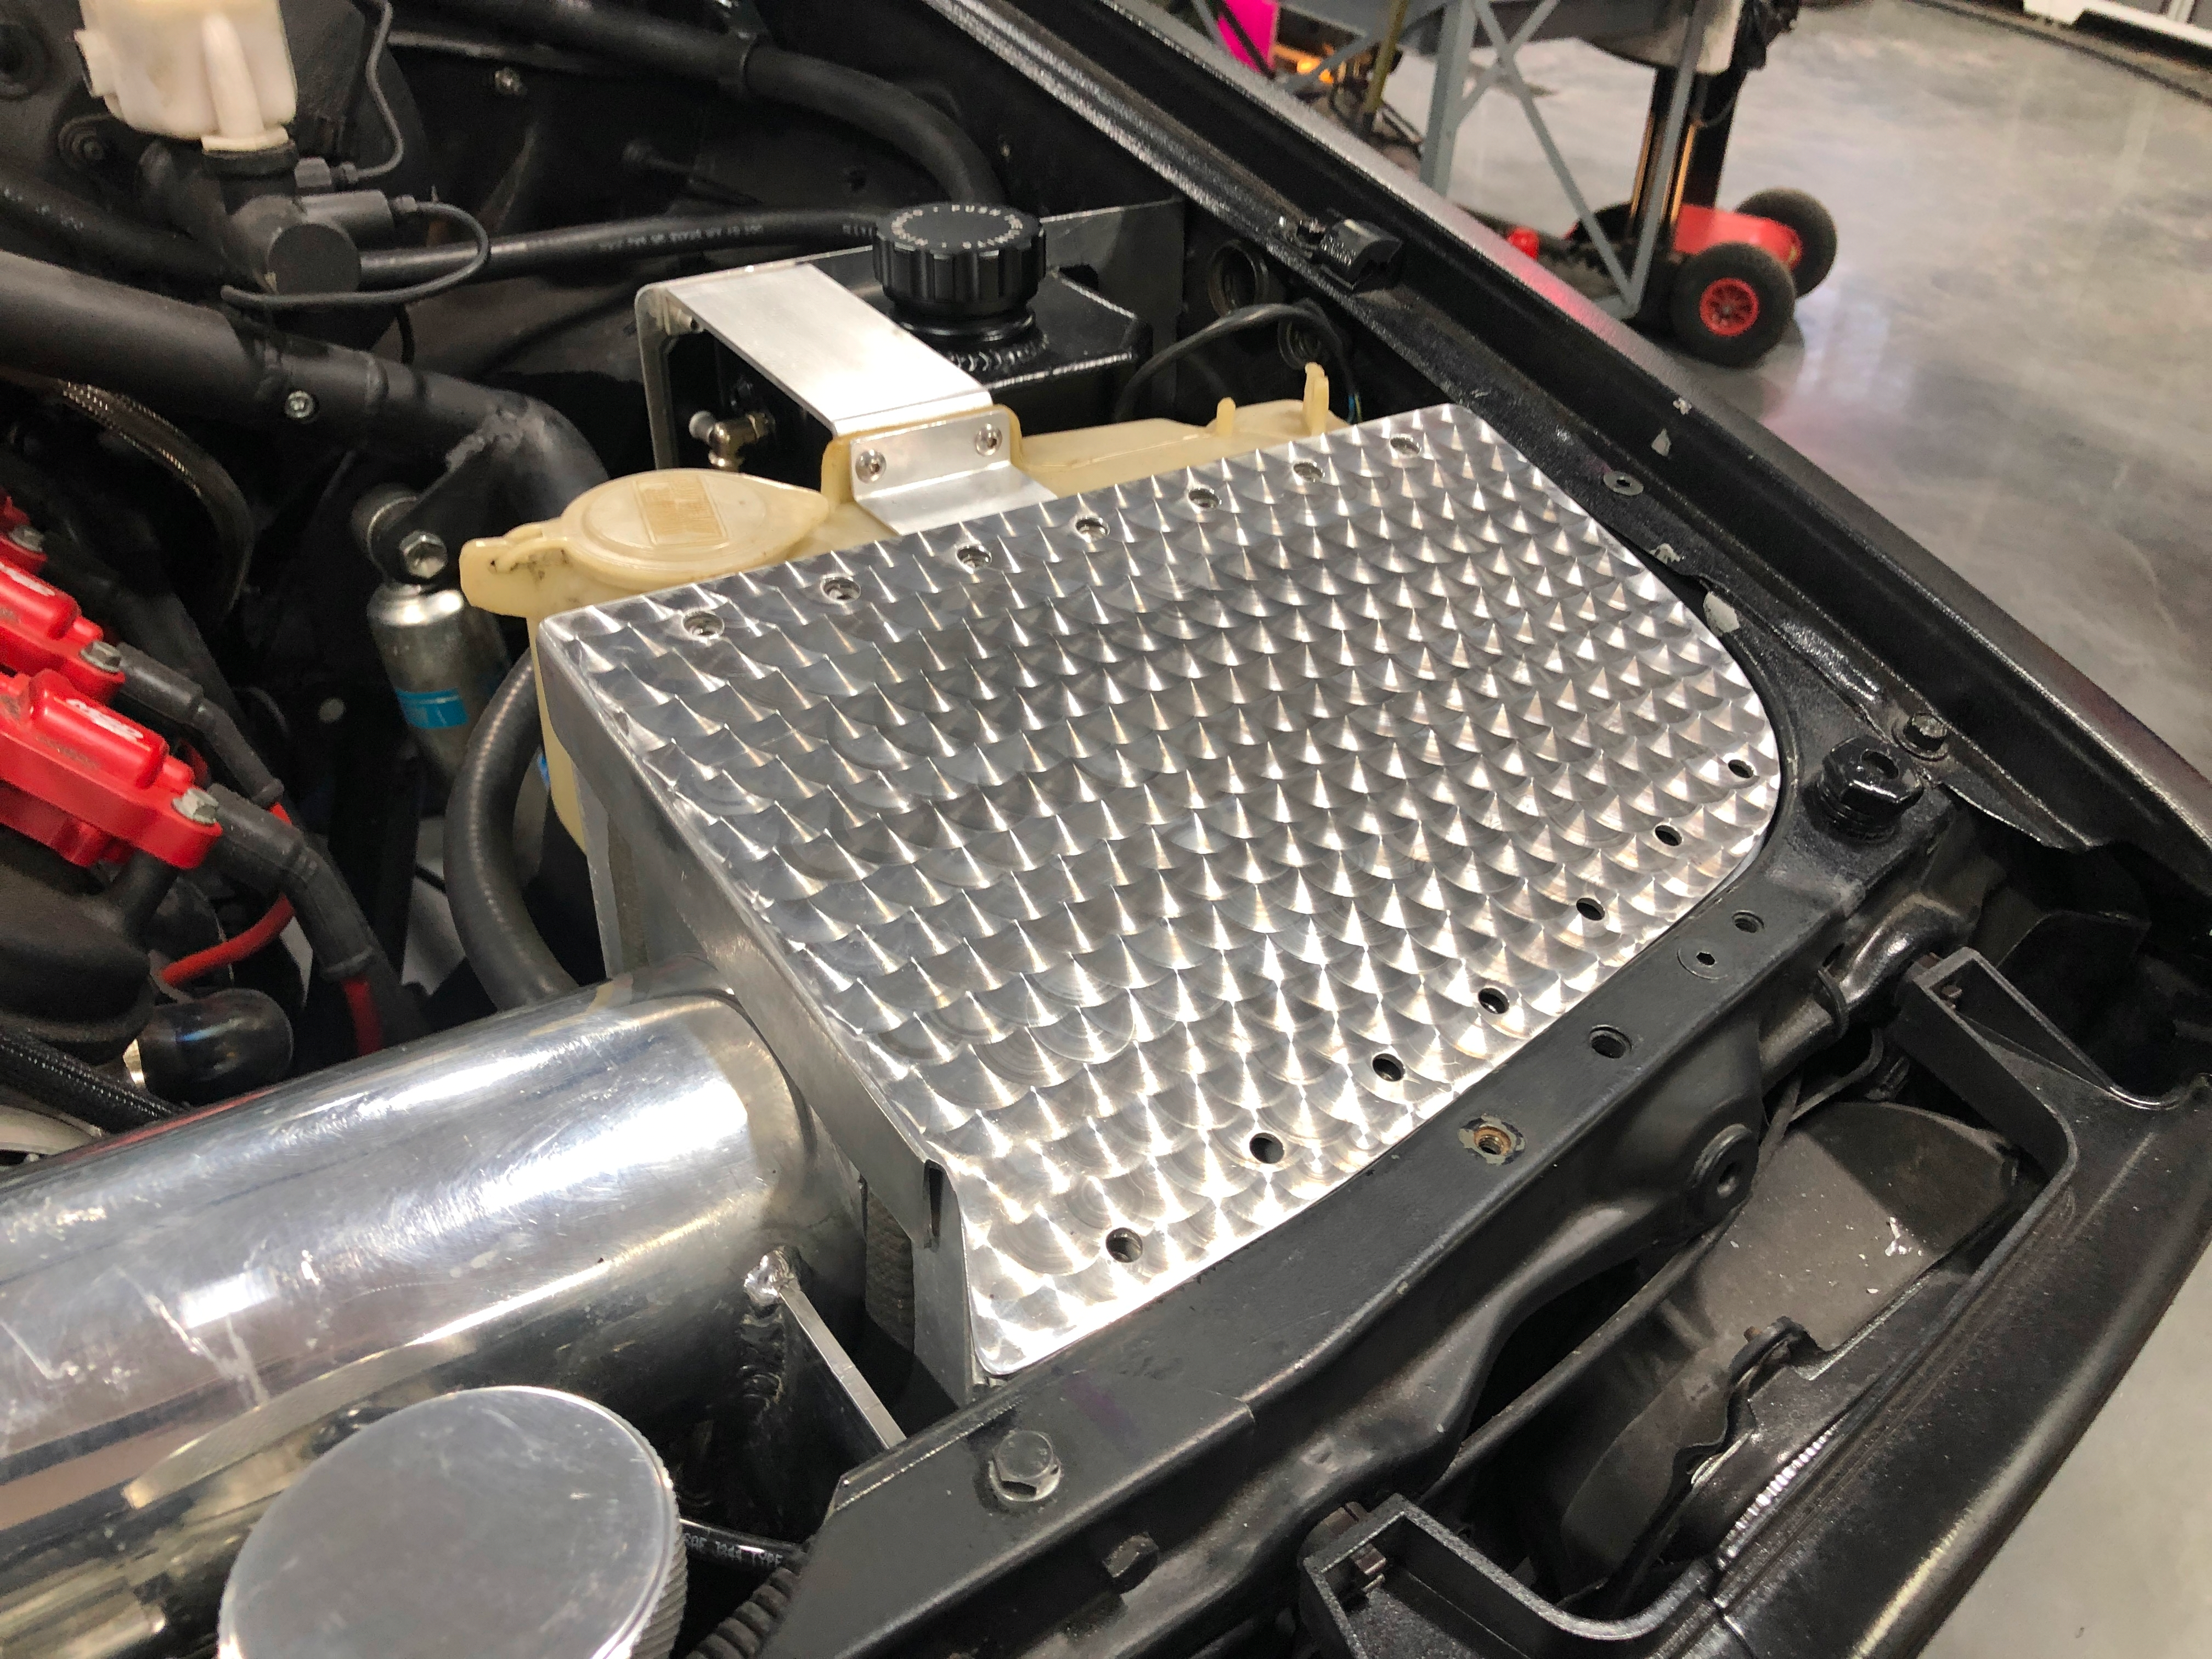
While doing some shakedown testing, we noticed the Intake Air Temperature reaching 150* F on a hot summer day. The engine wasn't running poorly, but we were a bit concerned. So we built a custom cold air intake and cut holes in the core support in front of the fender well and a "ramp" below the fender well line up to the filter. Then we boxed the filter in from the rest of the engine bay and made a lid. We debated what kind of finish to put on the CAI lid since it was a large flat surface right at the front of the bay. We talked about powdercoating and cerakoting and just normal painting, but we decided it needed a hot rod touch.
We set about learning the art of engine turning (or jeweling or a whole list of other terms that all refer to the same general idea), which is the pattern that you would see on many hot rods that looks like a stack of dimes. We used a stick of Cratex that was about 1" in diameter and stepped 0.4" left or right and 0.4" forward with a 0.2" offset. For example, start on the corner of the work and make your first mark, advance 0.4" to the right make another mark, repeat until the edge of the work. Travel back to the 0 mark, advance forward 0.4" and LEFT 0.2" (in coordinates 0,0 to 0.4,0 to 0.8,0 etc and then to -0.2,0.4 to 0.2,0.4 etc). By offsetting the x axis half of the travel distance you ensure that the space between the marks on the previous run are filled. We did this task in our trusty Bridgeport Mill and used its digital readout to get very precise positions. There is no real need to be so precise on the spacing, most other cases I've seen online have used a drill press and moved the work by hand. The more critical variable, is the pressure at which you make the marks in the work. More or less pressure will make a mark look completely different from the others despite using the same tool at the same speed. We used the quill stop to help with this, but really you just needed to be in the rhythm and put the same force on the handle.
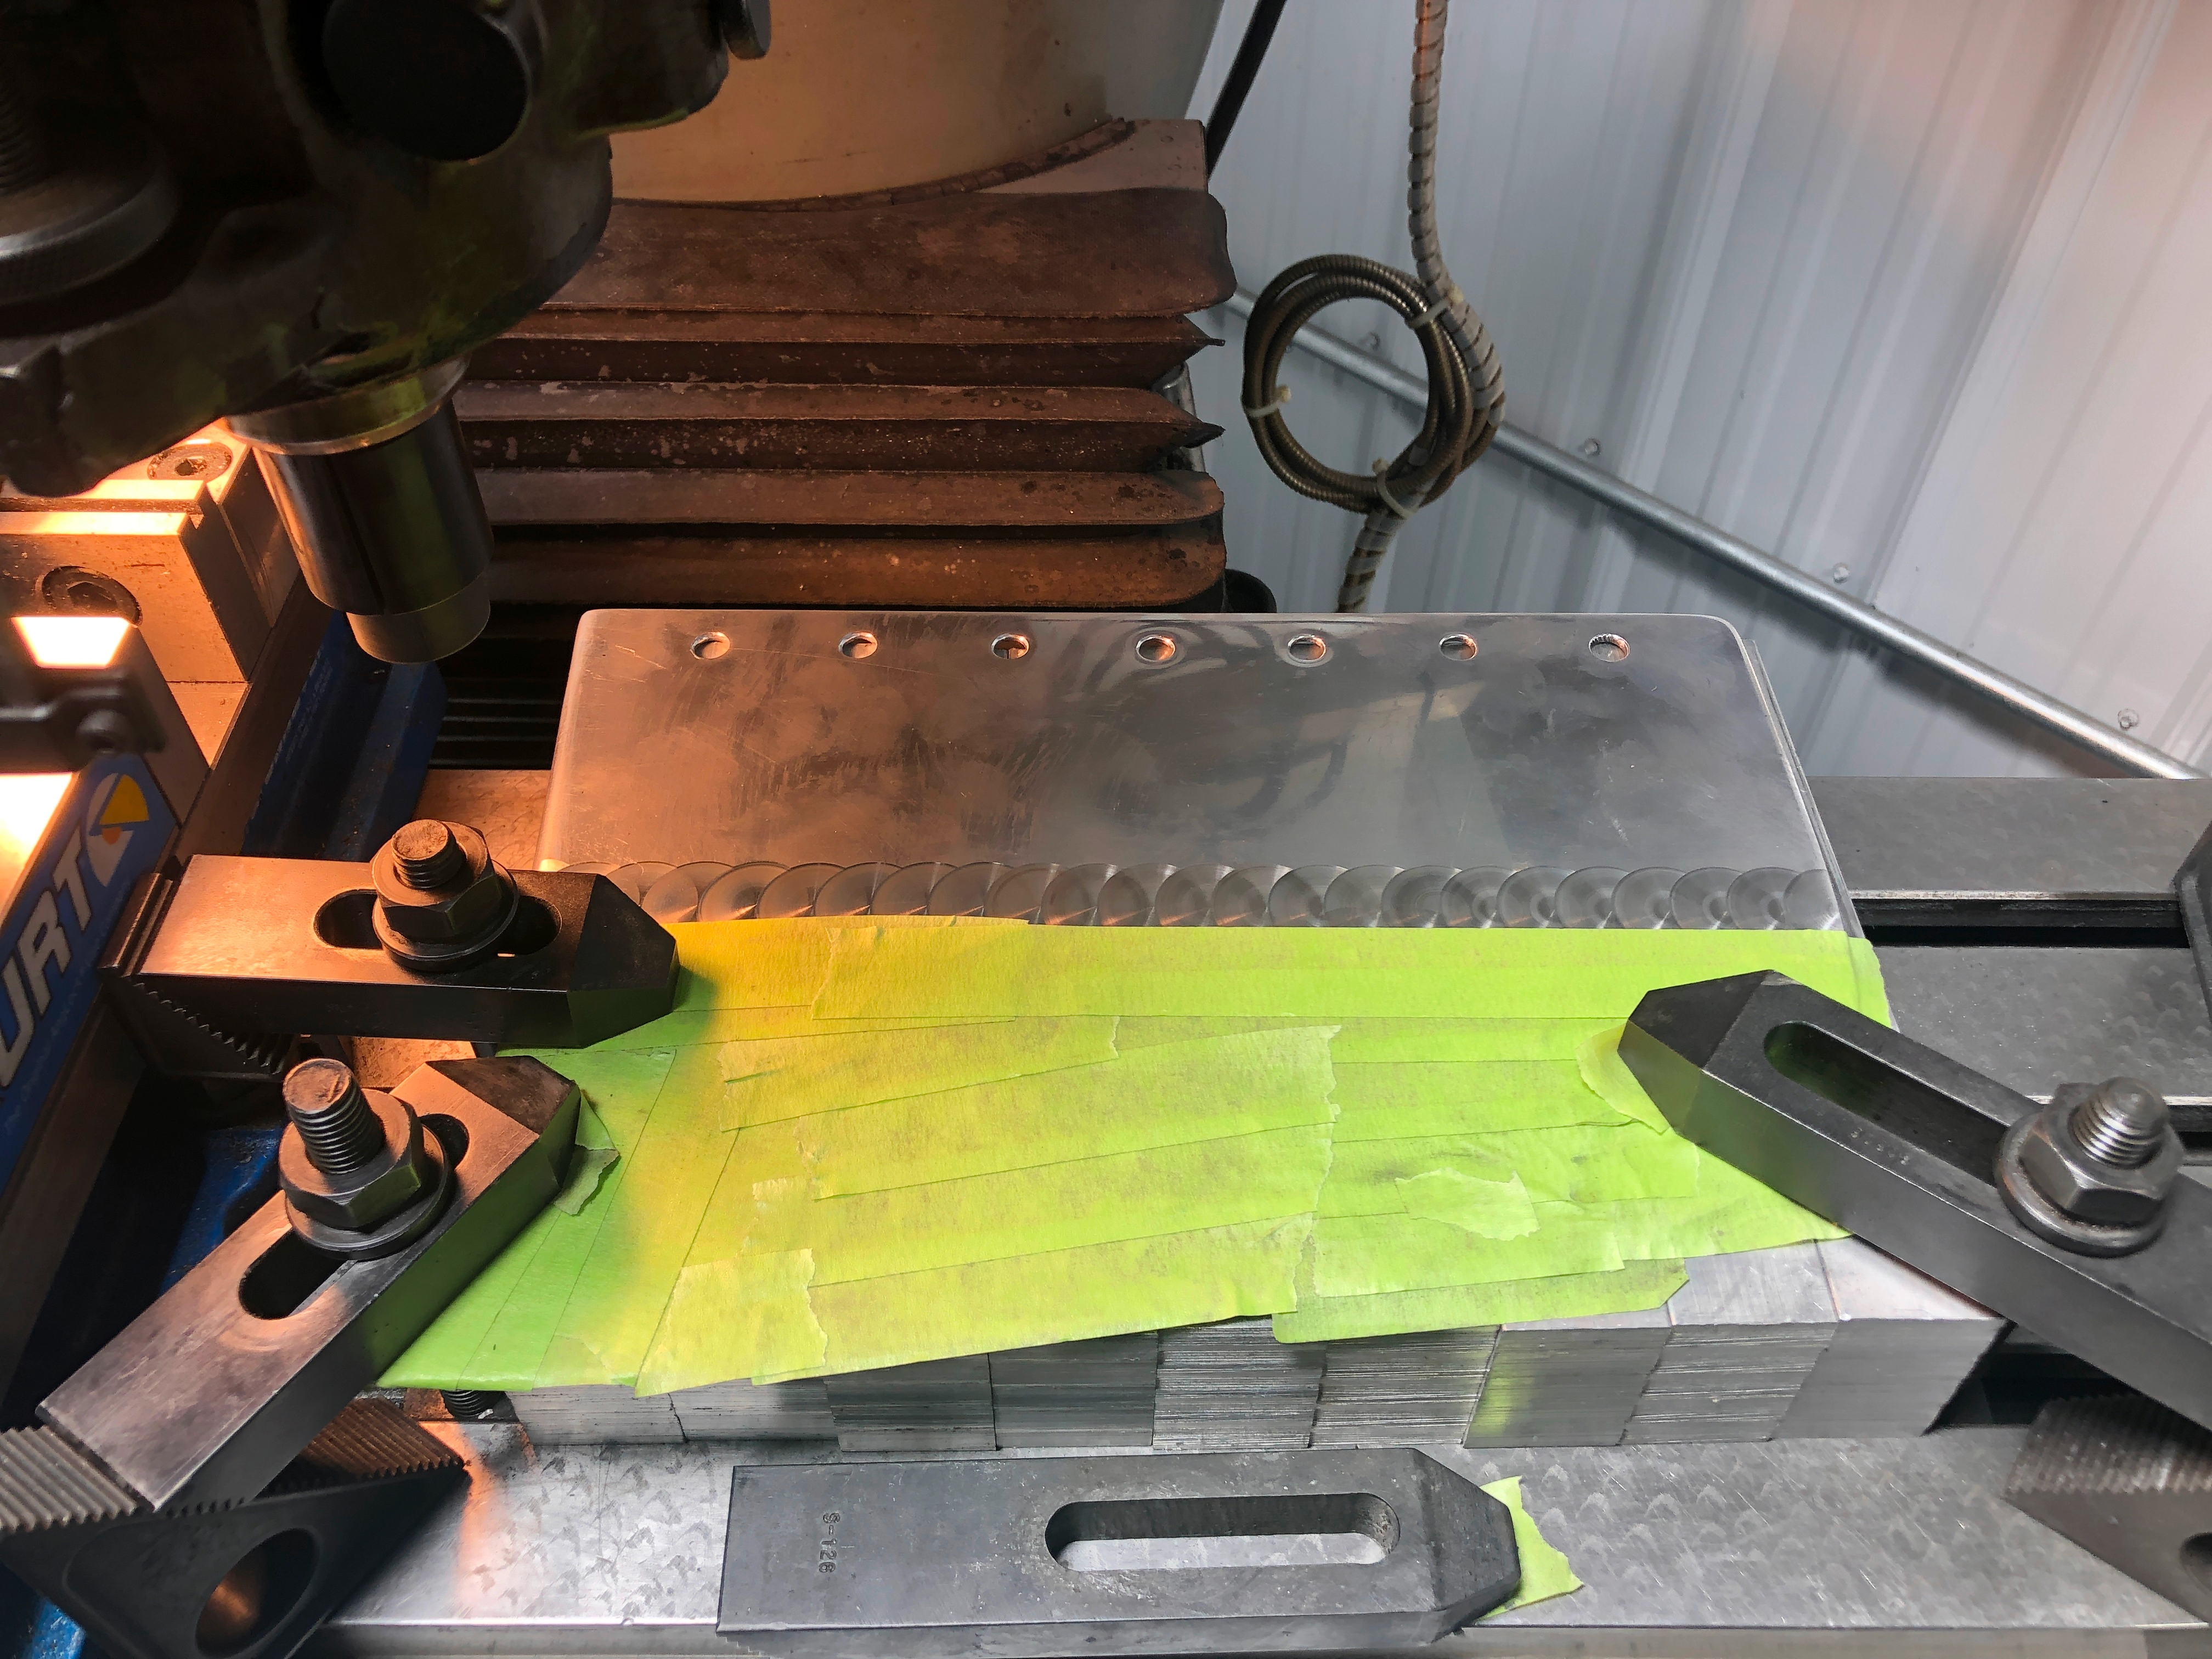
We experimented with steps and offsets and speeds and lubes, but running the Cratex dry and clean seemed to produce the best results. I say clean because we found that the Cratex would gum/clog after some time, so we would periodically take a small sanding disk and wipe it across the spinning face. This took a long time, a really long time, but it came out very nice in my opinion. The aluminum we made it in does scratch VERY easily, so we may go back and give it a clear coat to protect it. After it was installed, we also placed the windshield washer pump and reservoir behind it and the radiator overflow tank behind that. This arrangement actually looks fairly stock if it wasn't for the engine turning.
The cold air intake did wonders, on a similarly hot summer day, the IAT was only 105* F, about 15* above ambient instead of 50* or more. As soon as the truck starts to move, that temperature comes down quickly.
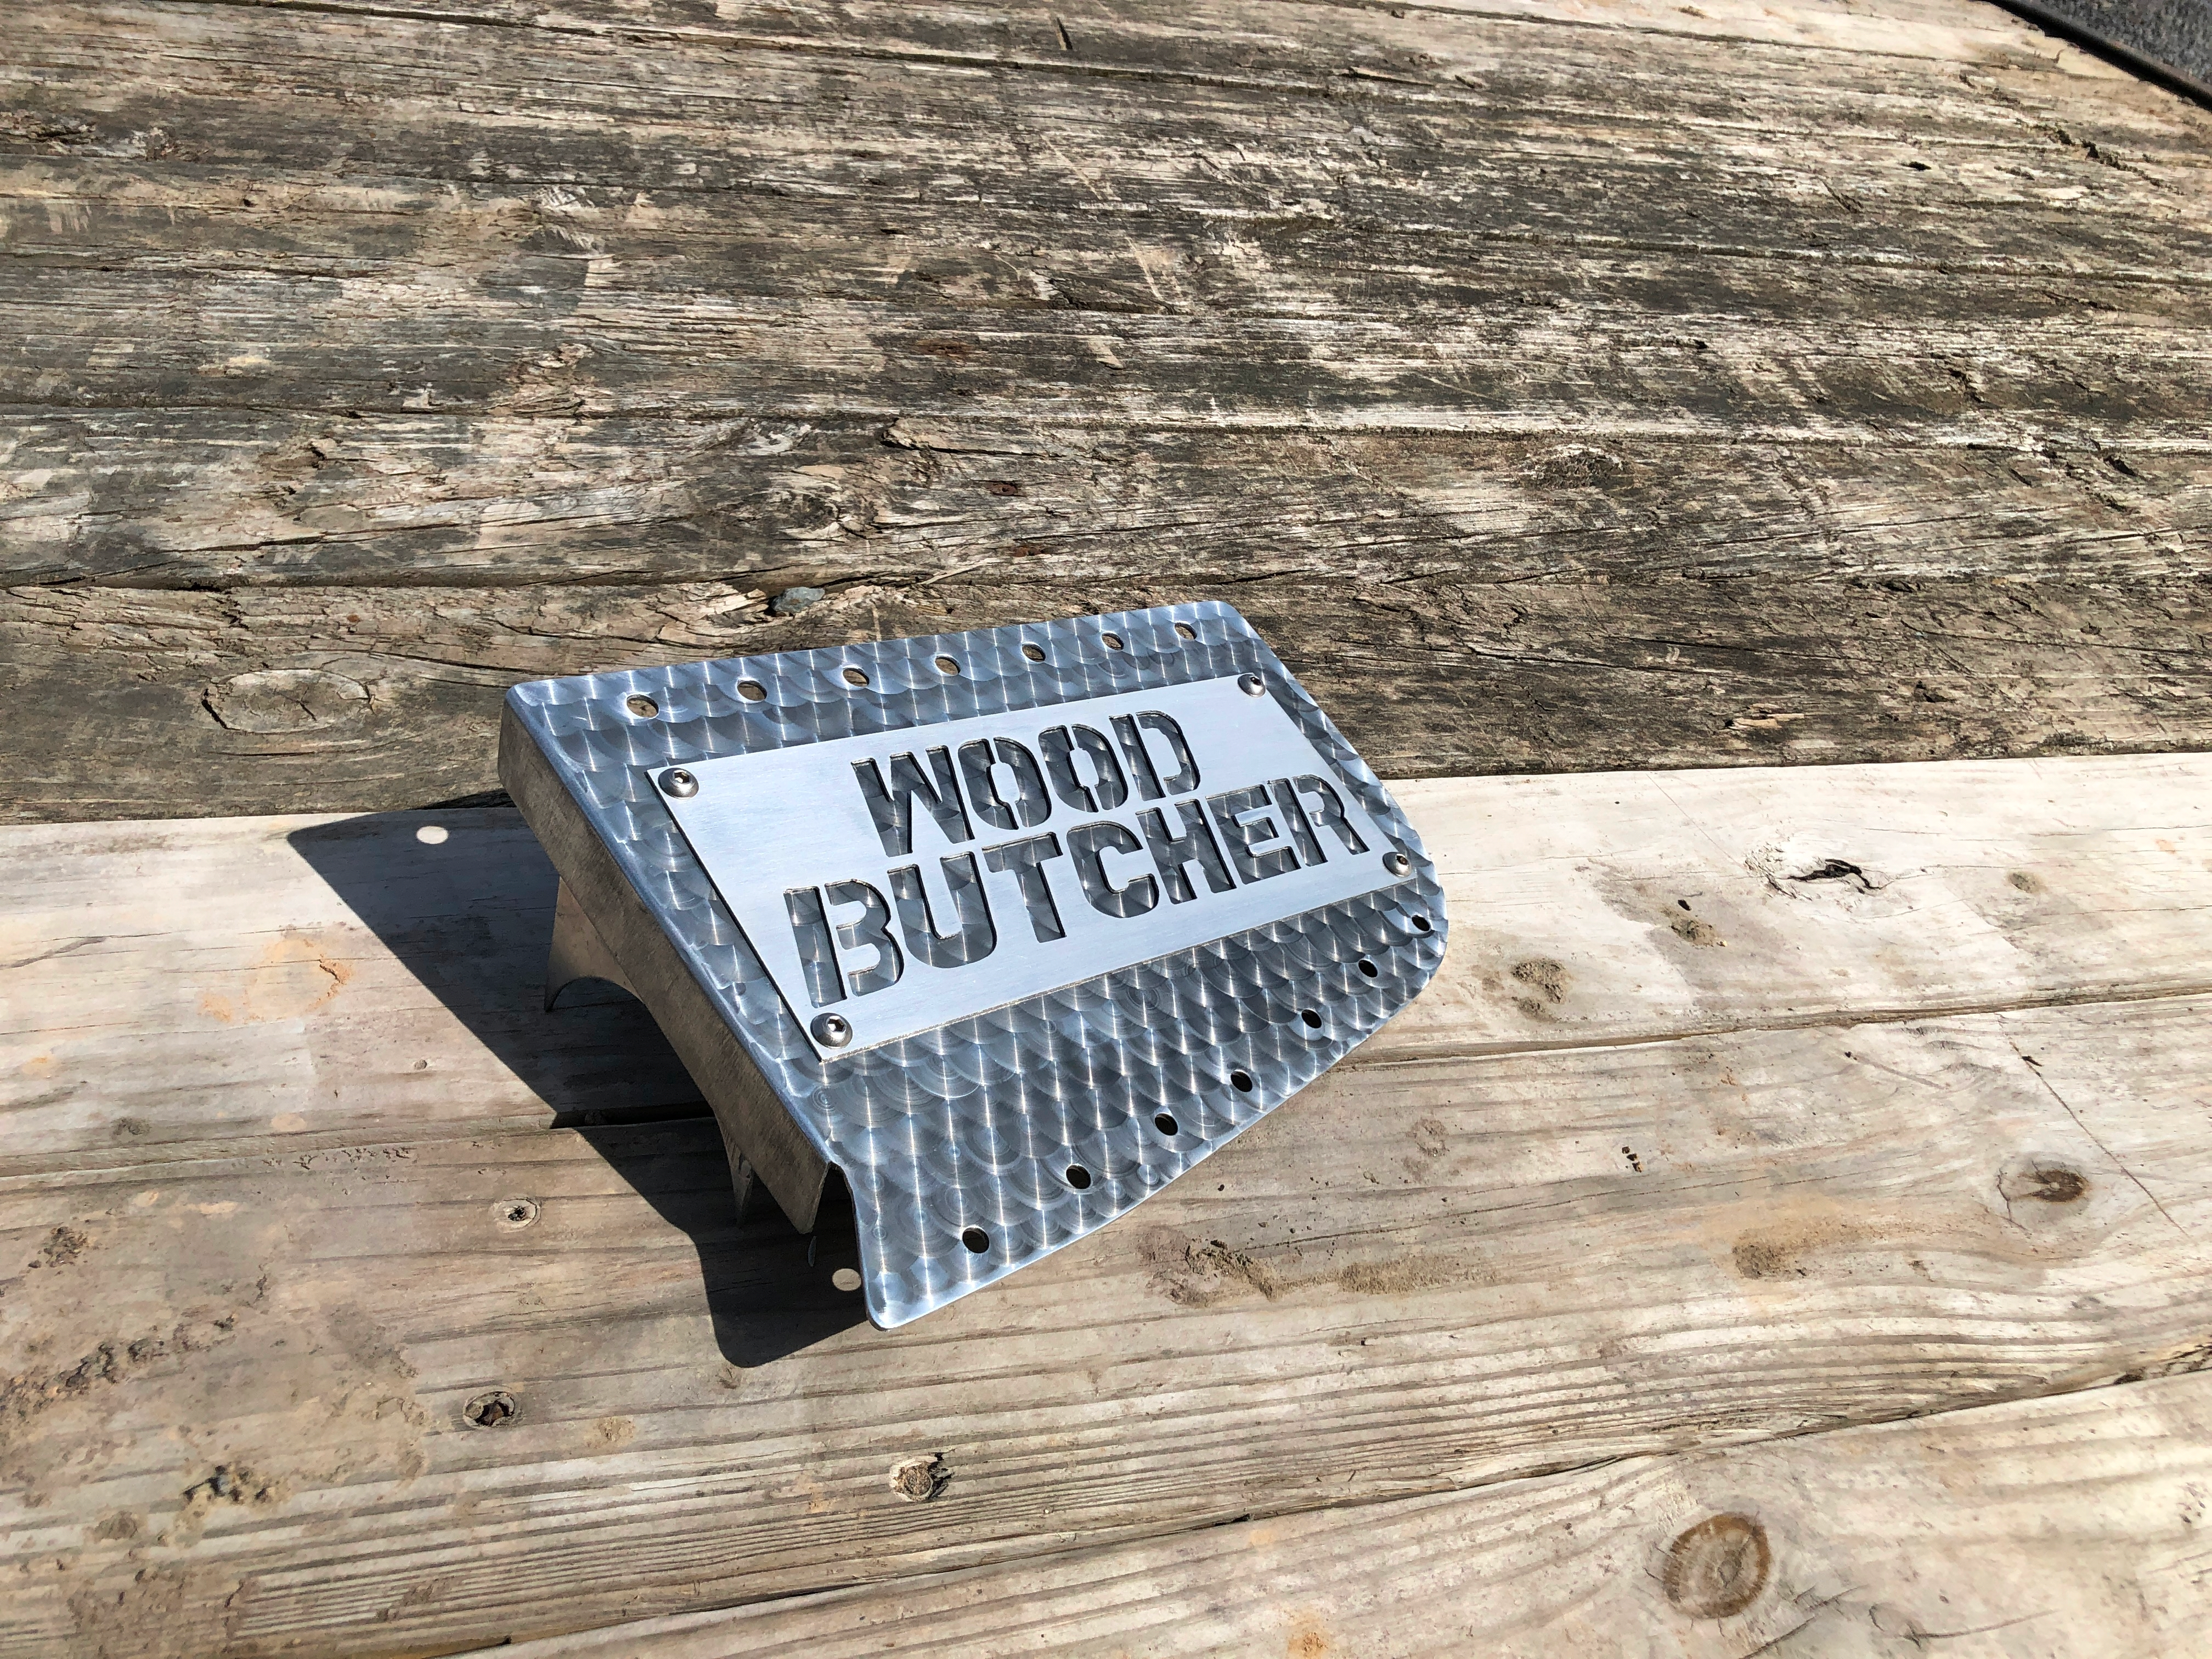
We decided it needed a more personalized touch, so we decided to add some text over the engine turning by cutting it out in aluminum on our CNC plasma table. The owner is a general contractor, with a lot of experience as a carpenter, so we poke fun at him by calling him a "Wood Butcher".
Don't let the Smoke Out
On the same day that the IAT's reached 150* F I was doing some more tuning on the truck. I was in the truck with laptop tuning the return to idle (this is where I spent the most time I think, since the car was Drive By Wire I thought this would be easier to tune), so I was reving the engine to about 3000-3500 RPM and letting it return to idle. I was also doing this with the air conditioning on as that opens the throttle body slightly more to raise the idle. Apparently there was a weak point in the preexisting system (not any of the parts that we touched) that gave out due to the extra pressure from it being a hot day and the compressor spinning fast. All of the system charge leaked through the cabin and it looked like smoke. I didn't know it was the A/C system so I thought that I had blown some sort of electronics up and let out the magic electrical smoke (remember all electrical components run on smoke, it is important to not let it out).
We quickly found that it was actually the A/C system and tore that apart the same day. The problem was obviously in the cabin side, so that was where we were working. We didn't find any obvious signs of failure, we pressure tested this and that and everything was fine. It wasn't until we pressure tested the whole unit that we found the problem, a pressure switch had developed a leak through its body and out the electrical terminal. Luckily the whole unit was available for a very cheap price so for some cheap assurance we replaced it all.
Rock and Body Roll
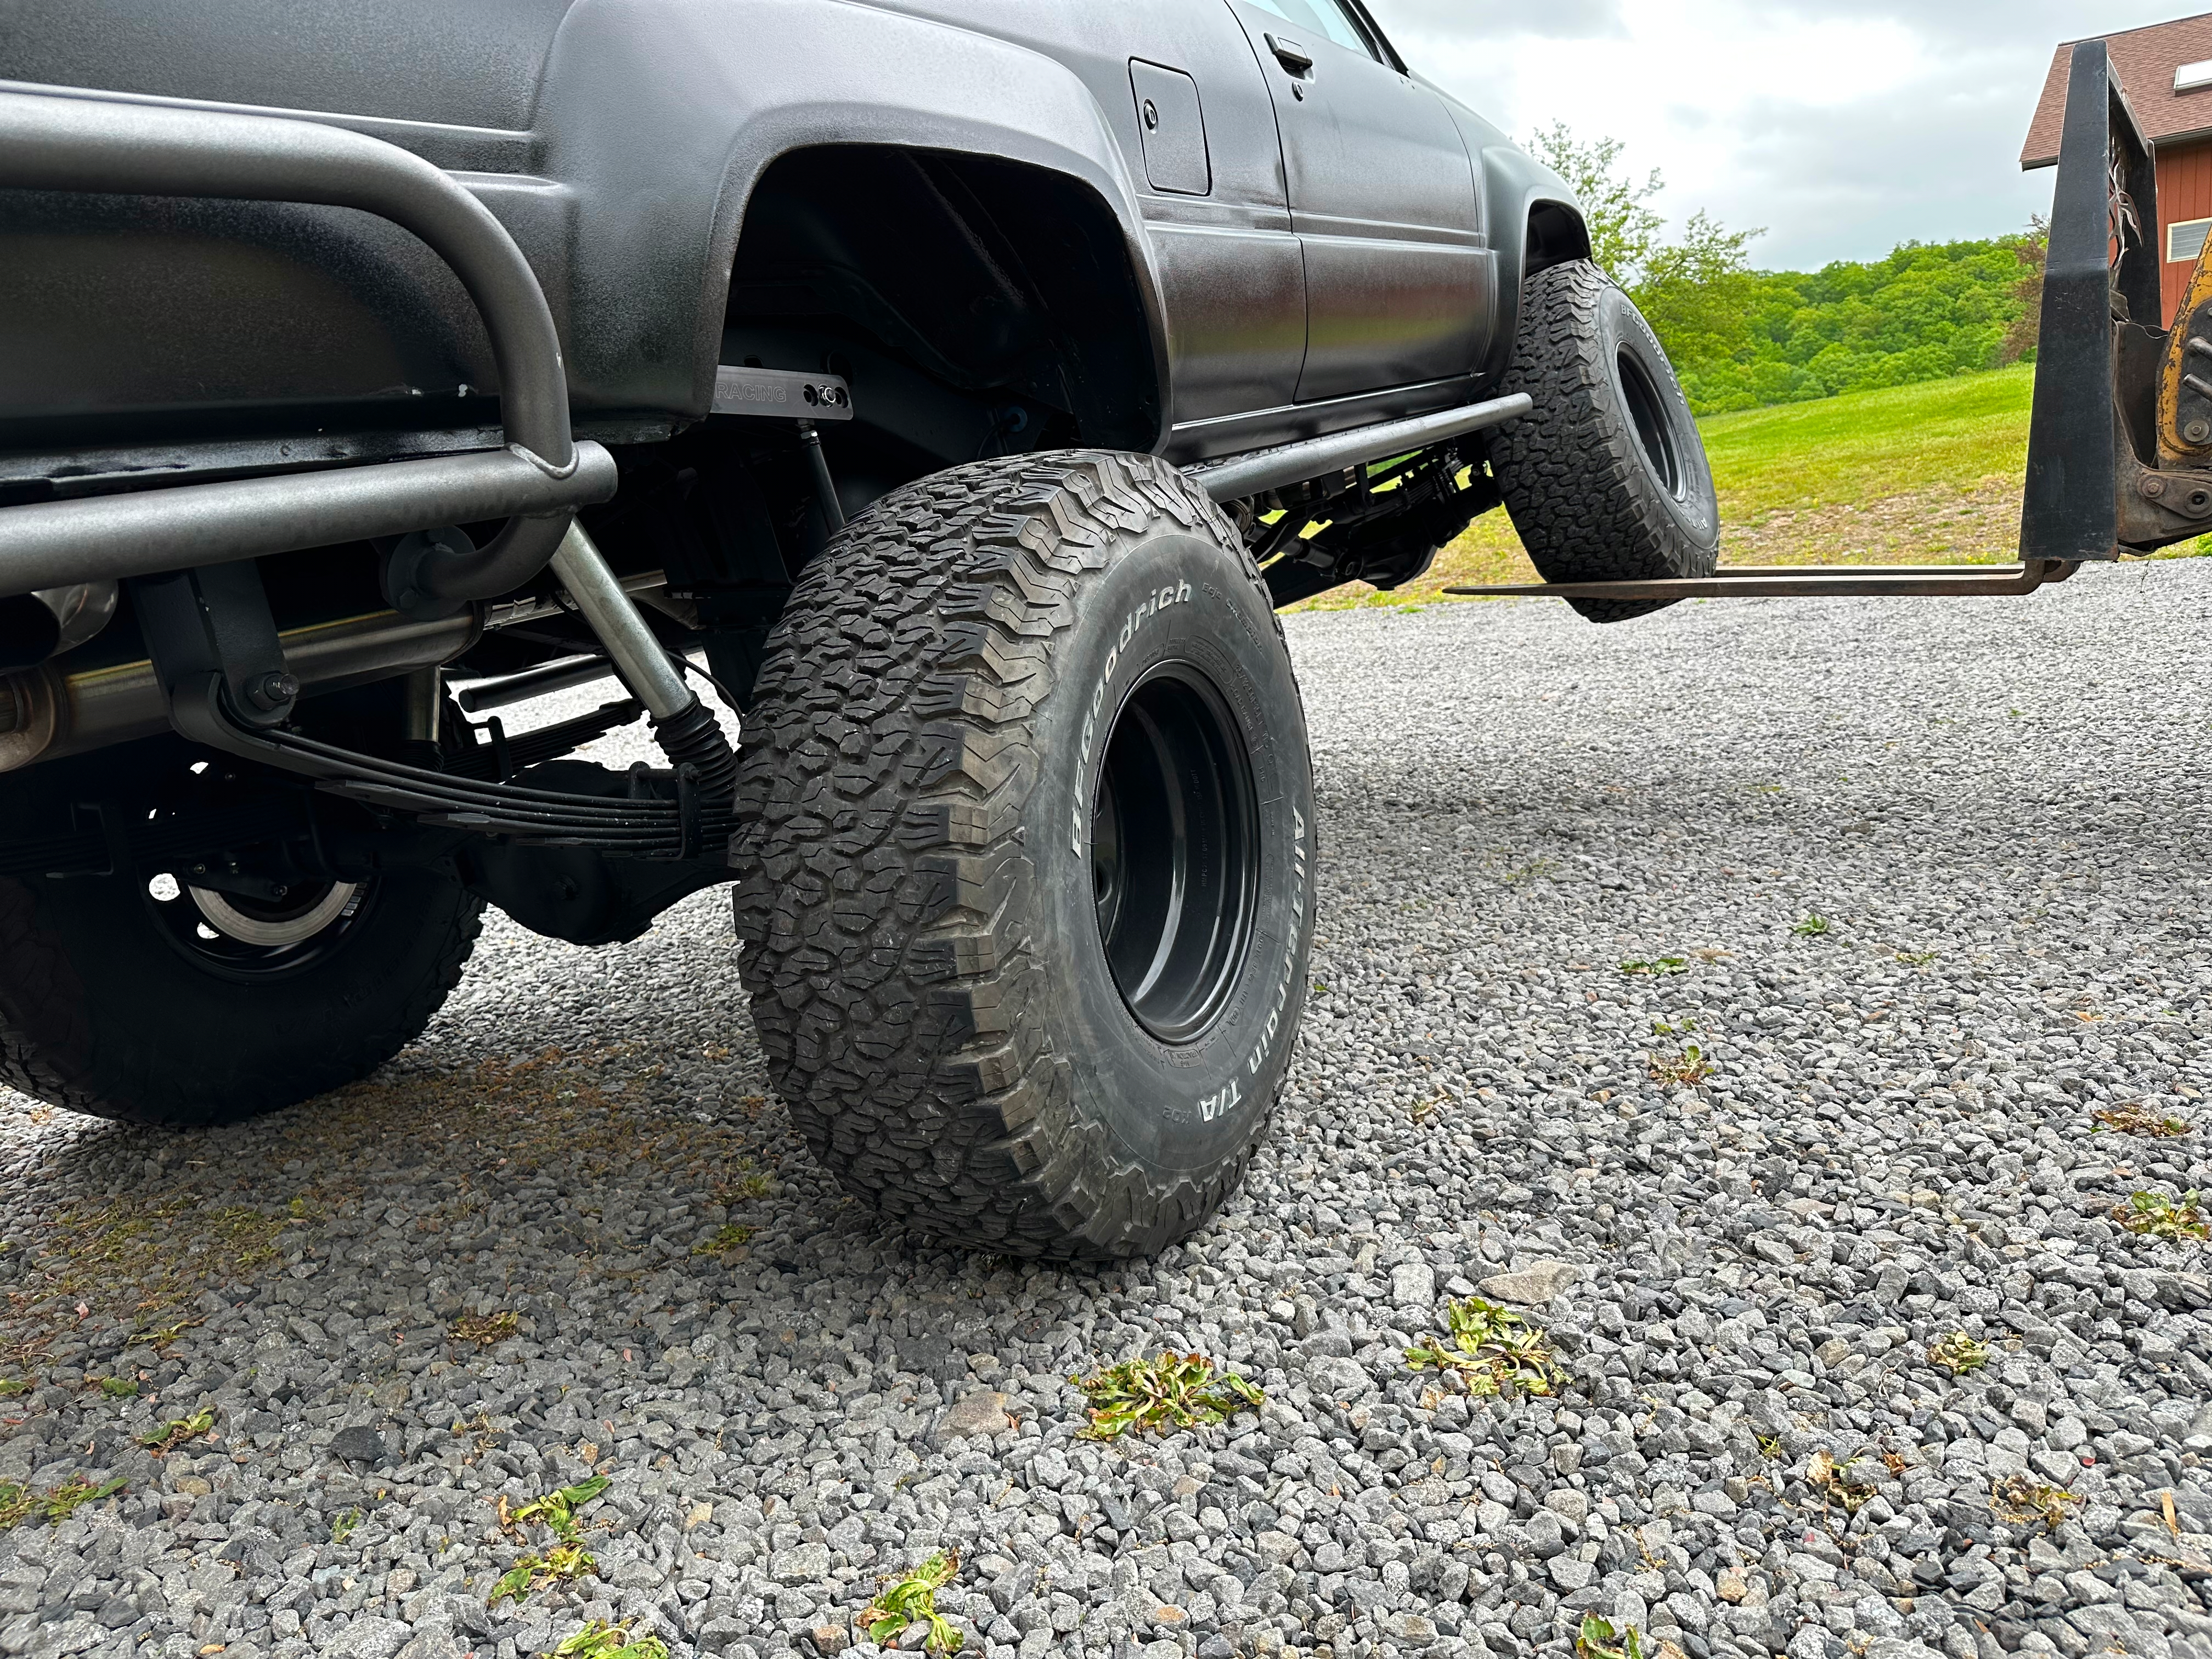
During the shakedown testing, we didn't even have to take it out onto the road to find that the truck had far too much body roll. Just turning around in front of our shop we felt the truck rolling at not even 10 MPH. We didn't want stiffer springs because the truck is meant to be comfortable, so we decided to add sway bars. We began searching for some solutions and what it would take to make our own. We found a company by the name of TK1 Racing that makes suspension for airplane landing gear as well as suspension and sway bars for rock crawling and offroad trucks. Their products looked great and they were very easy to work with and very helpful. So we measured where we could fit a sway bar and ordered a front and back setup from them. They arrived and looked even better in-person. The kit consists of a tube that we drilled holes for and welded into the frame, bushings in that tube, and a splined and heat treated round bar through those bushings. On either side of that bar attached matching splined aluminum arms that get an extension of your desired length bolted onto them. Then they connect to an end link that we connected to the top plate that holds the axle to the leaf spring. The front and back both came out looking great.
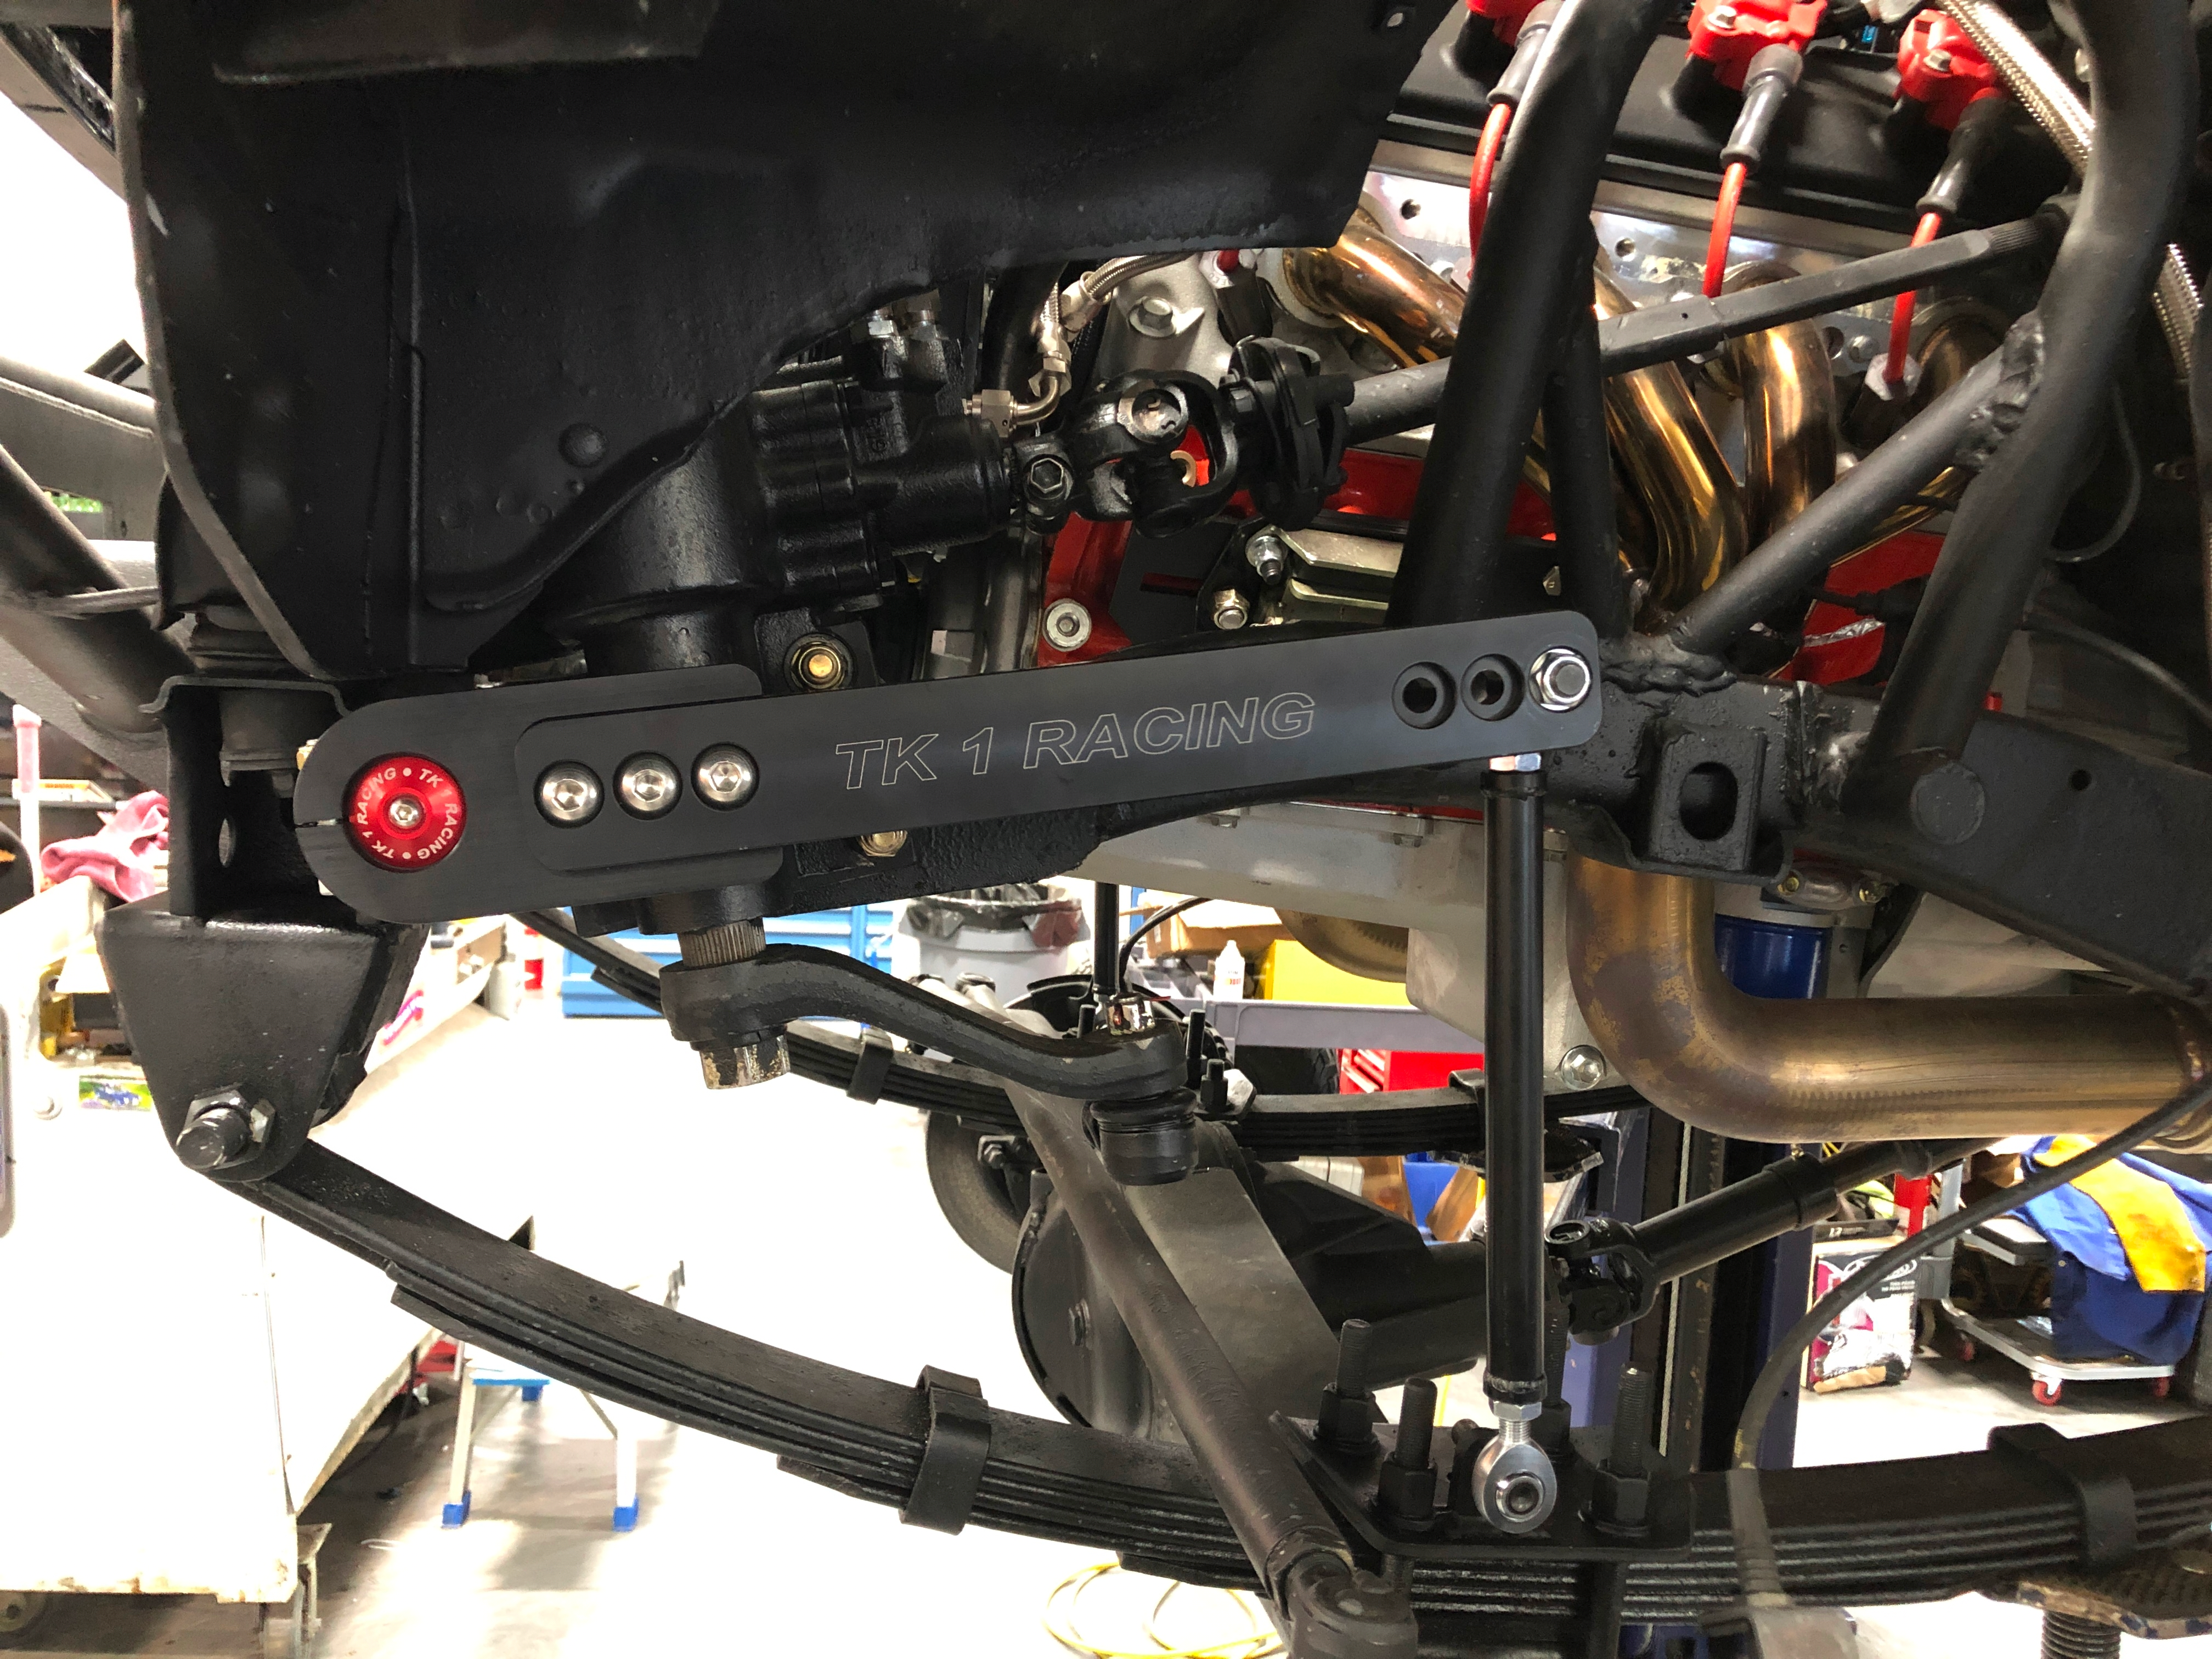
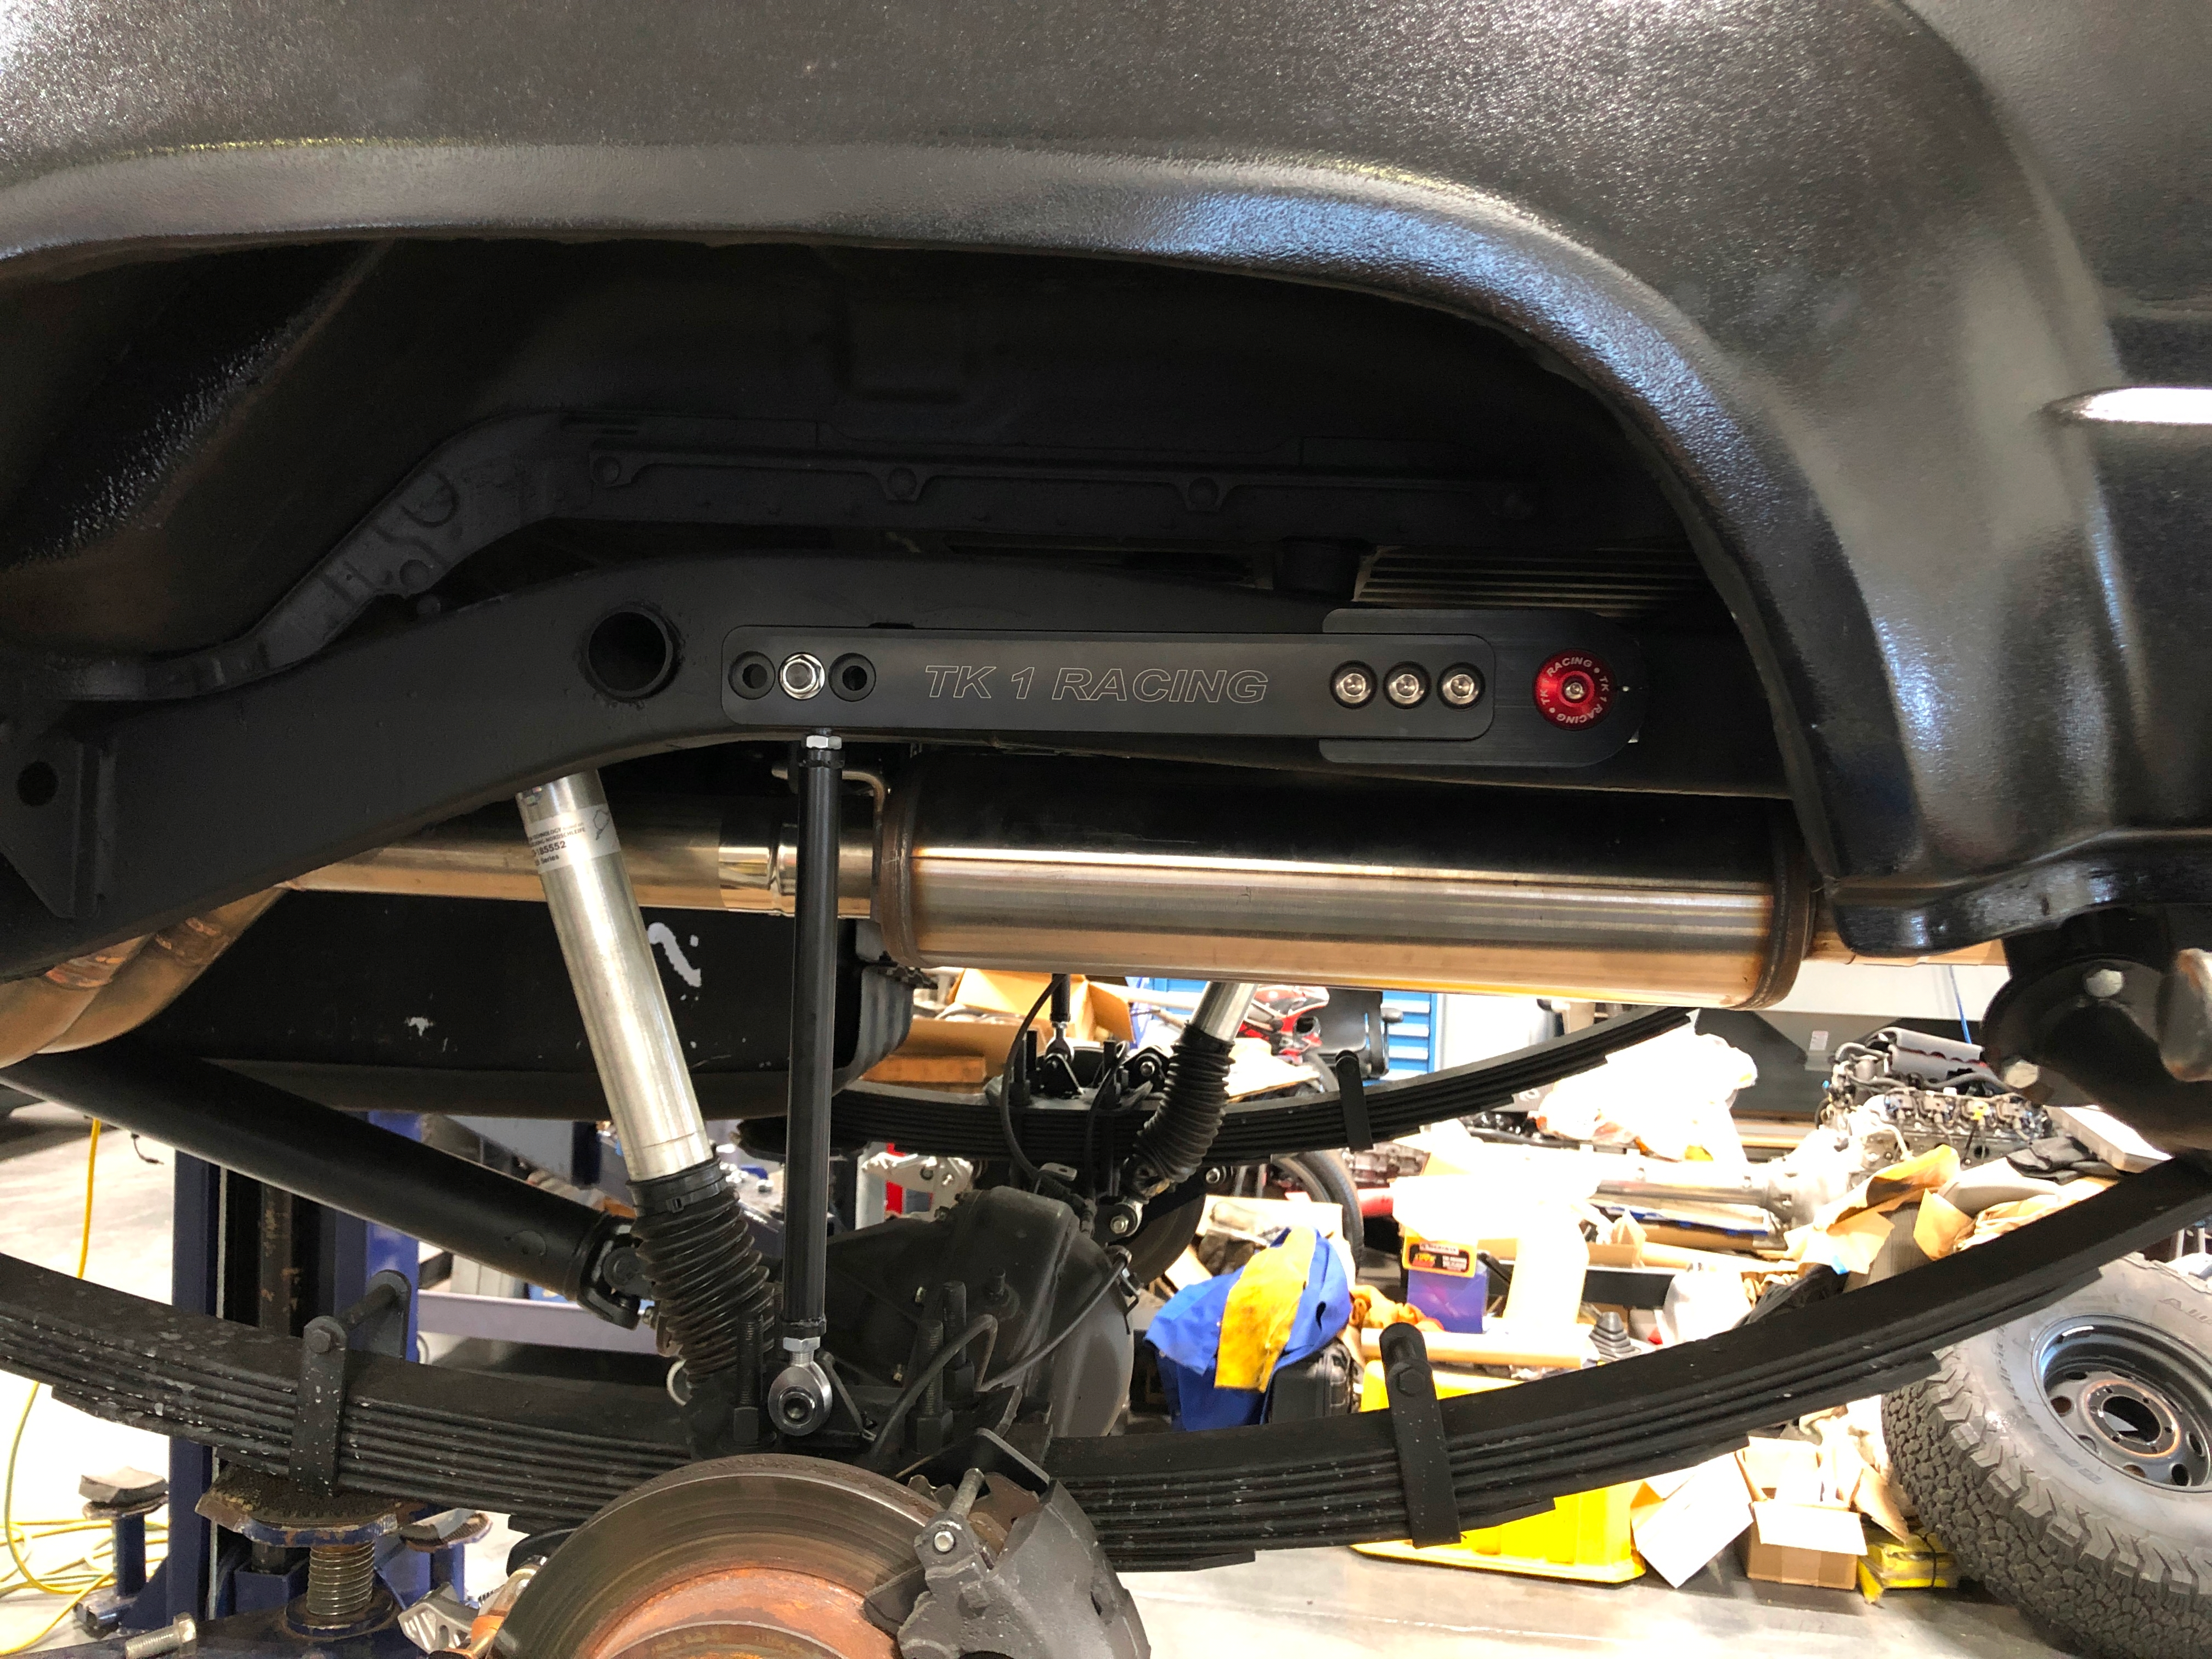
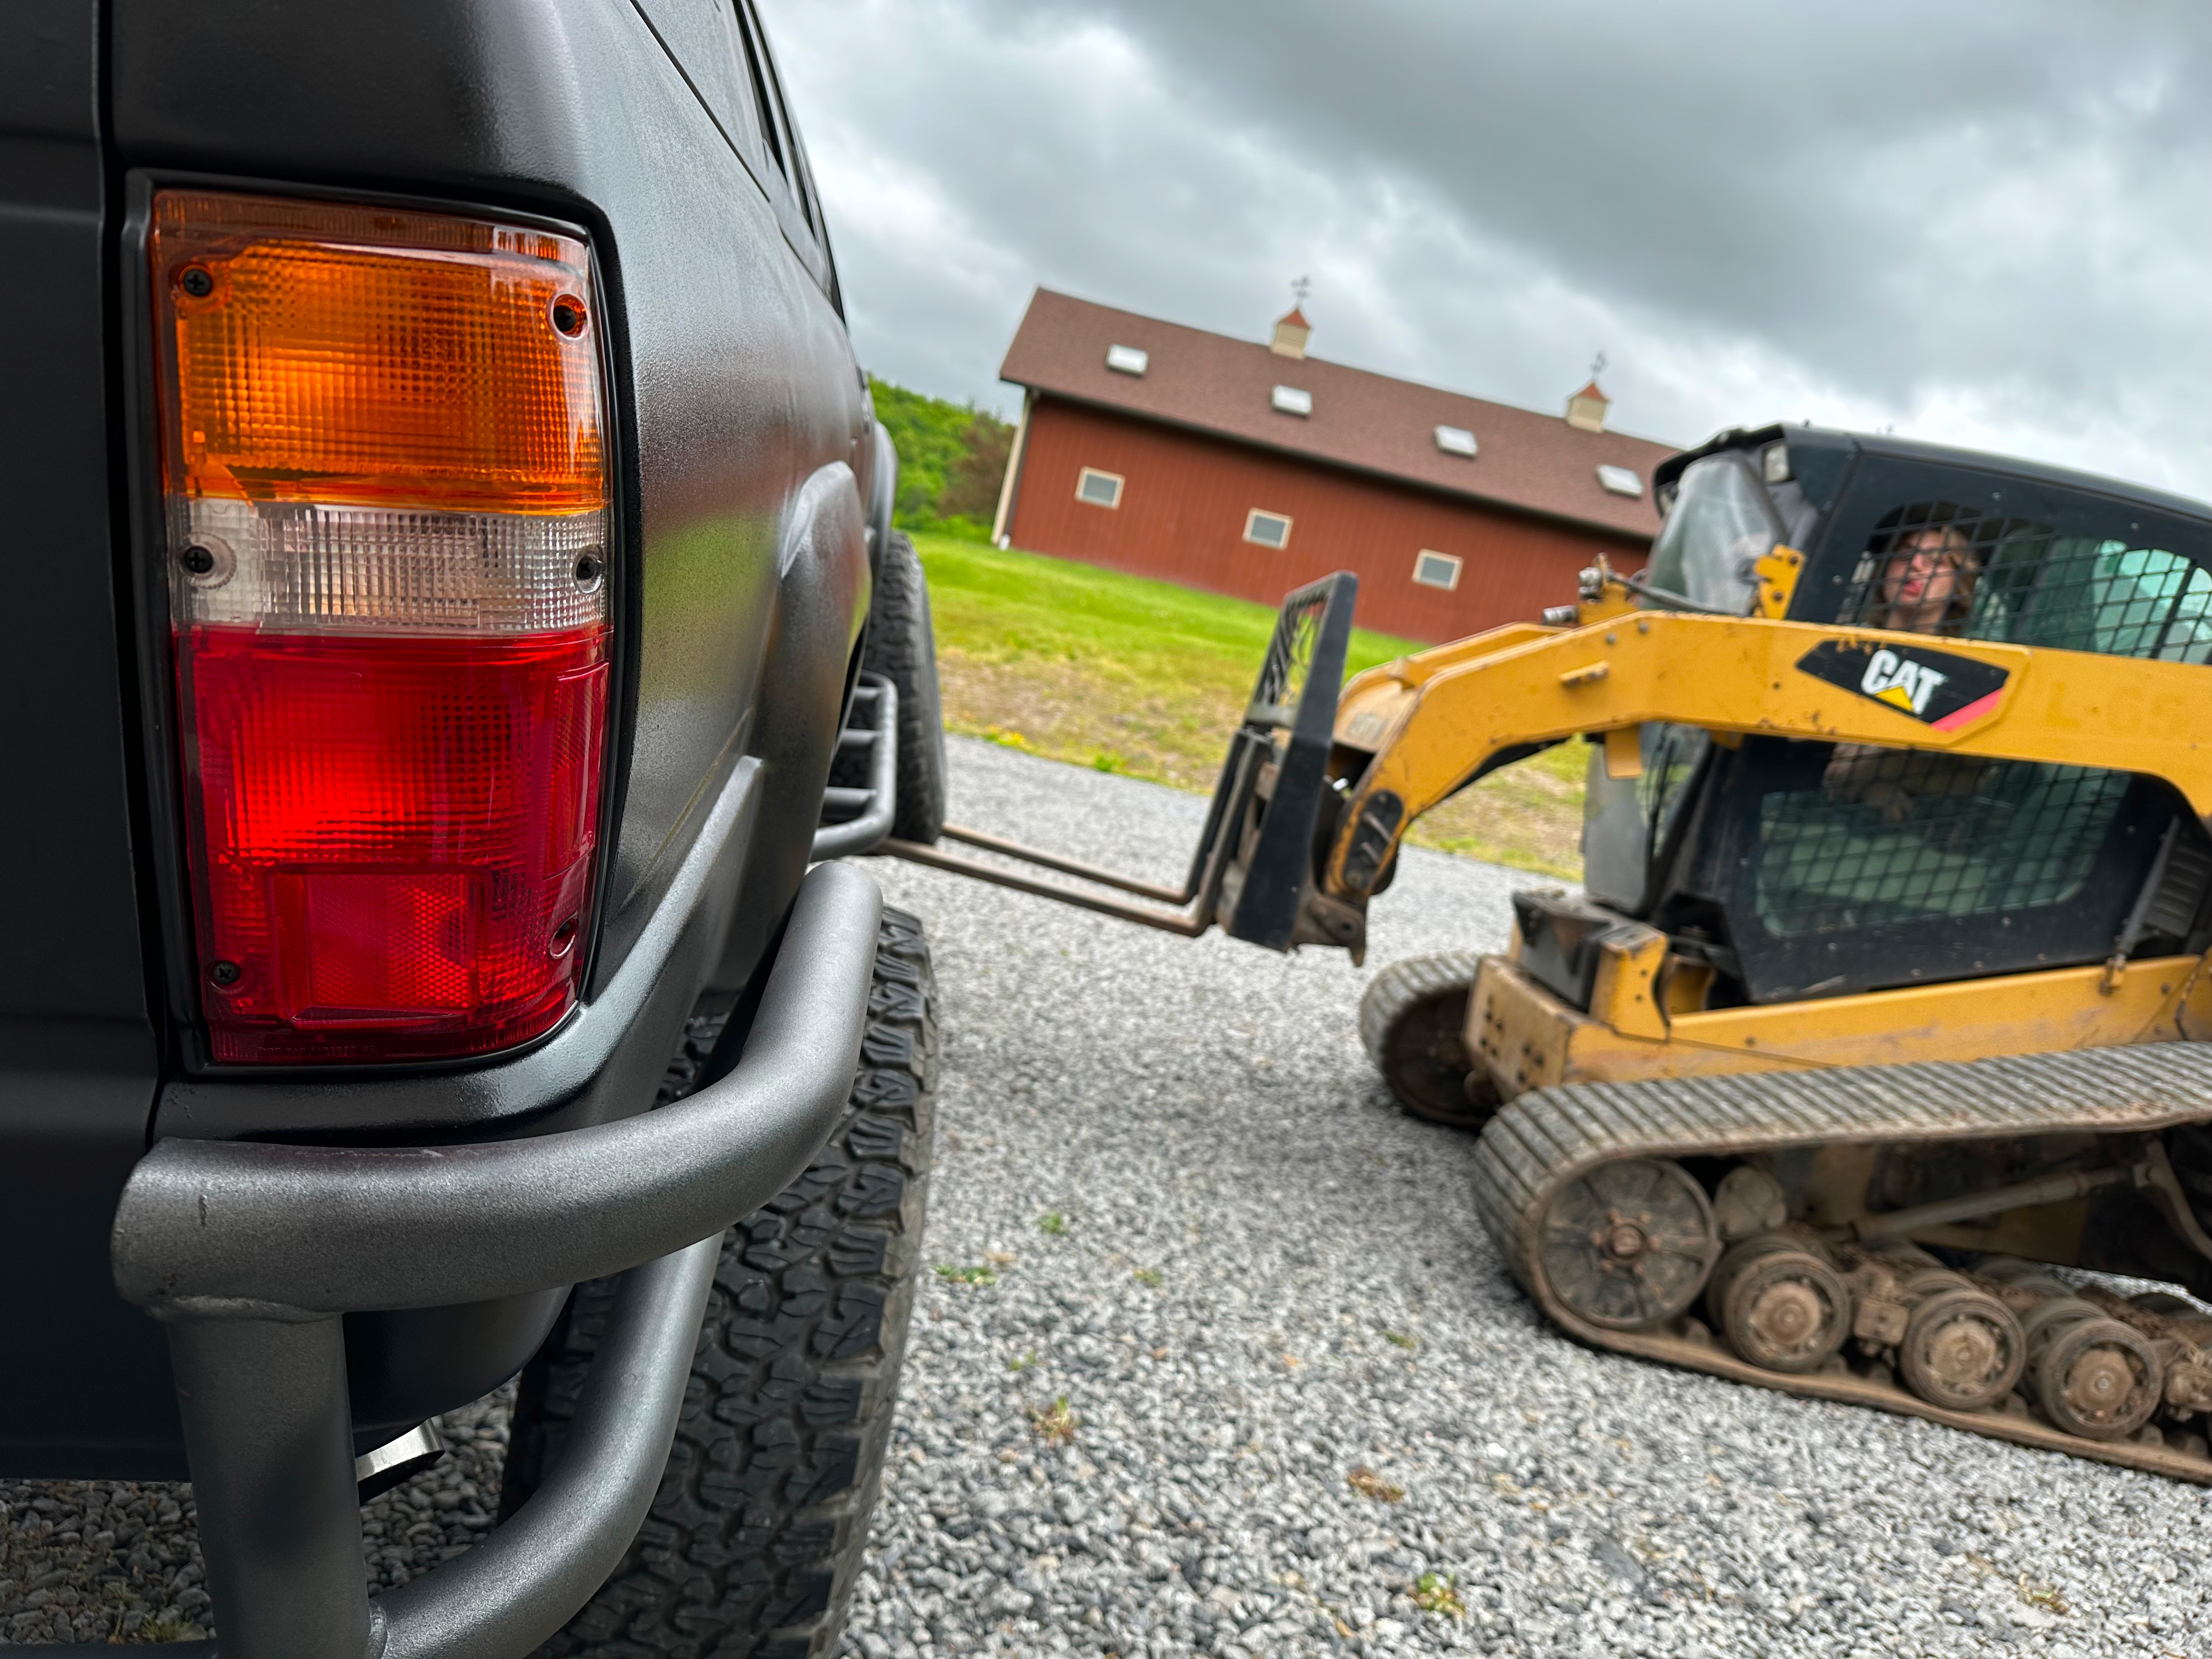
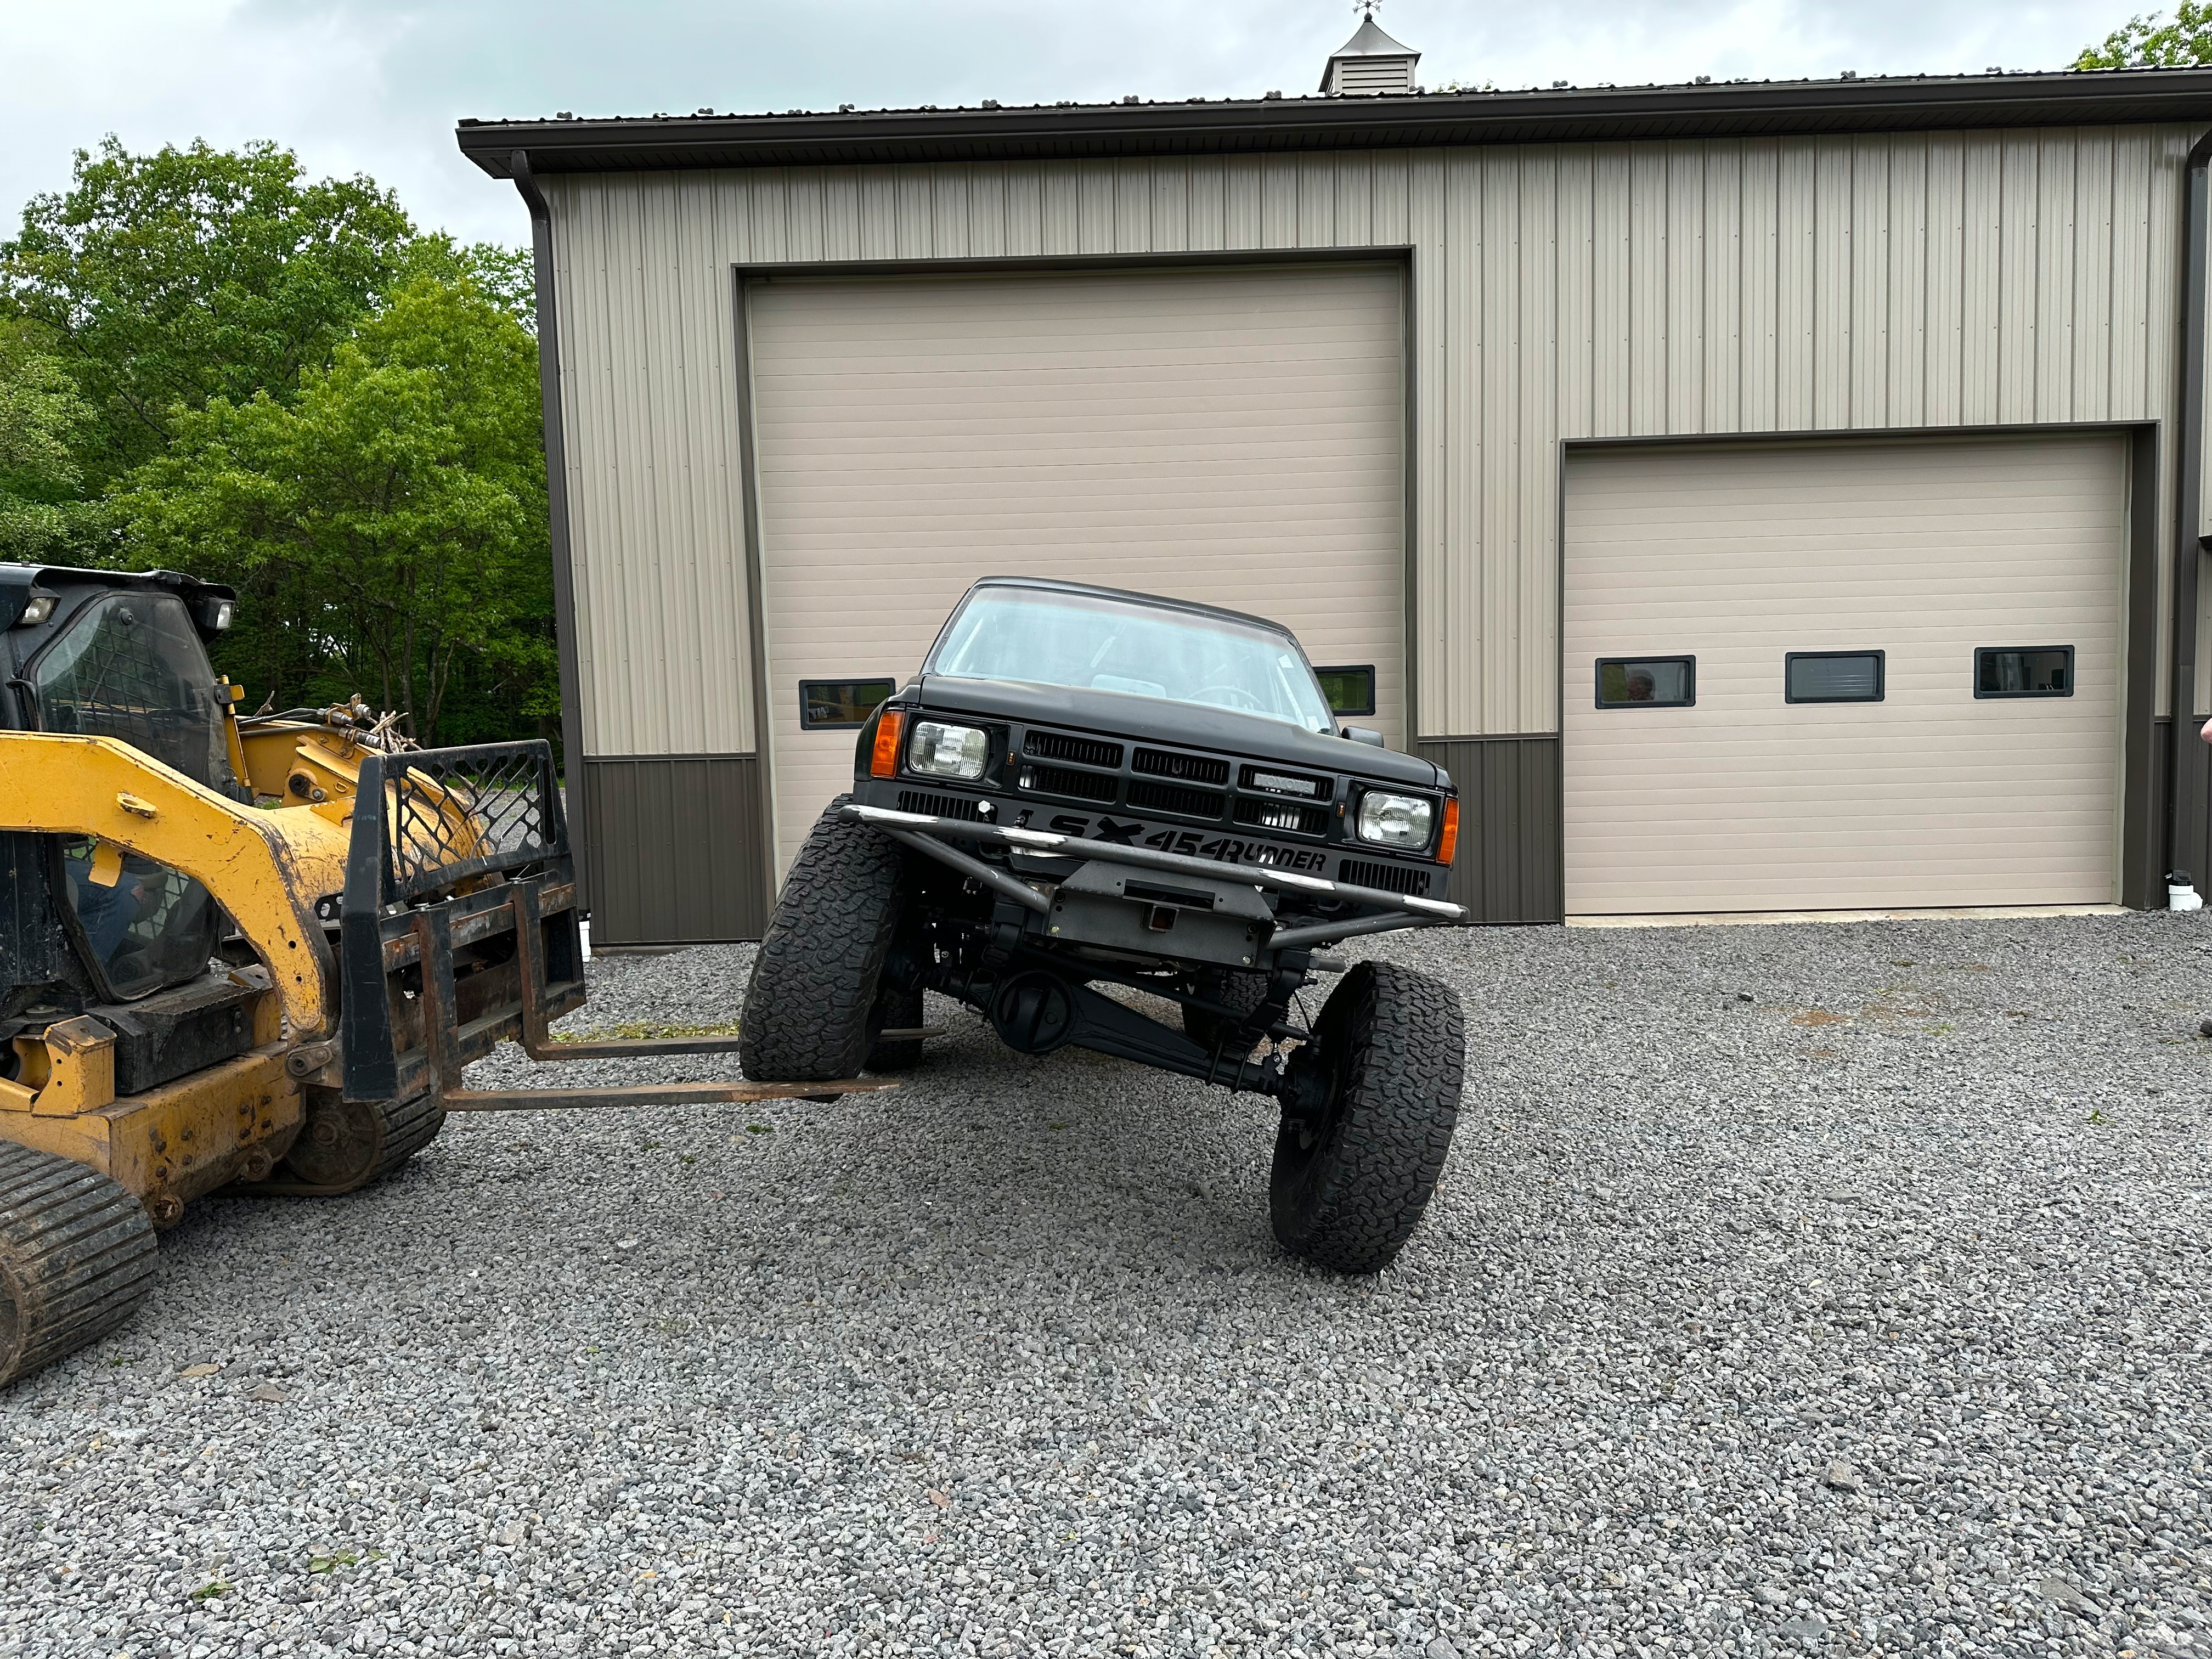
We were a bit concerned that these would be too stiff if the truck ever left the pavement and went offroad, so we decided to test how much the truck could flex with the sway bars attached. If you ever wanted to, you could quickly detach these sway bars and tie the arms and end links out of the way, but we found that would probably never really be neccessary. We lifted one wheel with our skid steer and forks and let everything else flex or hang. We were very happy with the result of the flexing. The tires are 35 inches tall and there was still a bit of room (probably not enough to go bigger).
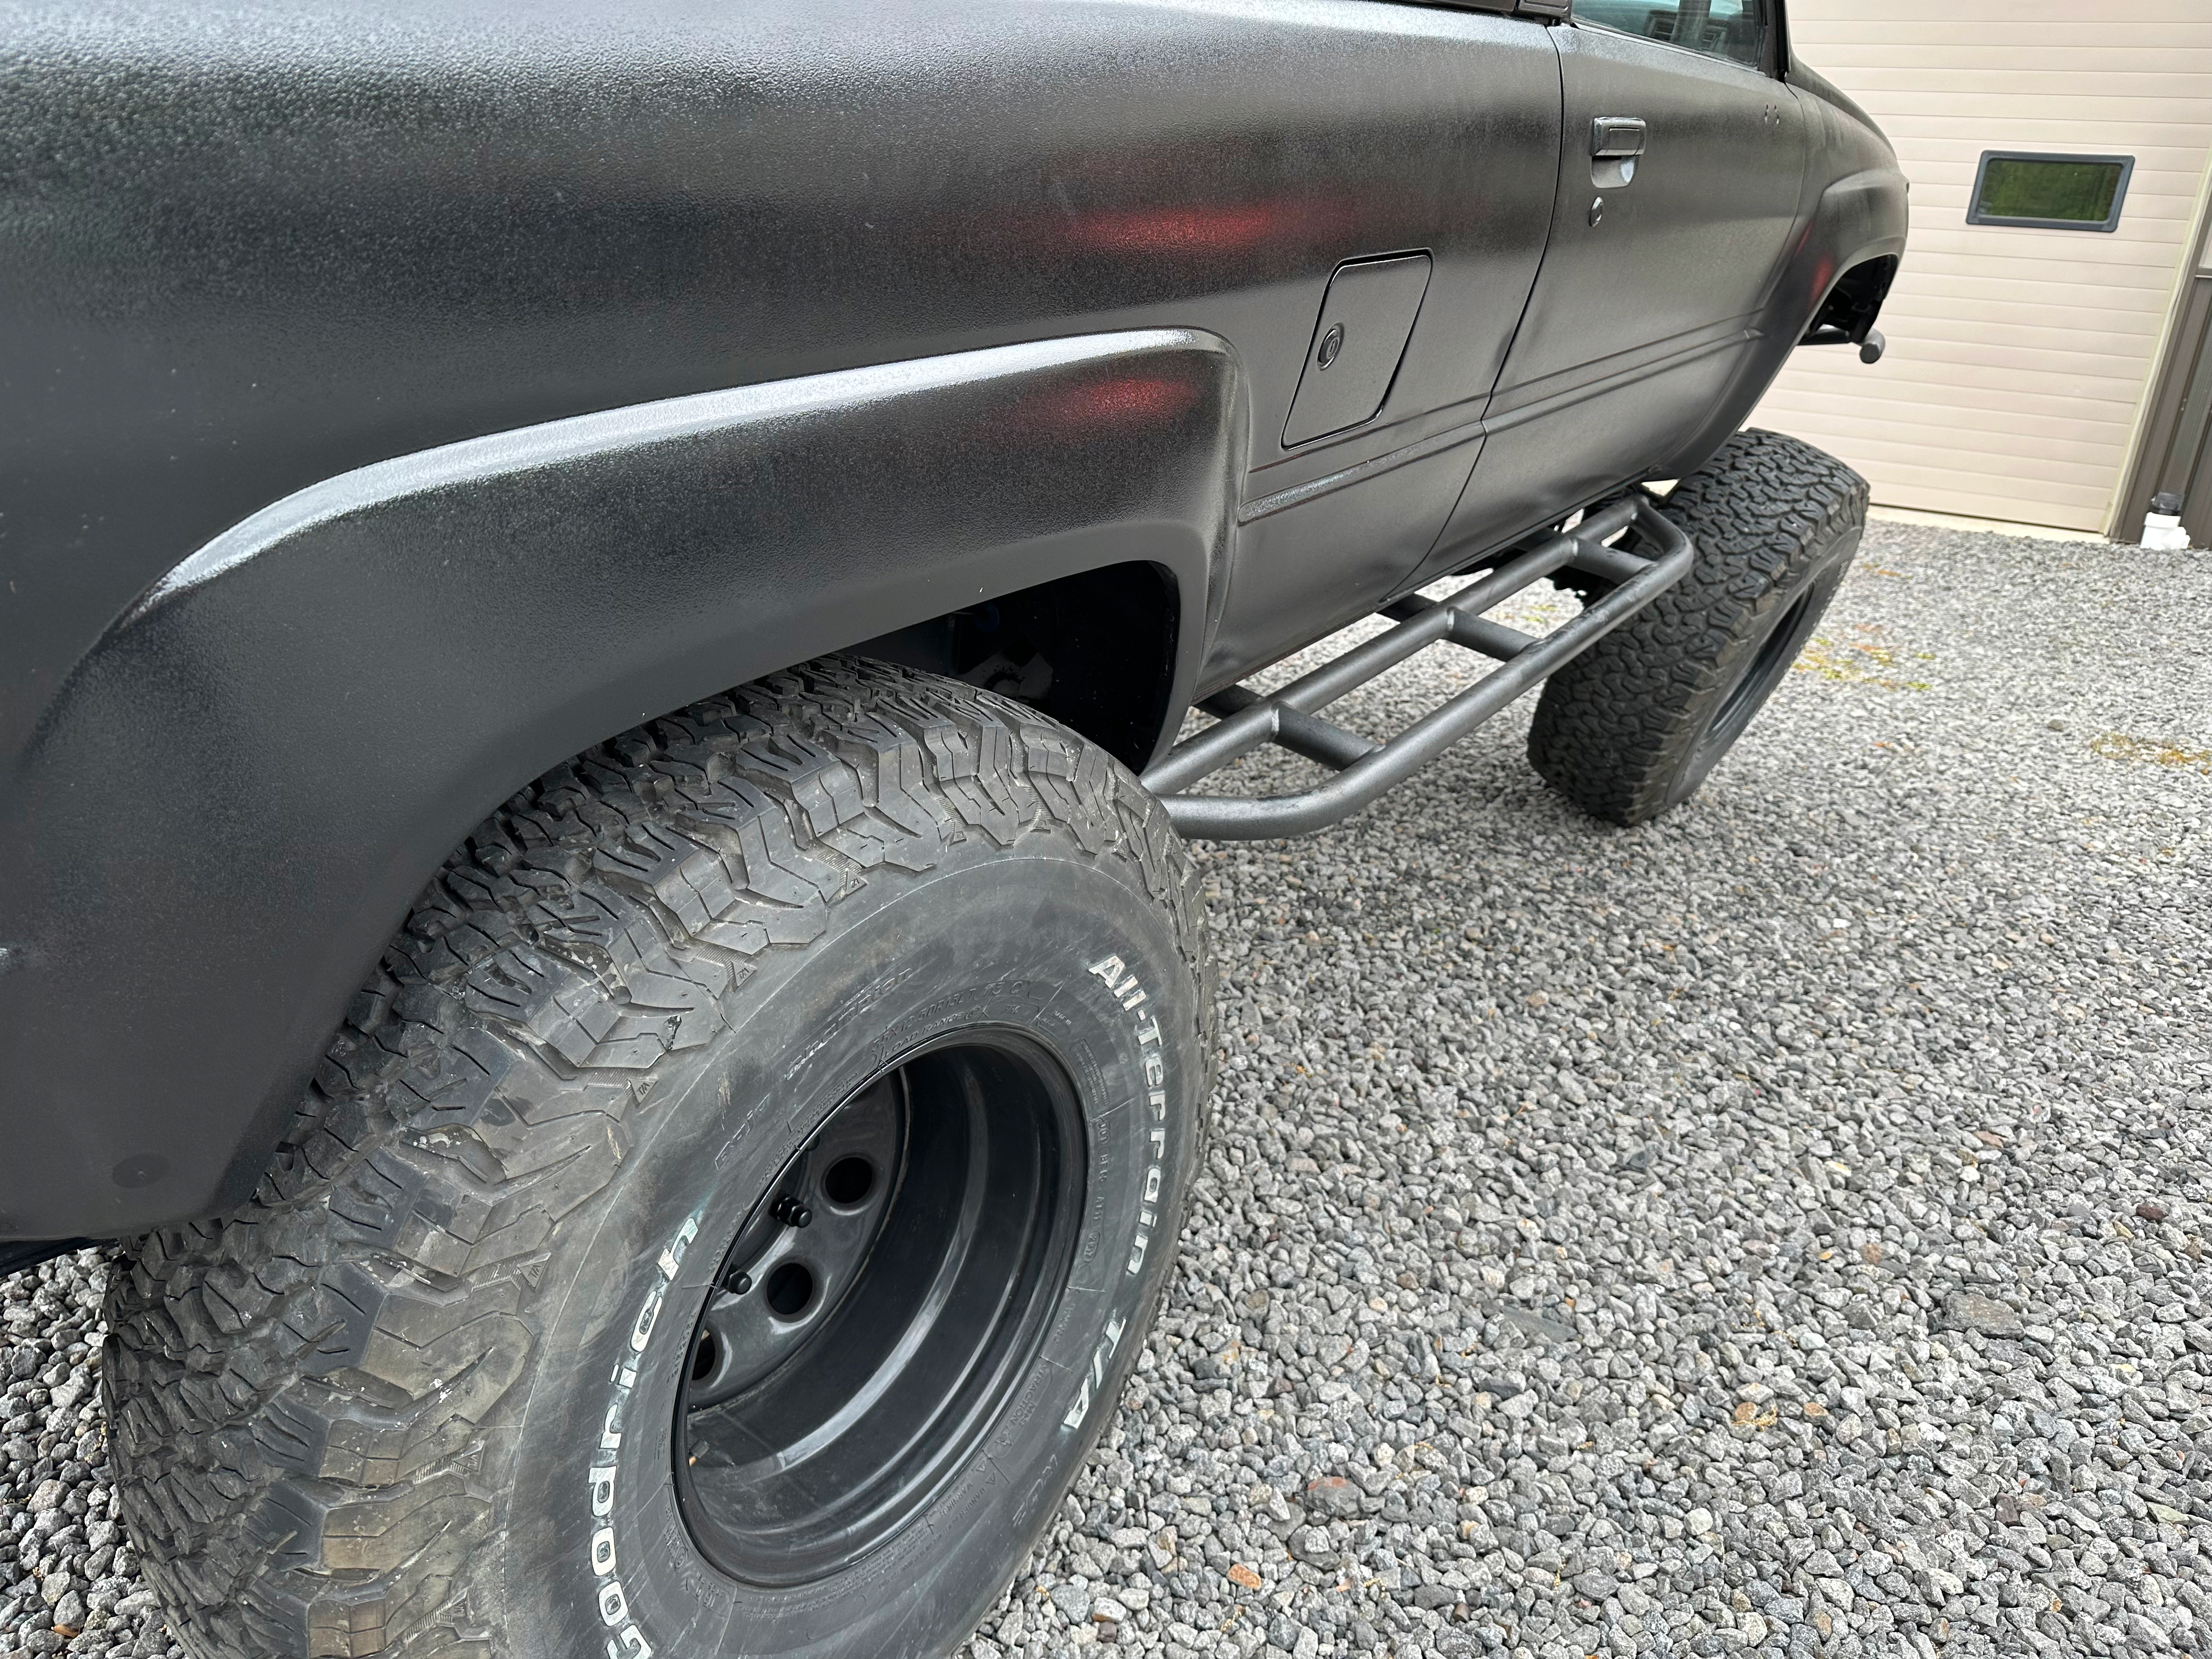
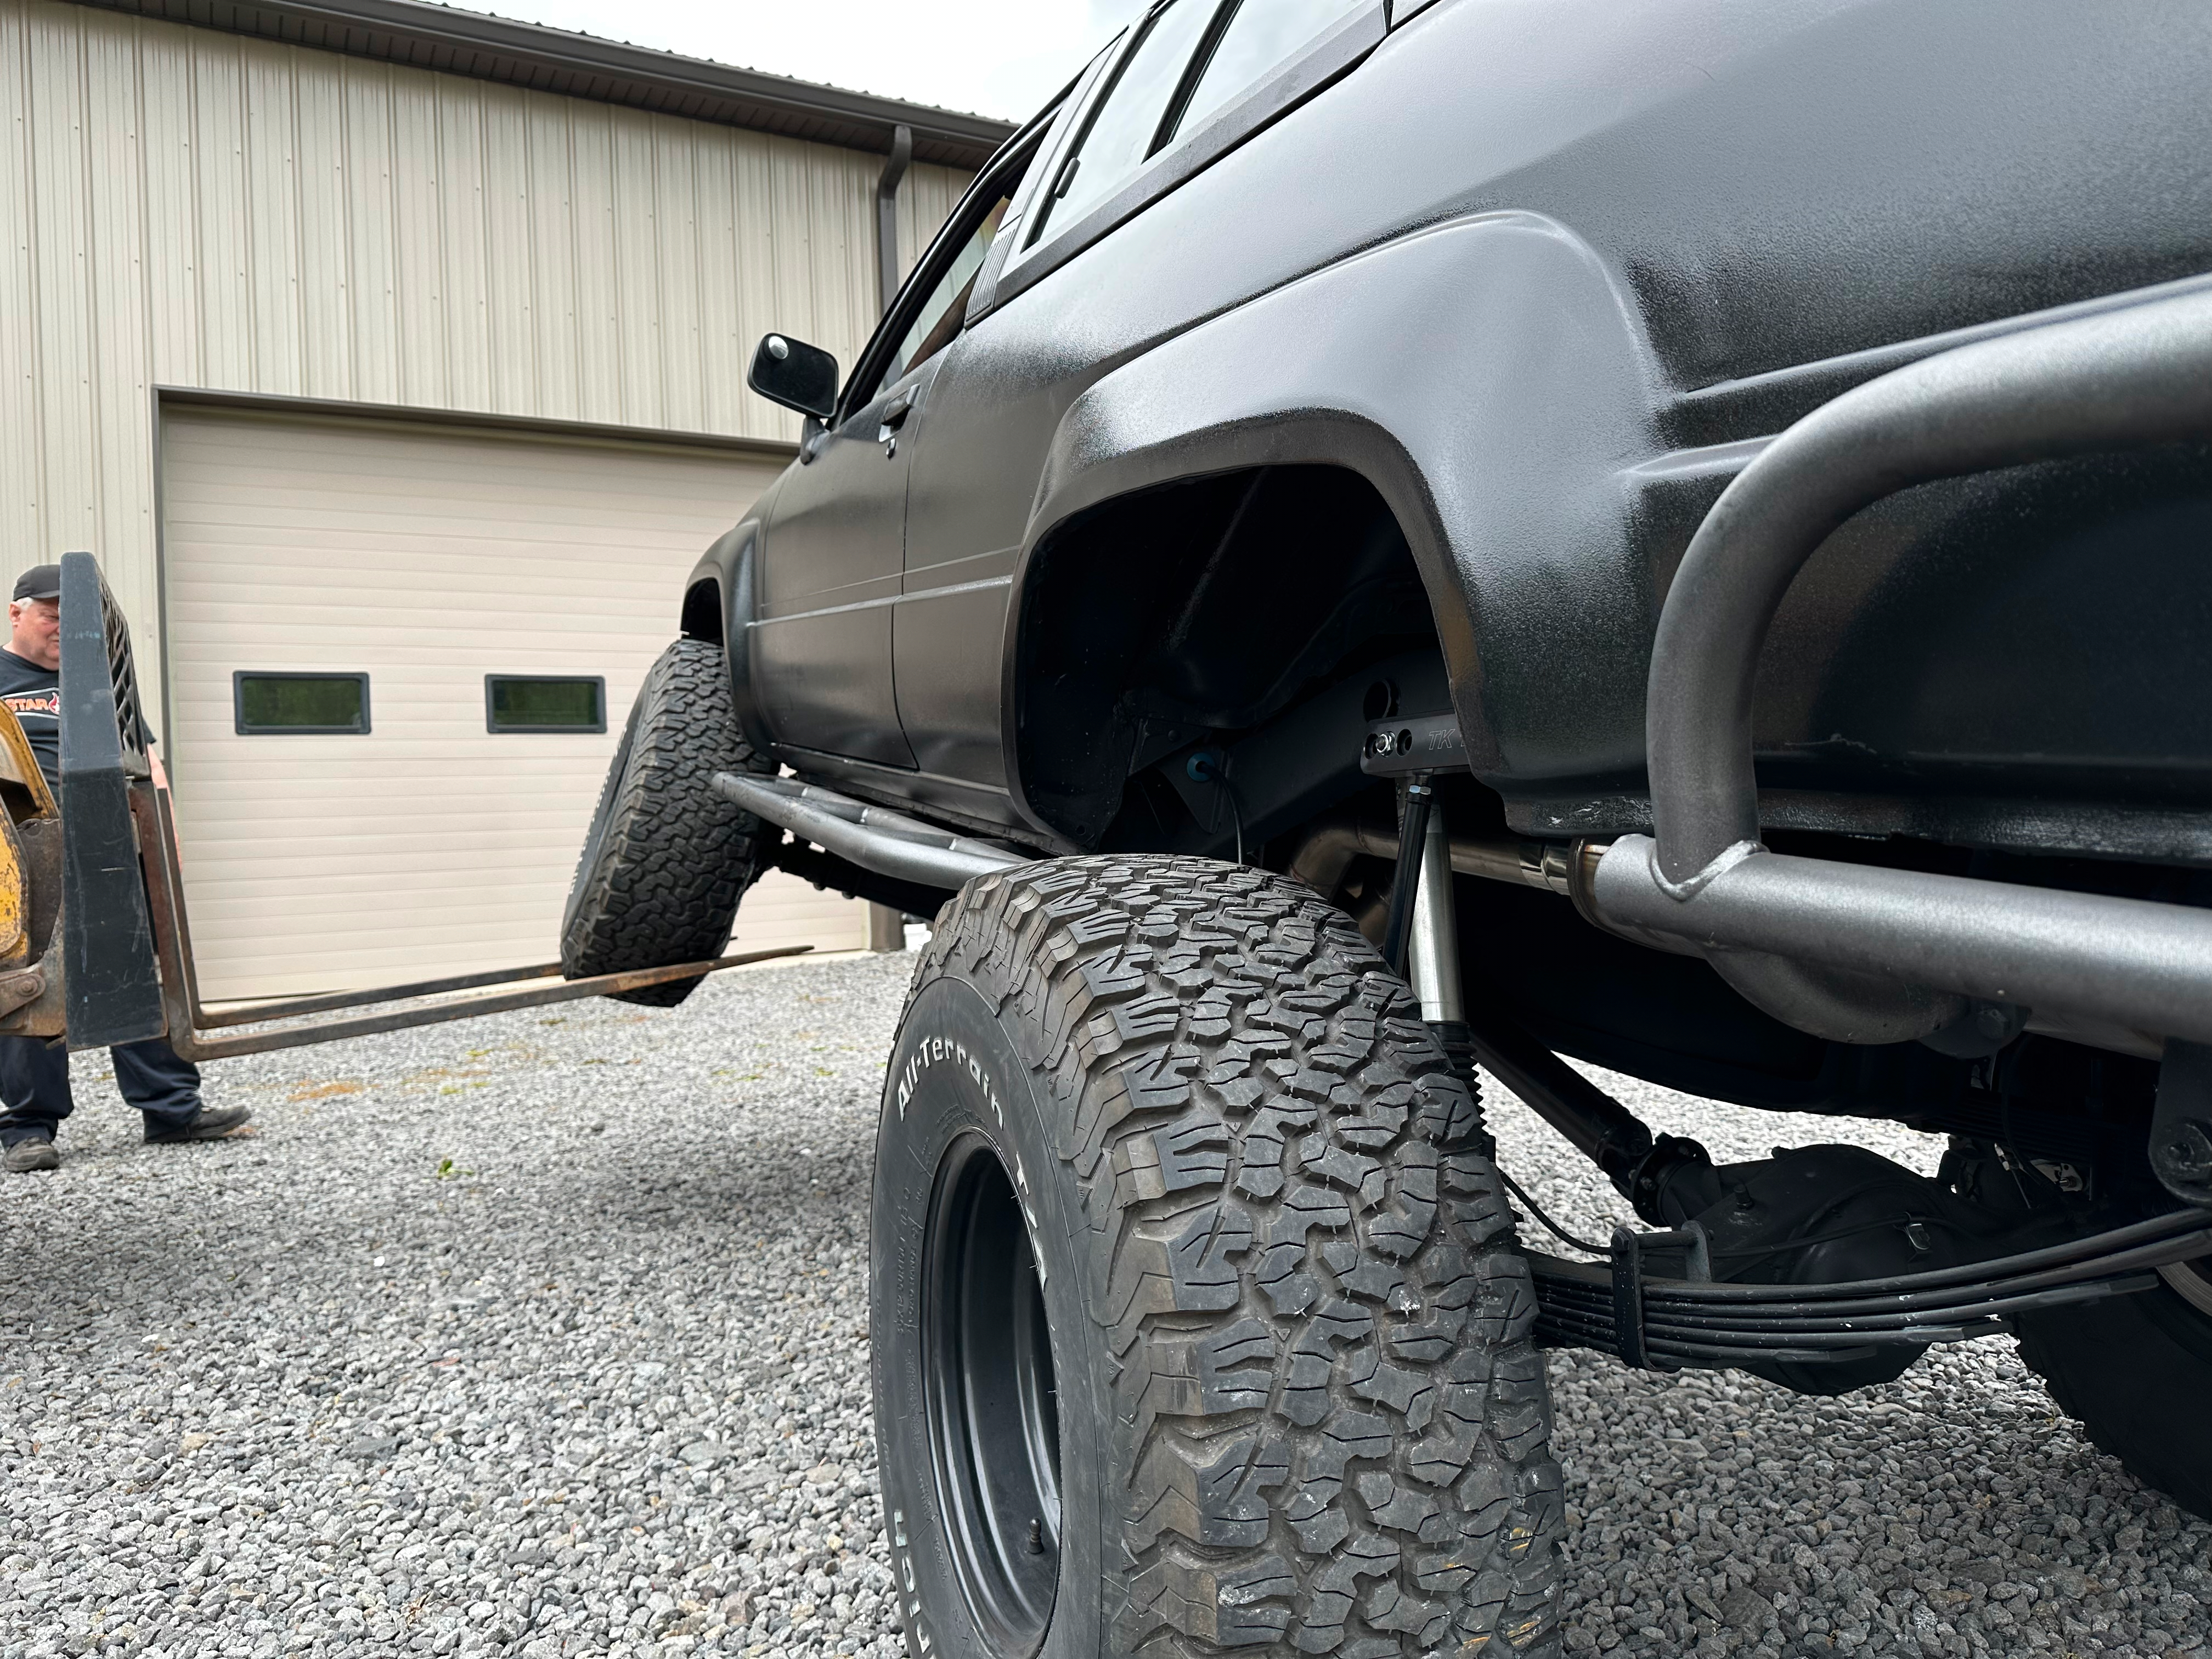
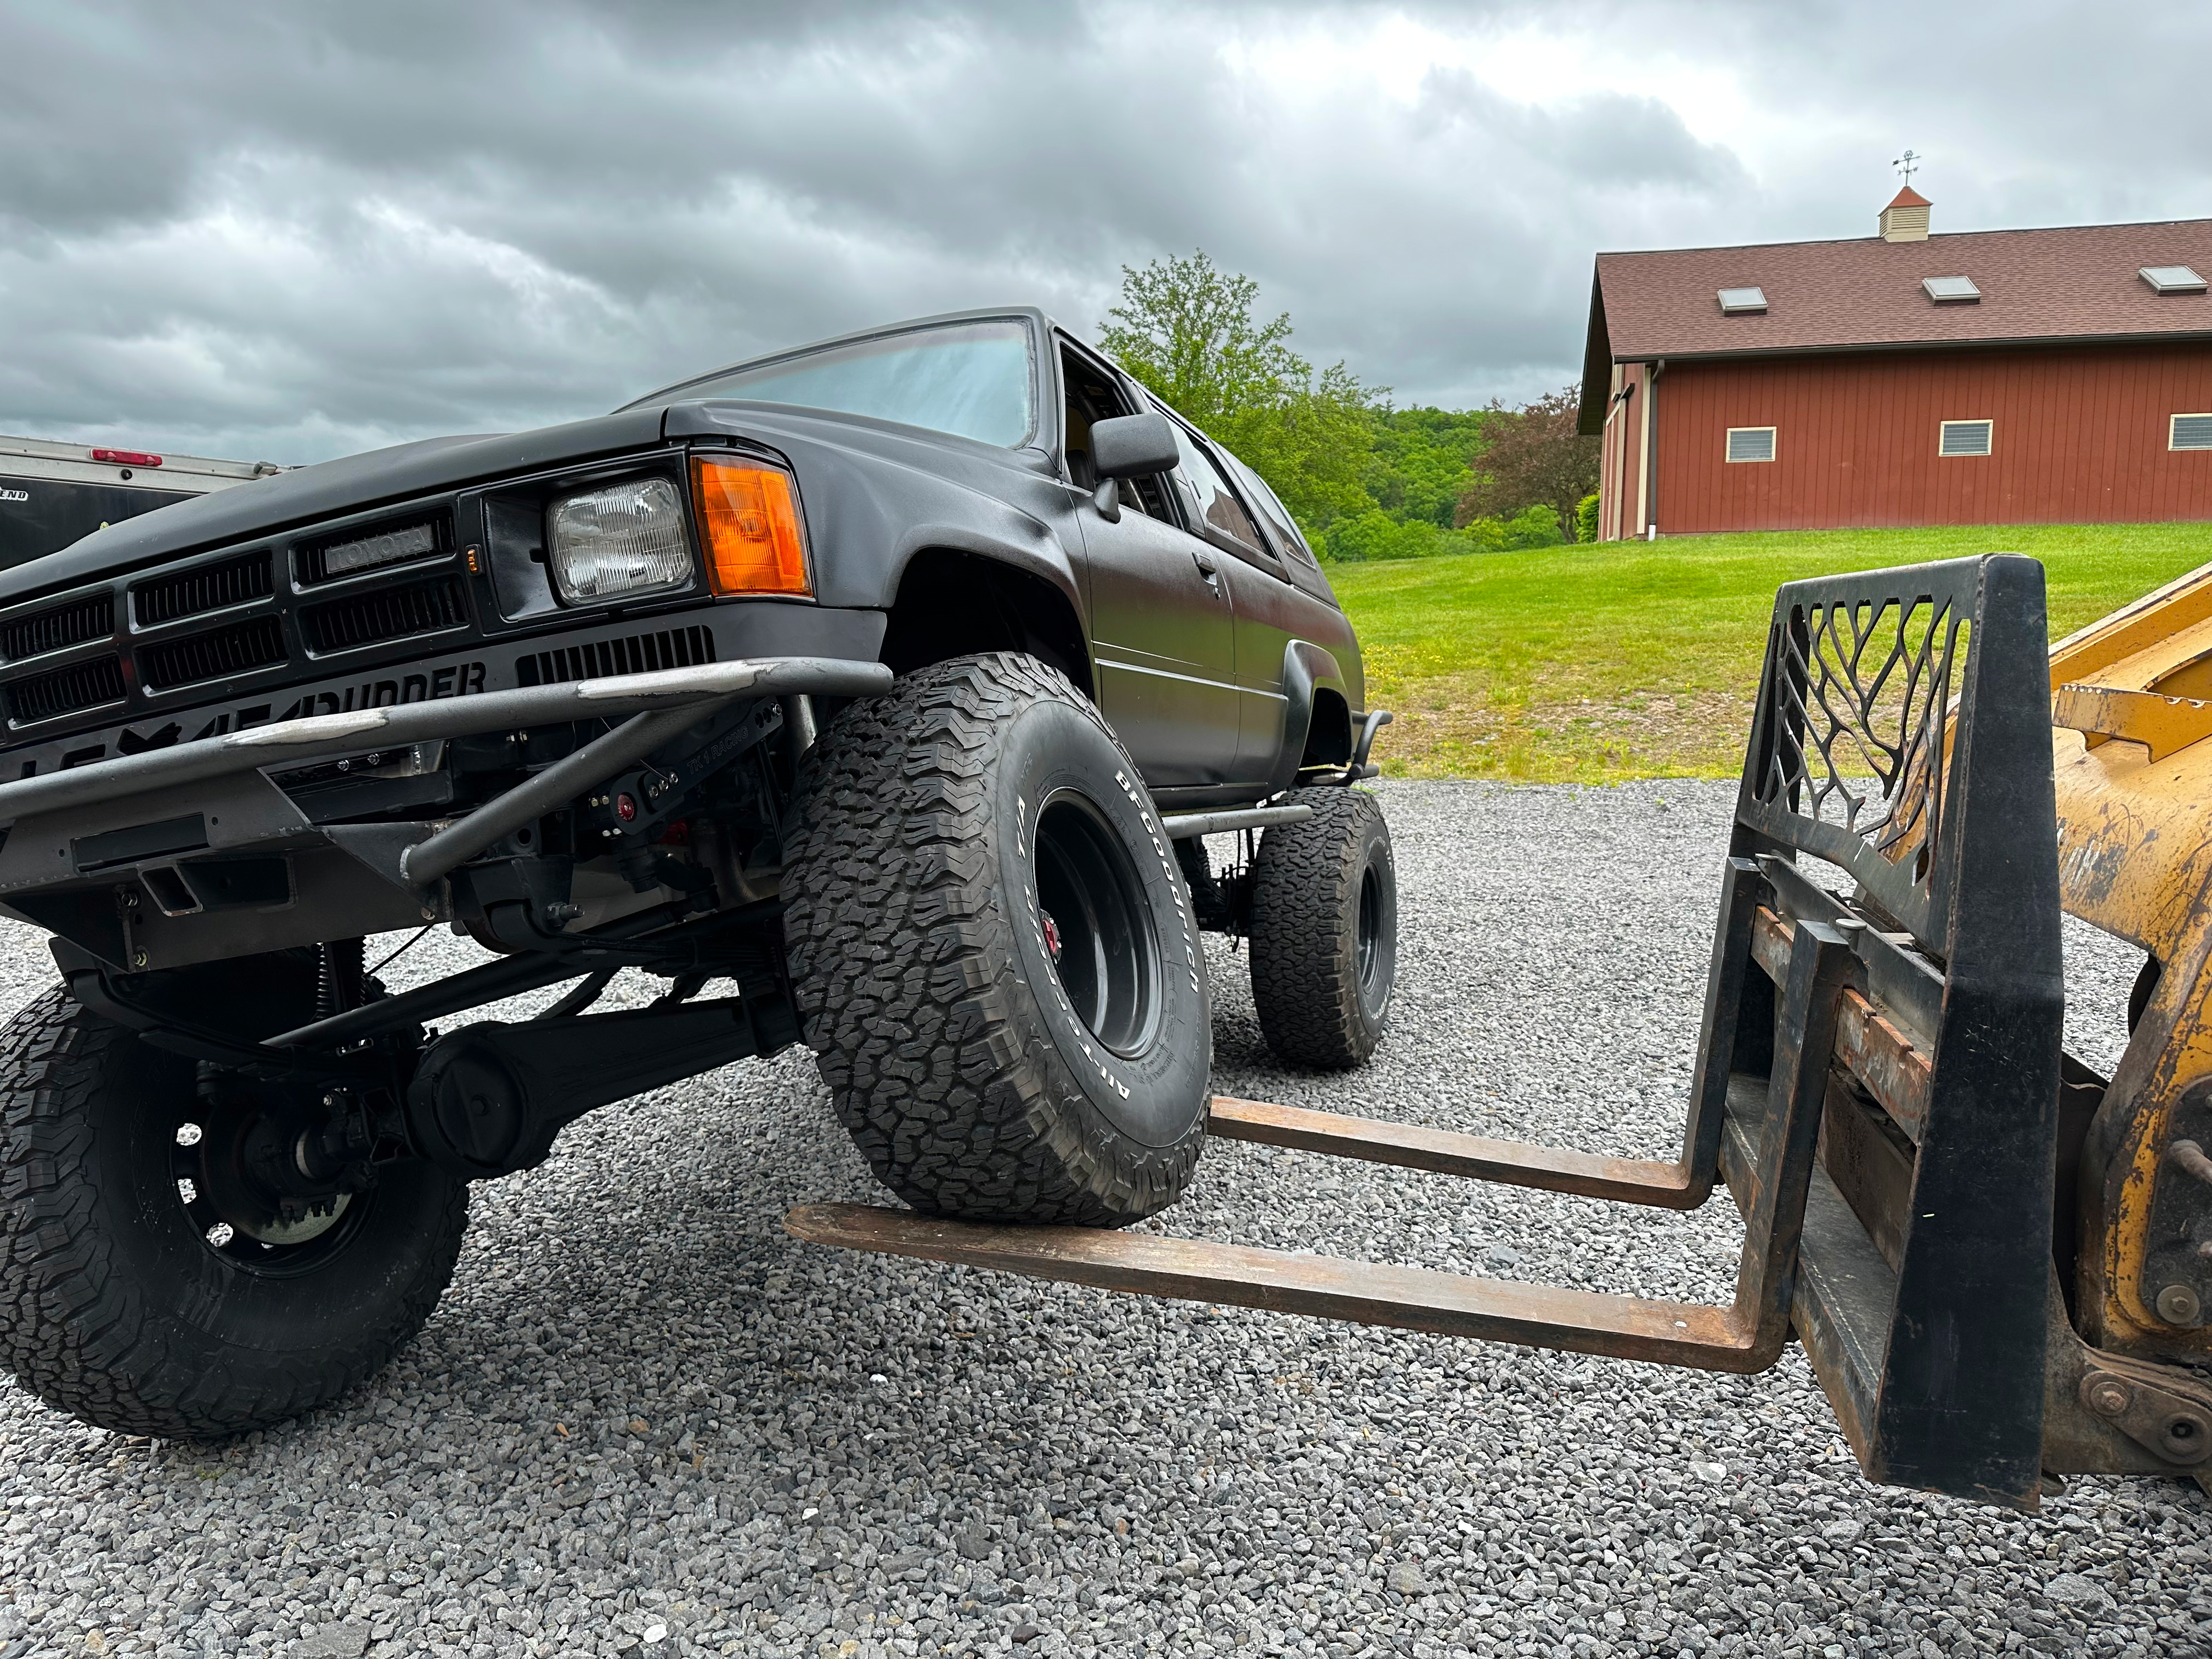
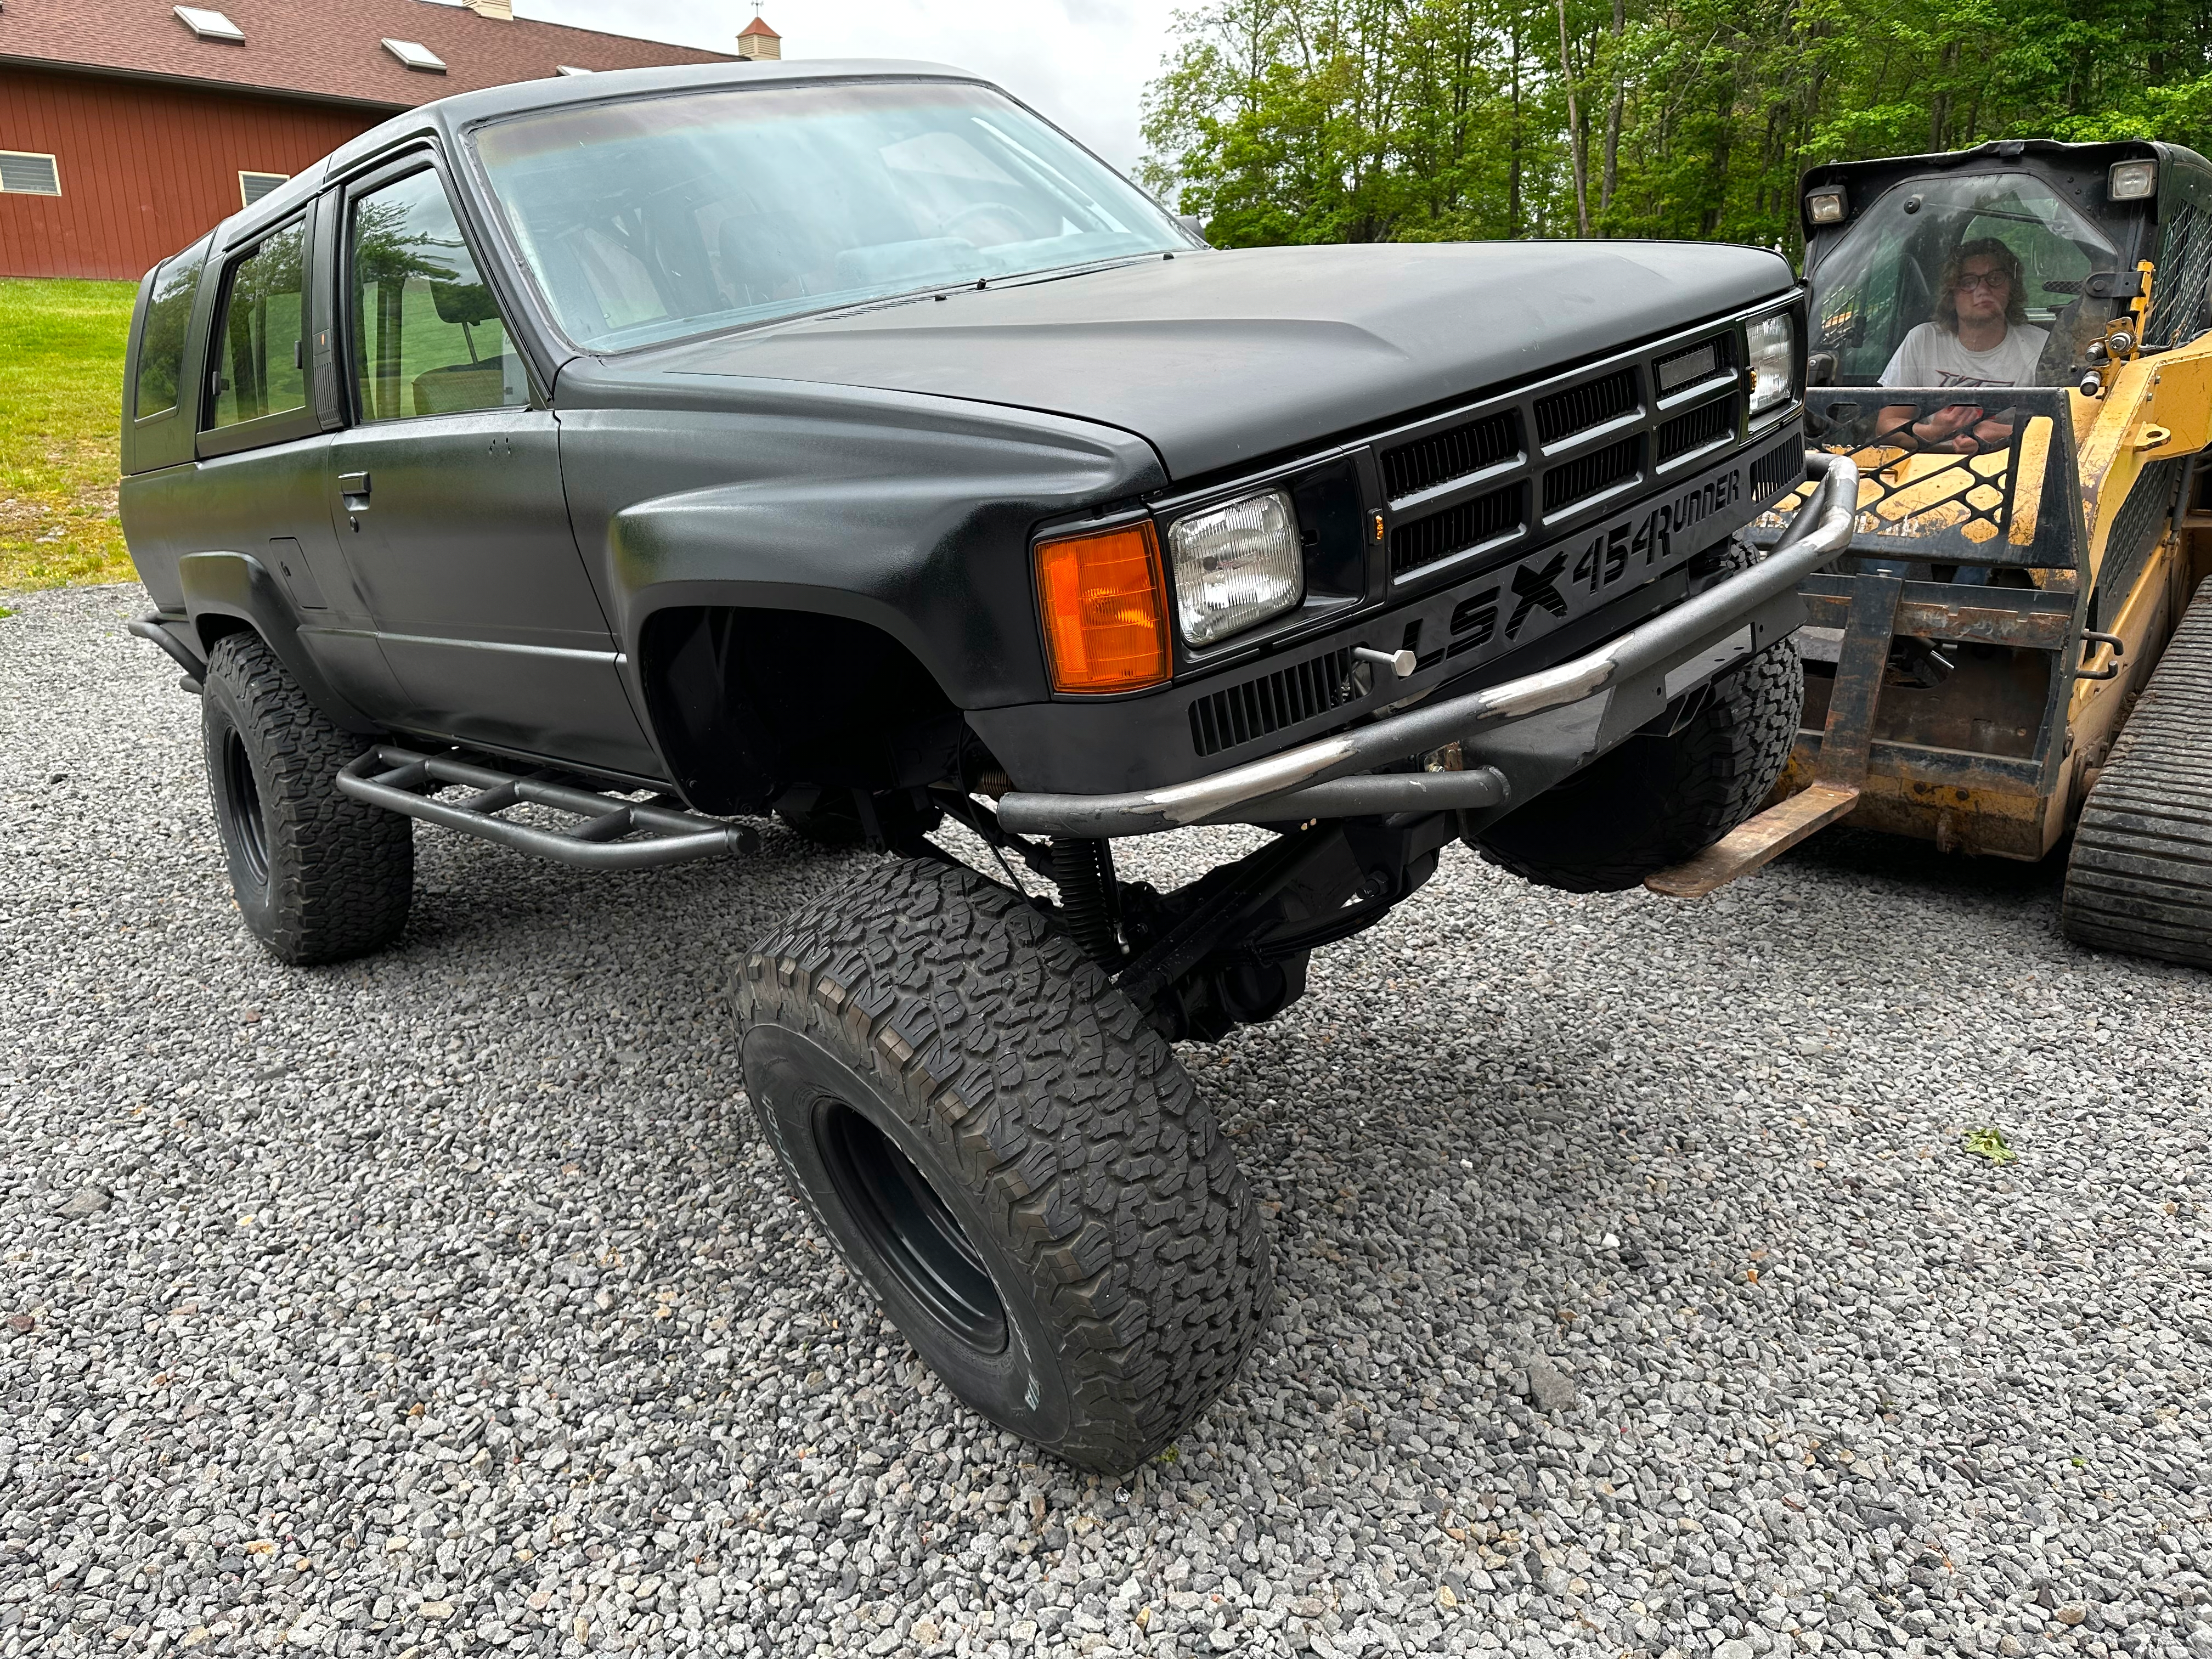
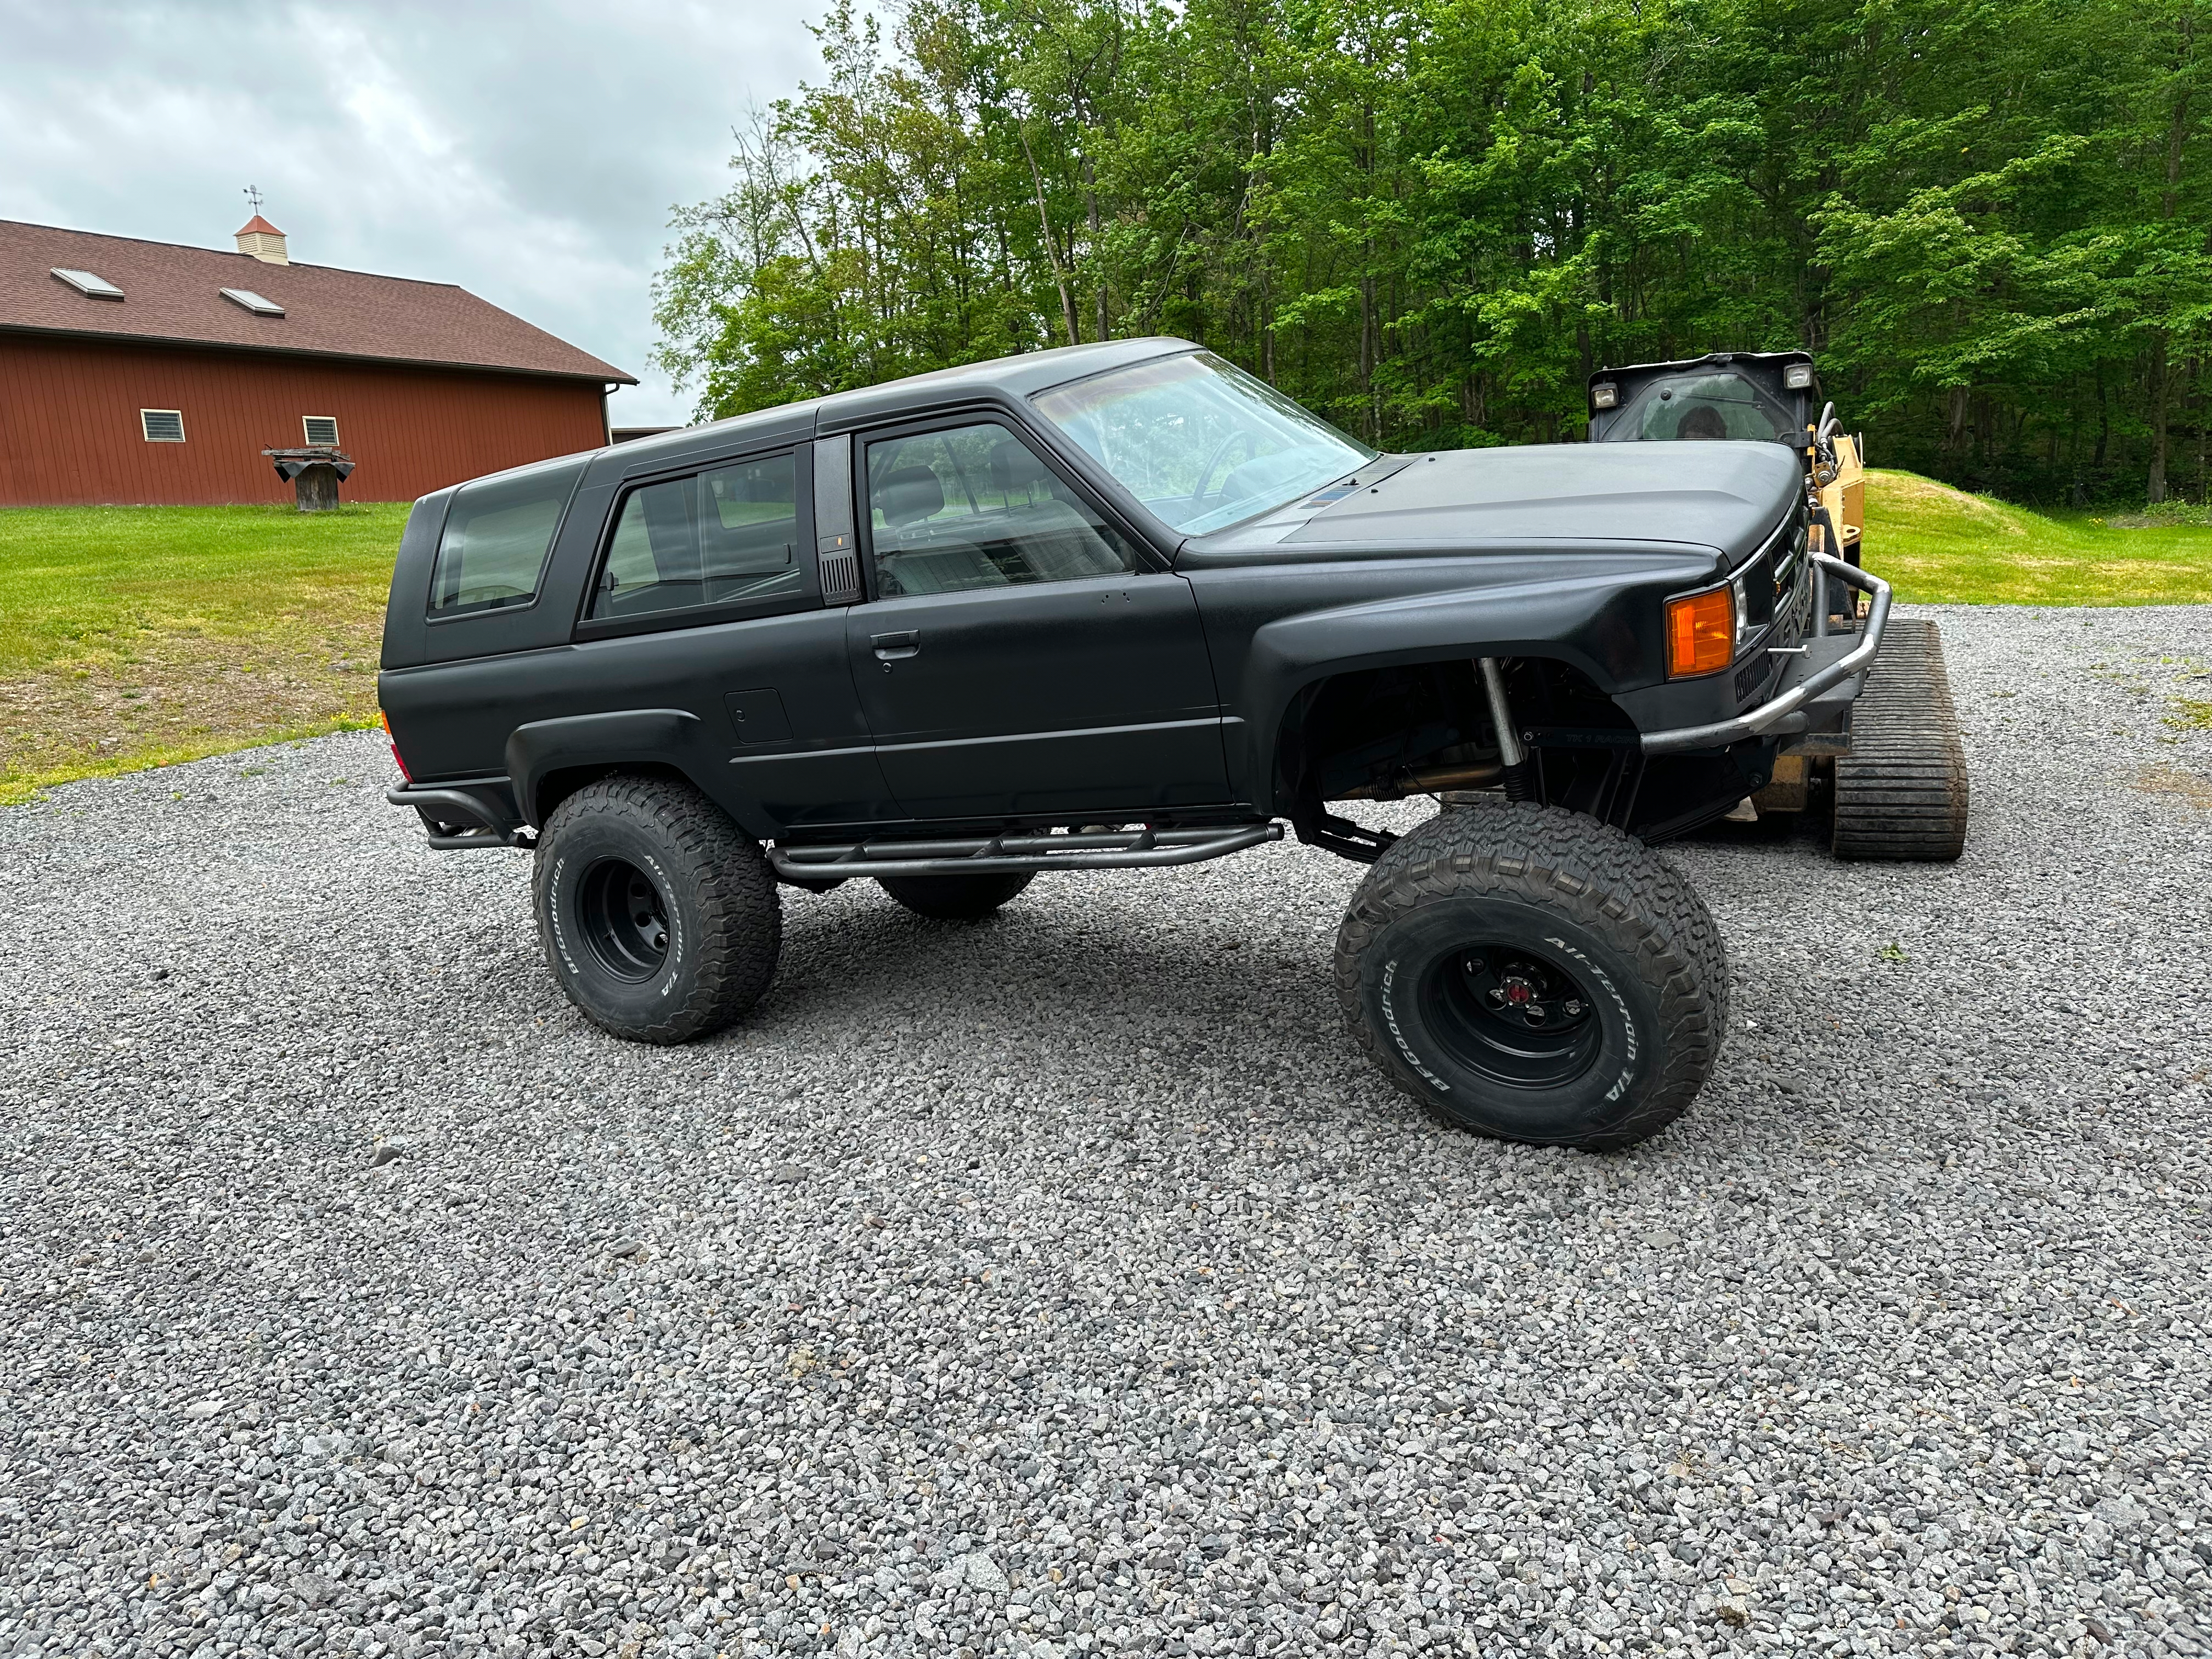
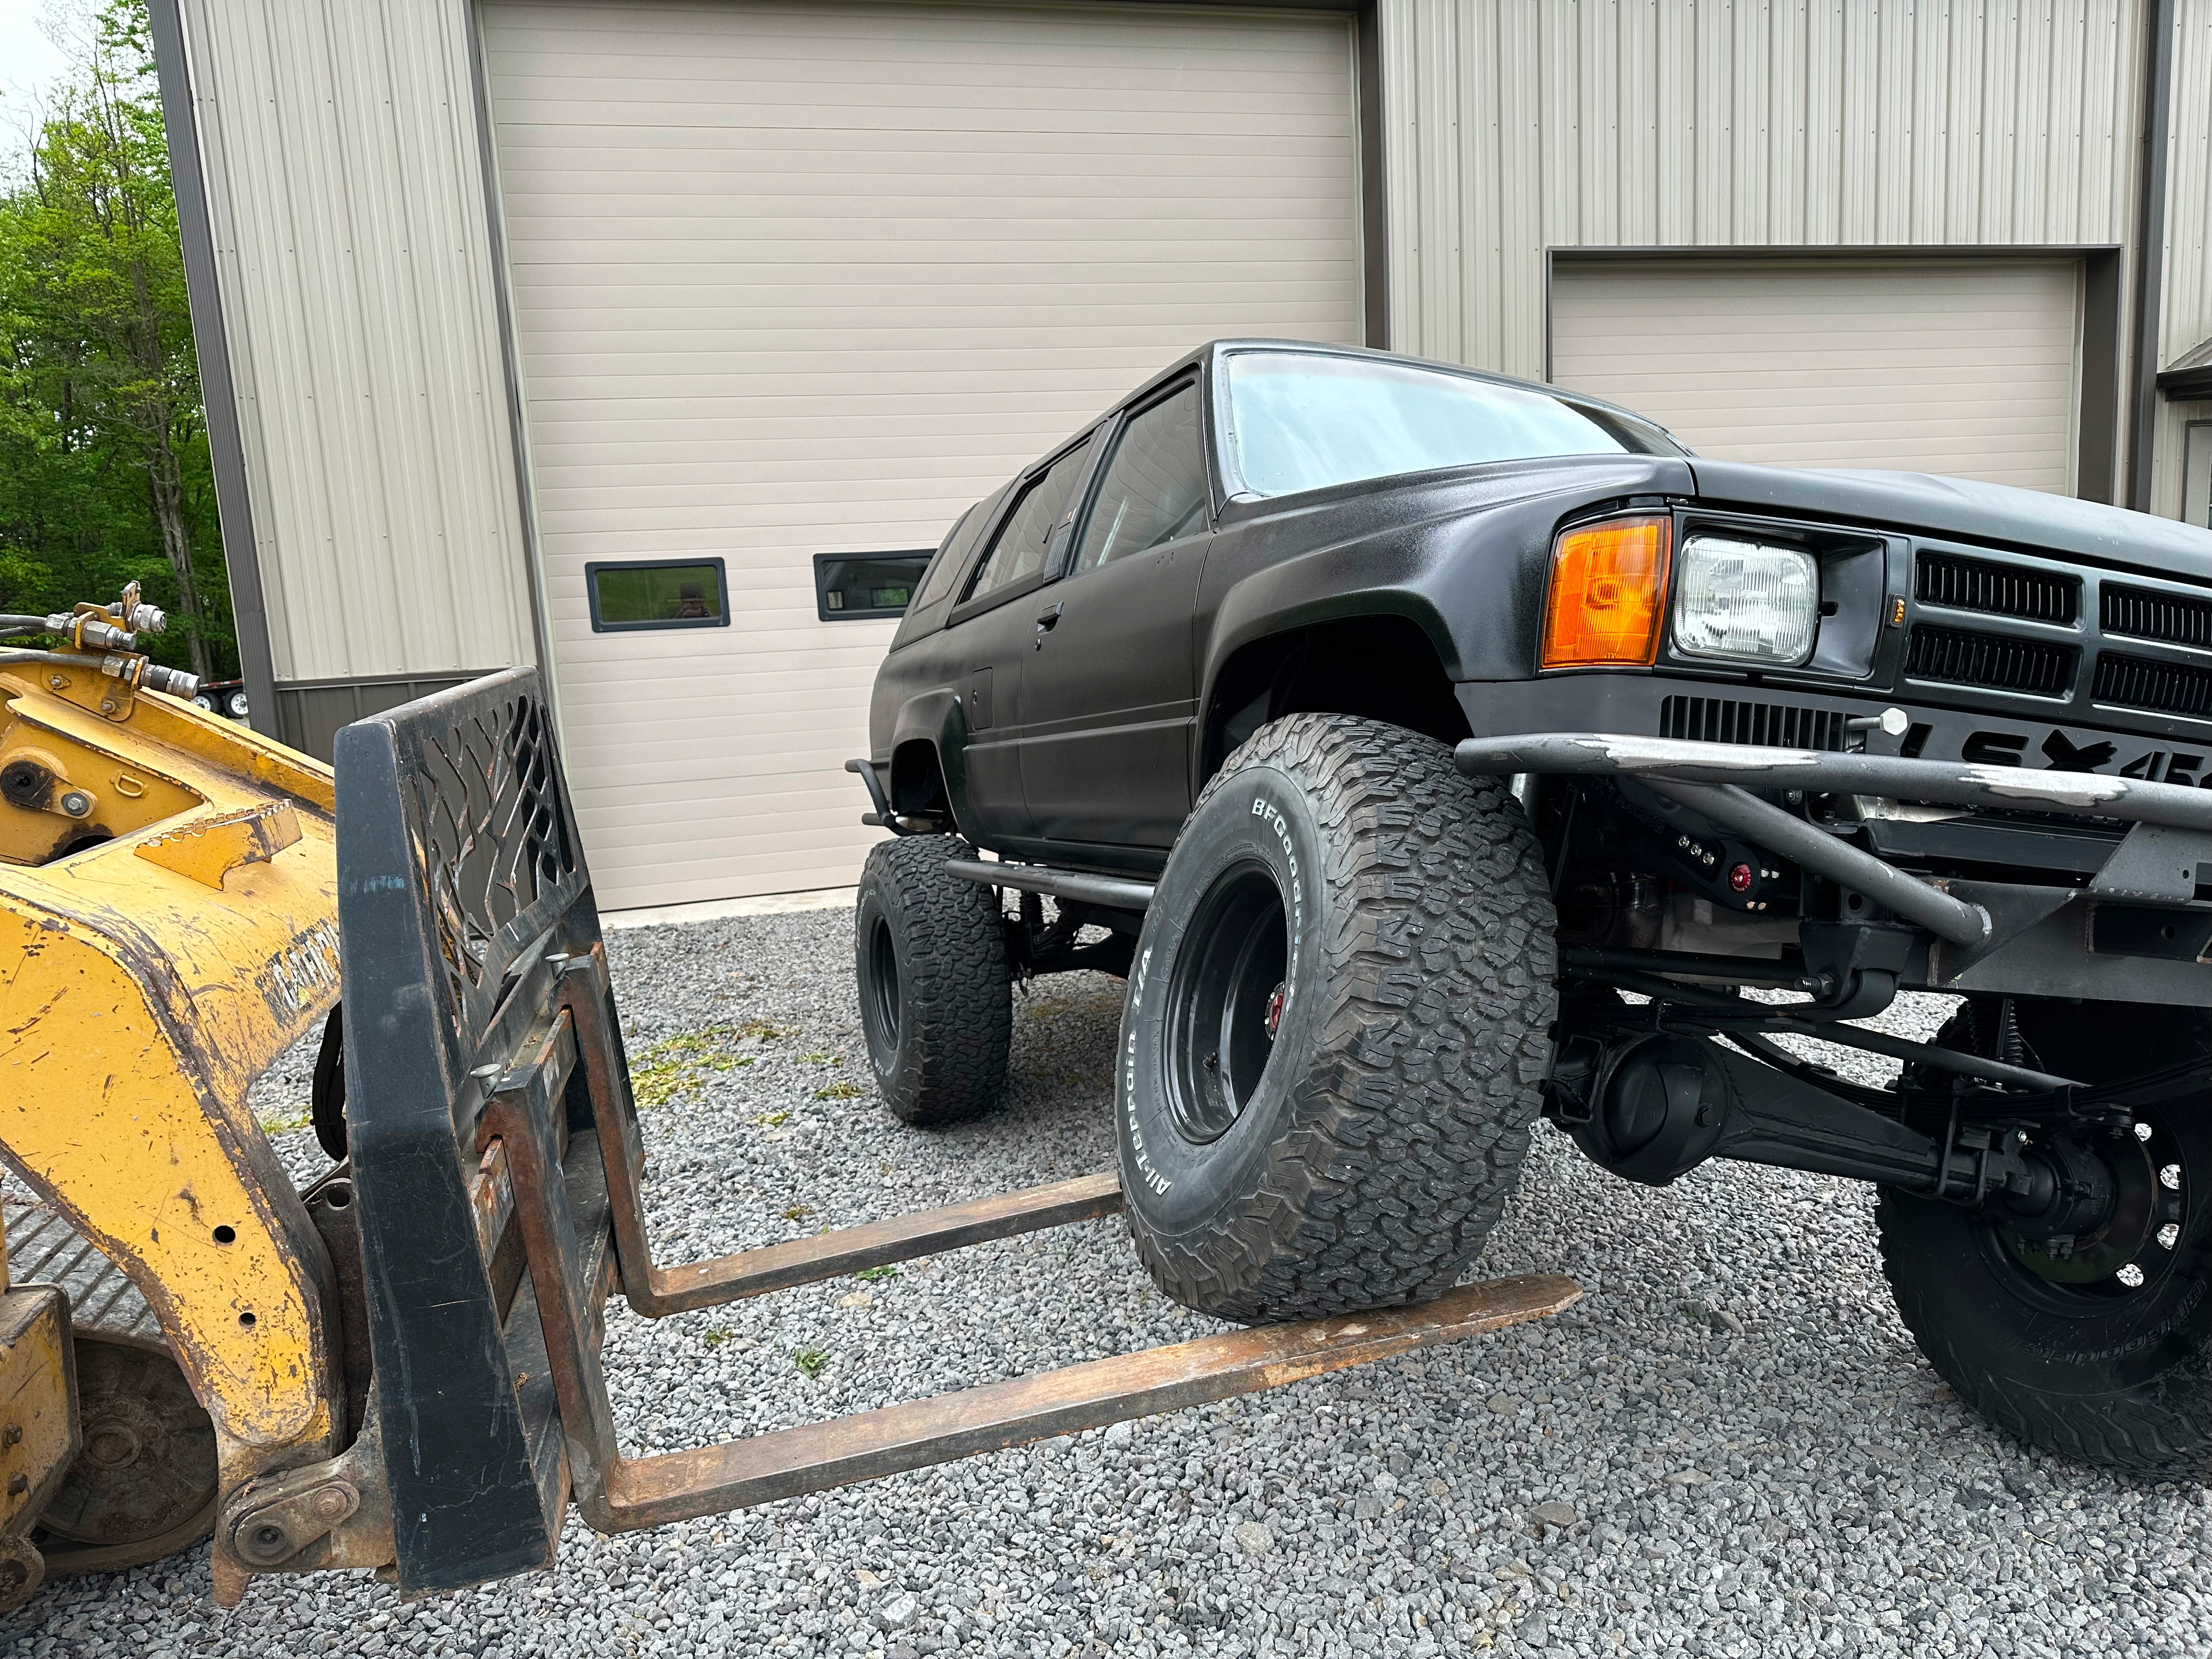
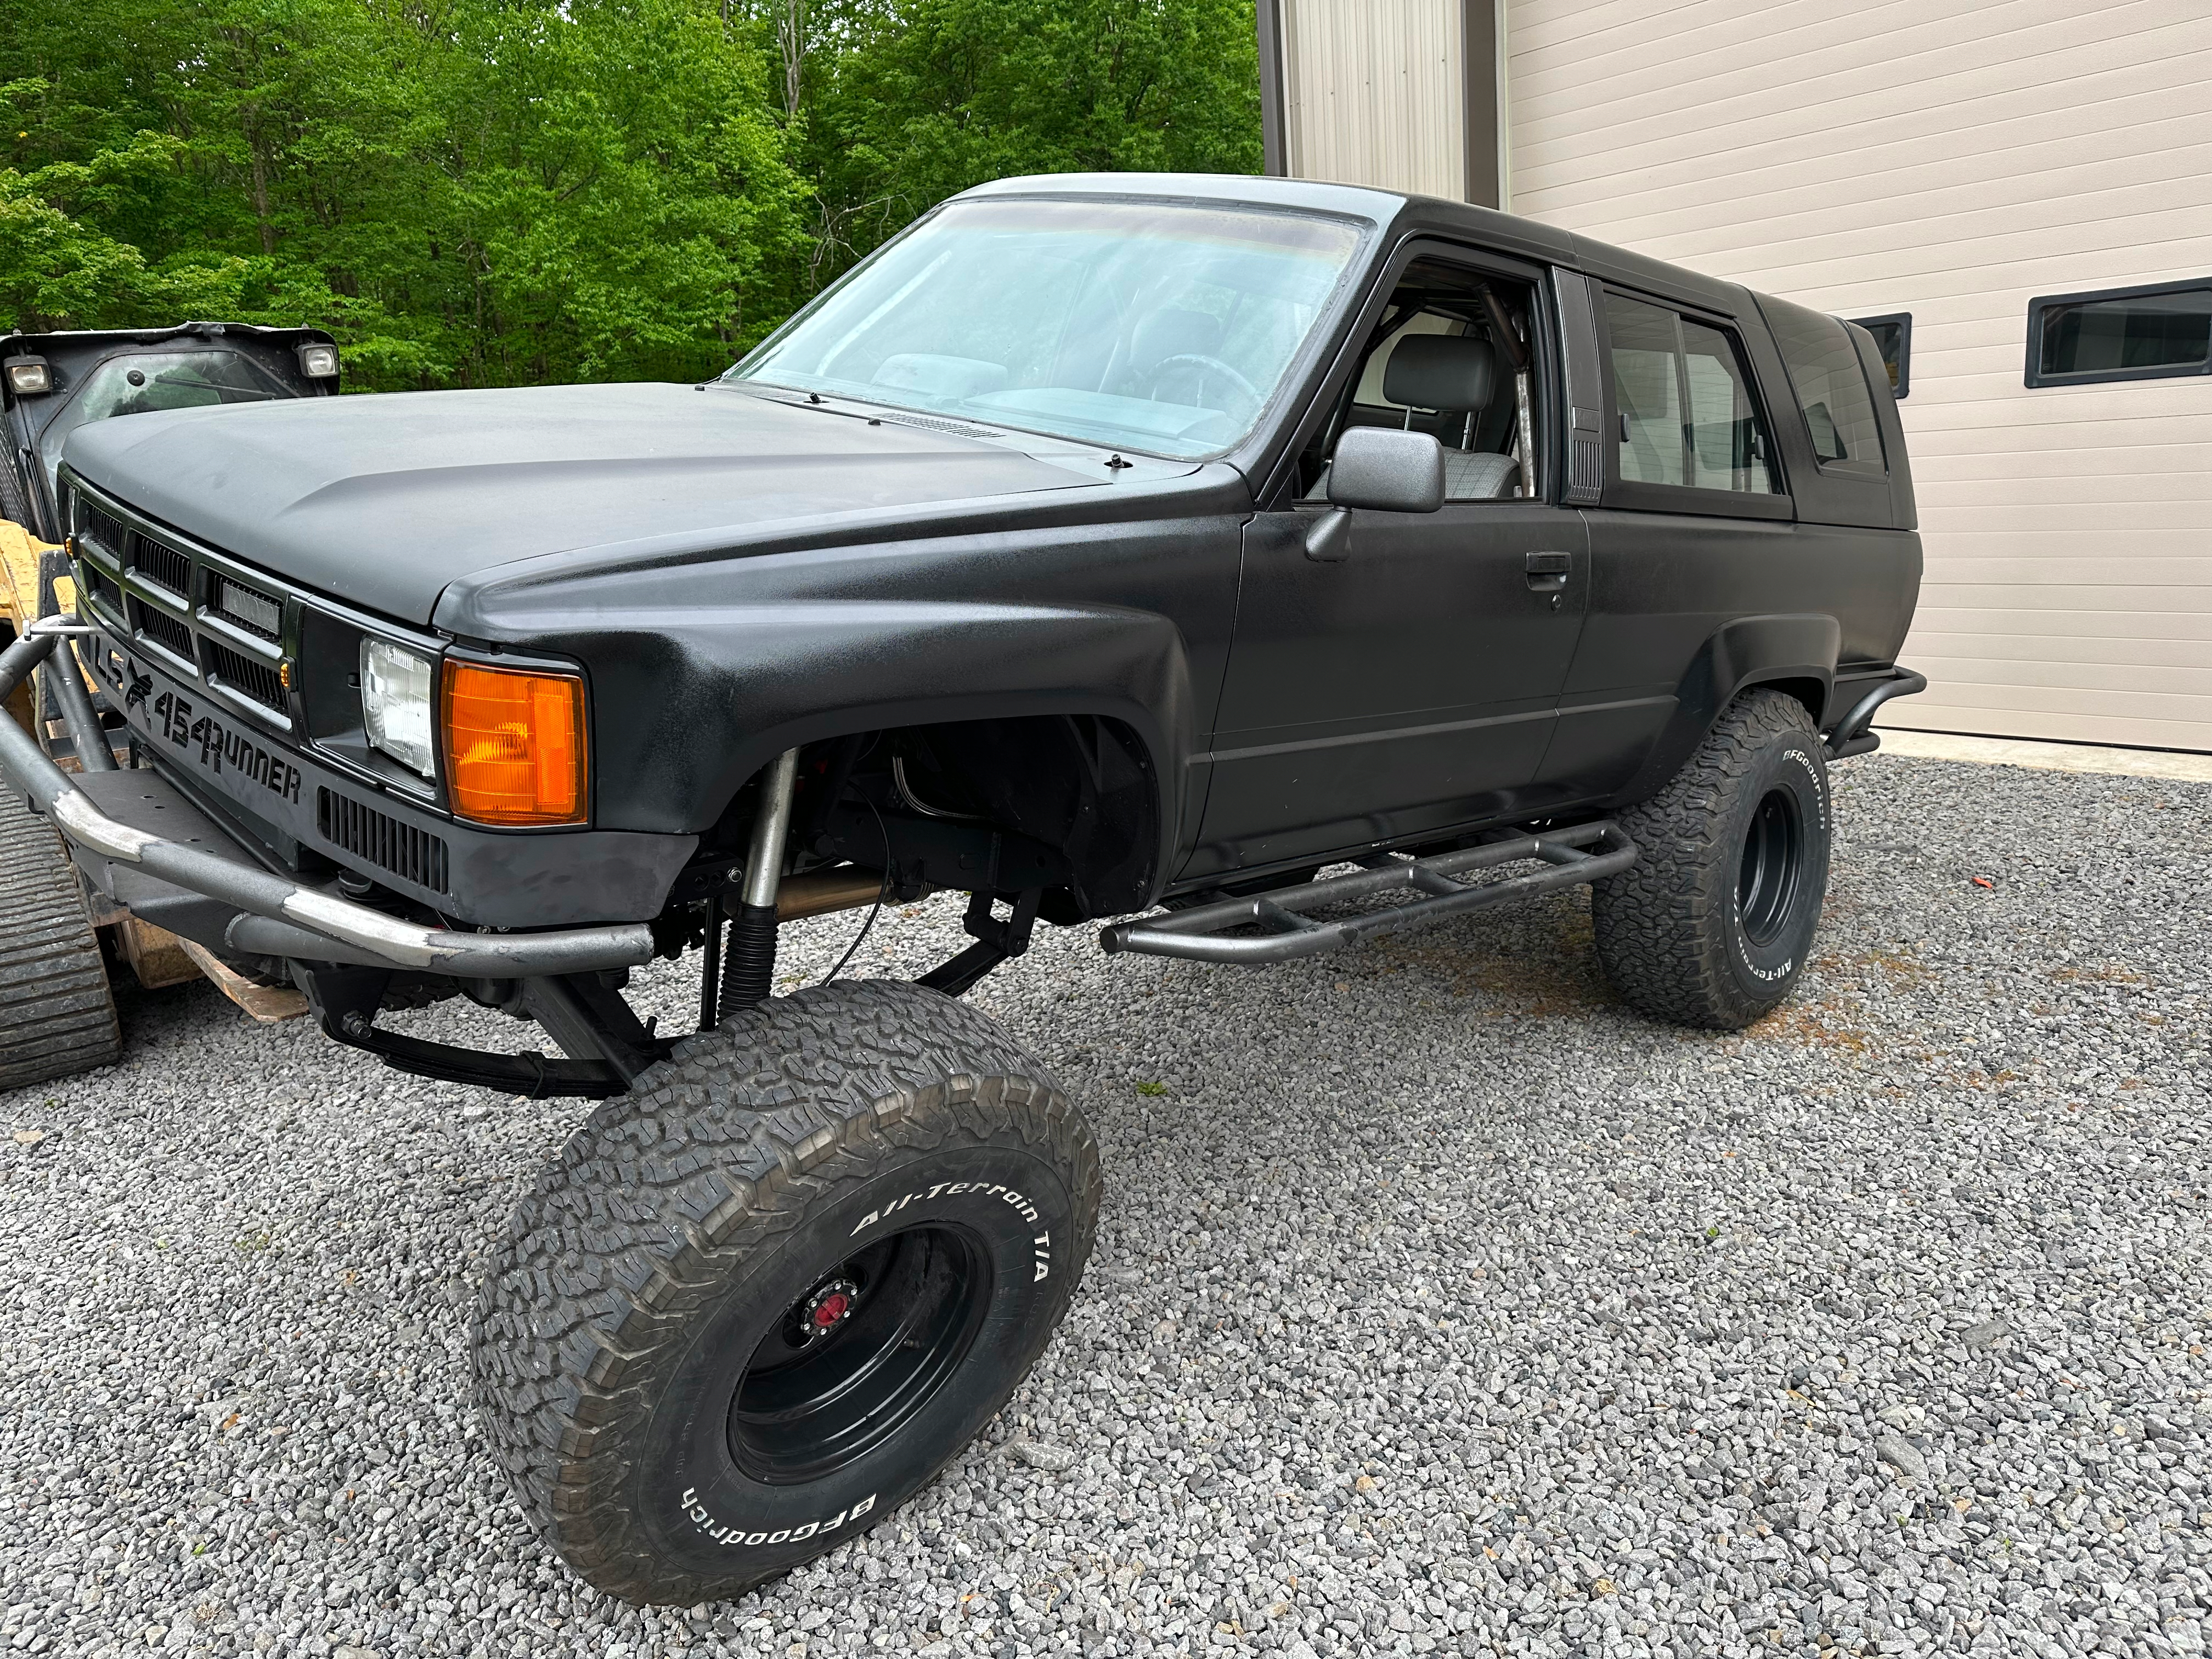
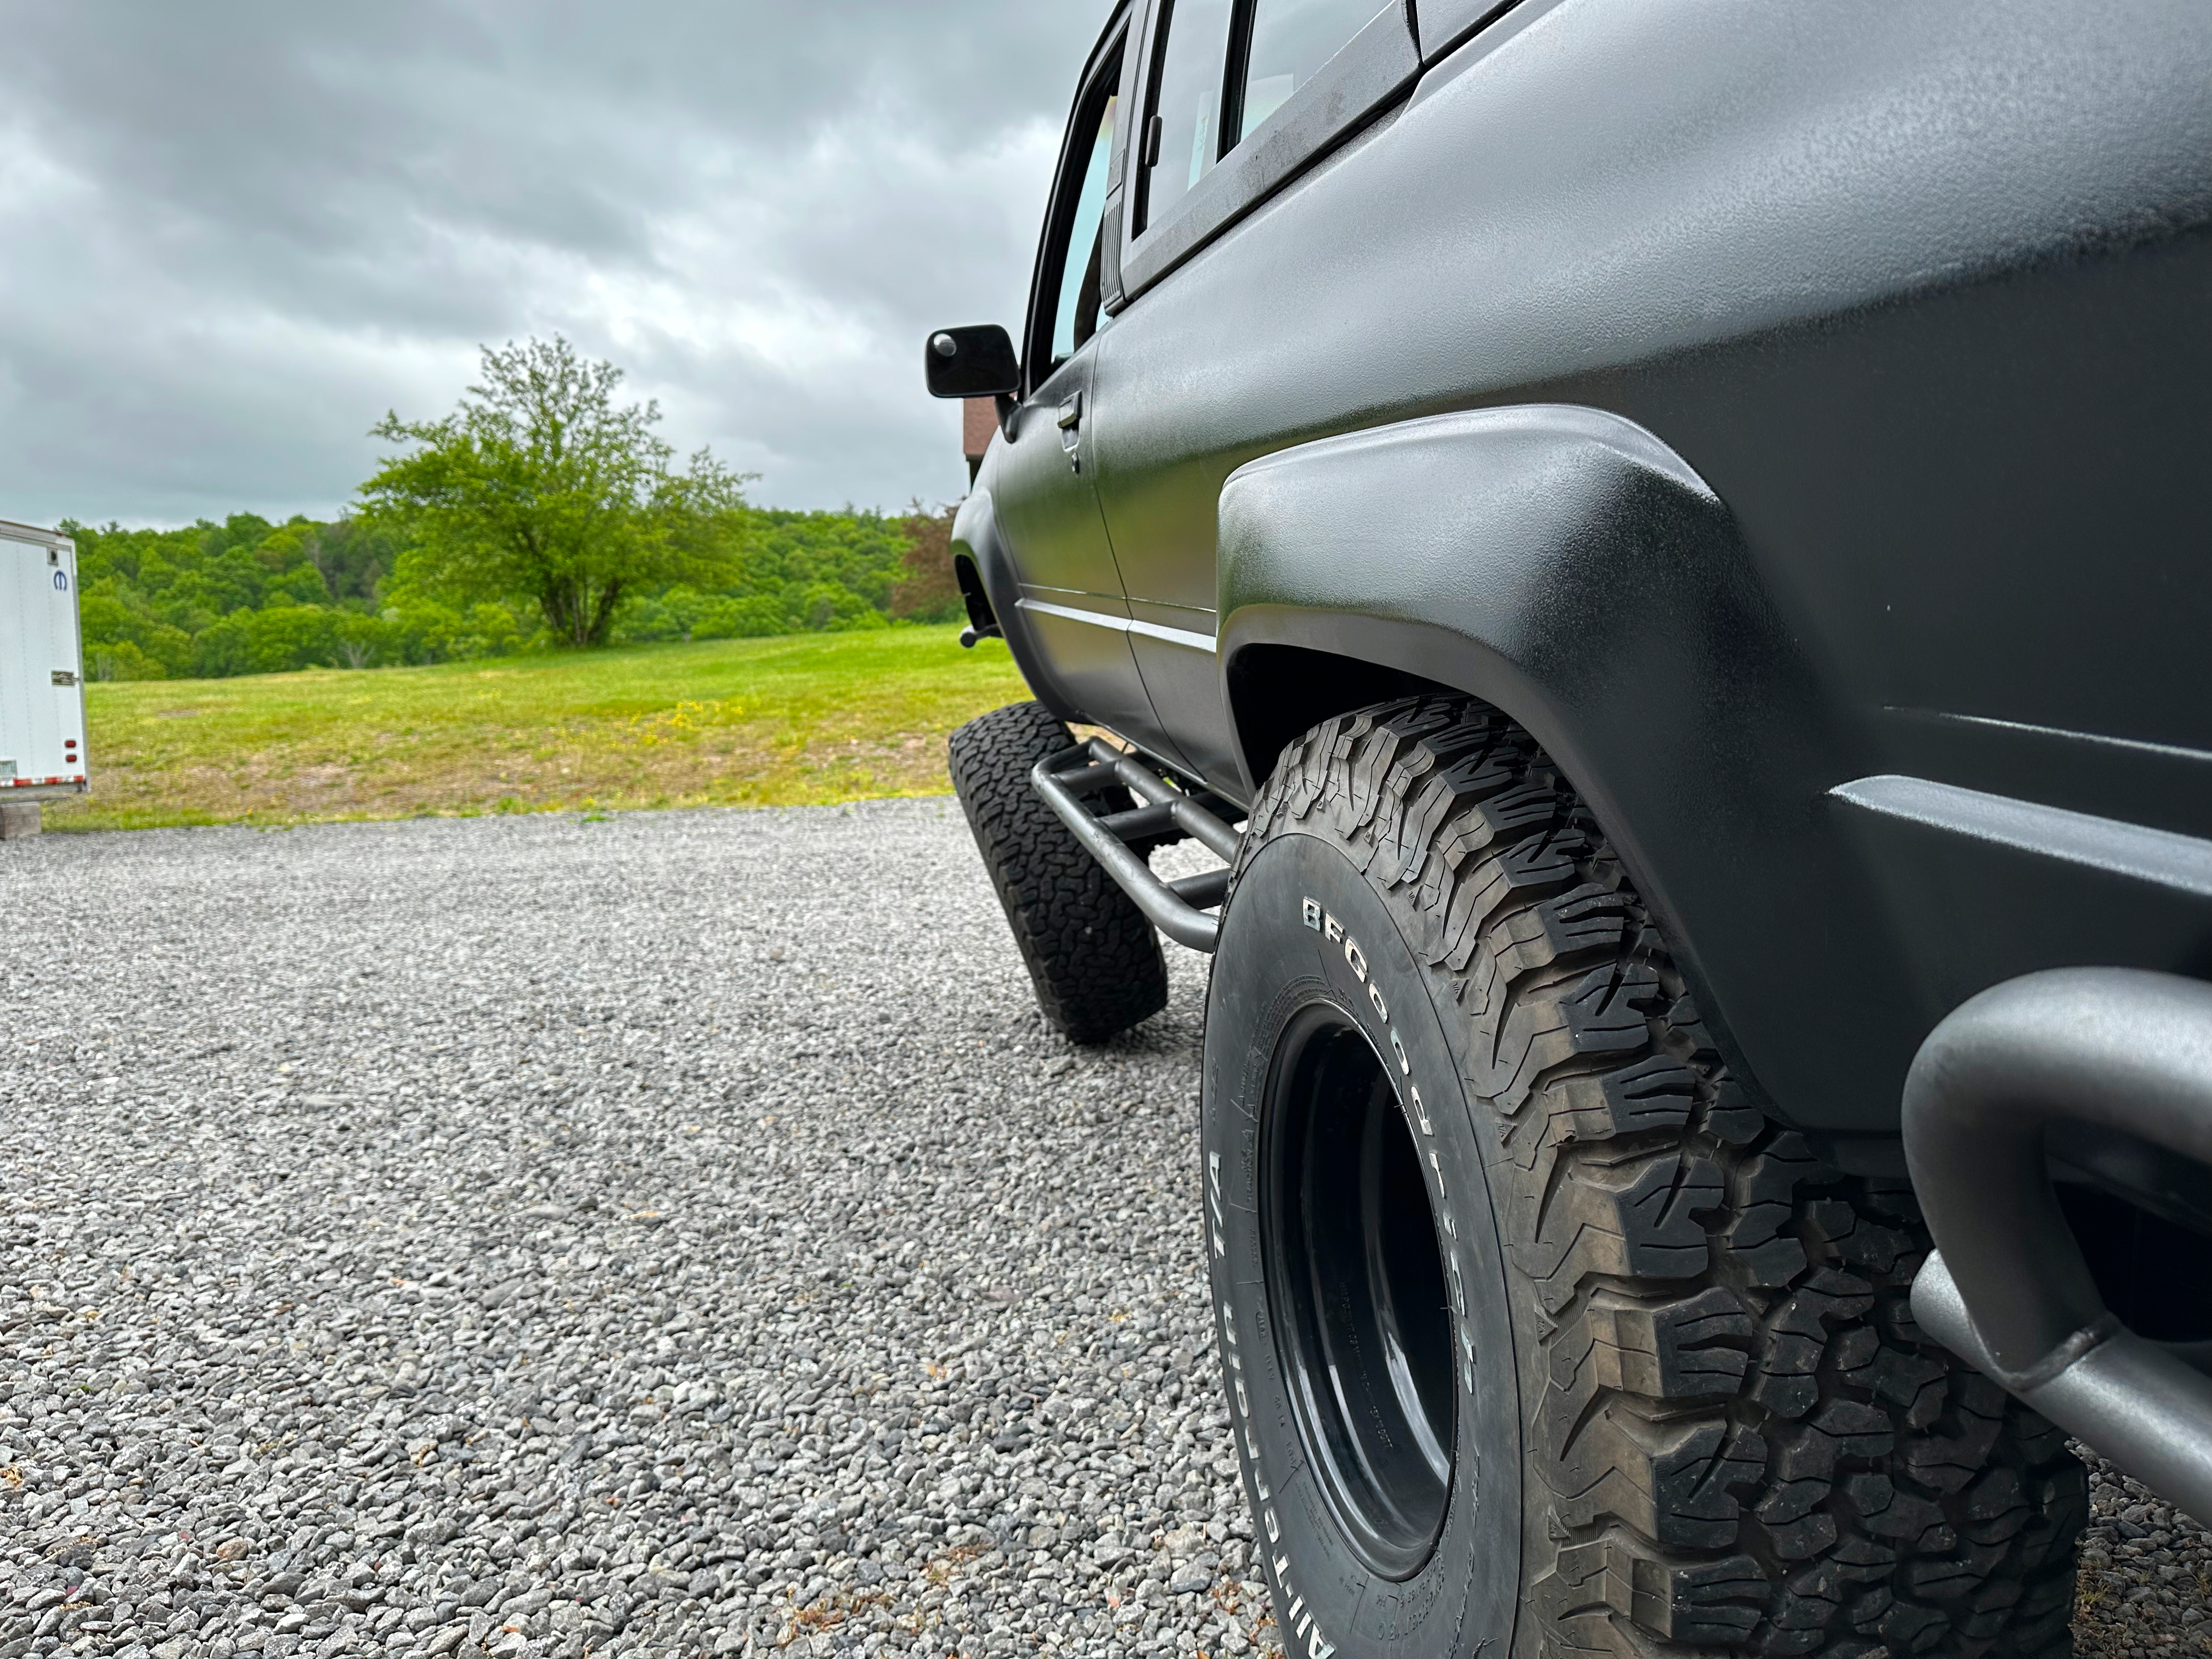
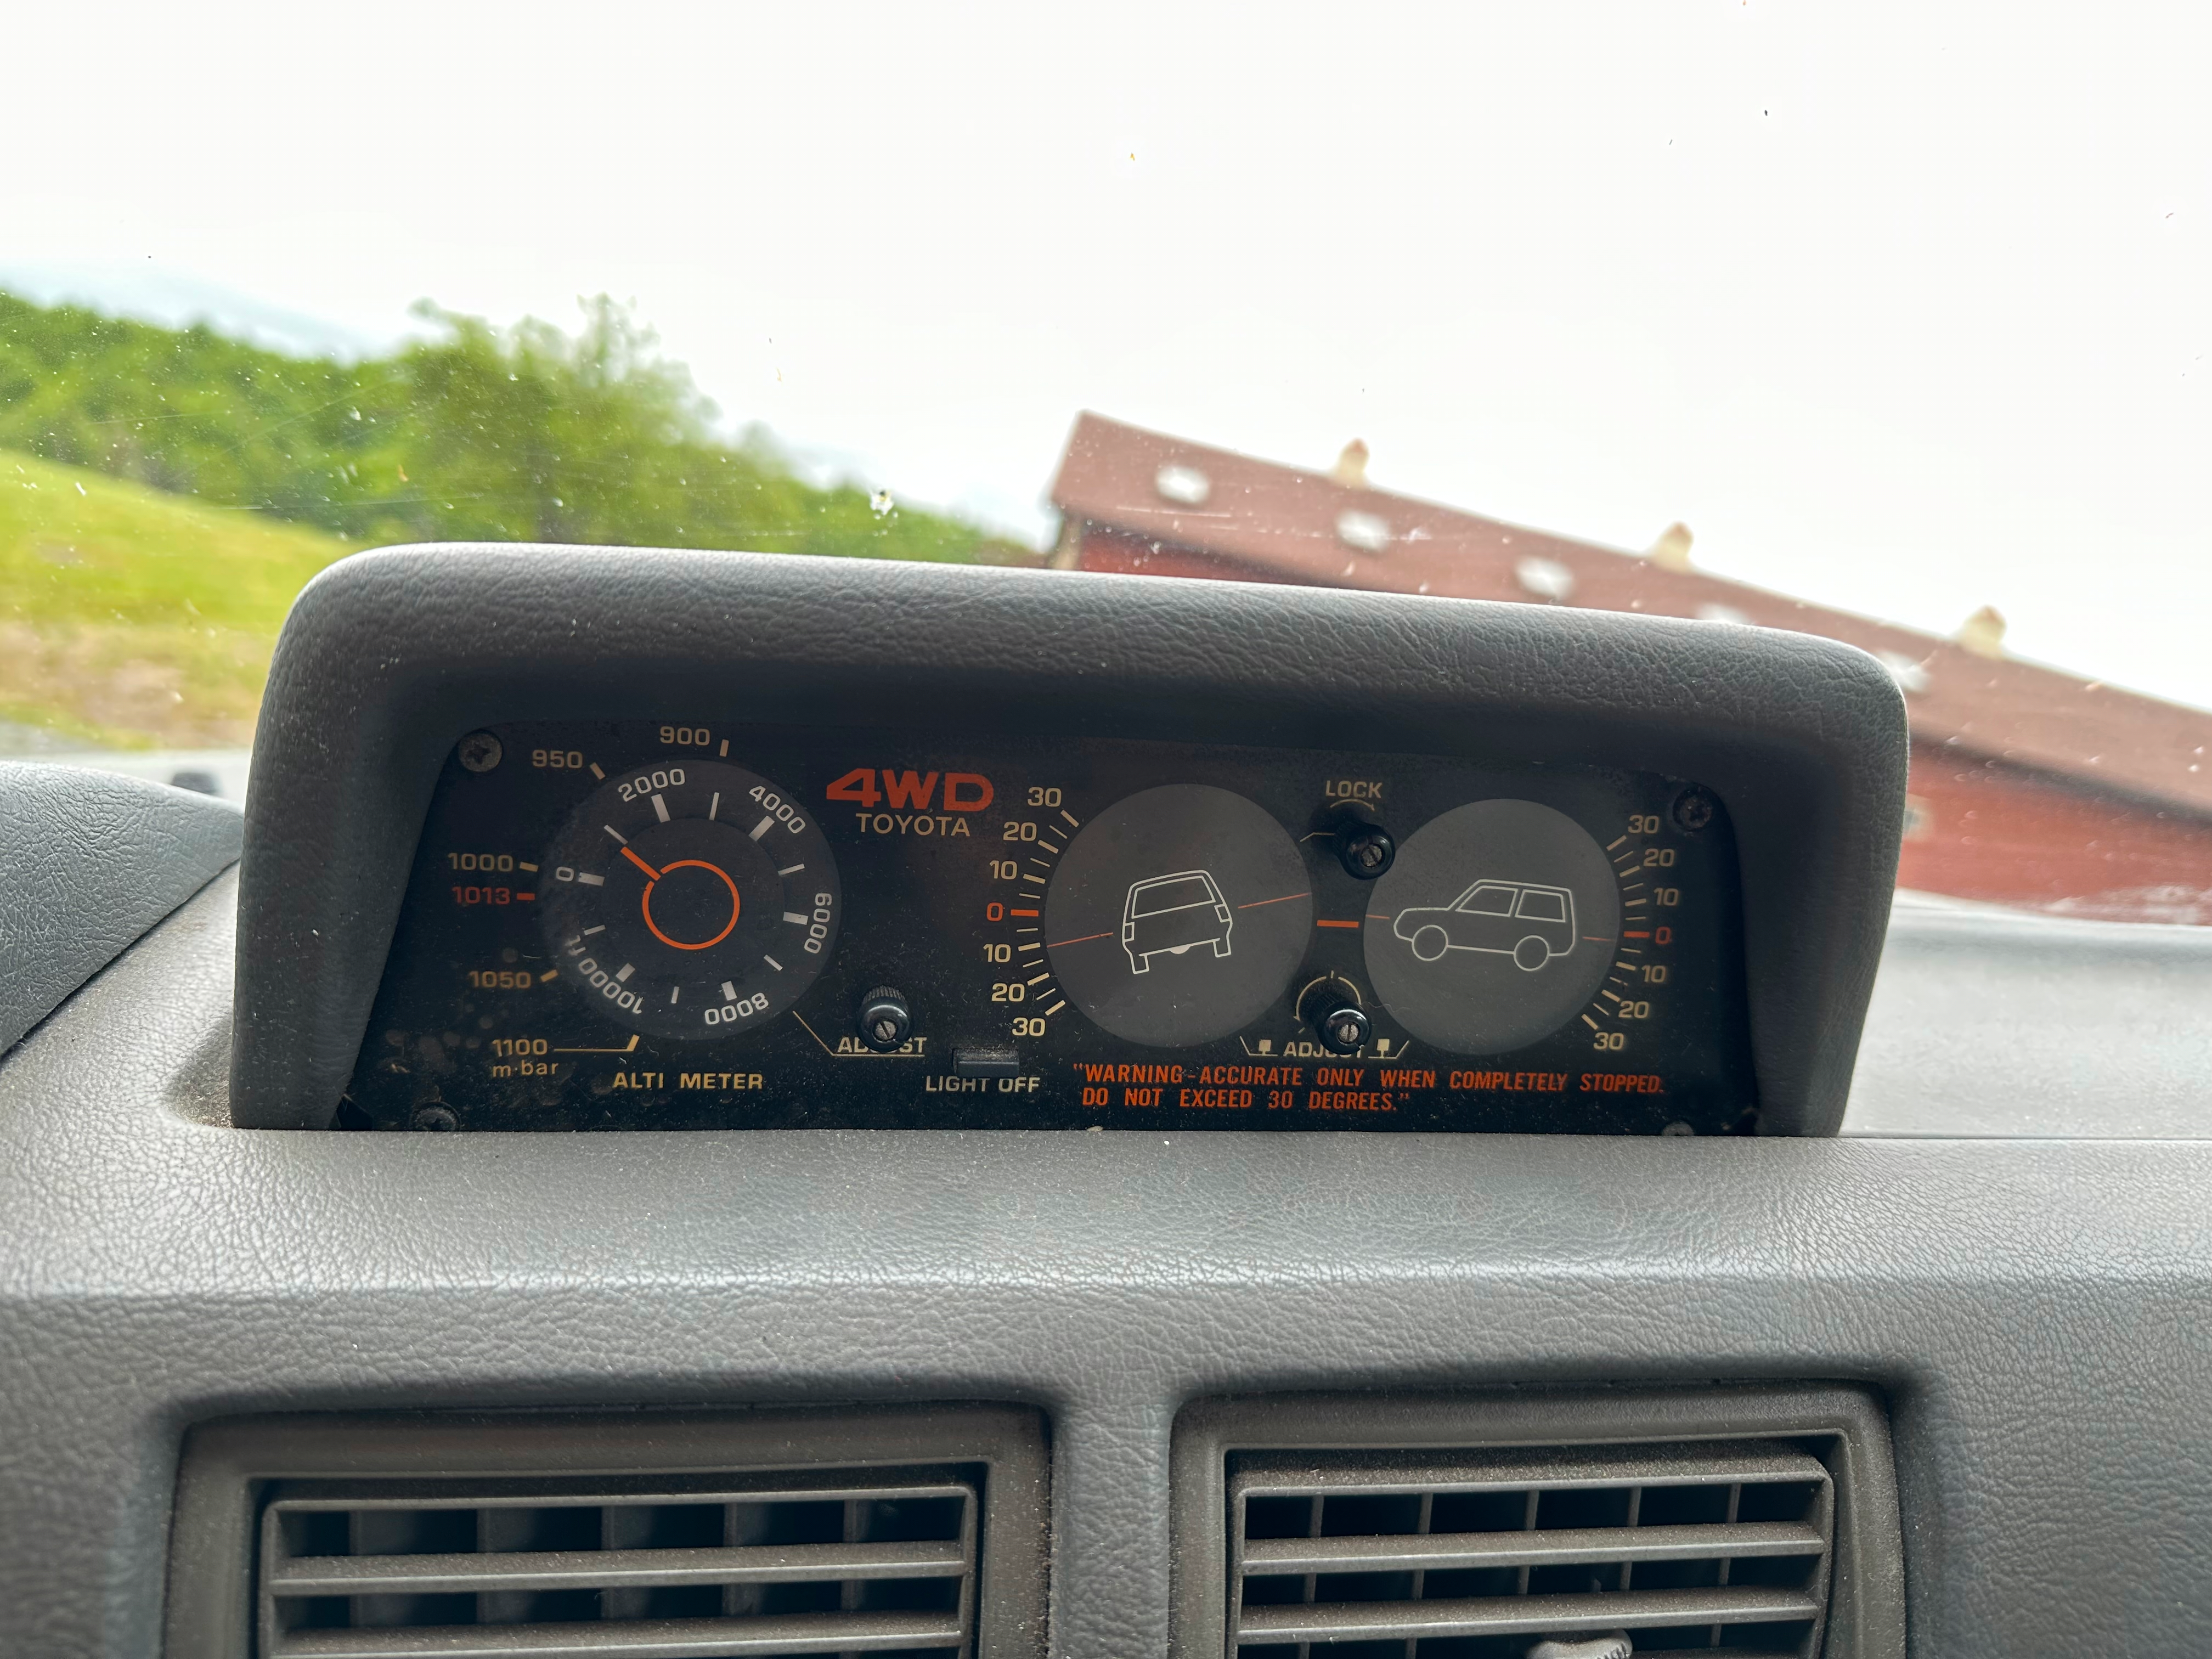
I thought it was pretty neat that the truck had a tilt-o-meter among other cool analog gauges.
We tested the truck with the new sway bars and as a driver you can have so much more confidence in the truck now. You can go around corners and the truck doesn't feel like it has any body roll vs having all of it before. That might have been one of the best upgrades to the truck, they work great.
The Rest of it
I'm sure that I'm forgetting more about the truck, but here is everything else that I can remember:
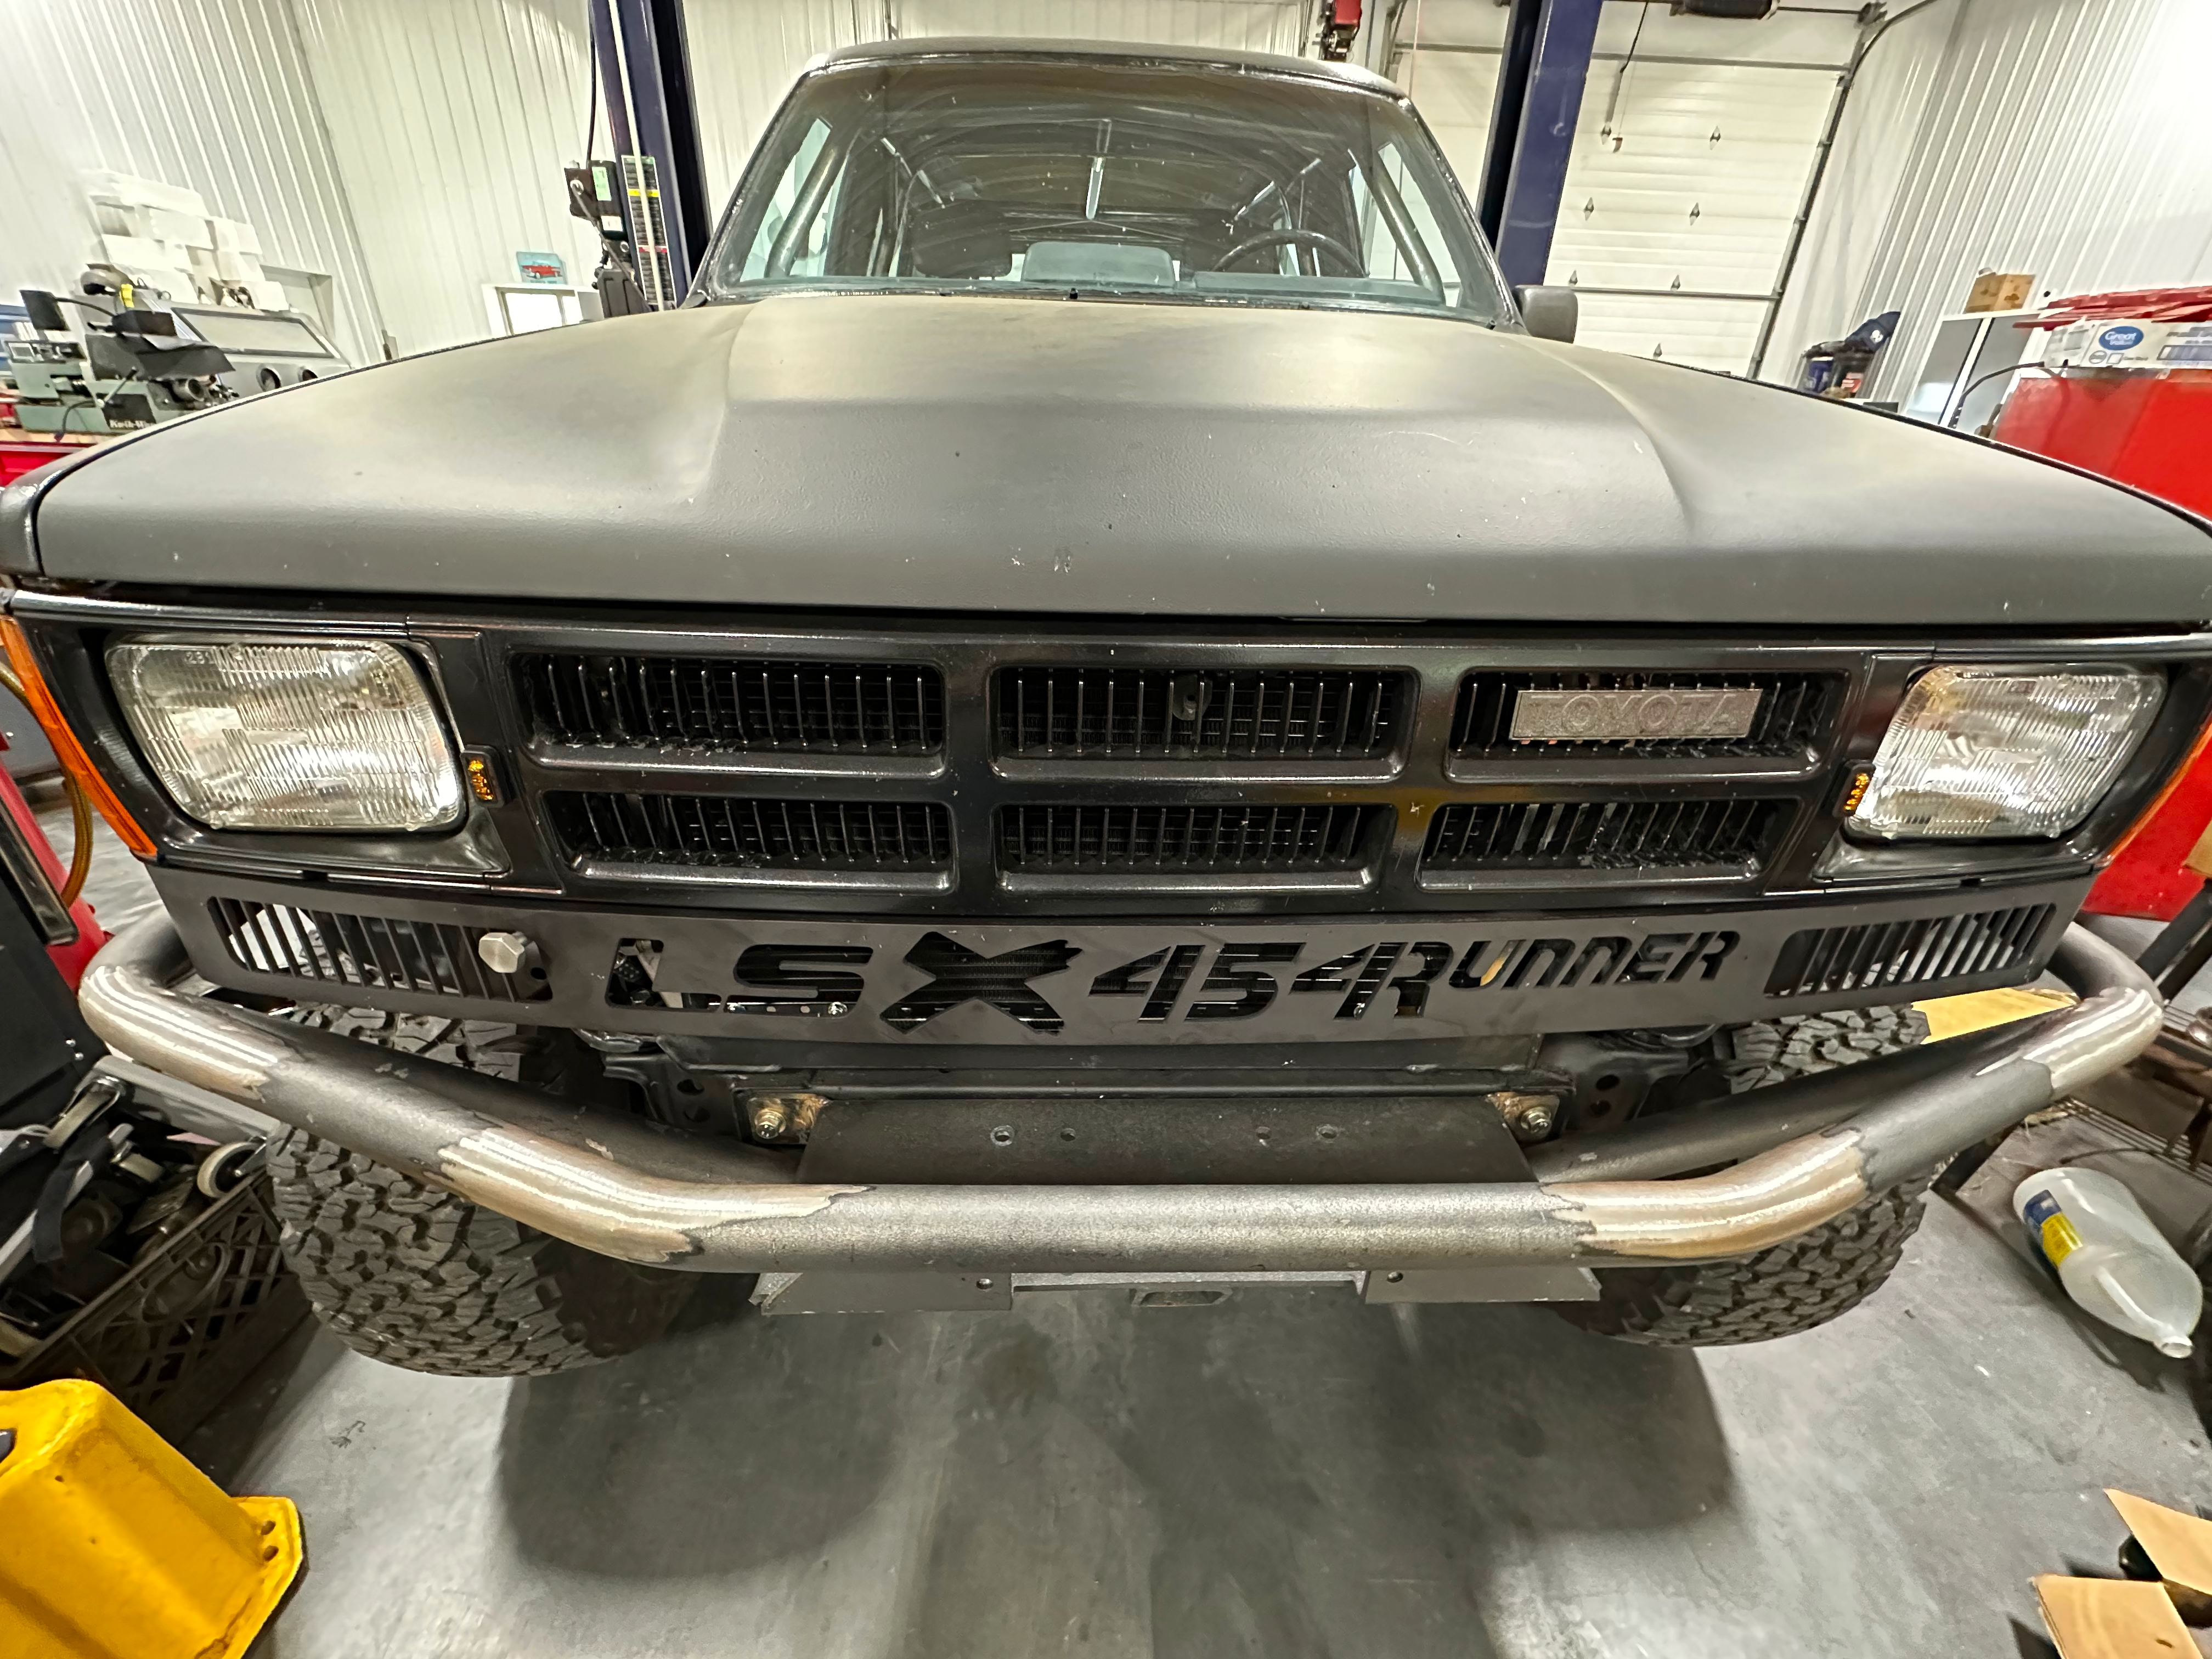
- We cut down the aftermarket tubular bumper that had a bull nose.
- We made a "chin" to fill in behind the bumper, but still allow air to flow through the engine bay and into the intake. We modeled vents after the teeth in the grill and added the name "LSX454Runner" in the center. The "LSX" is from the LSX logo from Chevrolet, the 4's are from the first-gen 4Runner logo, the 5 is from the first-gen 4Runner SR5 trim logo, and as you might guess, the Runner is from the first-gen 4Runner logo. I think it was a pretty neat detail that not too many people have picked up on in meshing those 3 logos.
- We added wilwood parking brakes.
- We added a rear mounted transmission cooler and fan.
- The rear quarters were rotted, so we bought FRONT fenders and cut and spliced them to fit the rear quarters and give the rear the same flat outside lip that the front has.
- We added a removeable cross brace to the aftermarket shock towers from the previous owner.
- After 116 miles of testing, the rear differential cracked about half of the pinion gears with most of them laying in the bottom of the axle housing, so we replaced the rear gears.
- In the future, we may swap both front and rear axles with GM 14 bolt axles so that there is a bit more confidence in them. But, that's all for now.
The next post will be an update on the 1969 Corvette project picking up after we placed the body on the rotisserie.