We have Liftoff: Lifting the ‘69 Corvette Body

This blog post is all about the lifting of the body of the 1969 Corvette from the original frame in preparation for its new one.
In the last post, we discusseed what my dream car is and the general goals for it. In case you forgot, it's a 1969 Corvette that will be getting a transplant of a new frame, suspension, and drivetrain in the form of a Street Shop chassis with the full suspension and drivetrain out of a C5 Corvette. In order to fit this we will have to cut the whole rear tray out of the car and more than likely a large section from between the seats. But before we can do any of that, we have to get the body off of the current frame.
The Prep
We started pulling the body on a Sunday in July, because we had a lot of helpers and friends at our shop. One of our friends had his own 1968 Corvette and had just finished his own body off restoration, so he was familiar with the body removal. With his tips and tricks, and around 10 helpers we flew through the process. We started with stripping most of the interior, leaving the carpet and center console and dash to be removed later. Meanwhile, we also removed the hood, the rear deck lid, and the convertible top. We raised it on the lift and moved onto the next step in our process. We removed the wheels, bumpers, spare tire, and the various other pieces that connected the body to the frame. Meanwhile, we also removed all of the body mount bolts; some of them were stuck (as is very common on these cars) so we resorted to a cut-off wheel to force the mount bolts off. Only two of the original body mounts stayed intact enough to save and they were pretty rough anyway, but I saved them because I had a plan for them.
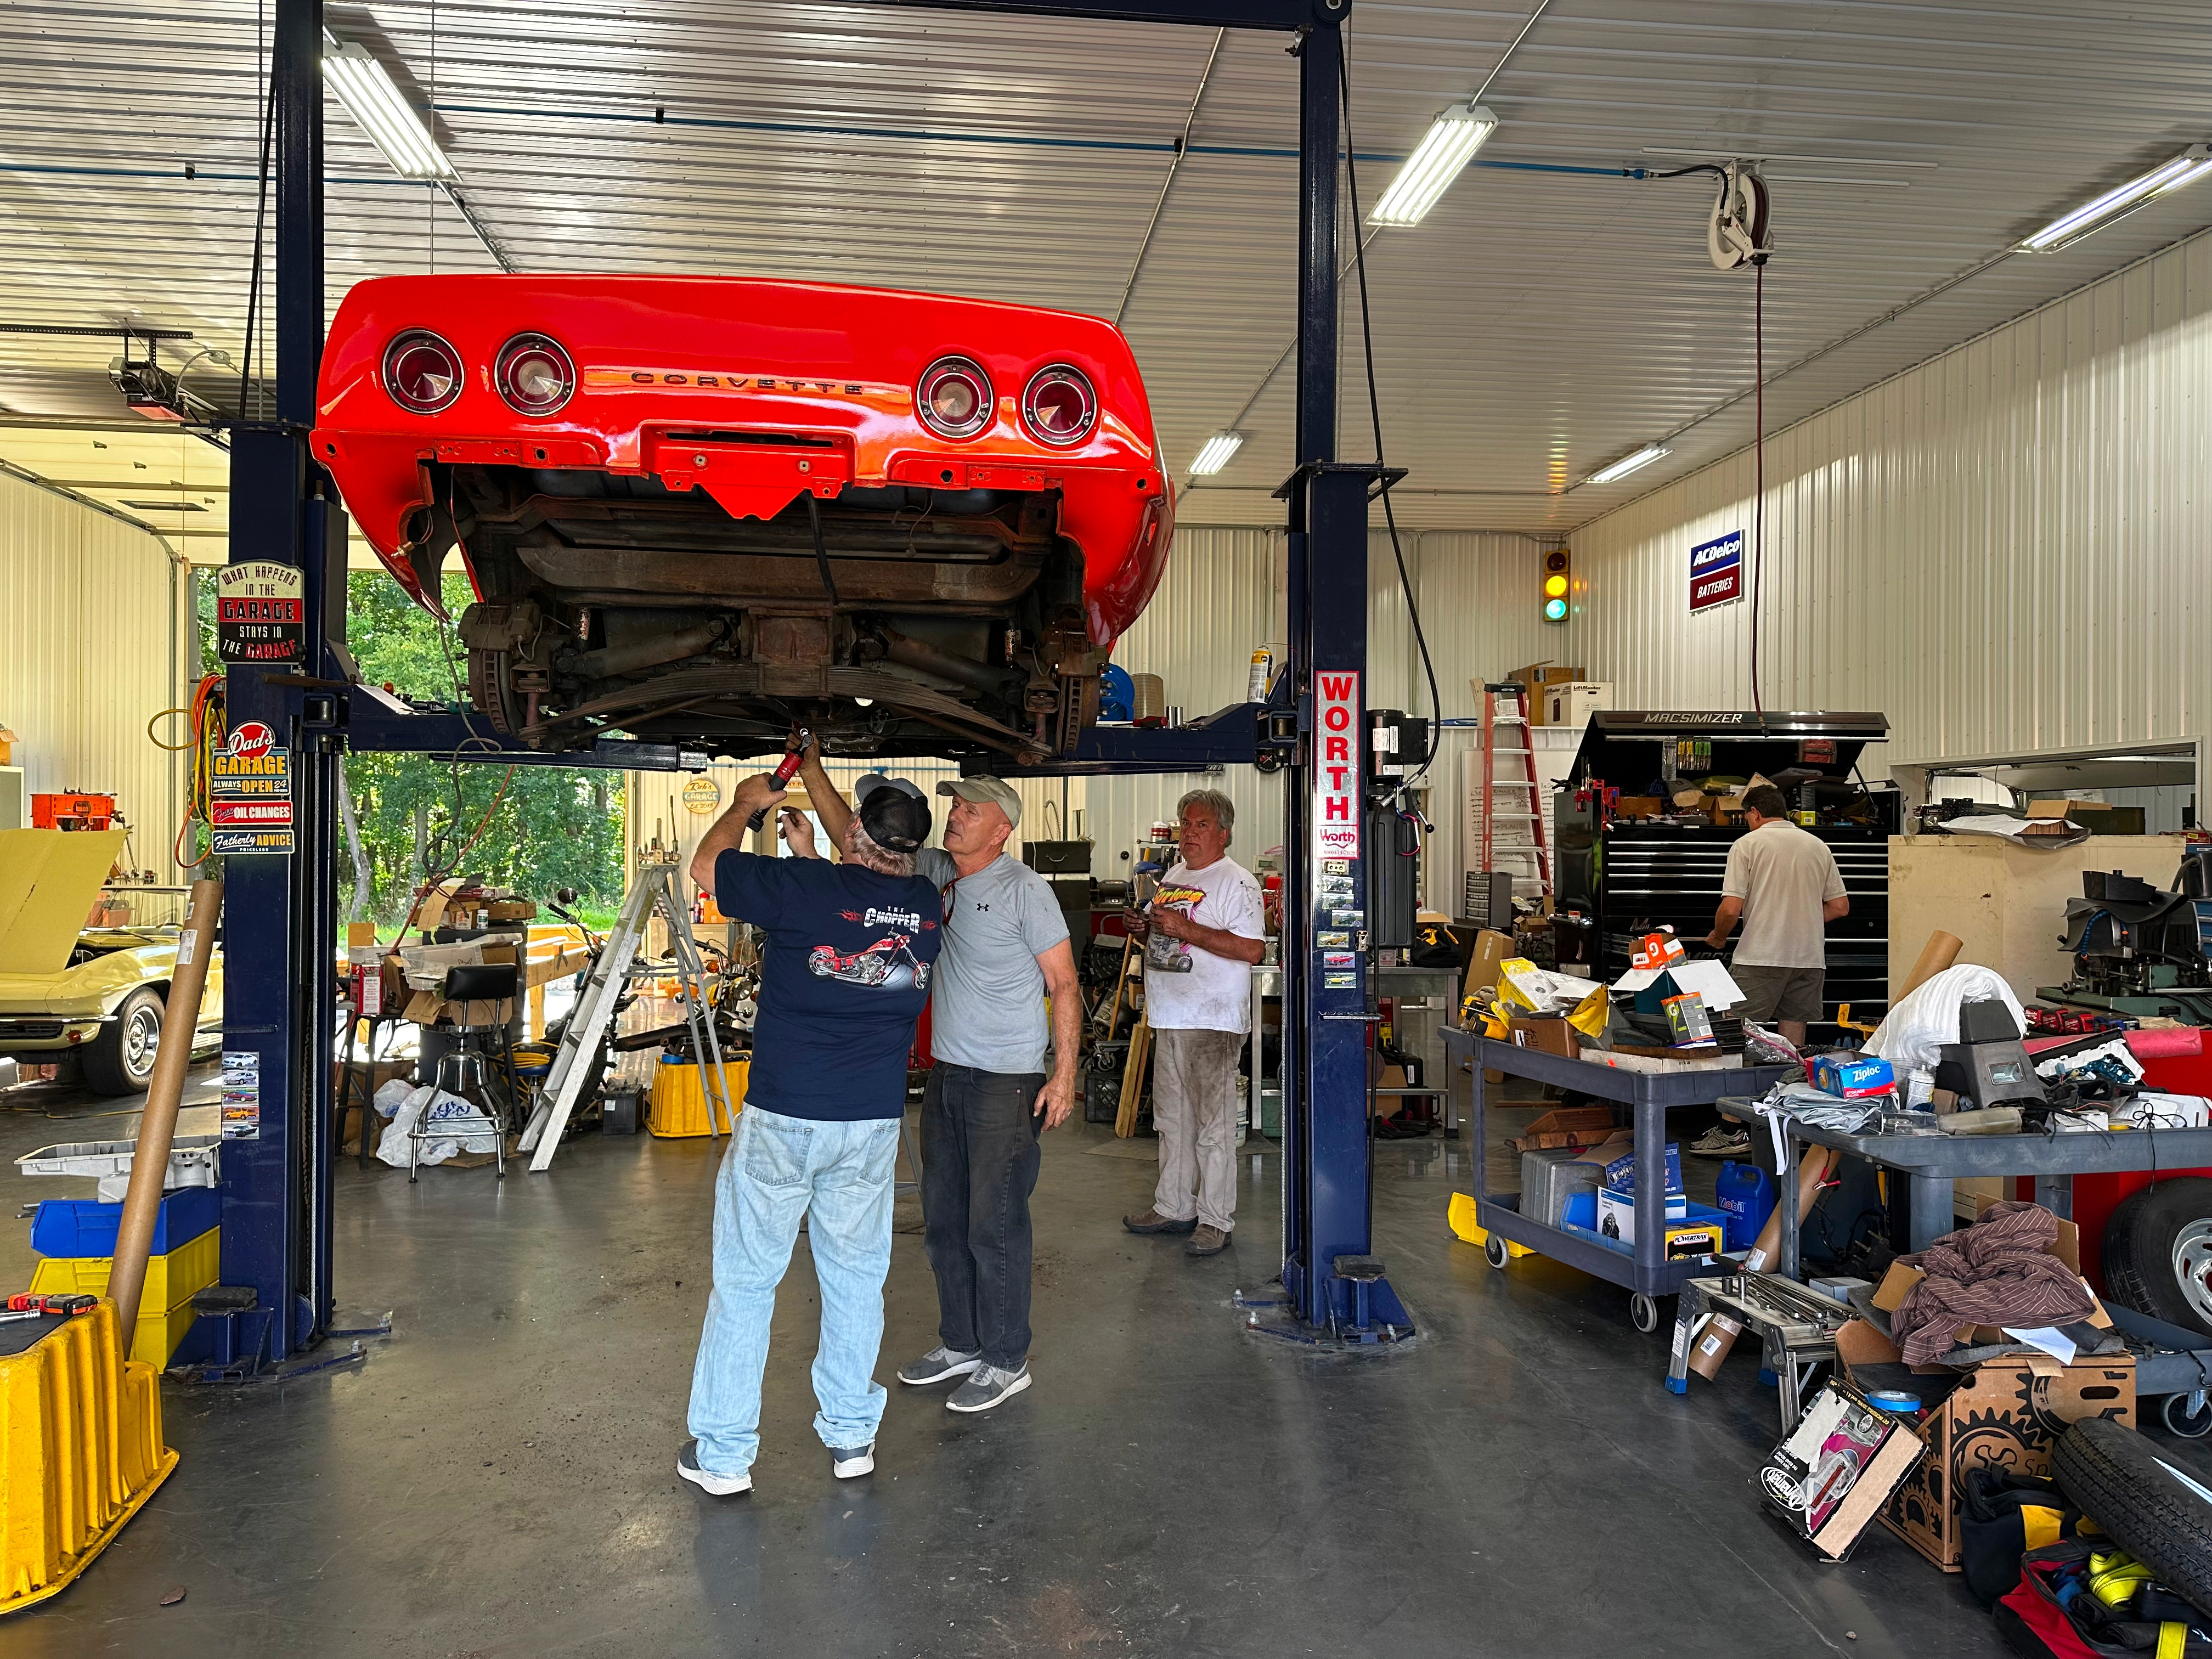
All the while, we tried to keep anything we removed as organized as possible. With other projects this has been a big downfall, especially when the projects stretch out for years, with no organization everybody forgets where each part goes. The new method we tried this time was having separate Akro Mills bins for each section of the car that we took apart and keeping the small and medium parts in those bins until they go back on the car. Time will tell if this was worthwhile or helpful at all. I didn't go as in depth as labeling each part as it came off, but that might be the next step if this proves ineffective.
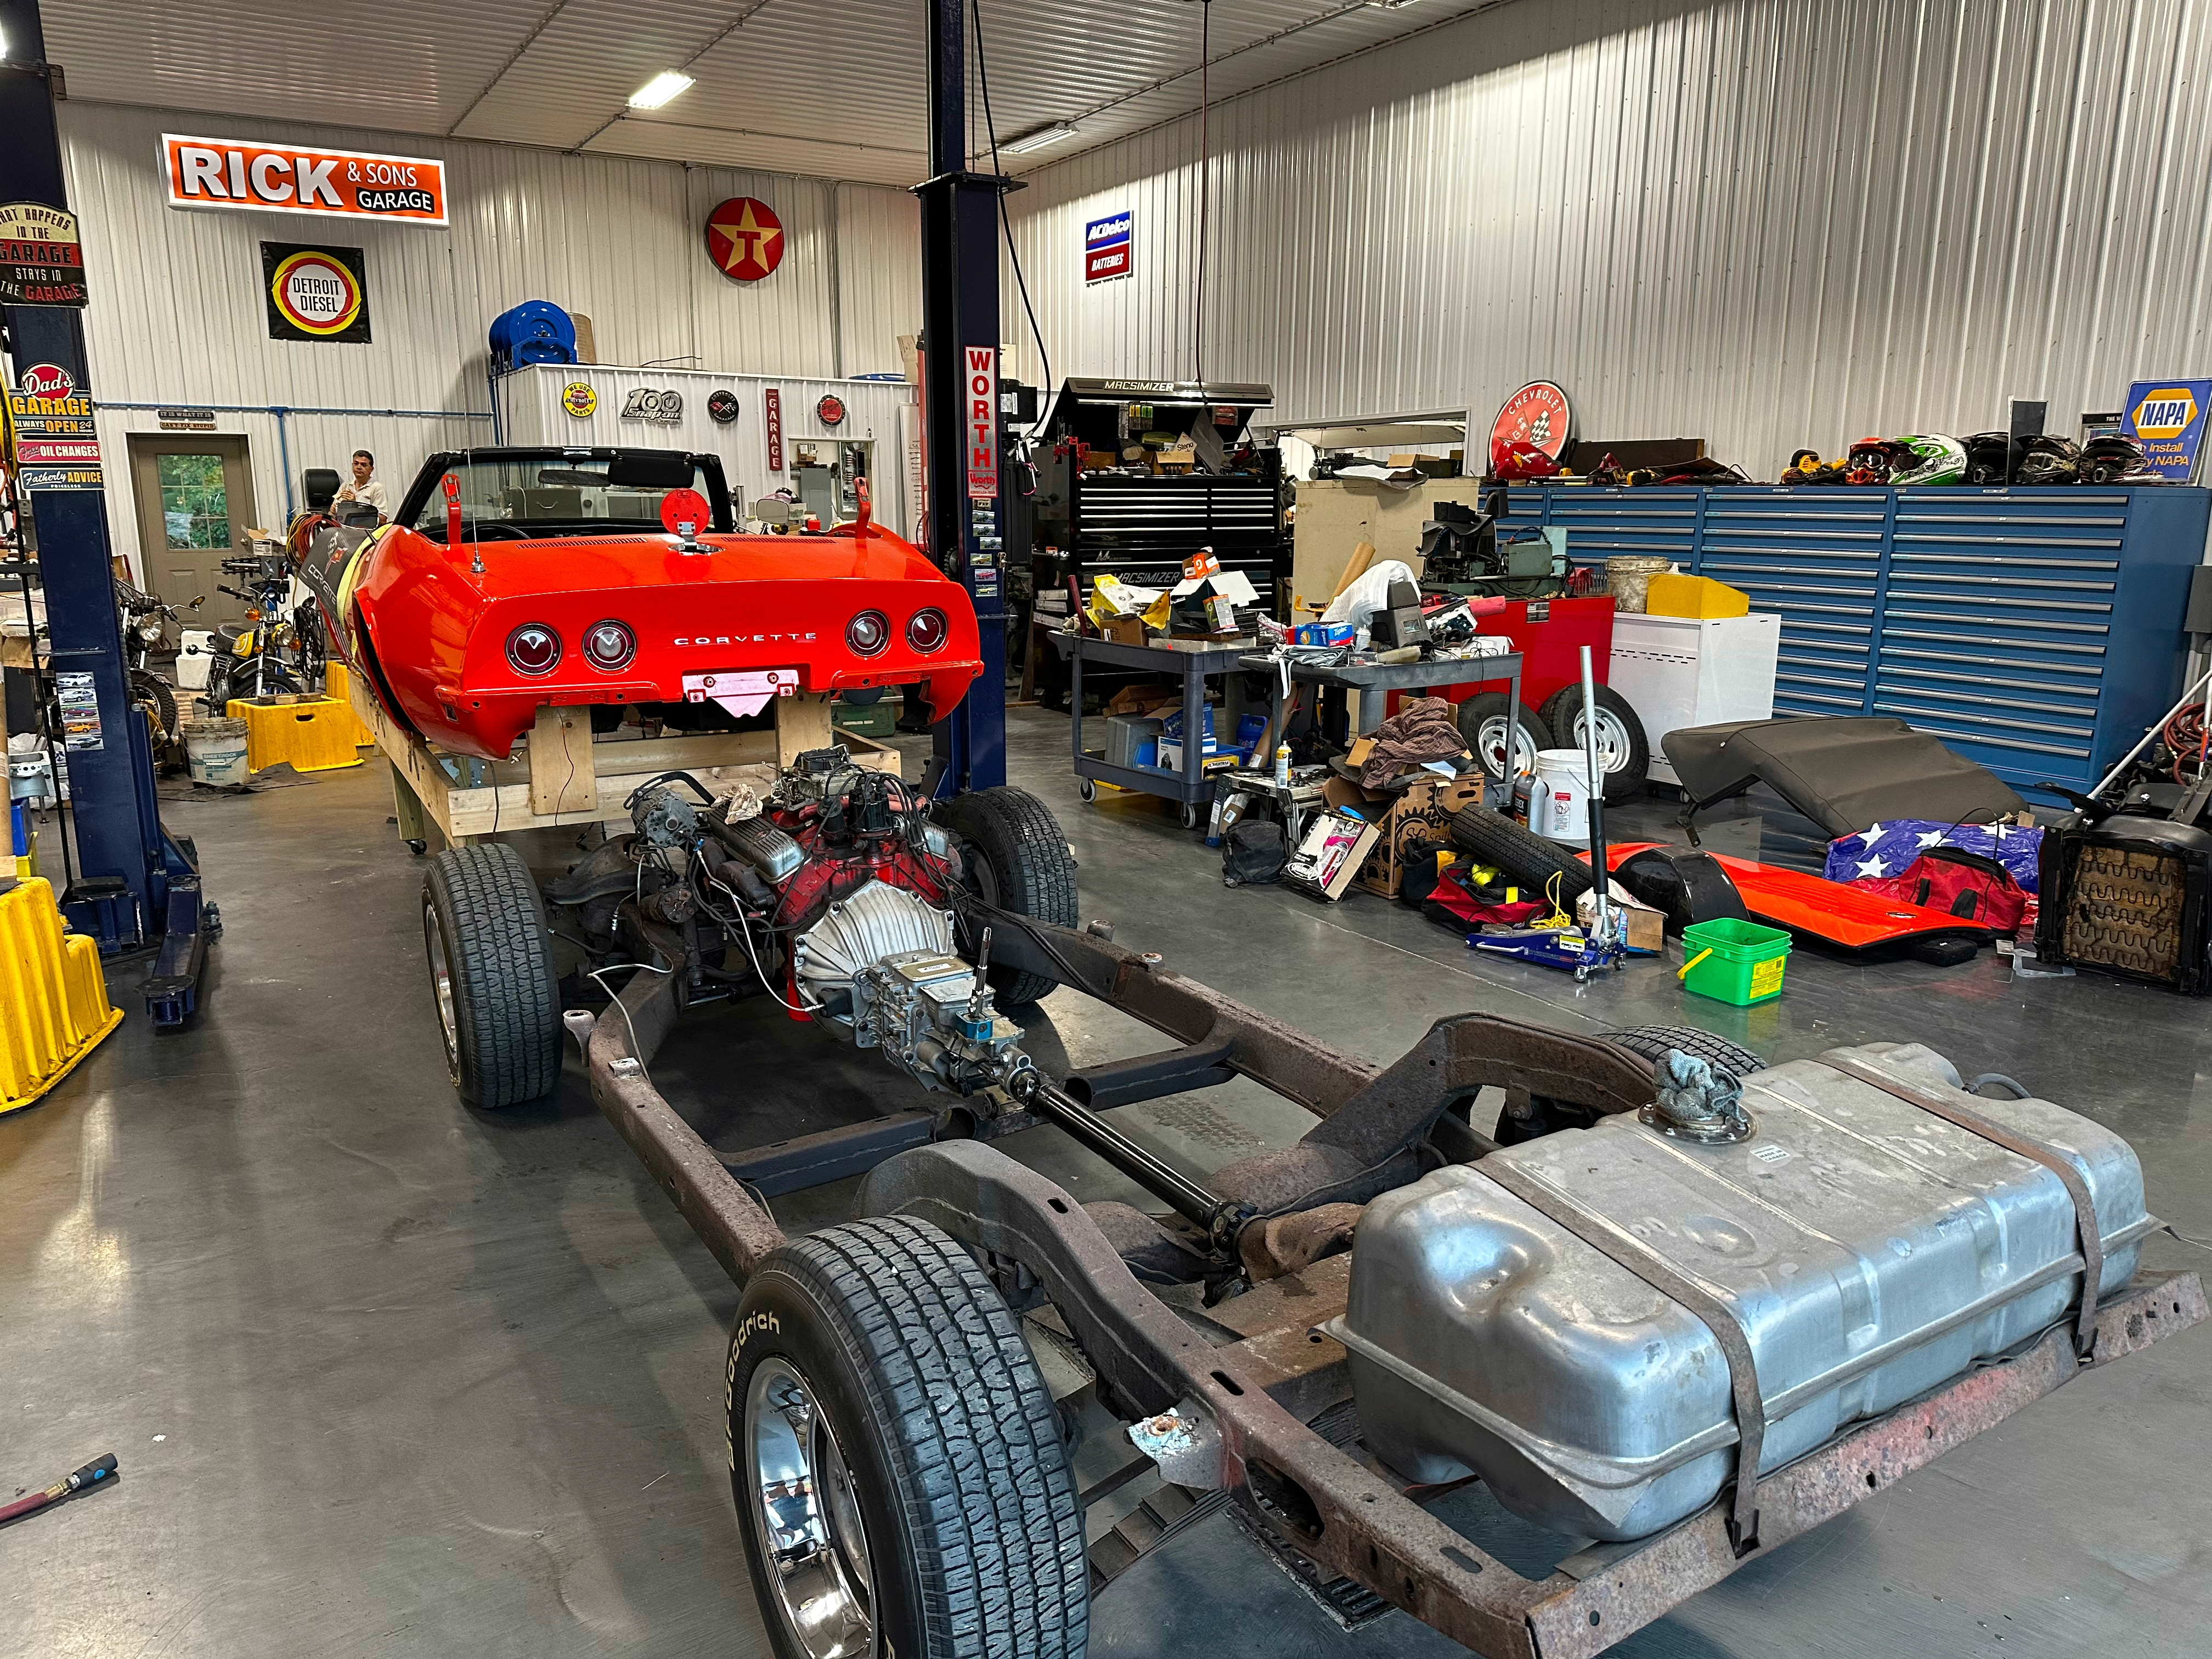
We made quick work of it all, so we put the wheels back on the car and put the car back on the ground. We lined up our 2-post lift's arms to lift the body with as much height as possible, so the arms were basically touching the body. We attached the lifting straps and slung them around the arms, securing them with a shackle through the loop end of each strap. The nice part of having so many helping hands is that you also get a lot of eyes to watch what is going on. As we started to try to lift the body we noticed that the frame was coming up with it. With the extra eyes, we found where we thought the sticking point was and addressed it. We had to do this a few times beofre we finally had the body free. The last straggler was the driveshaft safety cable that connects the seatbelt mounting bolts together and forms a driveshaft loop. We had the whole back half of the car off the ground from this one small steel cable.
Free at Last
With everything finally freed, the body lifted off of its original frame. There was only one casualty in the lift. The front passenger fender split right in the middle. I believe this was a combination of the weight in the front of the nose from the radiator, headlights, wiring, hoses, etc and the car sticking to the outer front bumper brackets (not the long arms that kick out all the way to the bumper, but the brackets that connect those to the radiator core support crossmember). It is definitely a minor casualty, but it is noticeable if the fender is not perfectly aligned height wise.
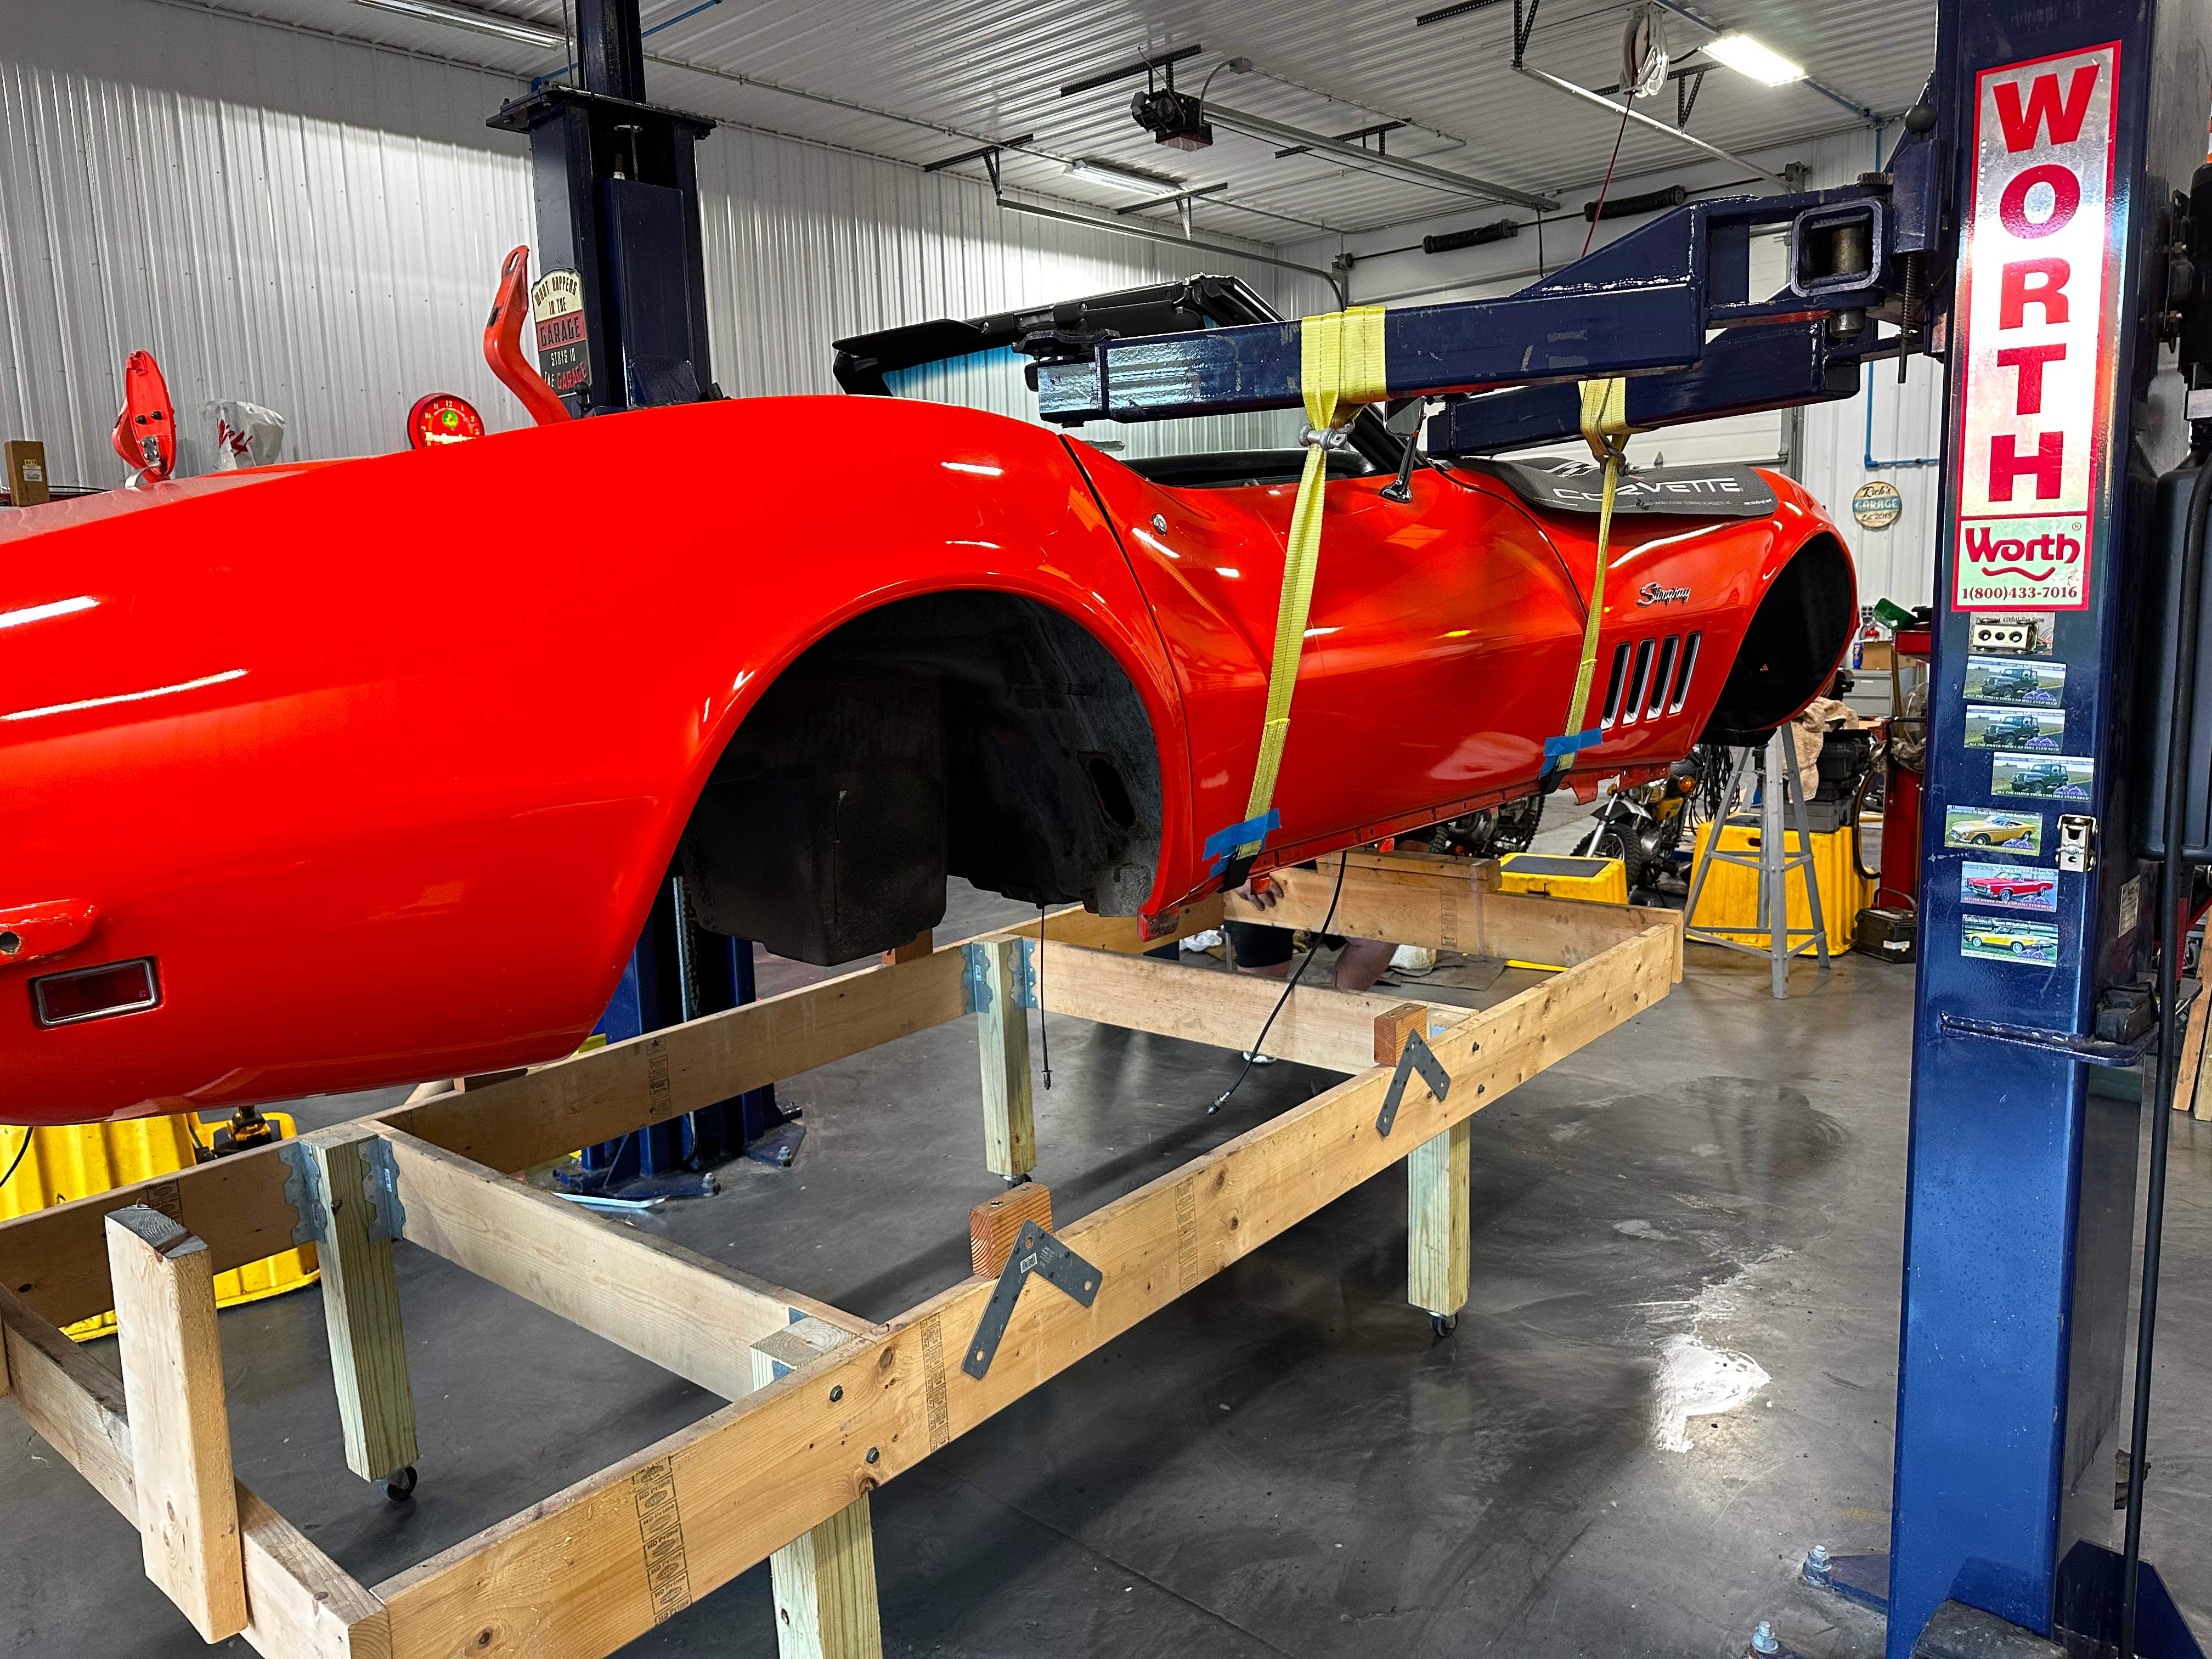
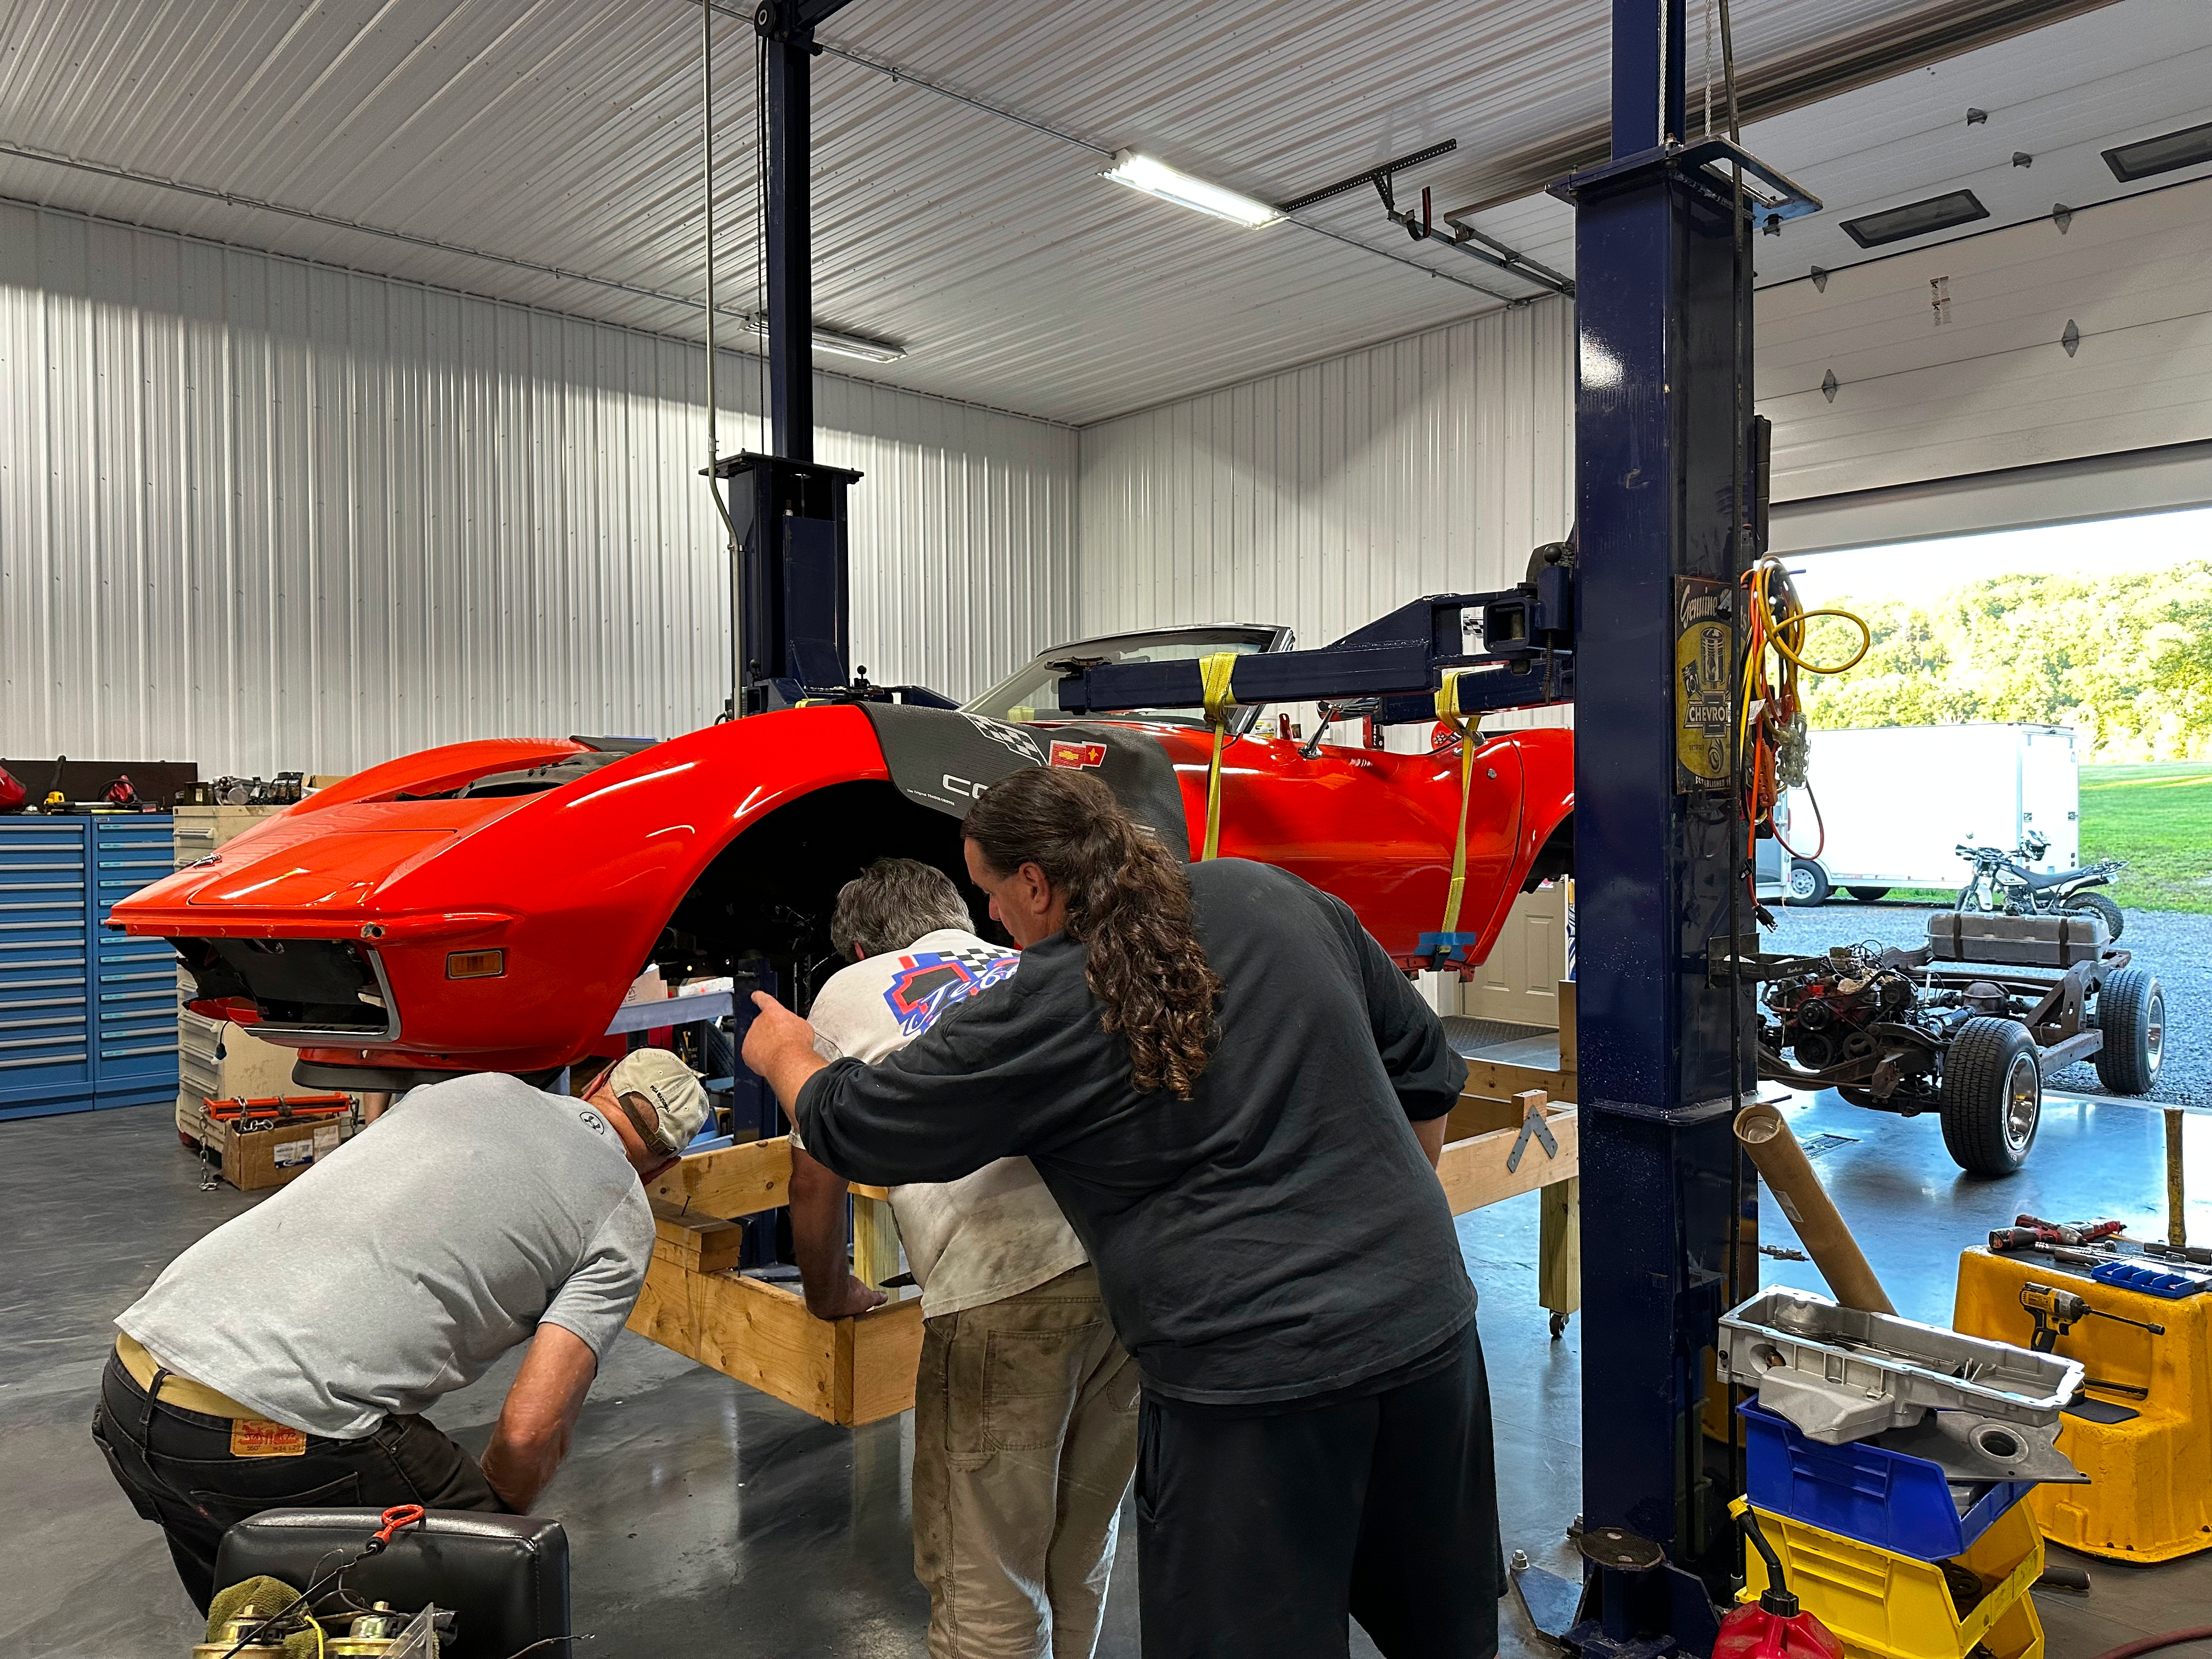
Once the body was hanging in the air, we slid a wooden dolley that had been custom fit to our friend's '68 body under and lowered the body onto it. After that, we admired our work. We also compared the old frame to the new frame and realized very quickly that there really was a lot of cutting ahead of us.
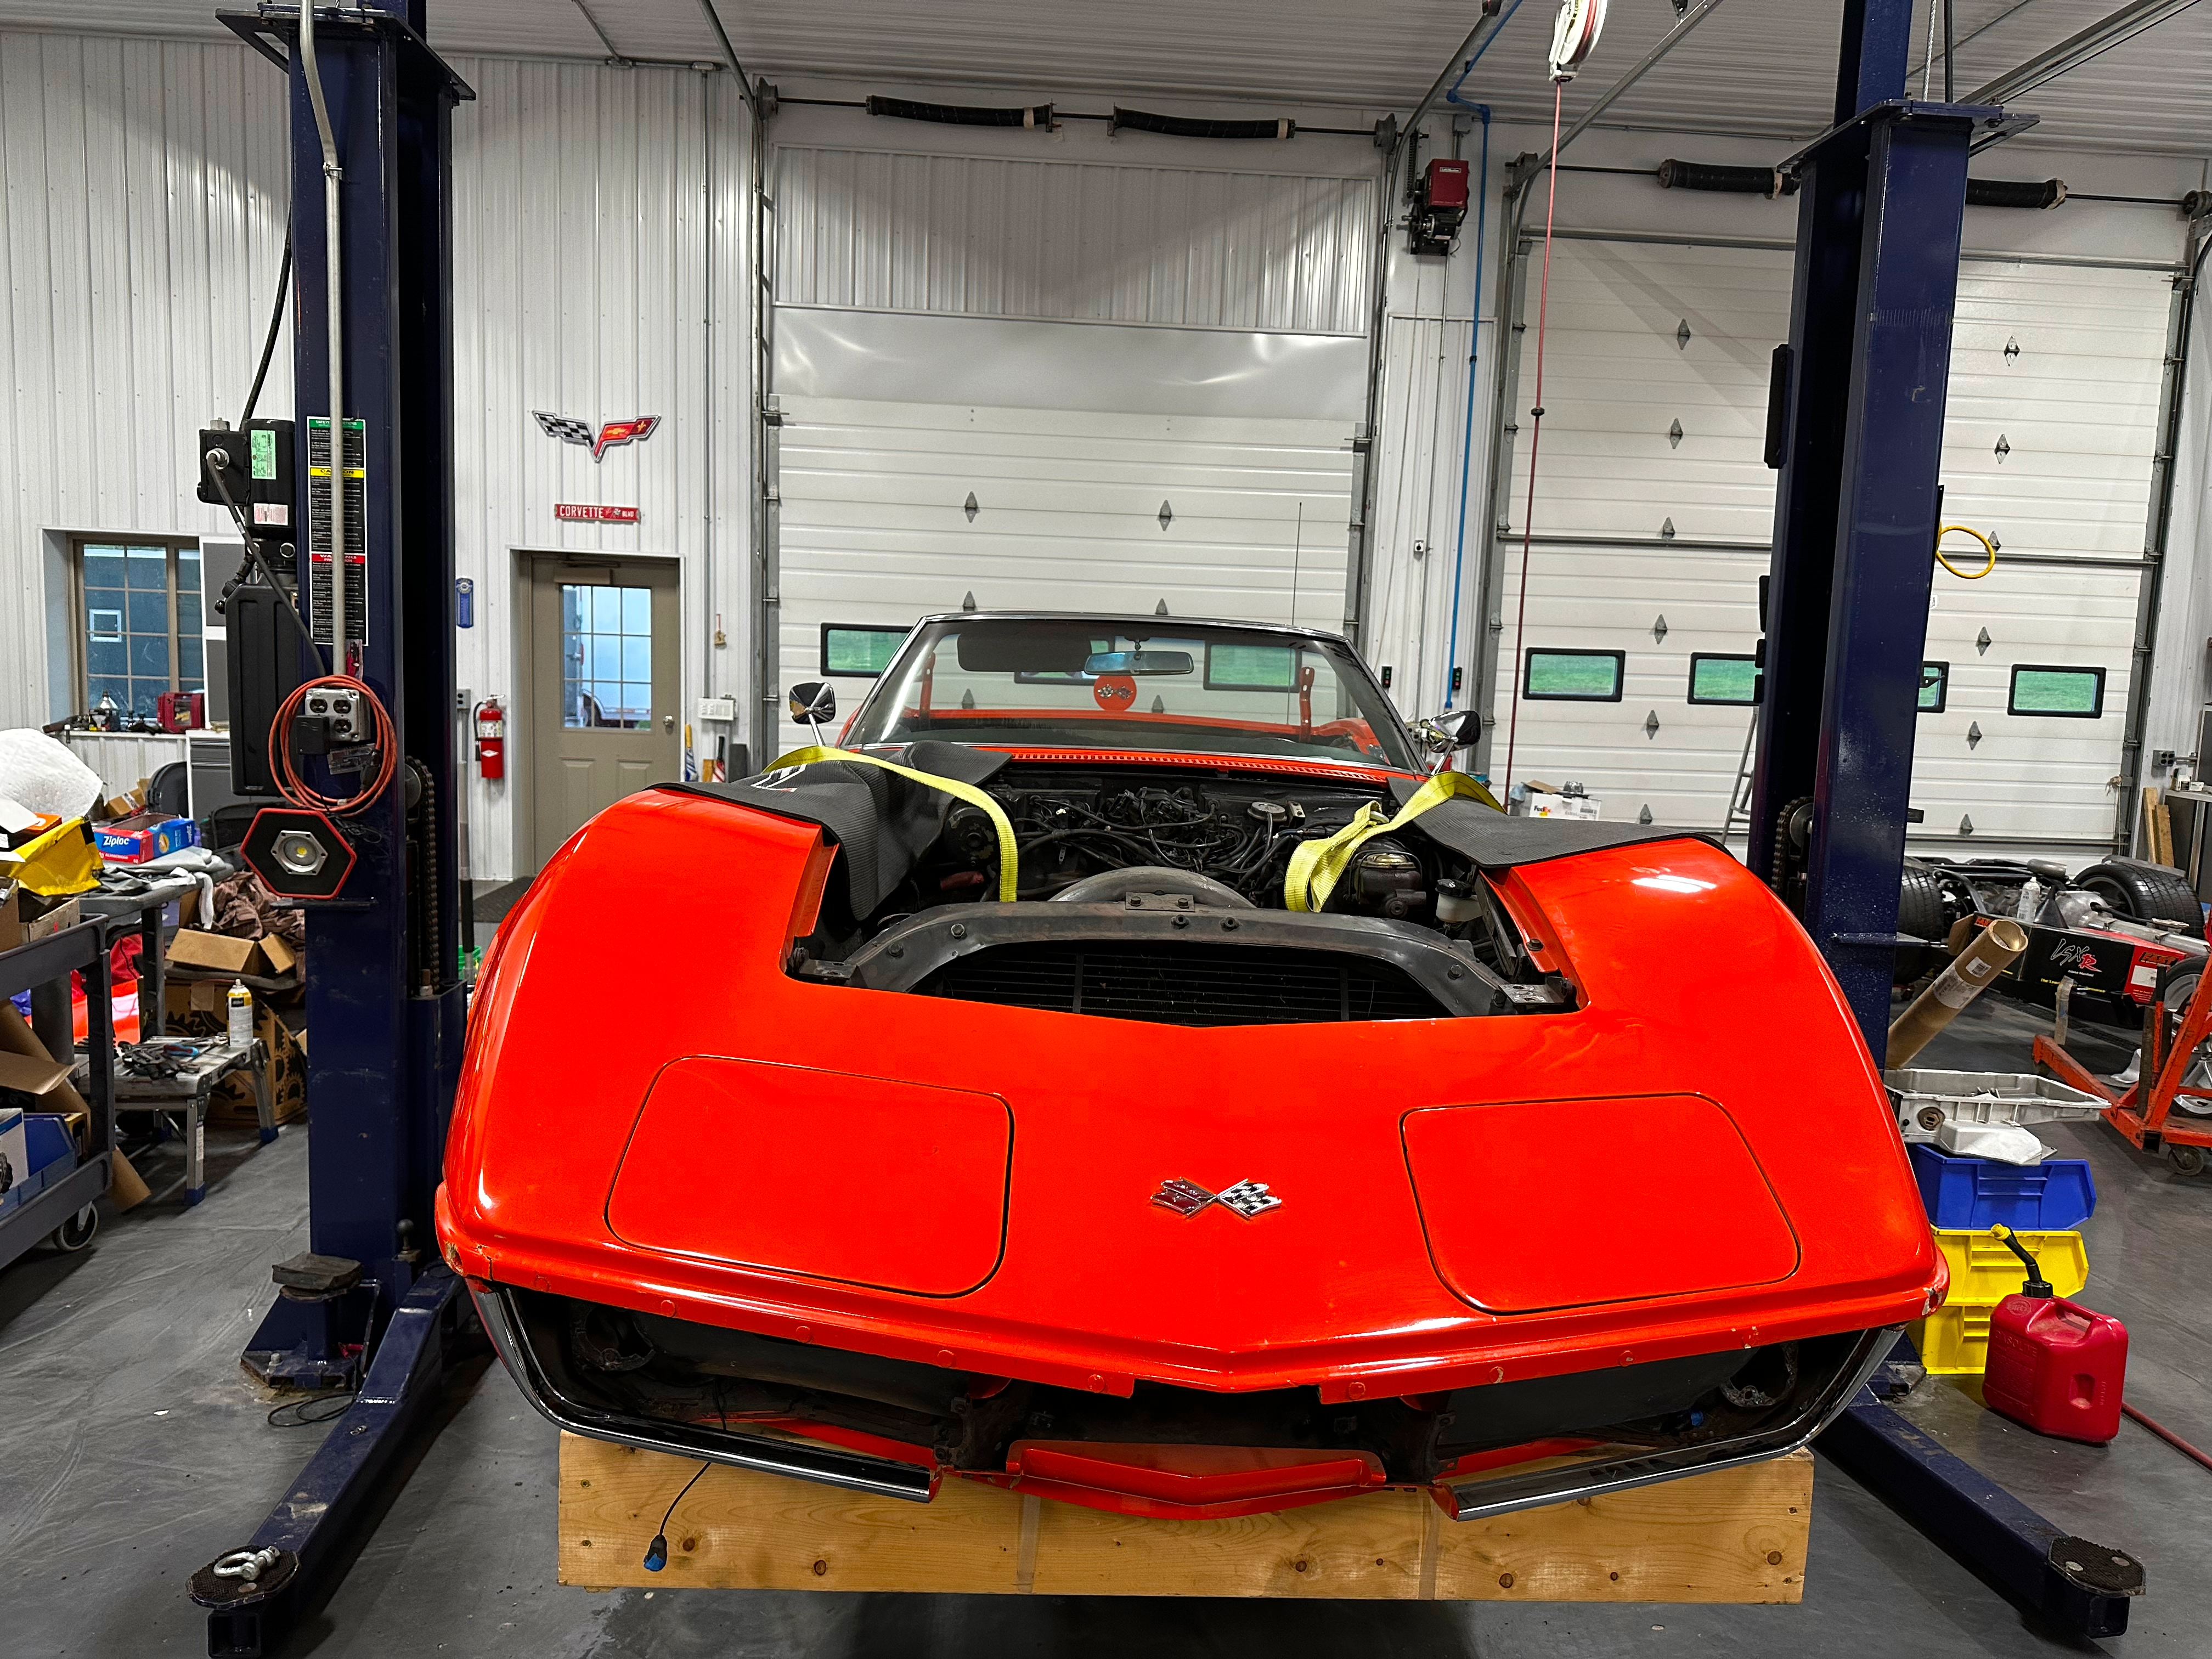
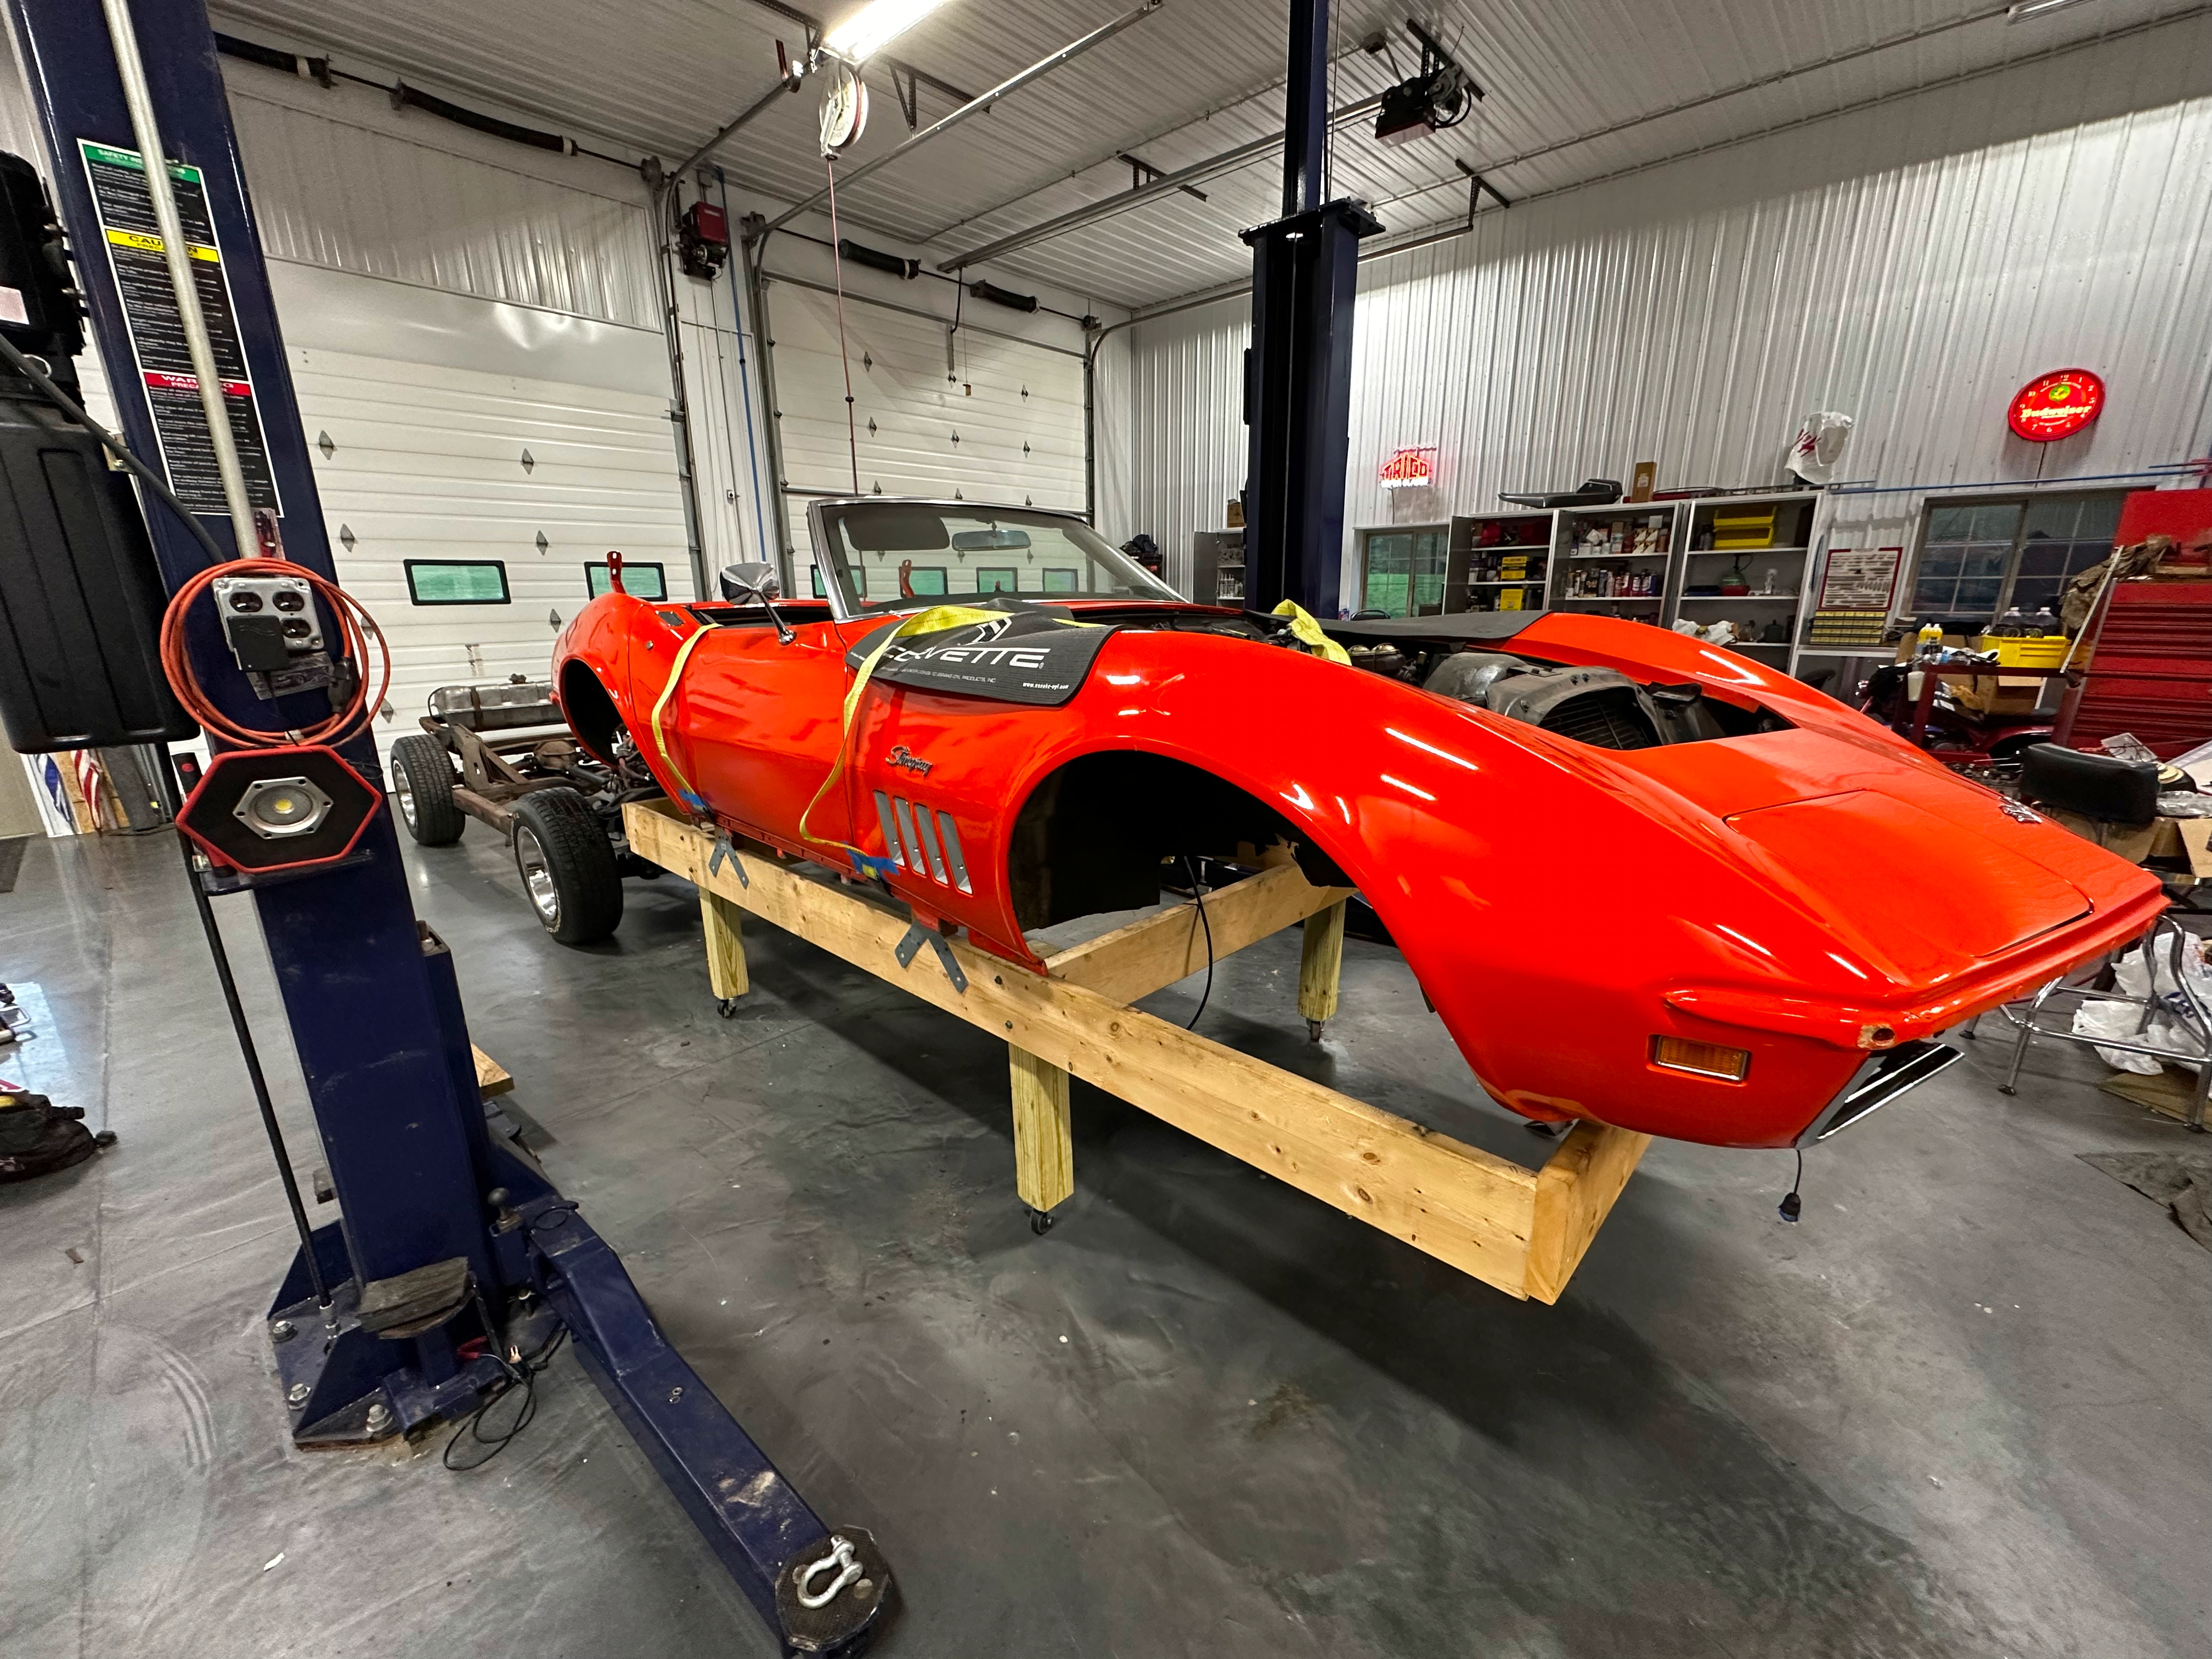
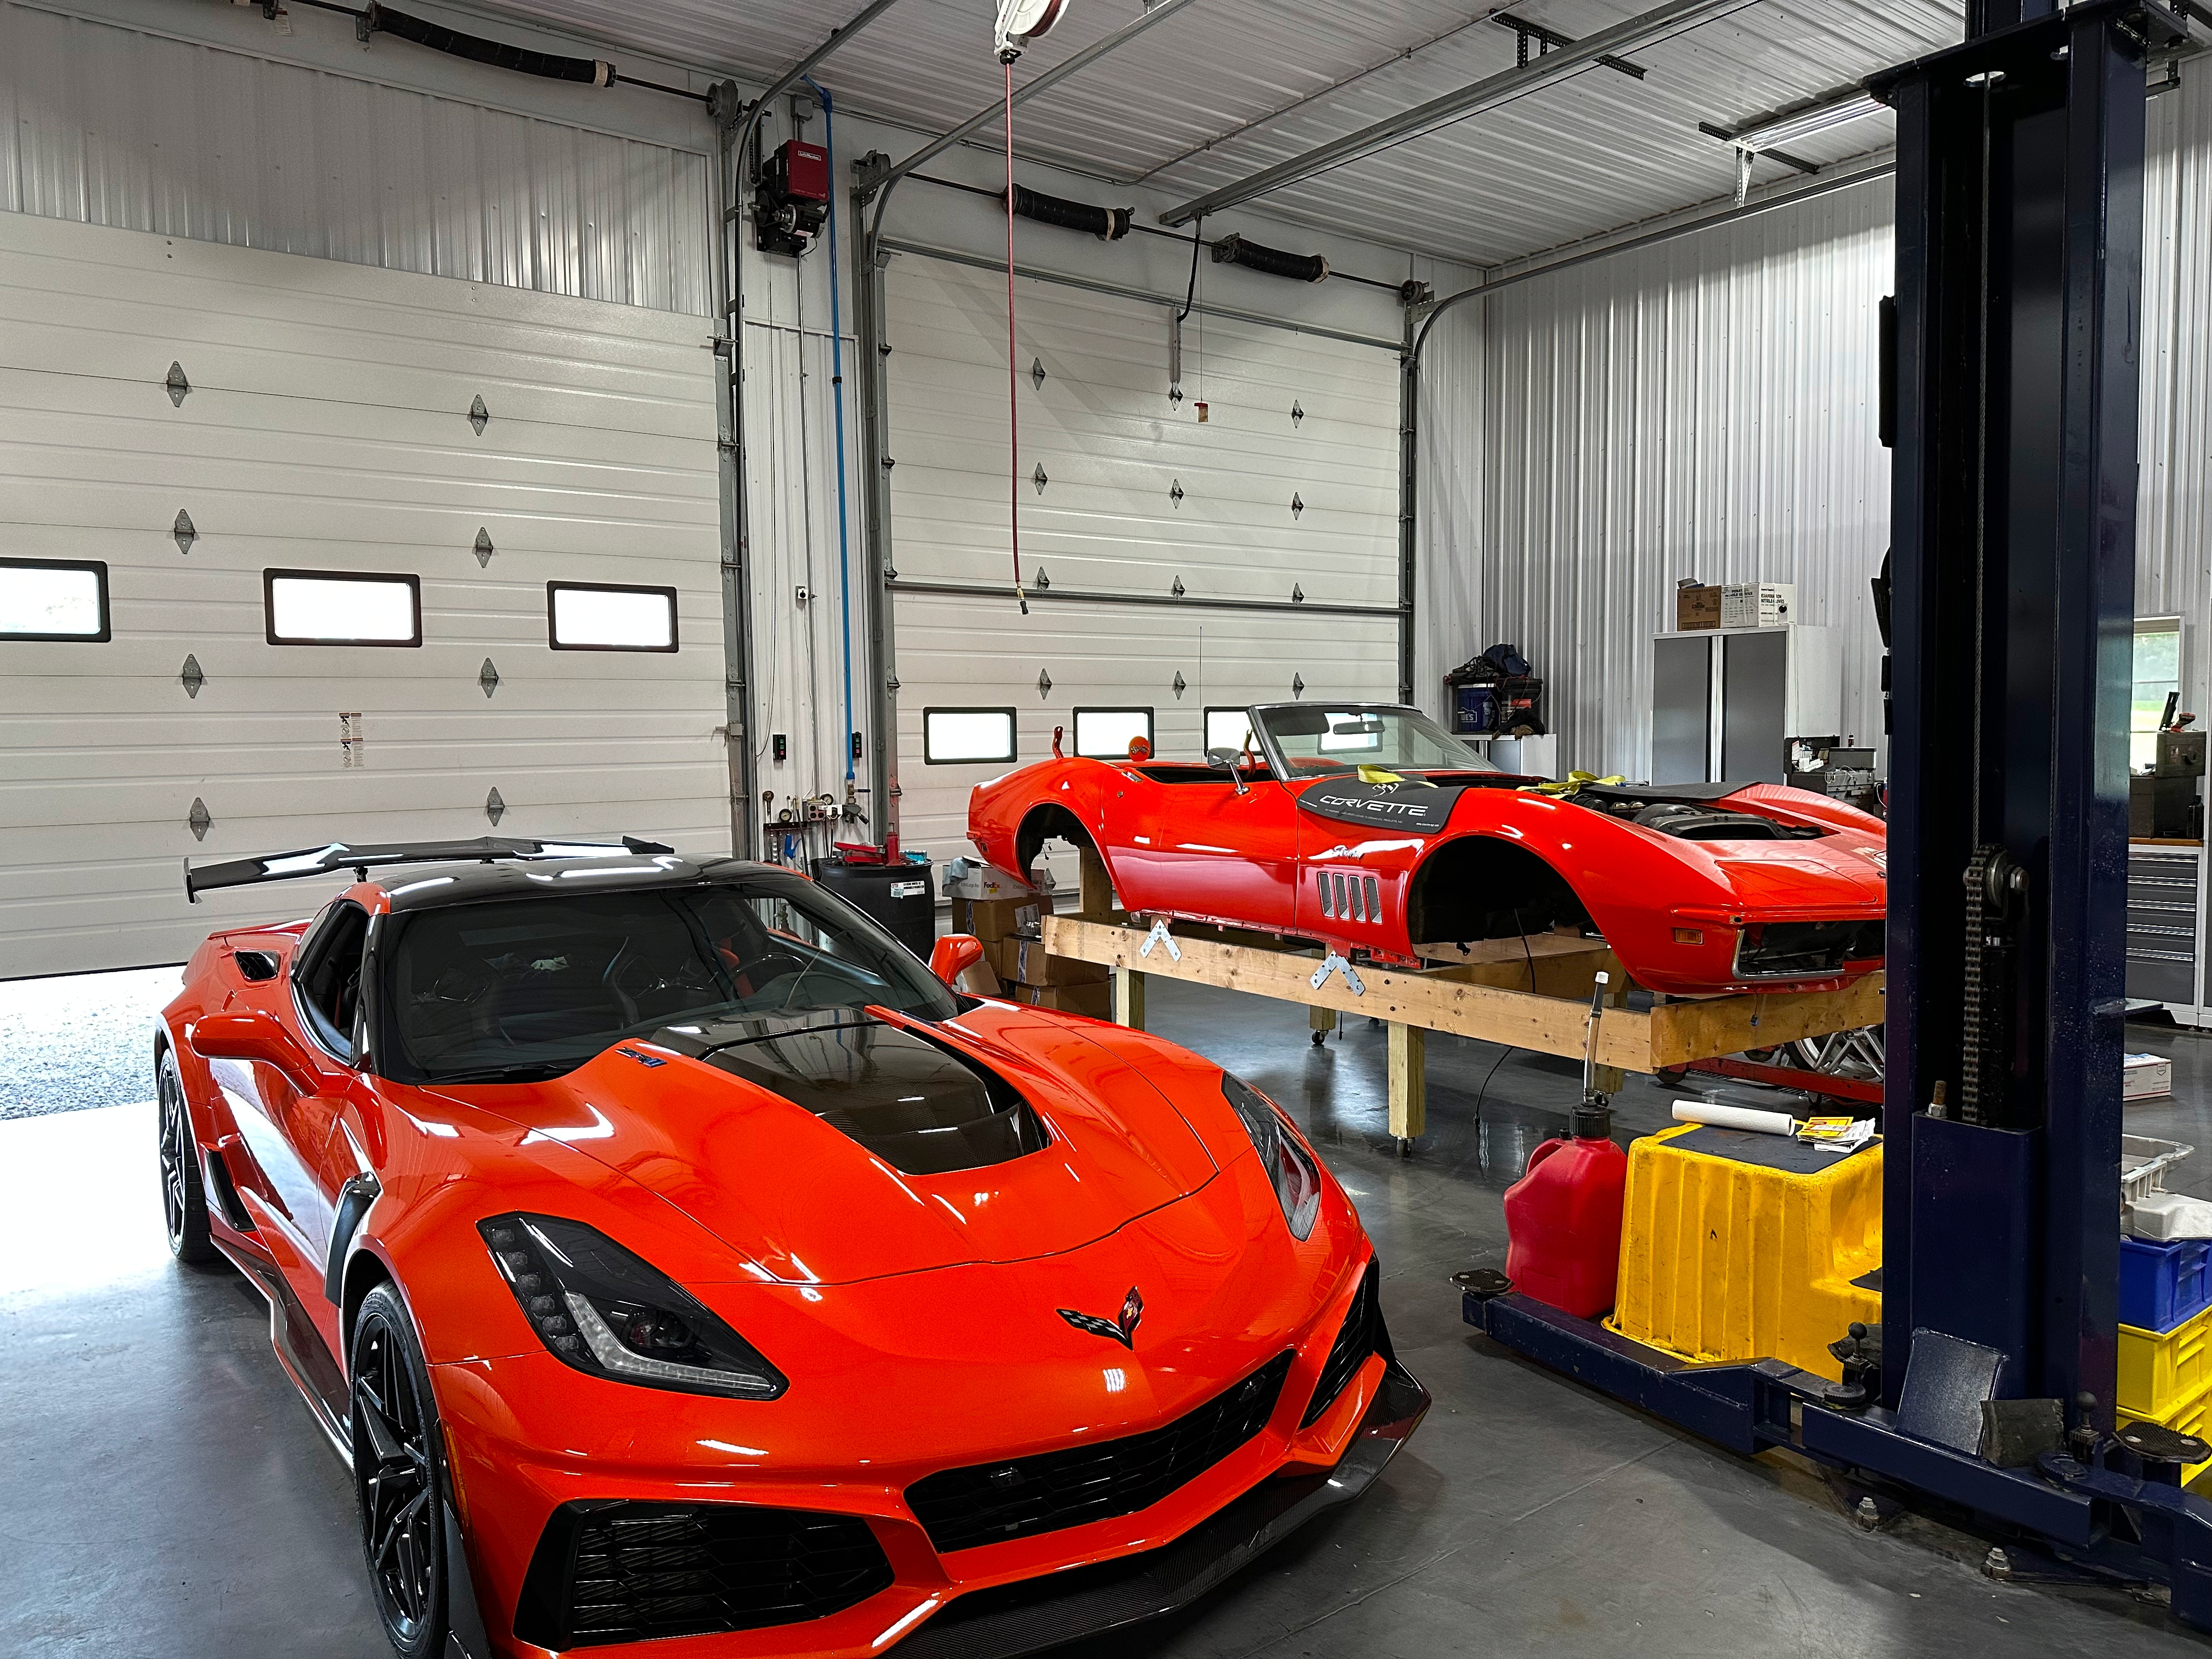
At the same time, my "mom's" (actually my dad's but that was the excuse to buy it) 2019 Corvette ZR1 was in the garage next to my car on the dolley. The old: Monaco/Hugger Orange and the new: Sebring Orange Tintcoat. The paints are very close in photos, but not so much in person. In person the Sebring is slighlty lighter, and it's metallic so there is so much depth to it when the light is right. It was cool to see the 2 cars sitting next to each other, 50 years difference on display. I'm excited to see the cars next to each other when my car is all done.
A few weeks later, we assembled a rotisserie that we bought from Auto Twirler and their Corvette subframe. I was expecting a large piece for the subframe but this really surprised me with how big it actually was. We lifted the car off of the wooden dolley and placed it on the rotisserie. We didn't bolt the body onto the subframe because there were quite a few repairs that had to happen before we could do that.
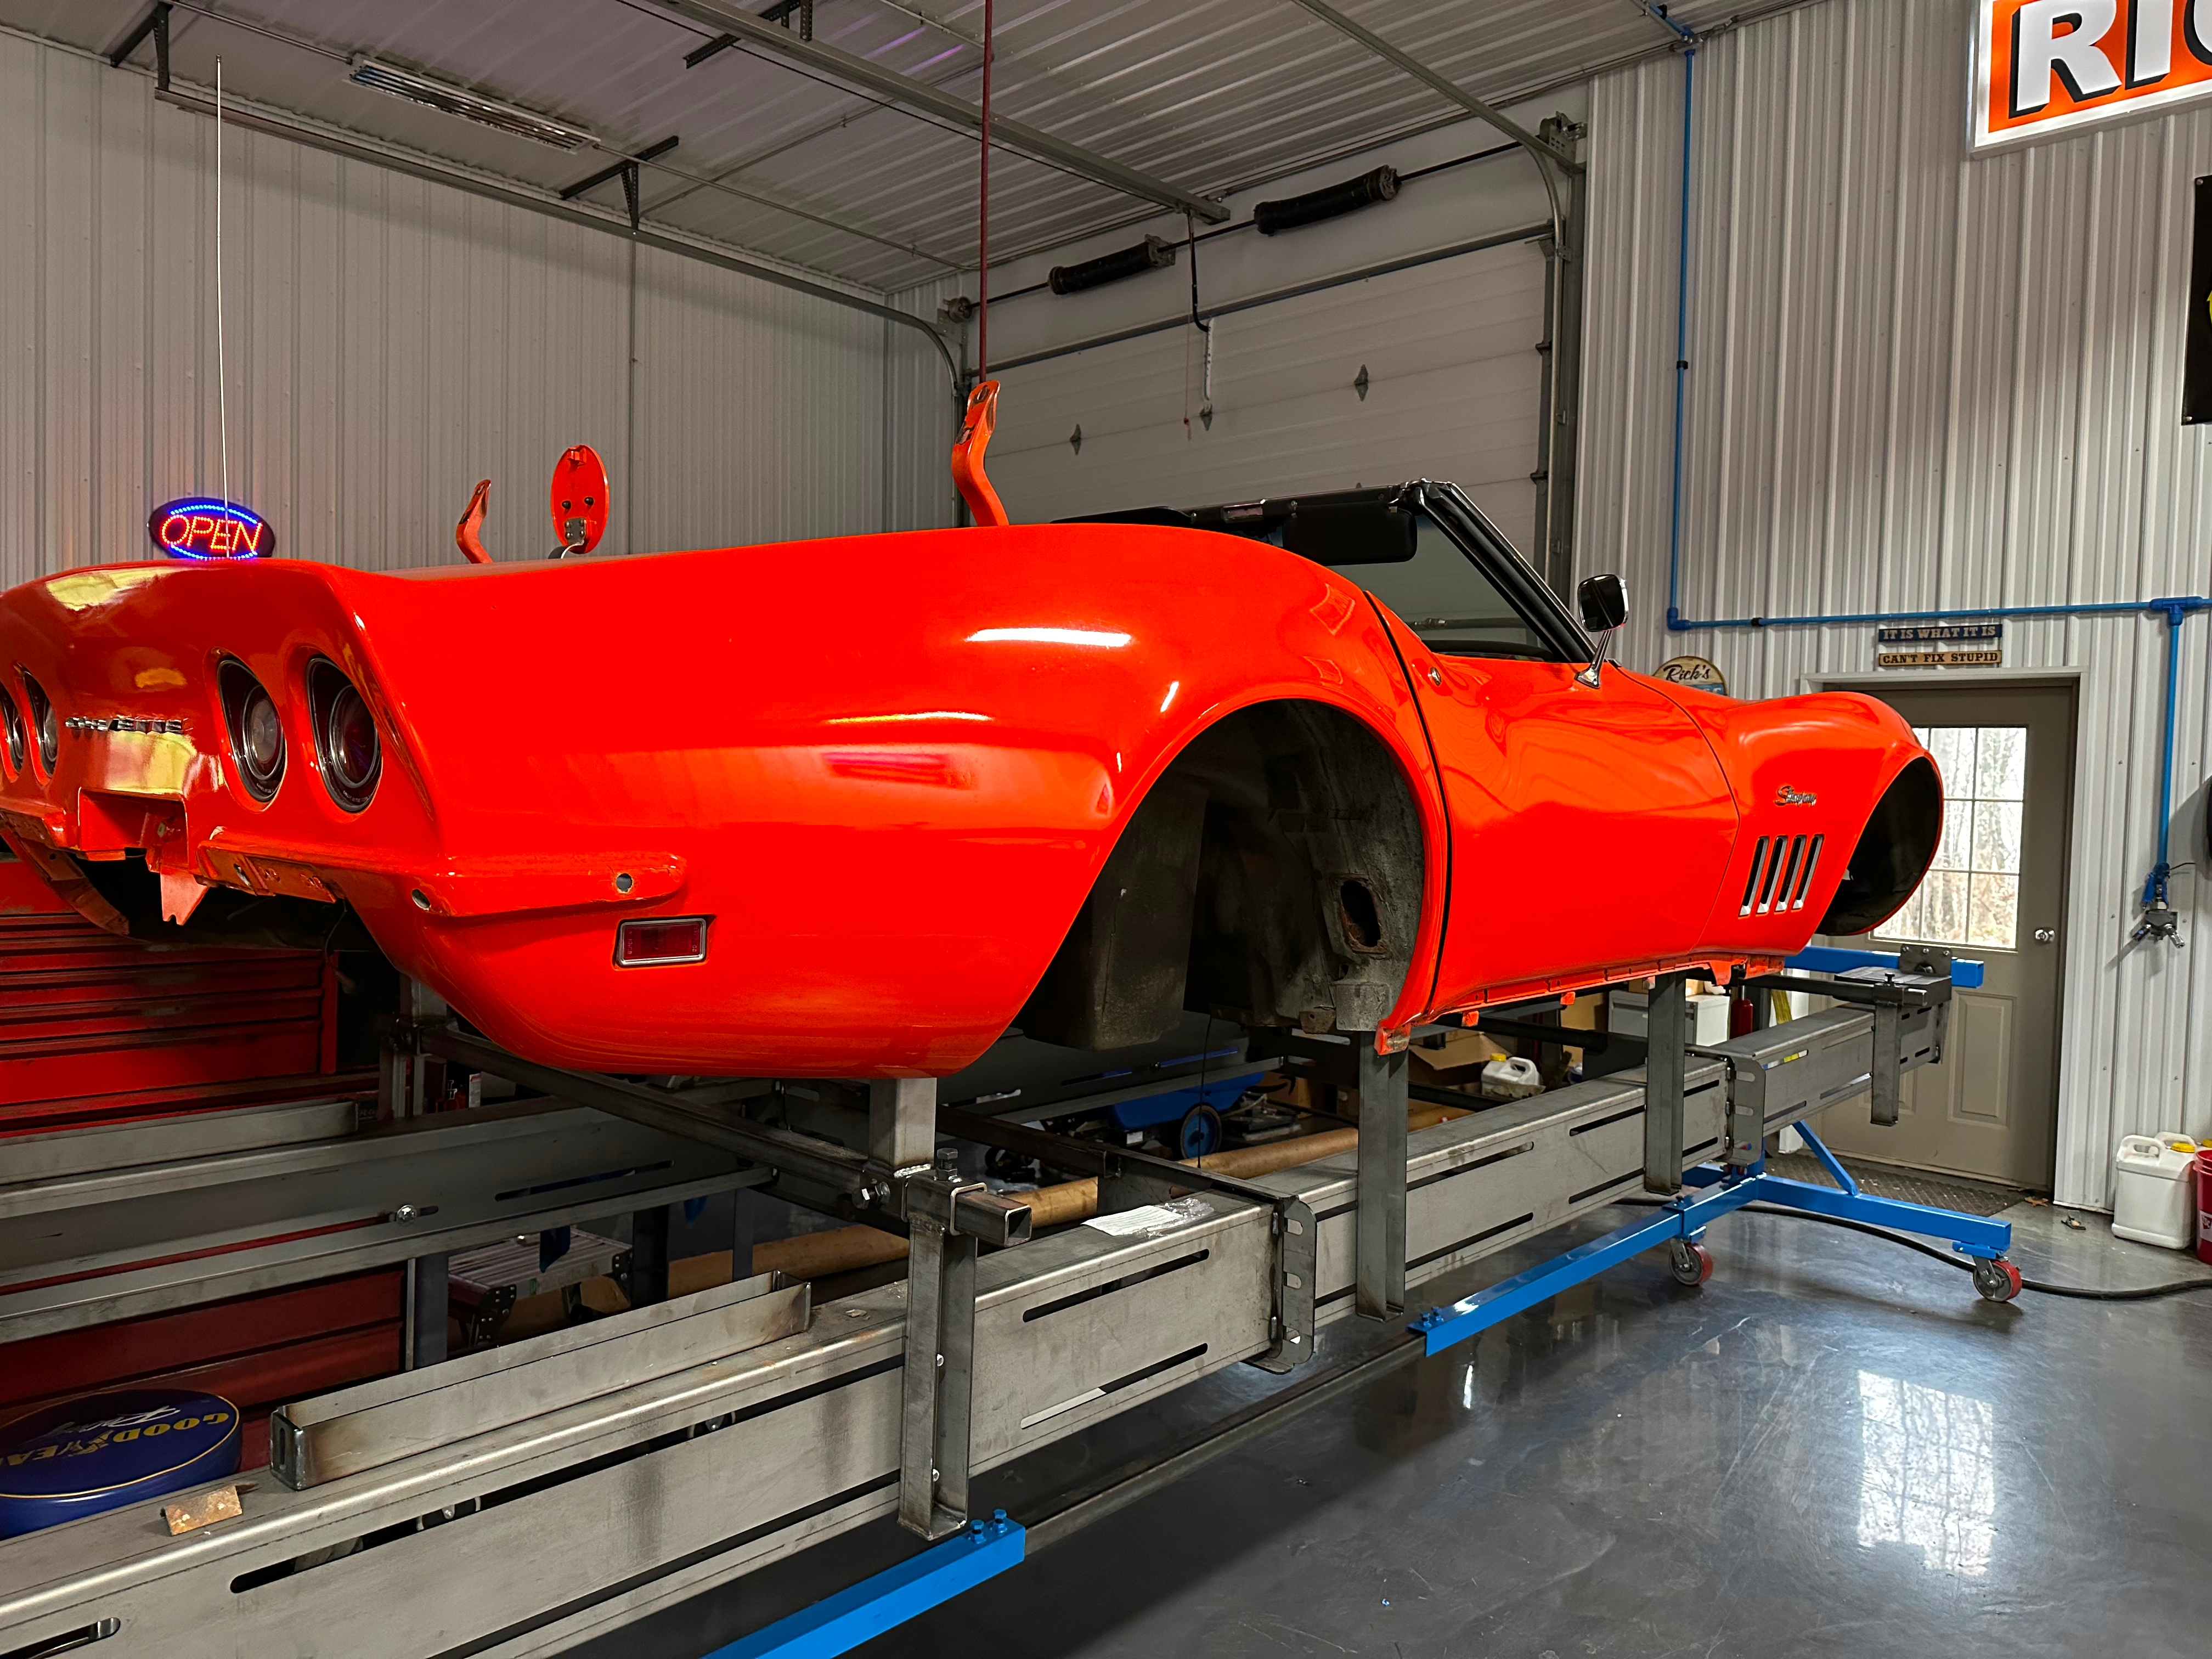
These cars are fiberglass! They don't rust...
The number 3 and number 4 body mounts on both sides had deteriorated very severely with just a thin piece of rust holding the car down at some of the mounts. All 4 of them would need to be repaired before we could bolt it down or start cutting the body. We'll leave that for the next post...