Lights, Camera, [Cutting] Action!

After removing the body, we quickly got to work repairing the body mounts and removing the rear tray.
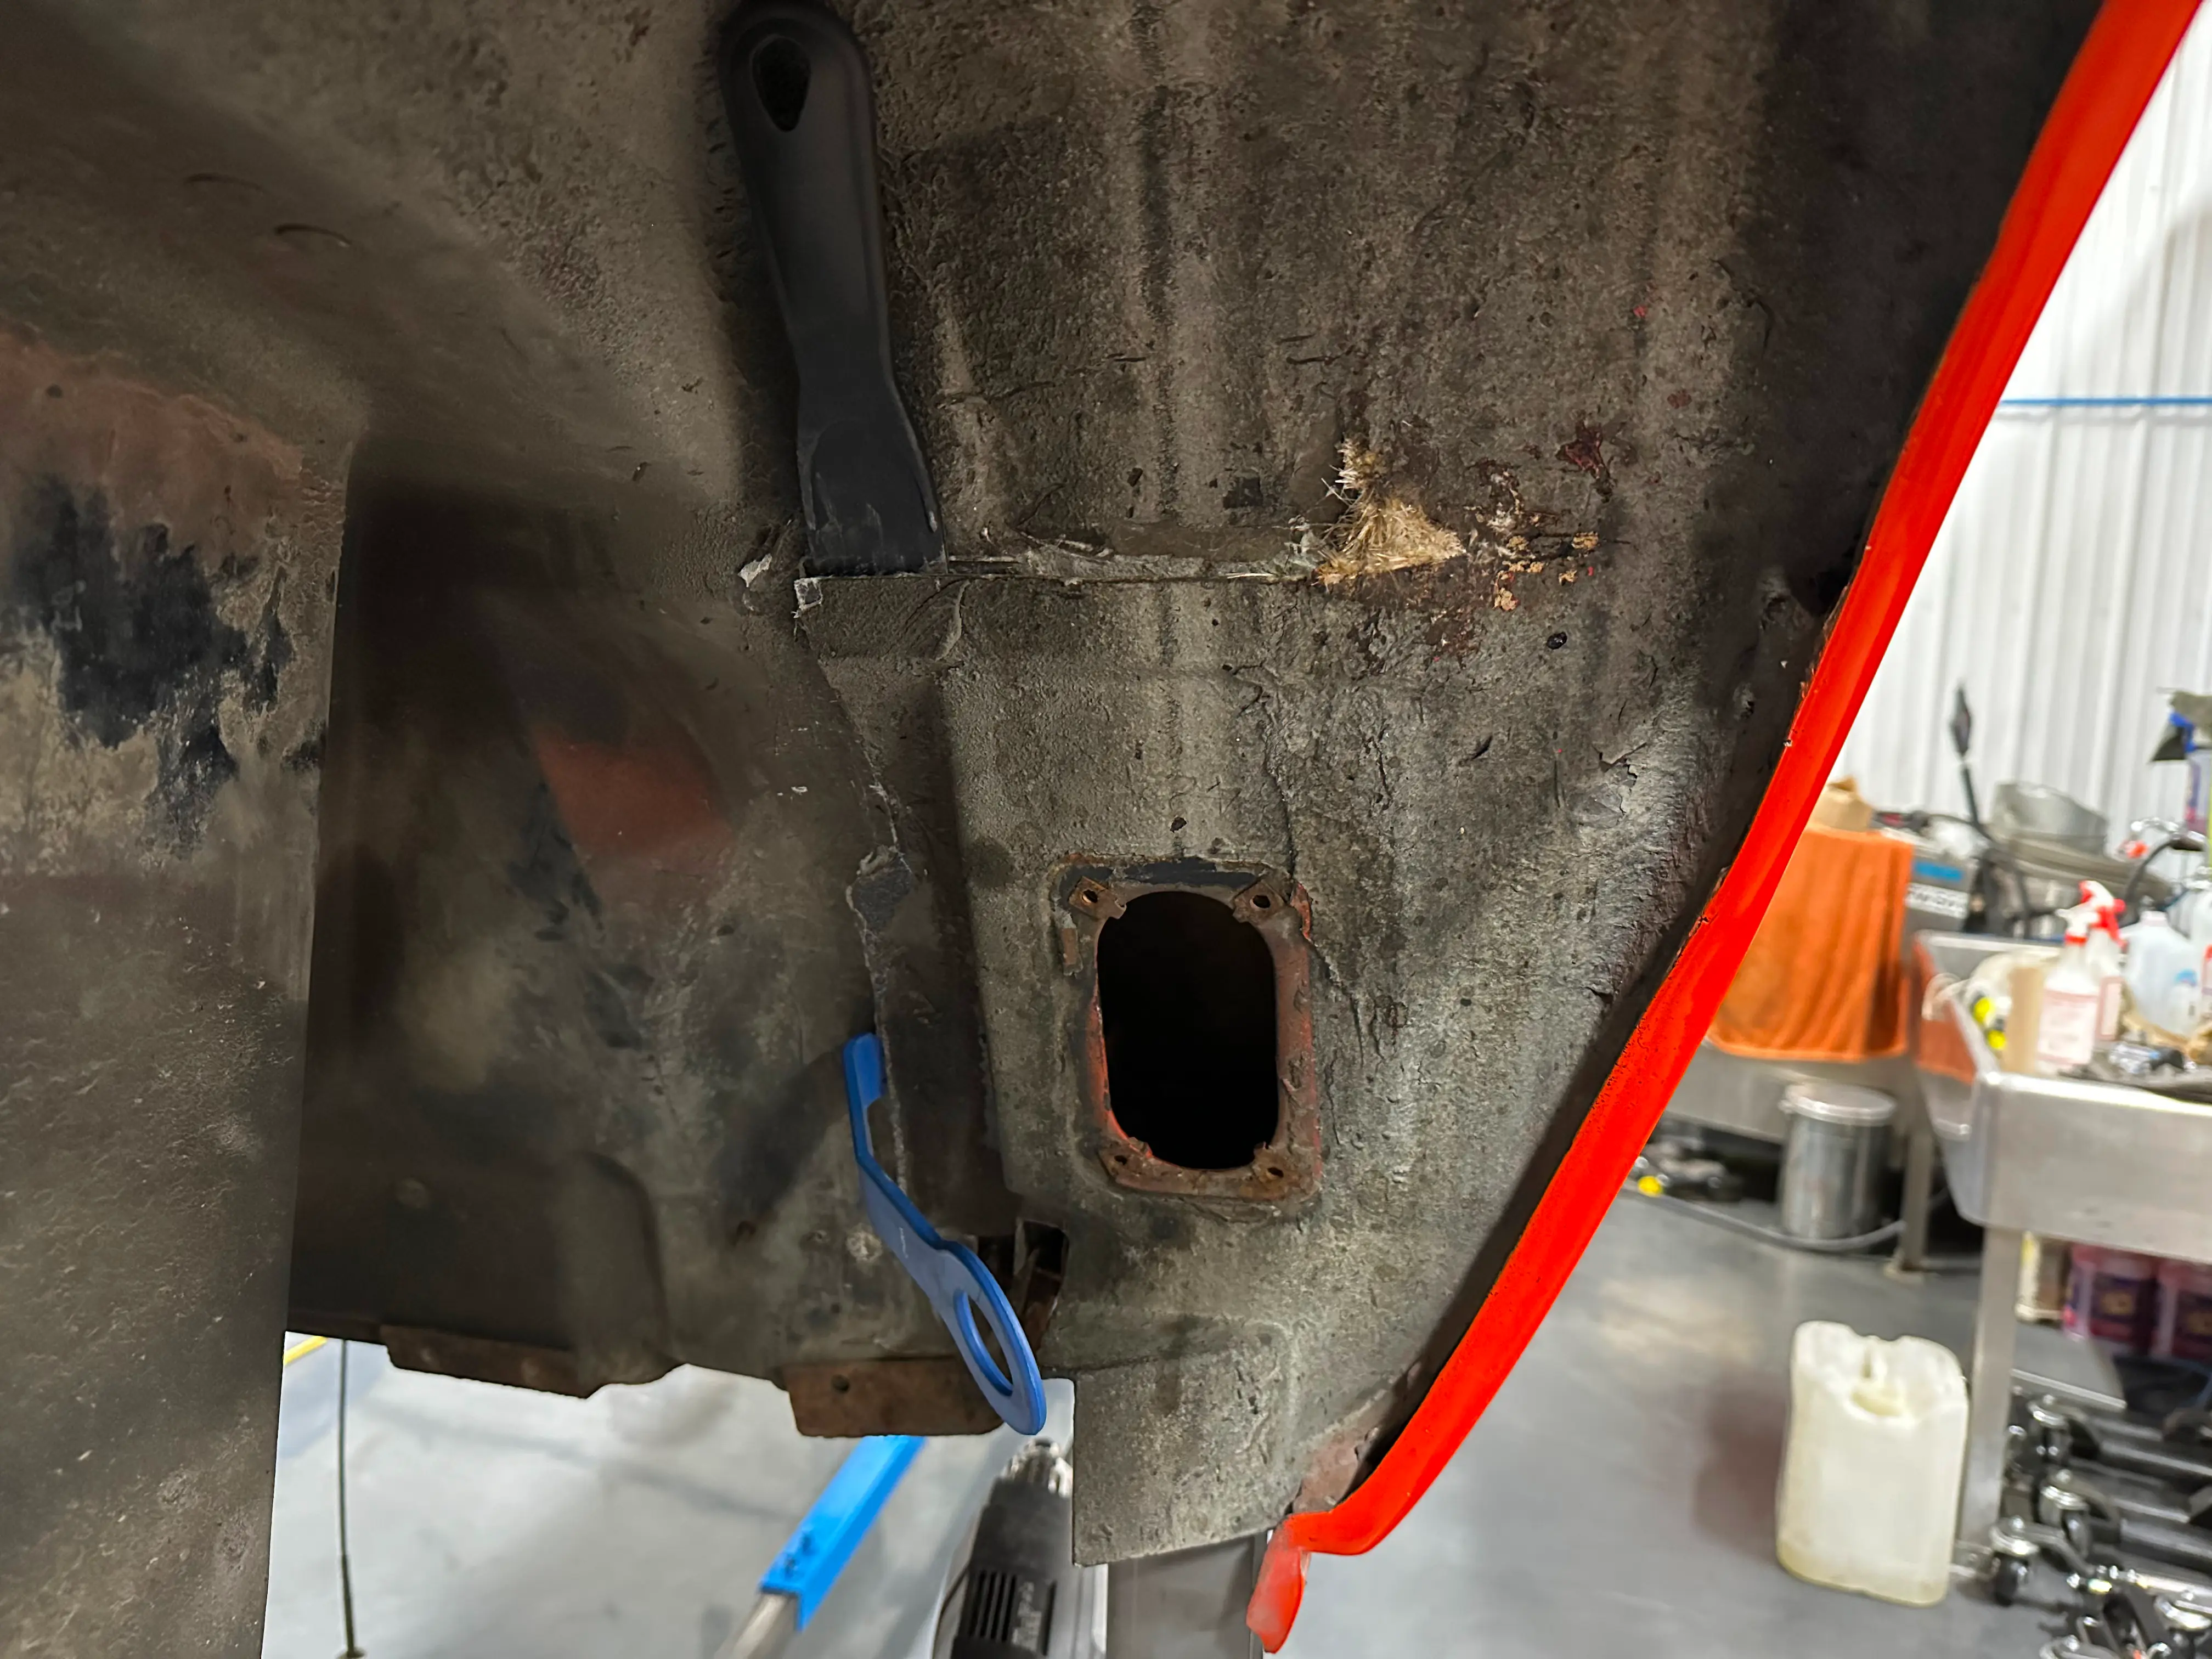
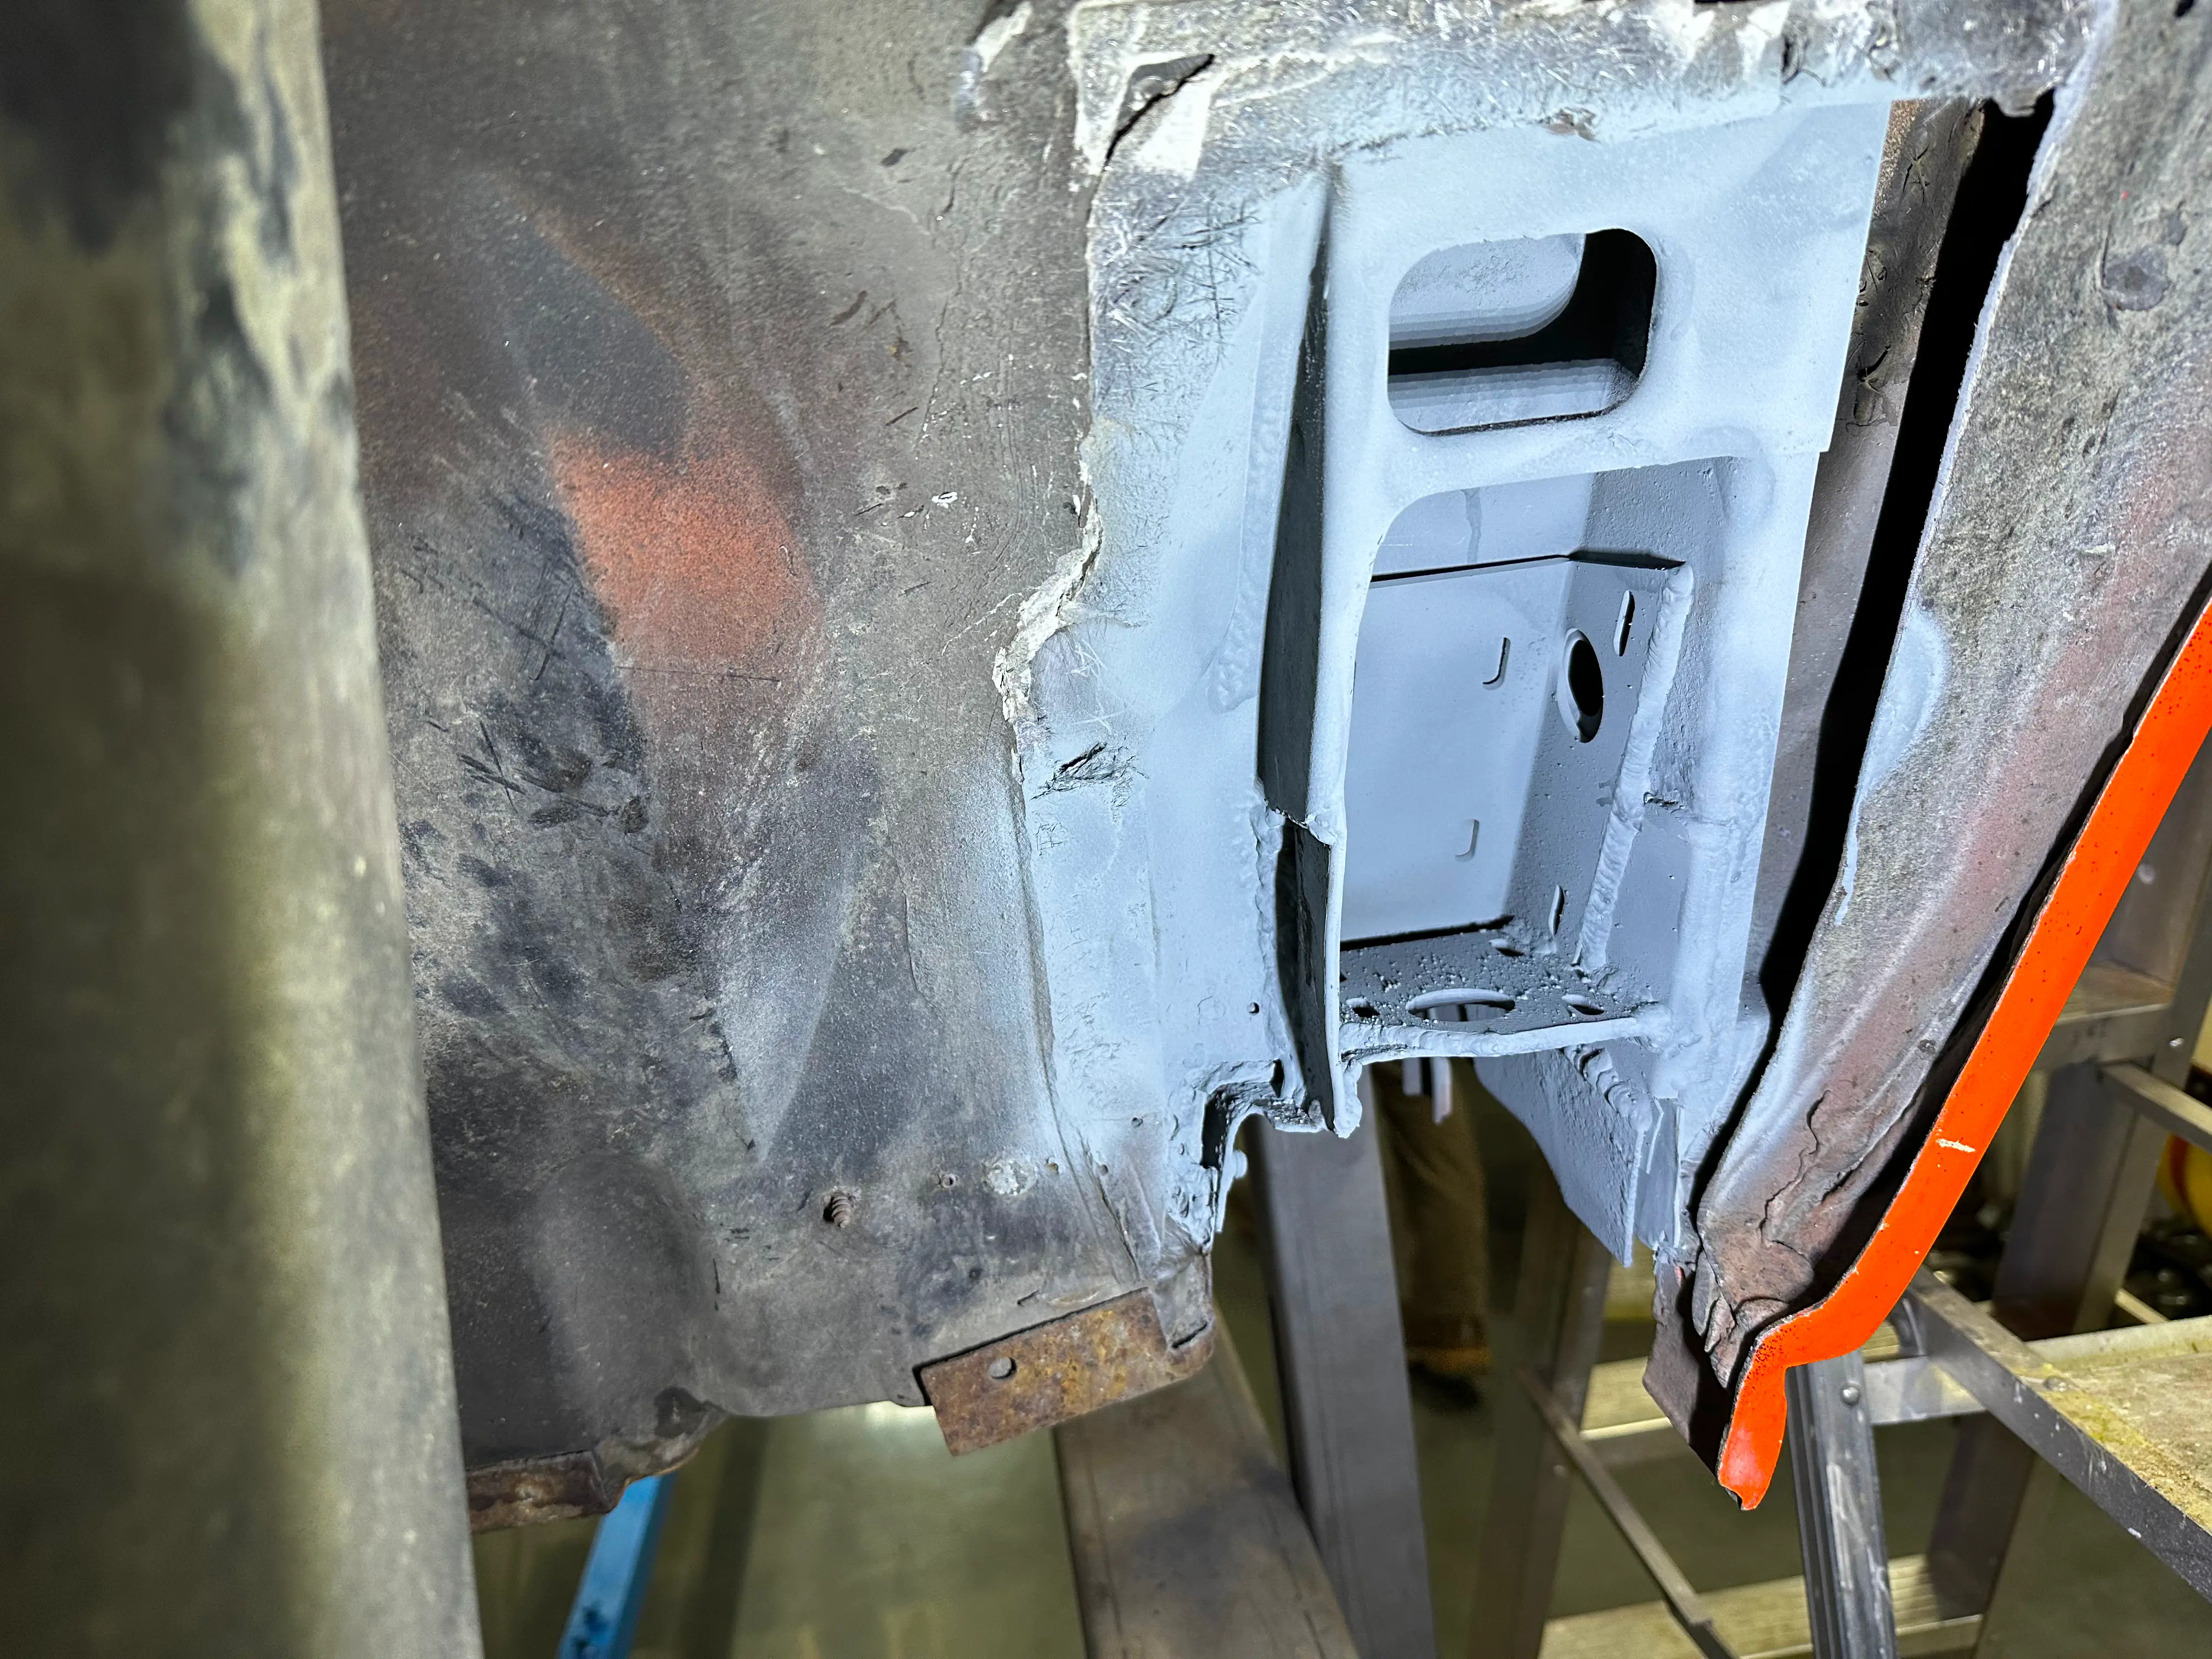
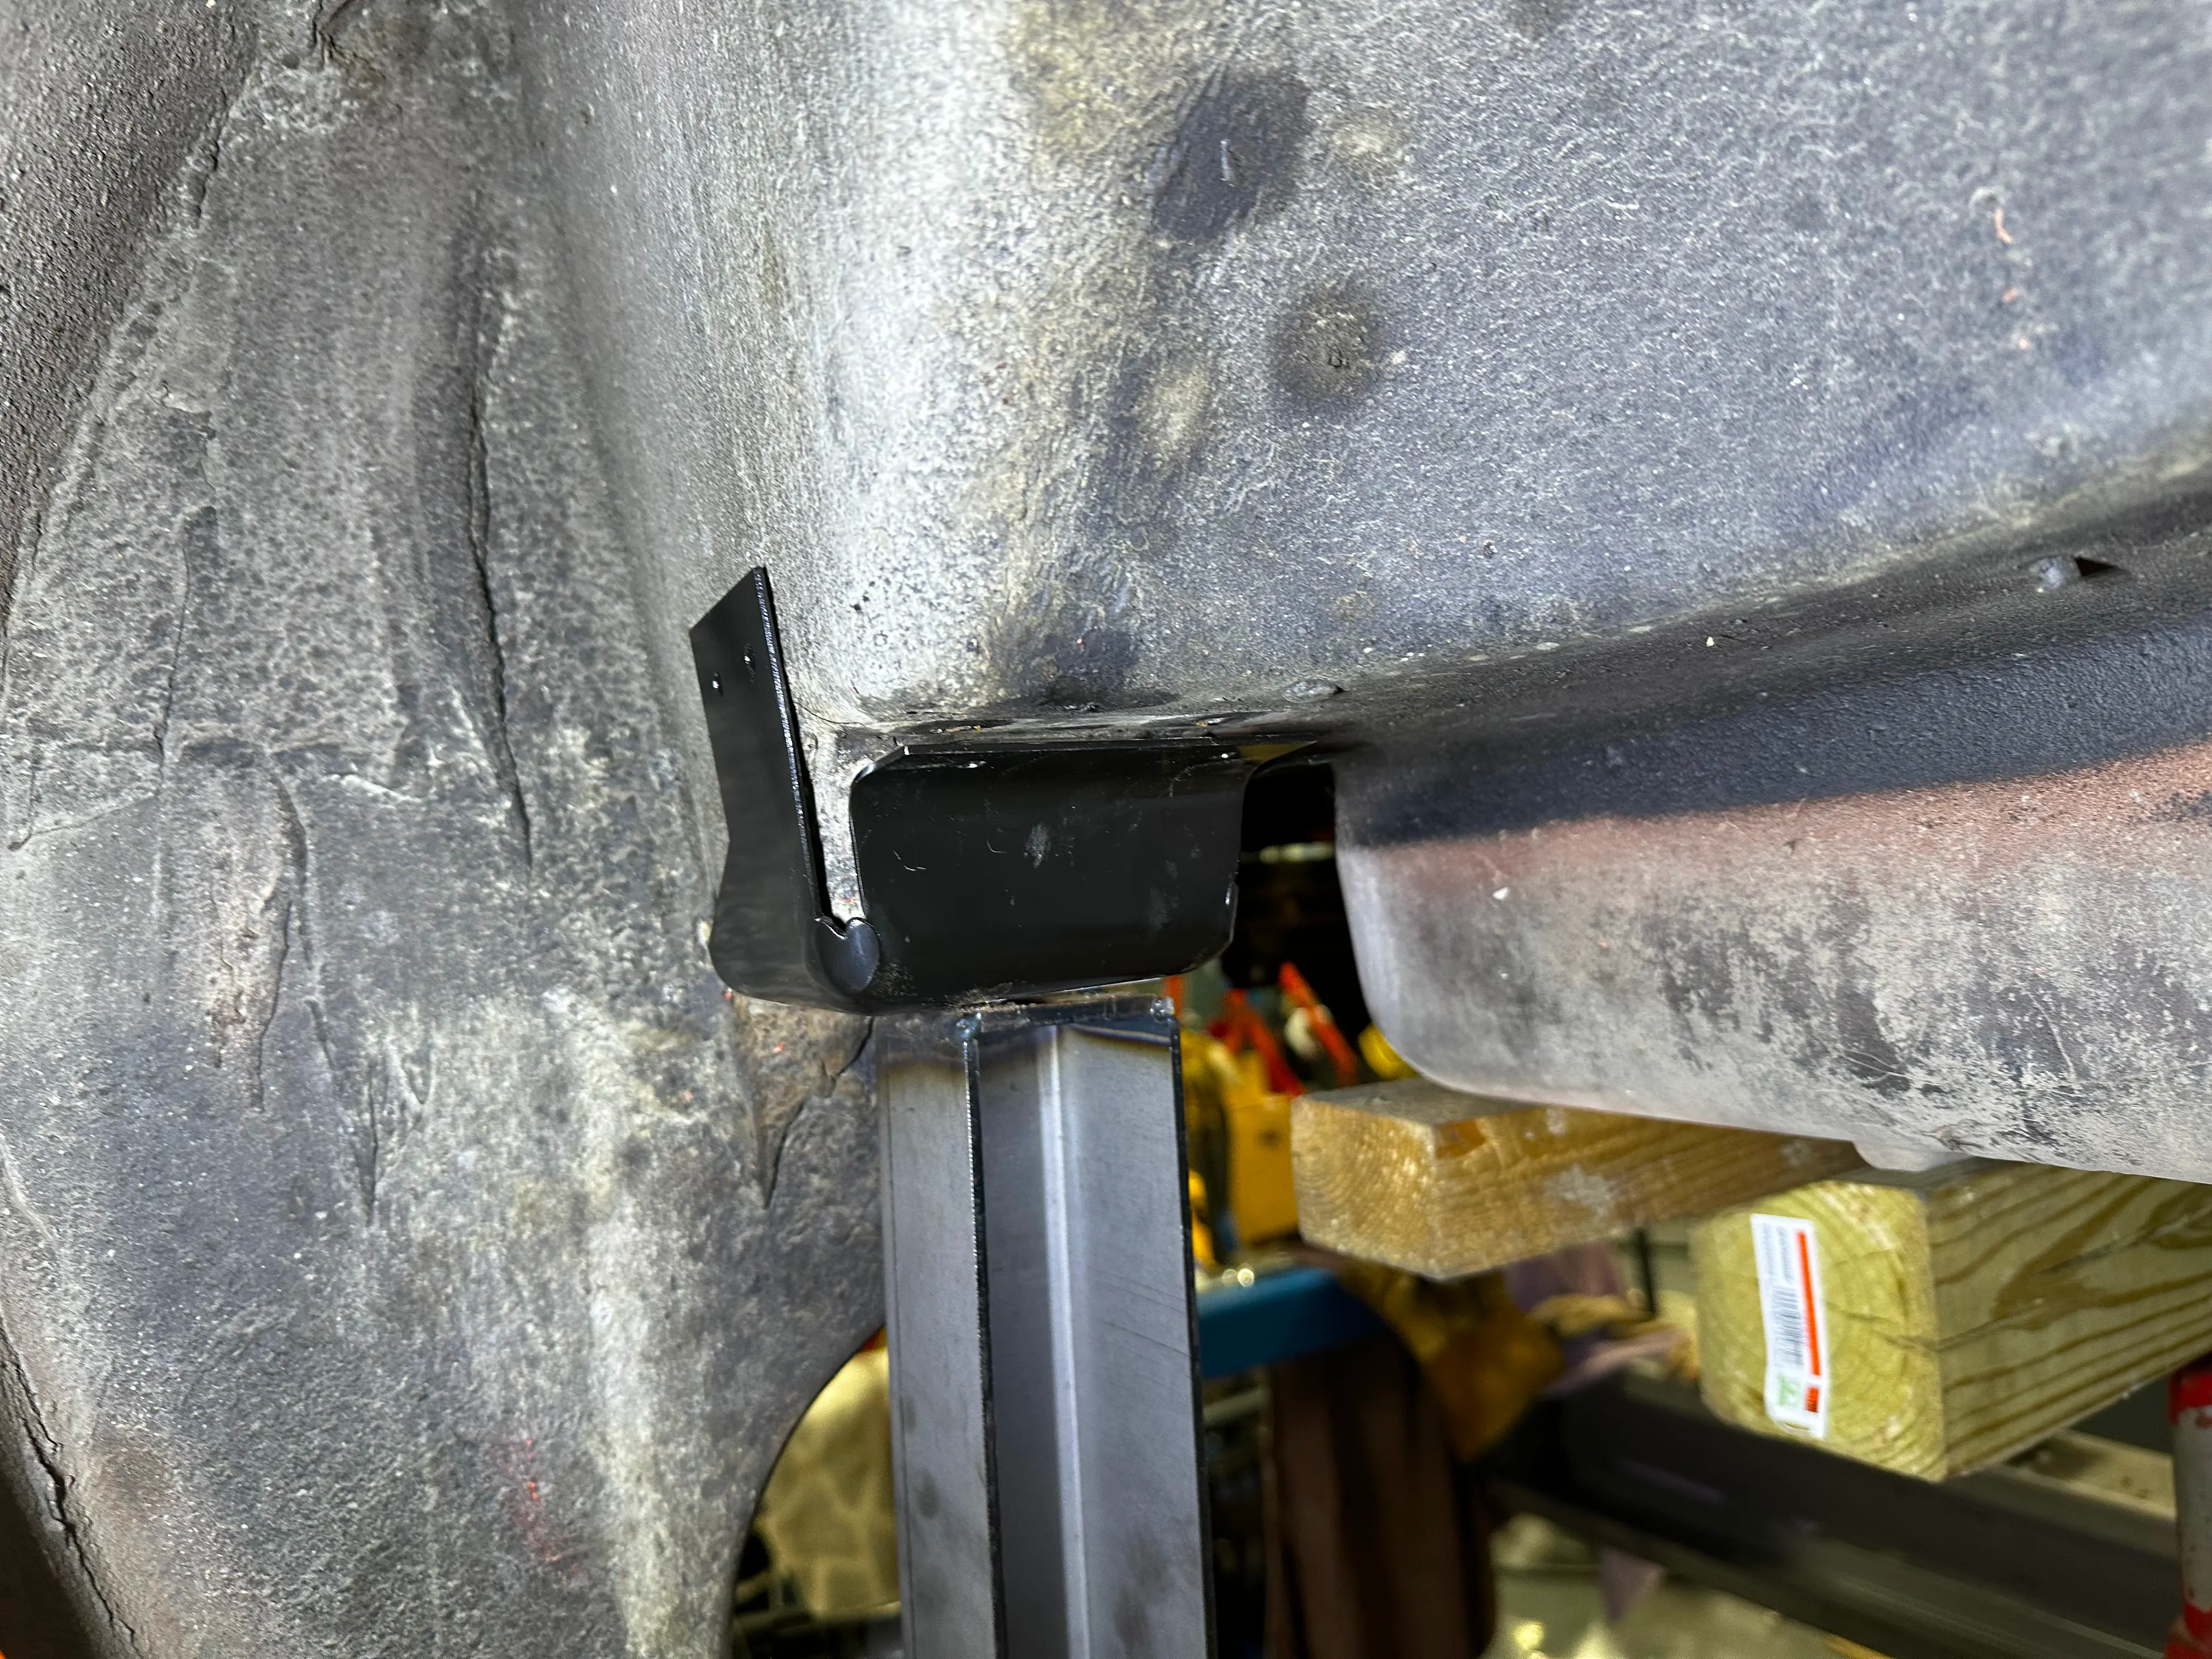
When we removed the body, we found that the number 3 body mounts in front of the rear wheels were rusted and needed to be repaired as well as the number 4 body mounts behind the rear wheel. We also began cutting the rear tray section of the floor to prepare for the new chassis. We also cut the rear birdcage wall and the transmission tunnel. After that, we needed to add some bracing to keep the body secure.
Repairing the Body Mounts
The number 3 mount ties into the birdcage of the body, in order to gain better access to repair it, we cut the fiberglass panel out of the wheel well. We bought a weld-in repair for both sides. The birdcage has a metal channel that runs under the door and back to the number 3 mount. We also repaired this on the driver's side of the car.
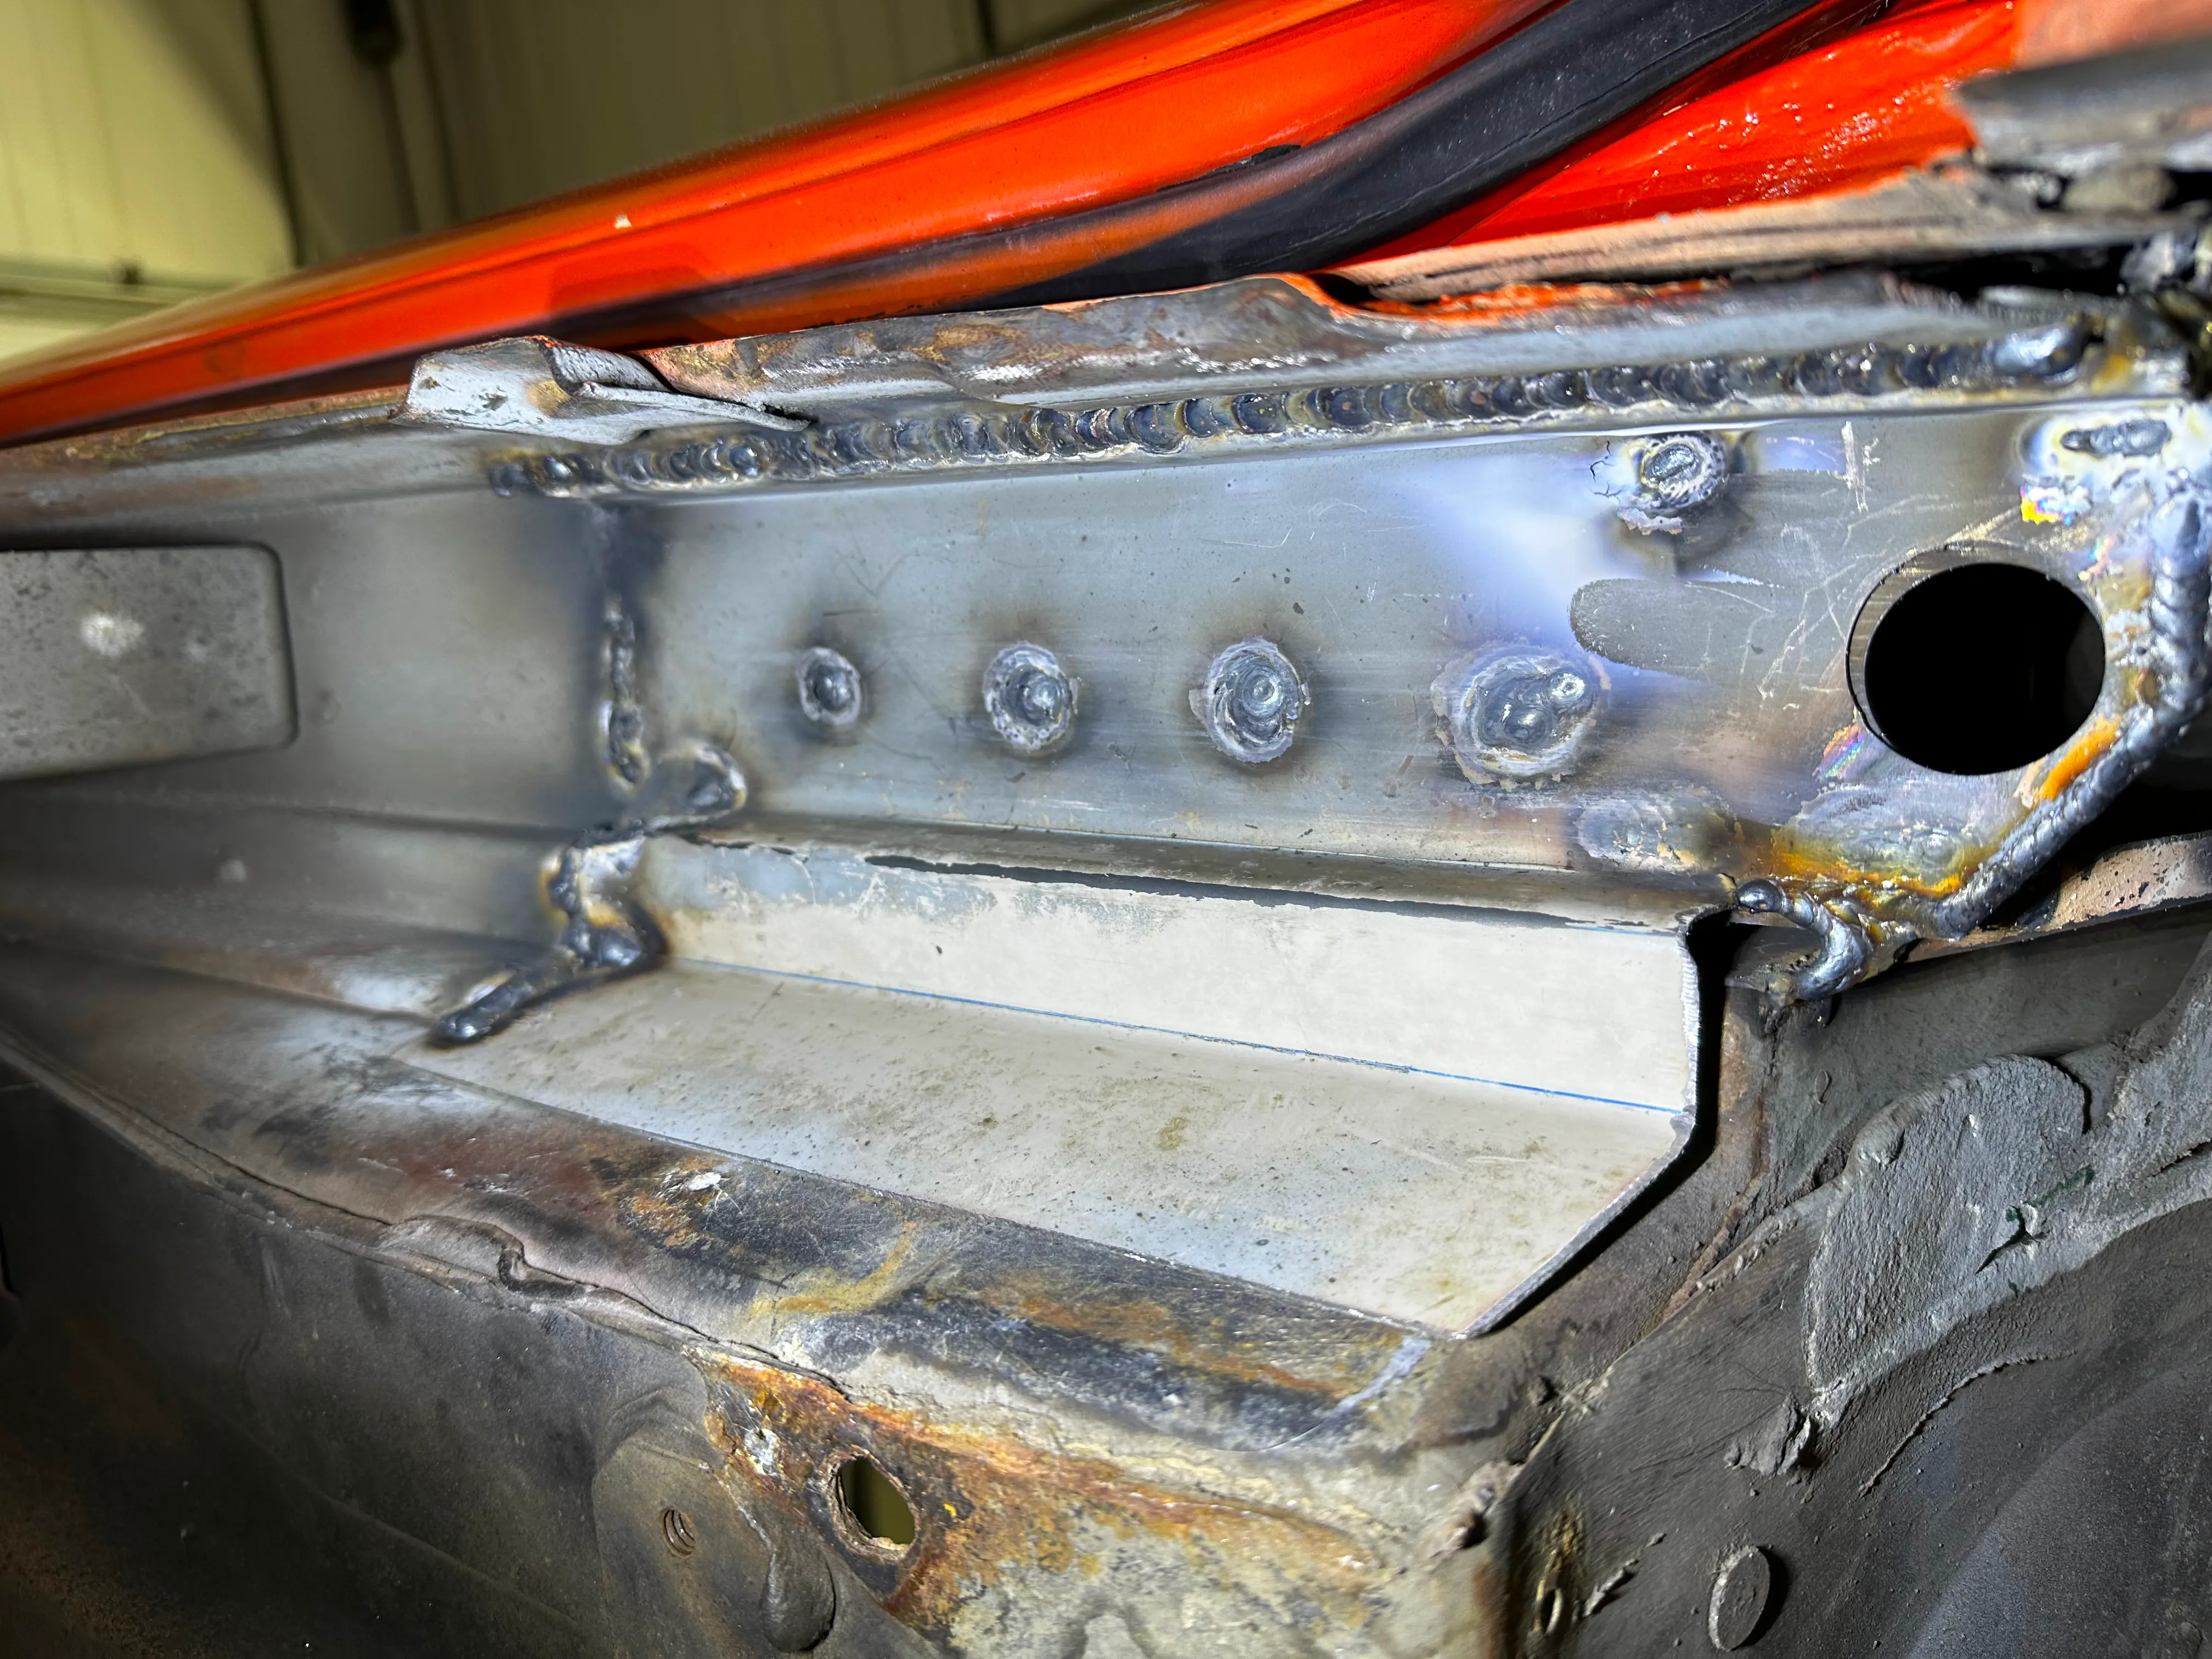
The number 4 mount sandwiches fiberglass and connects to the hinge for the rear decklid. These mounts are stamped steel that is riveted into place. This needs access from the top and the bottom of the car so we needed to use a ladder and crouch underneath the car.
Cutting Time
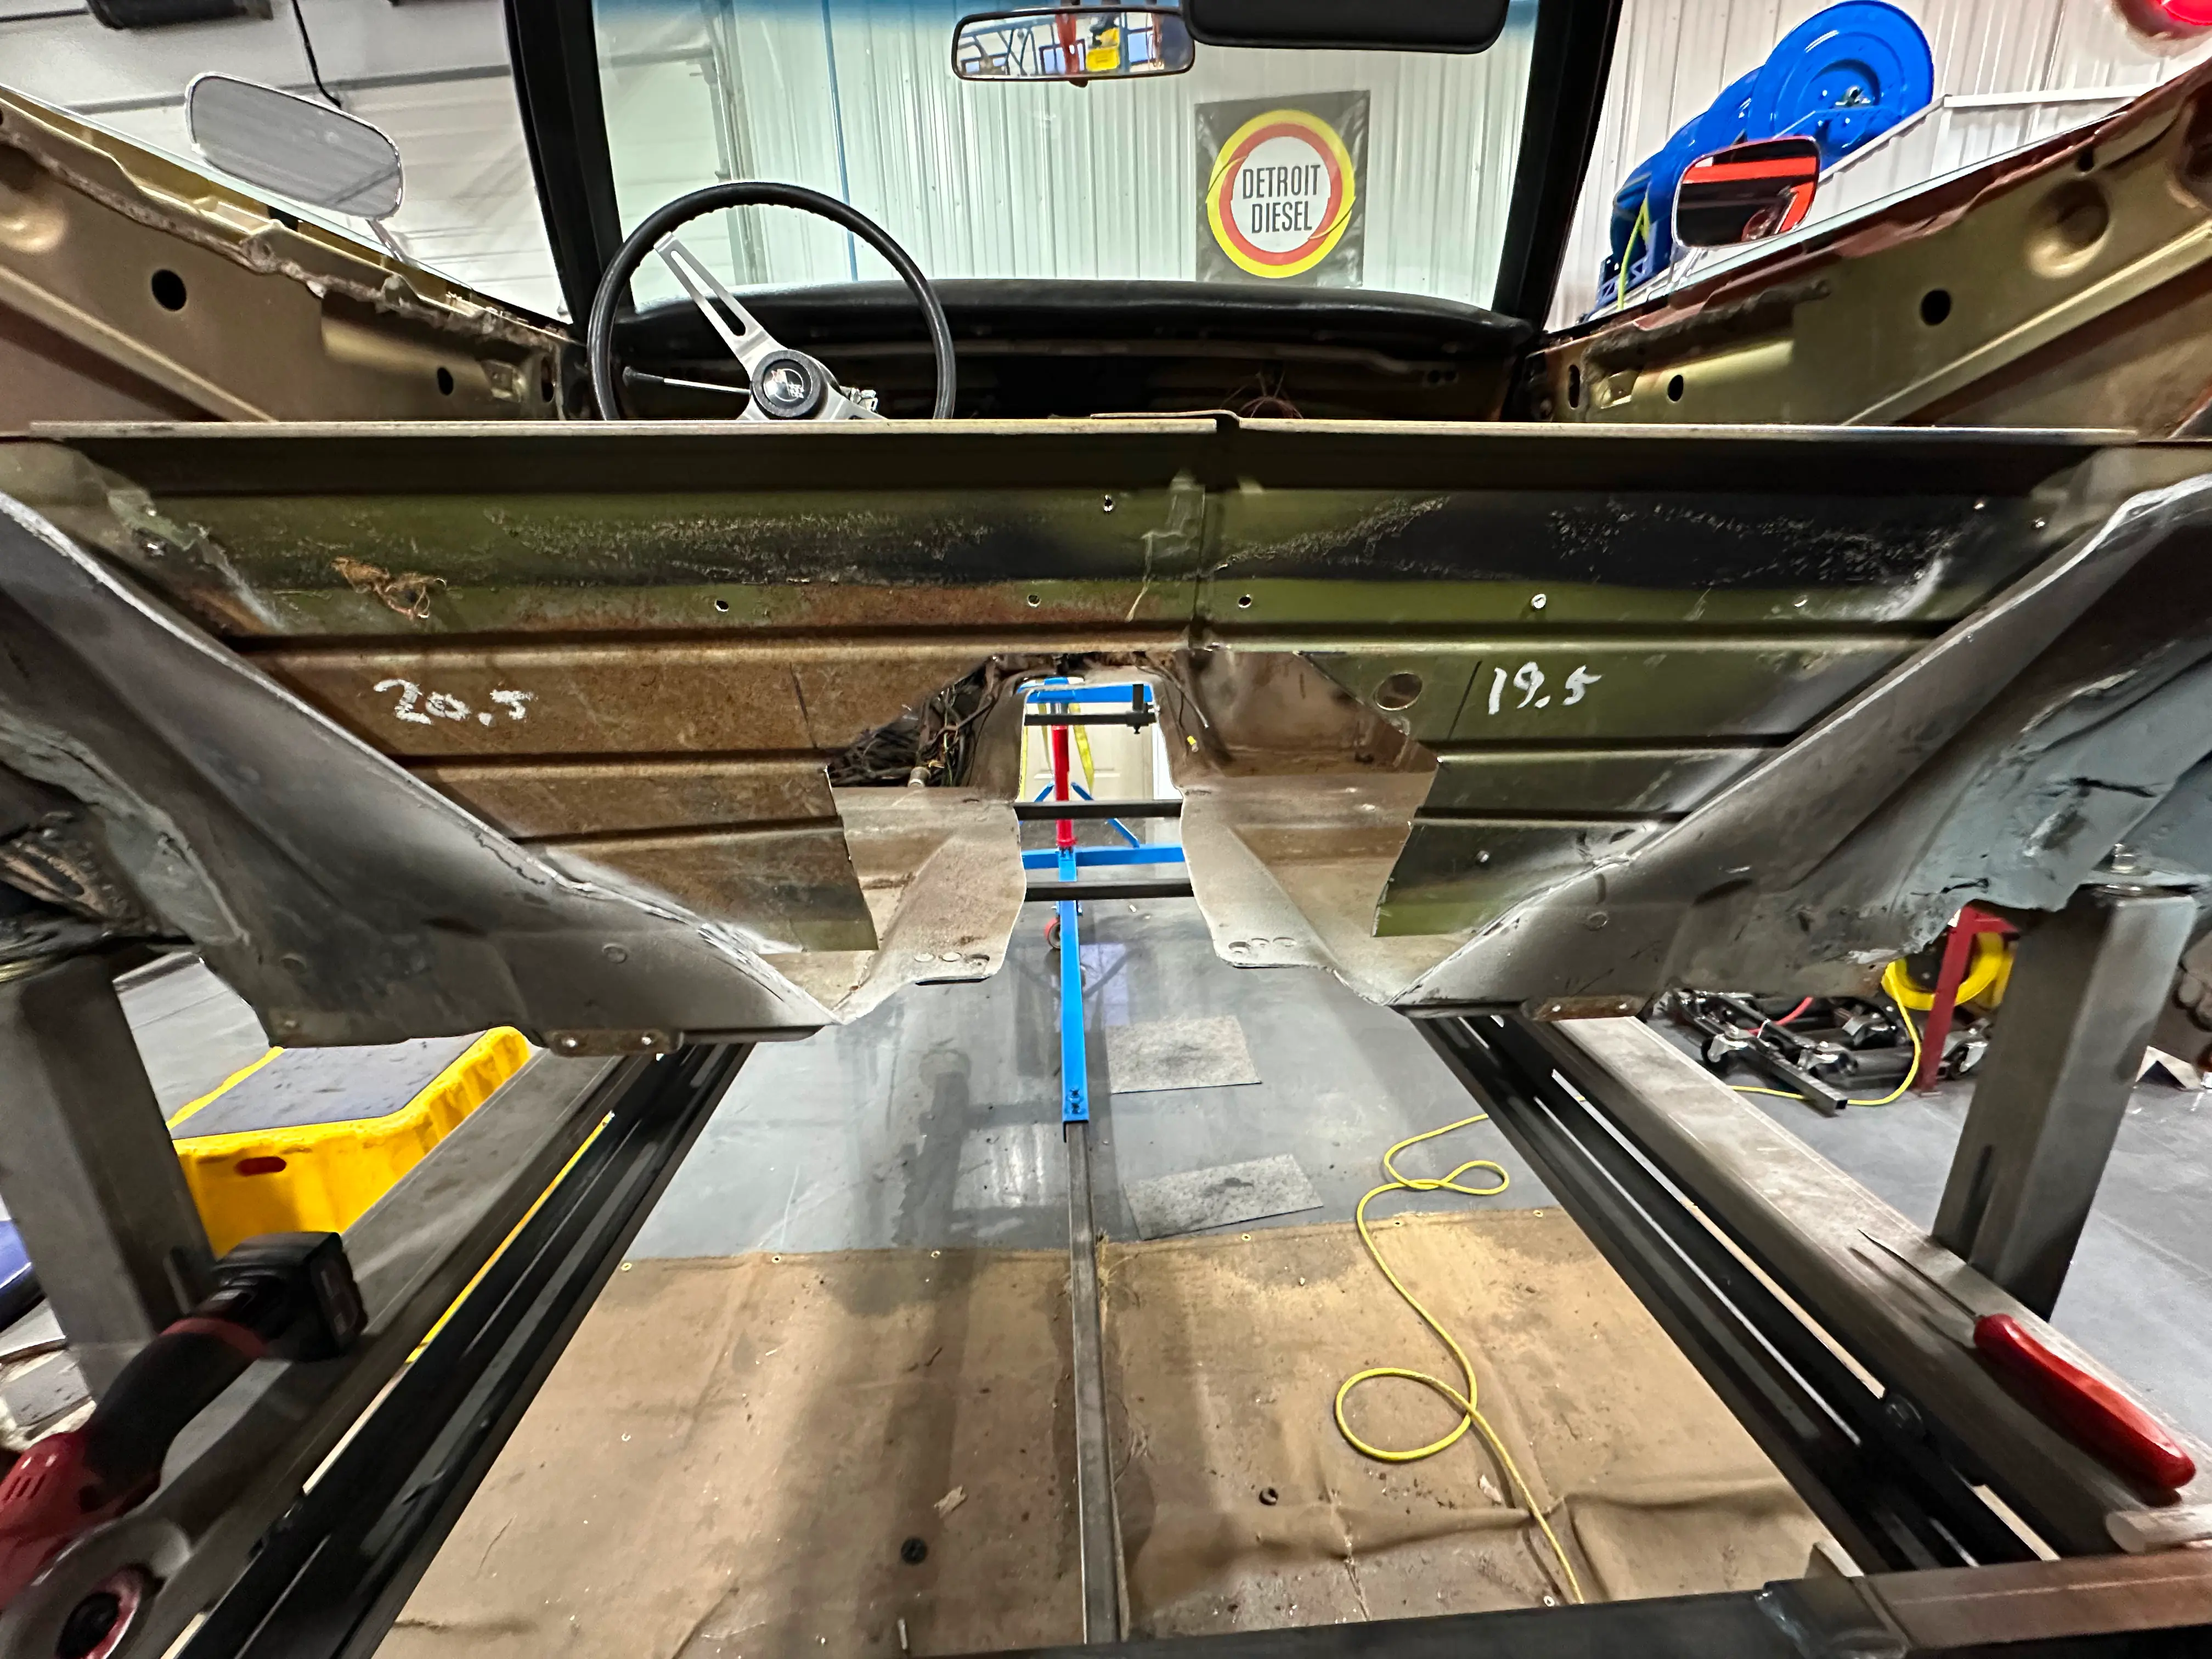
Once all of the body mounts were repaired we attached the rotisserie securely and felt comfortable with the structure of the body. Then we began cutting the body. The rear tray and the transmission tunnel came out as one, large piece. This area was cut to make room for the suspension, frame, and the larger rear tires. Being a large piece of fiberglass, it was quite difficult to remove, so we cut it into smaller pieces.
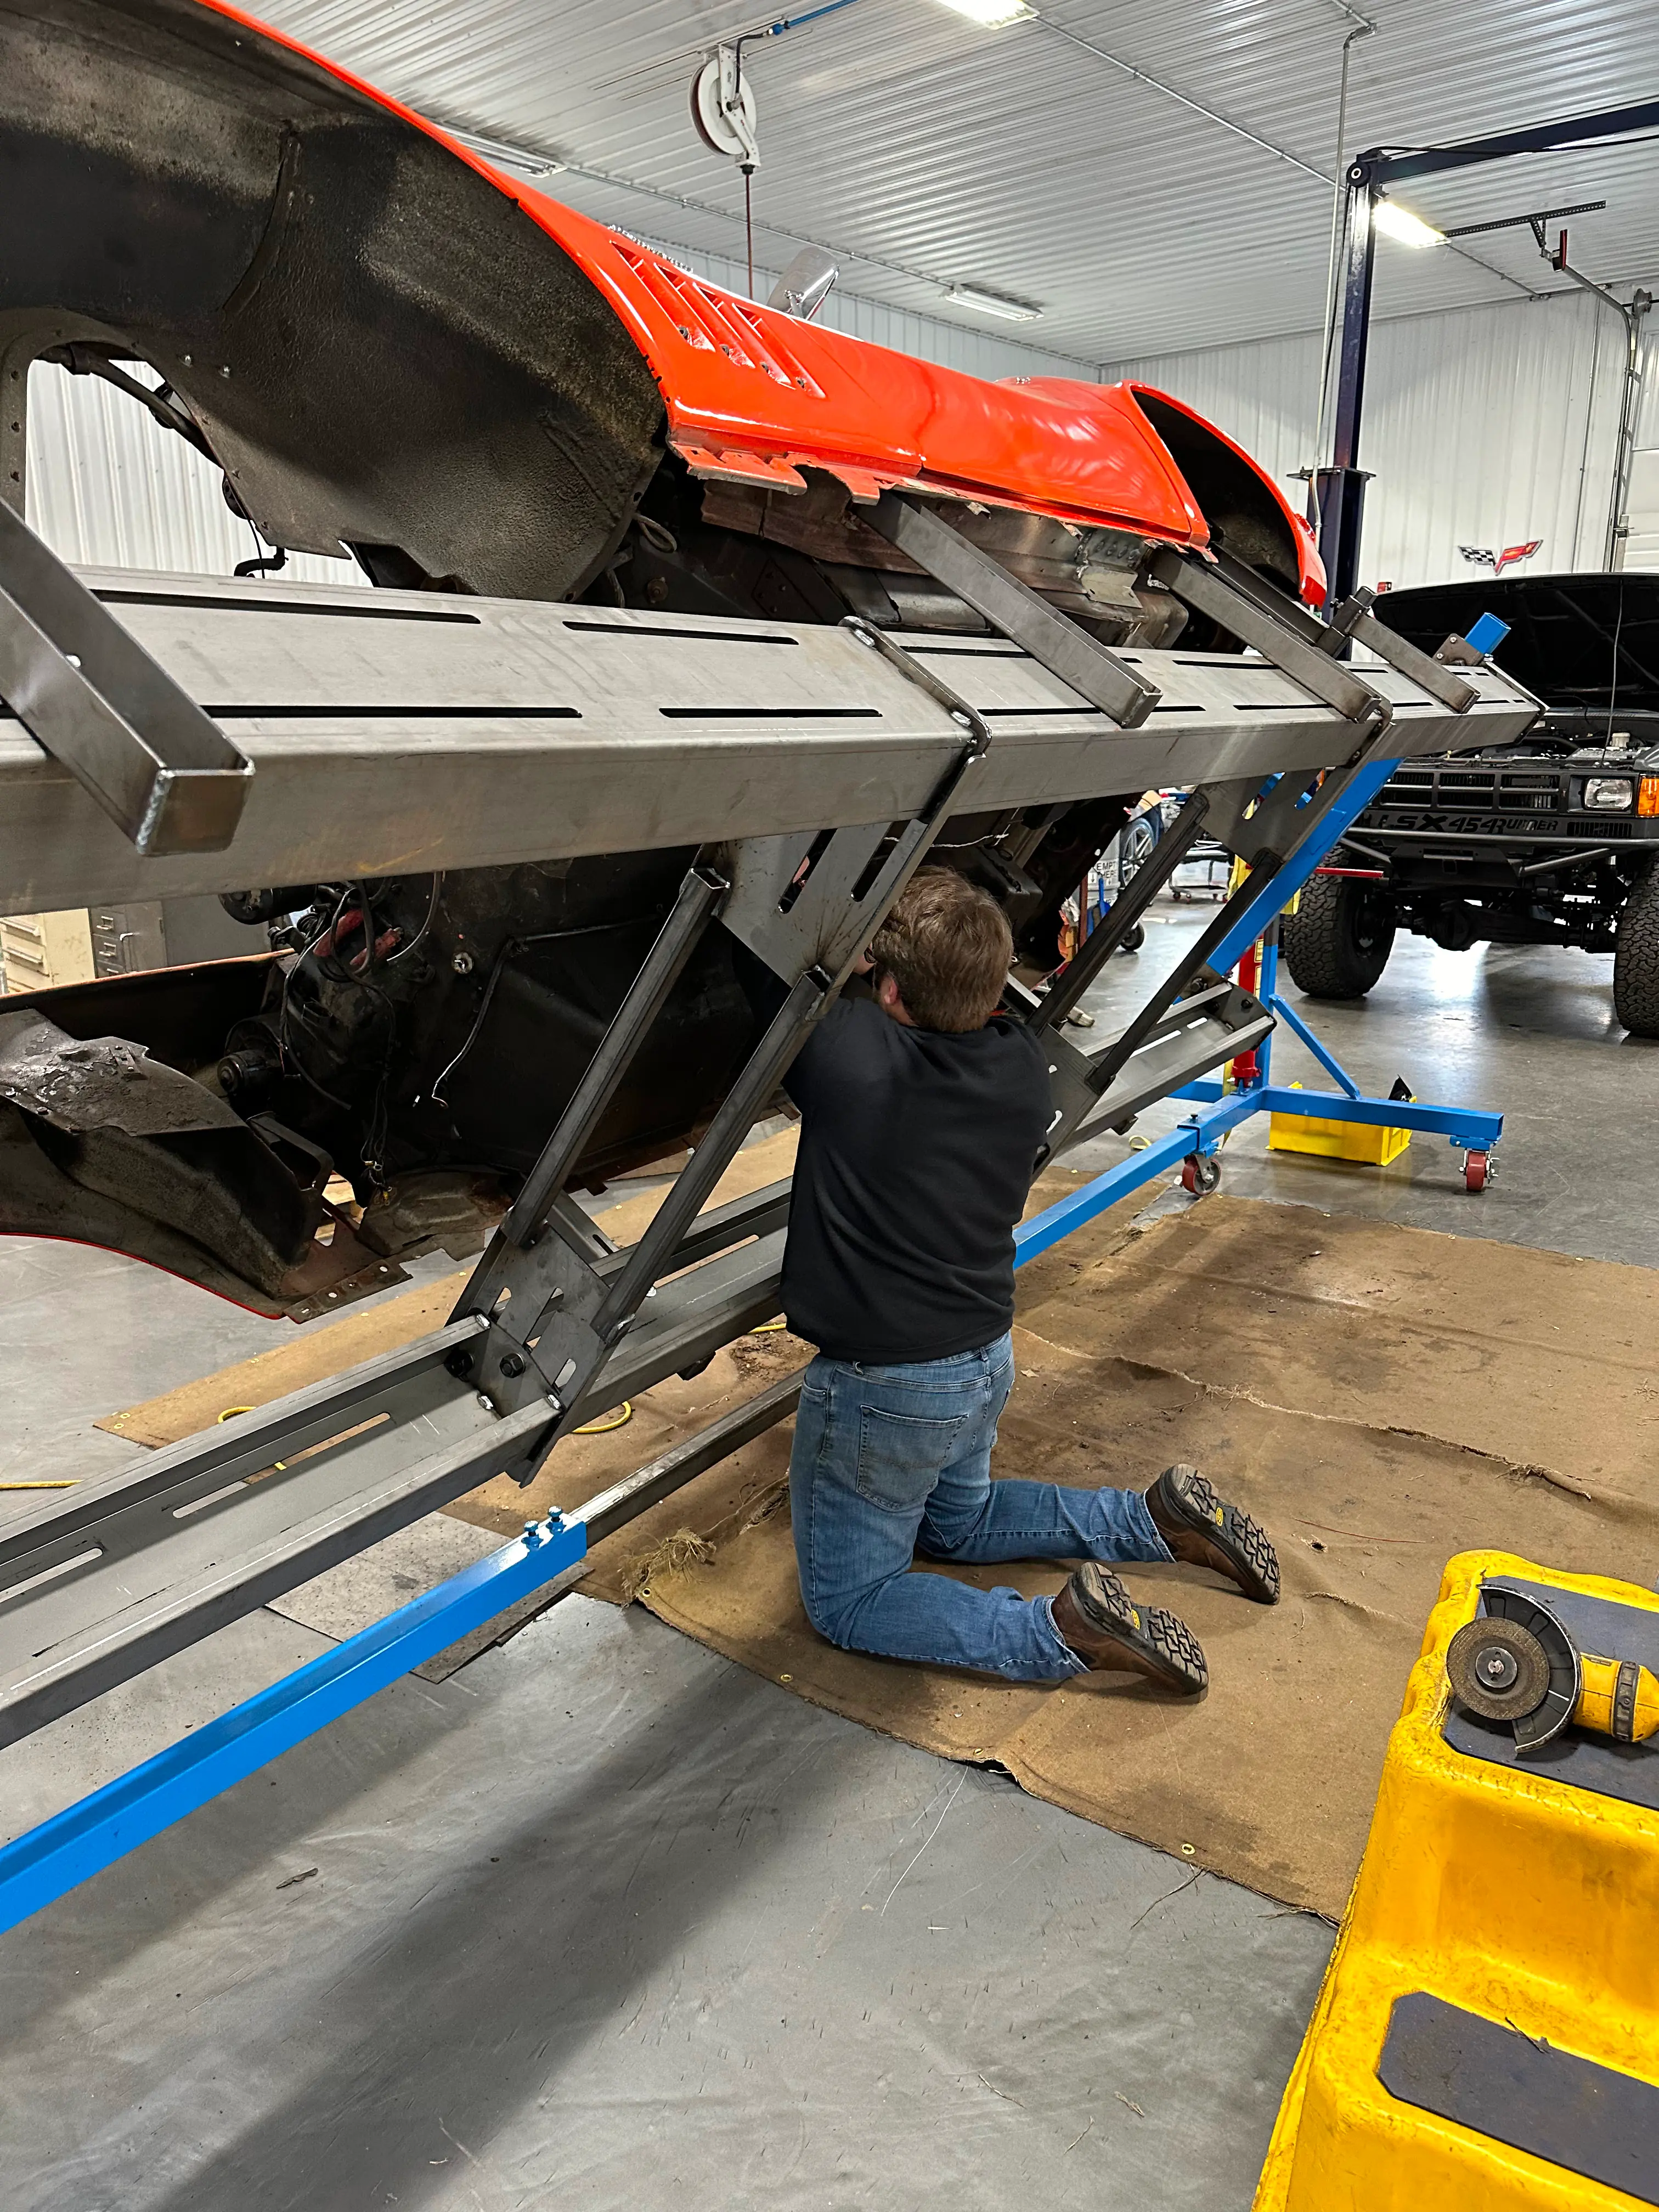
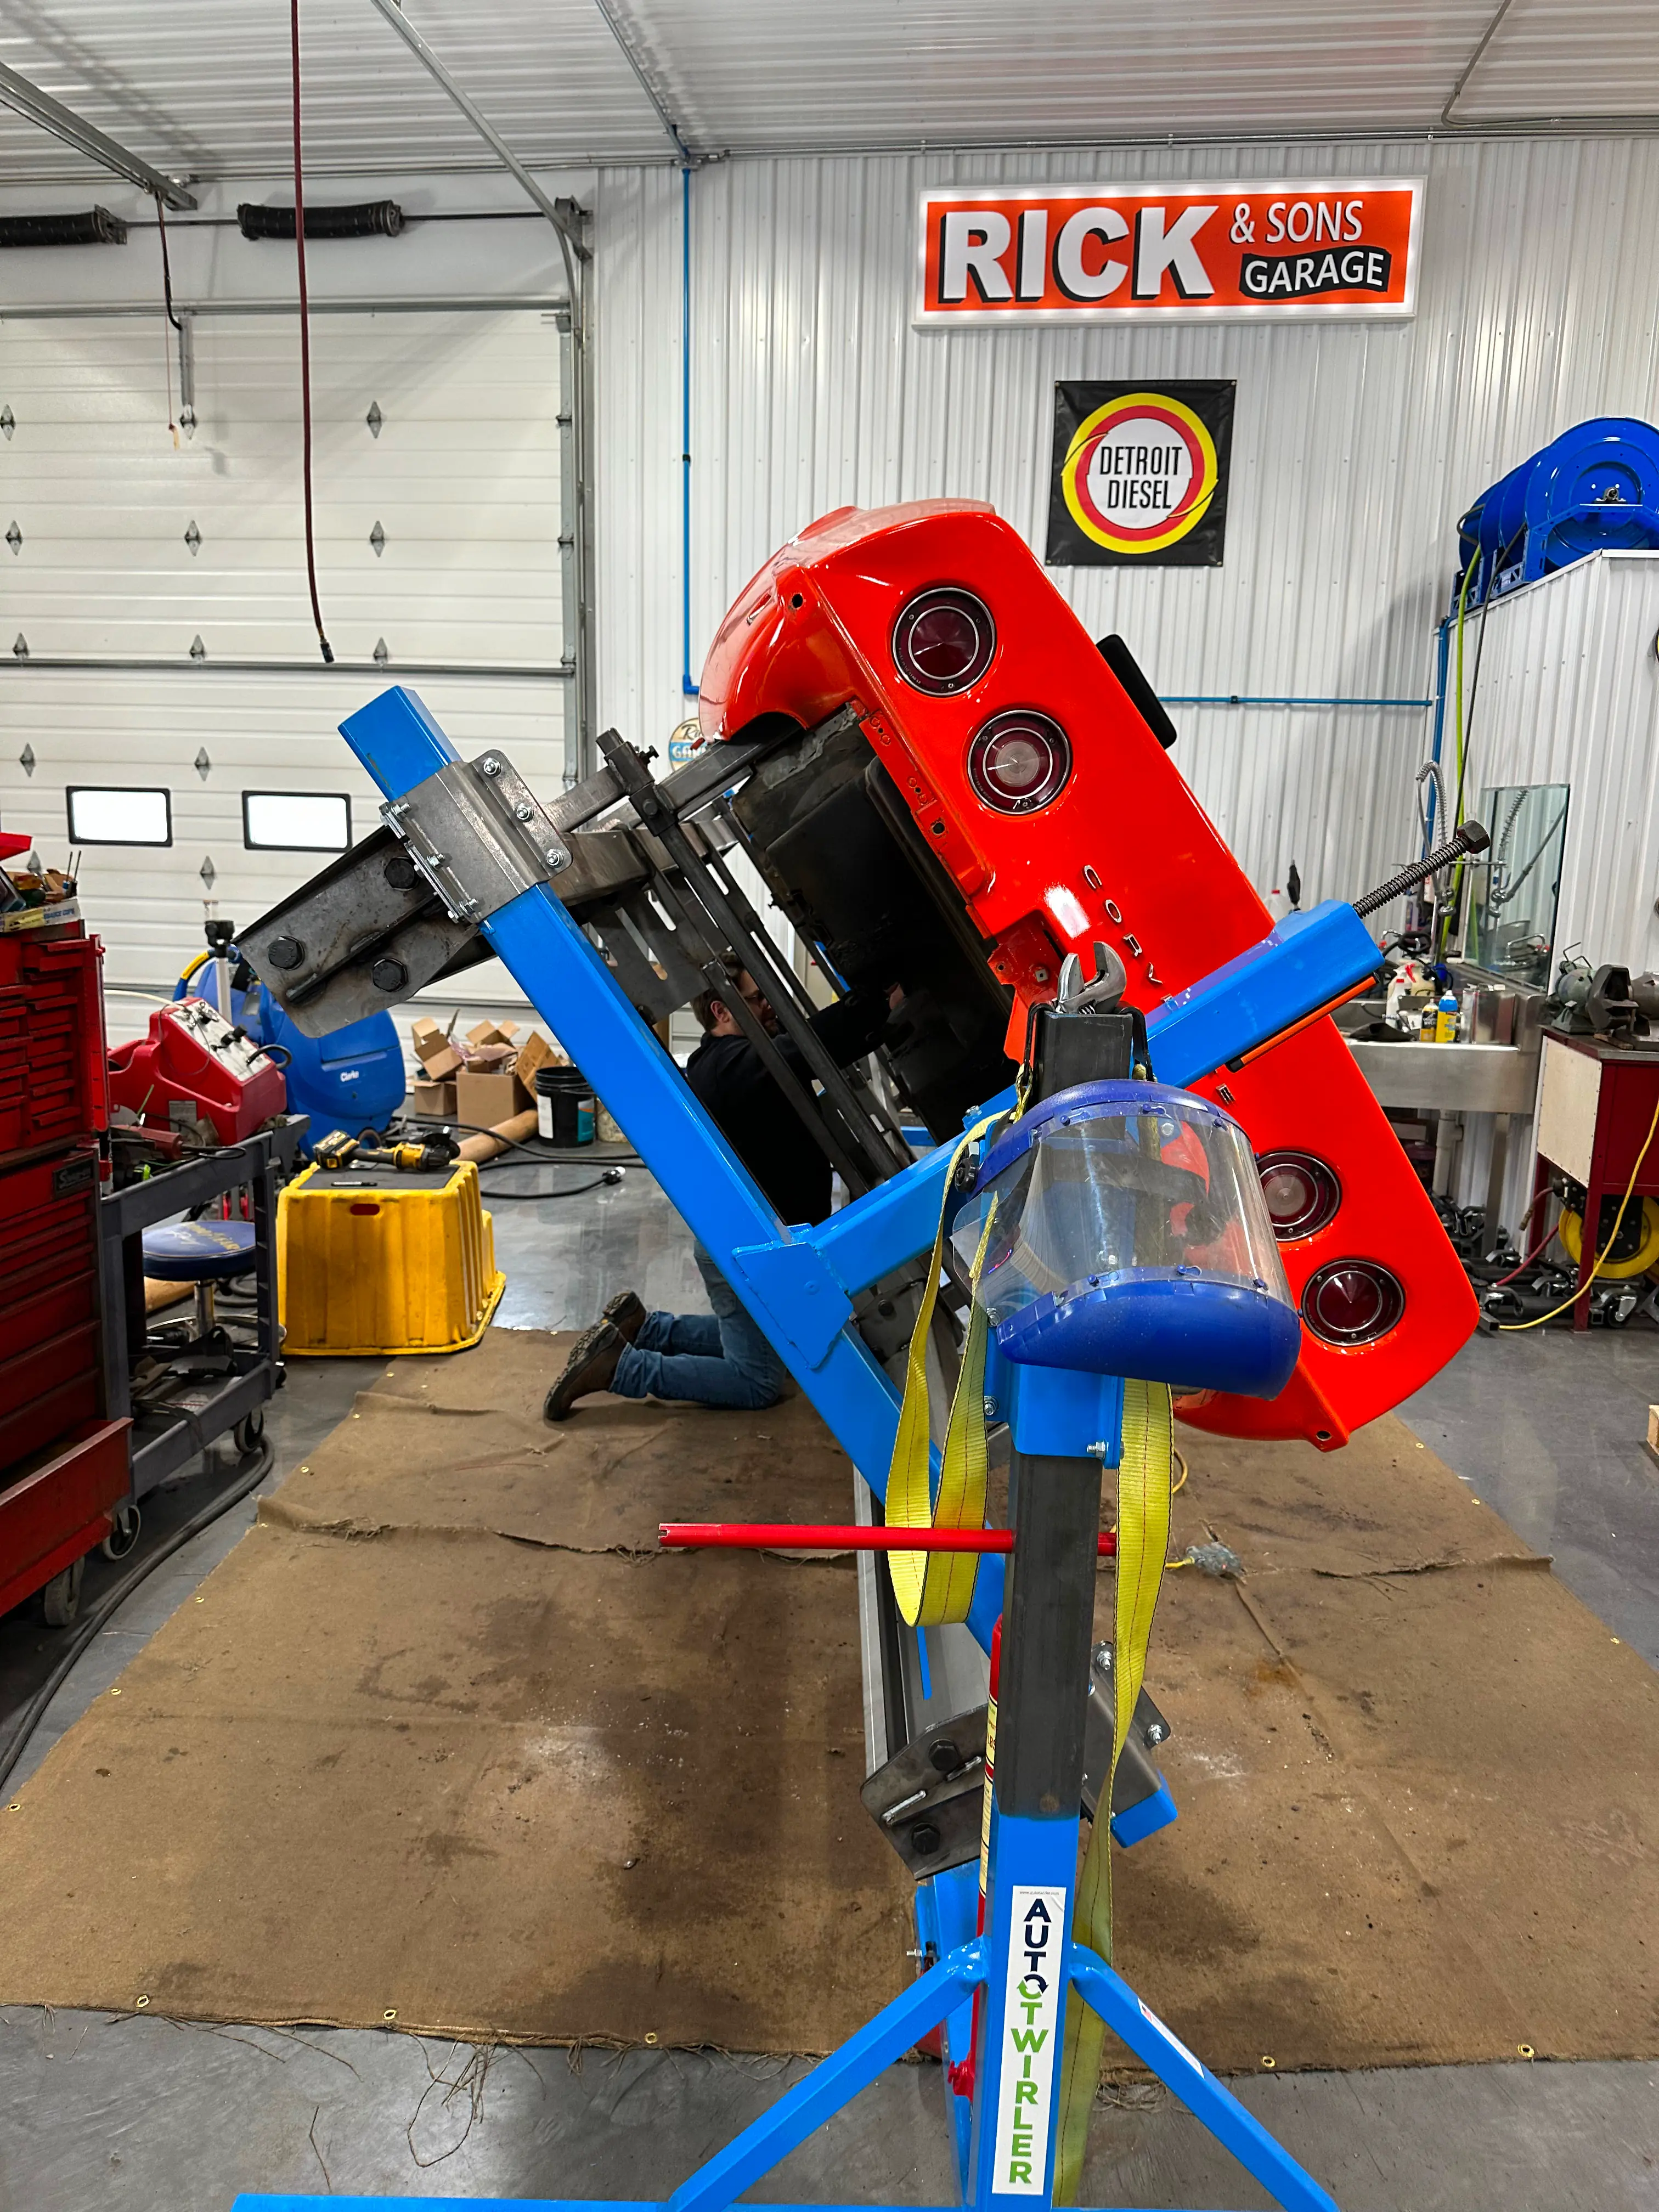
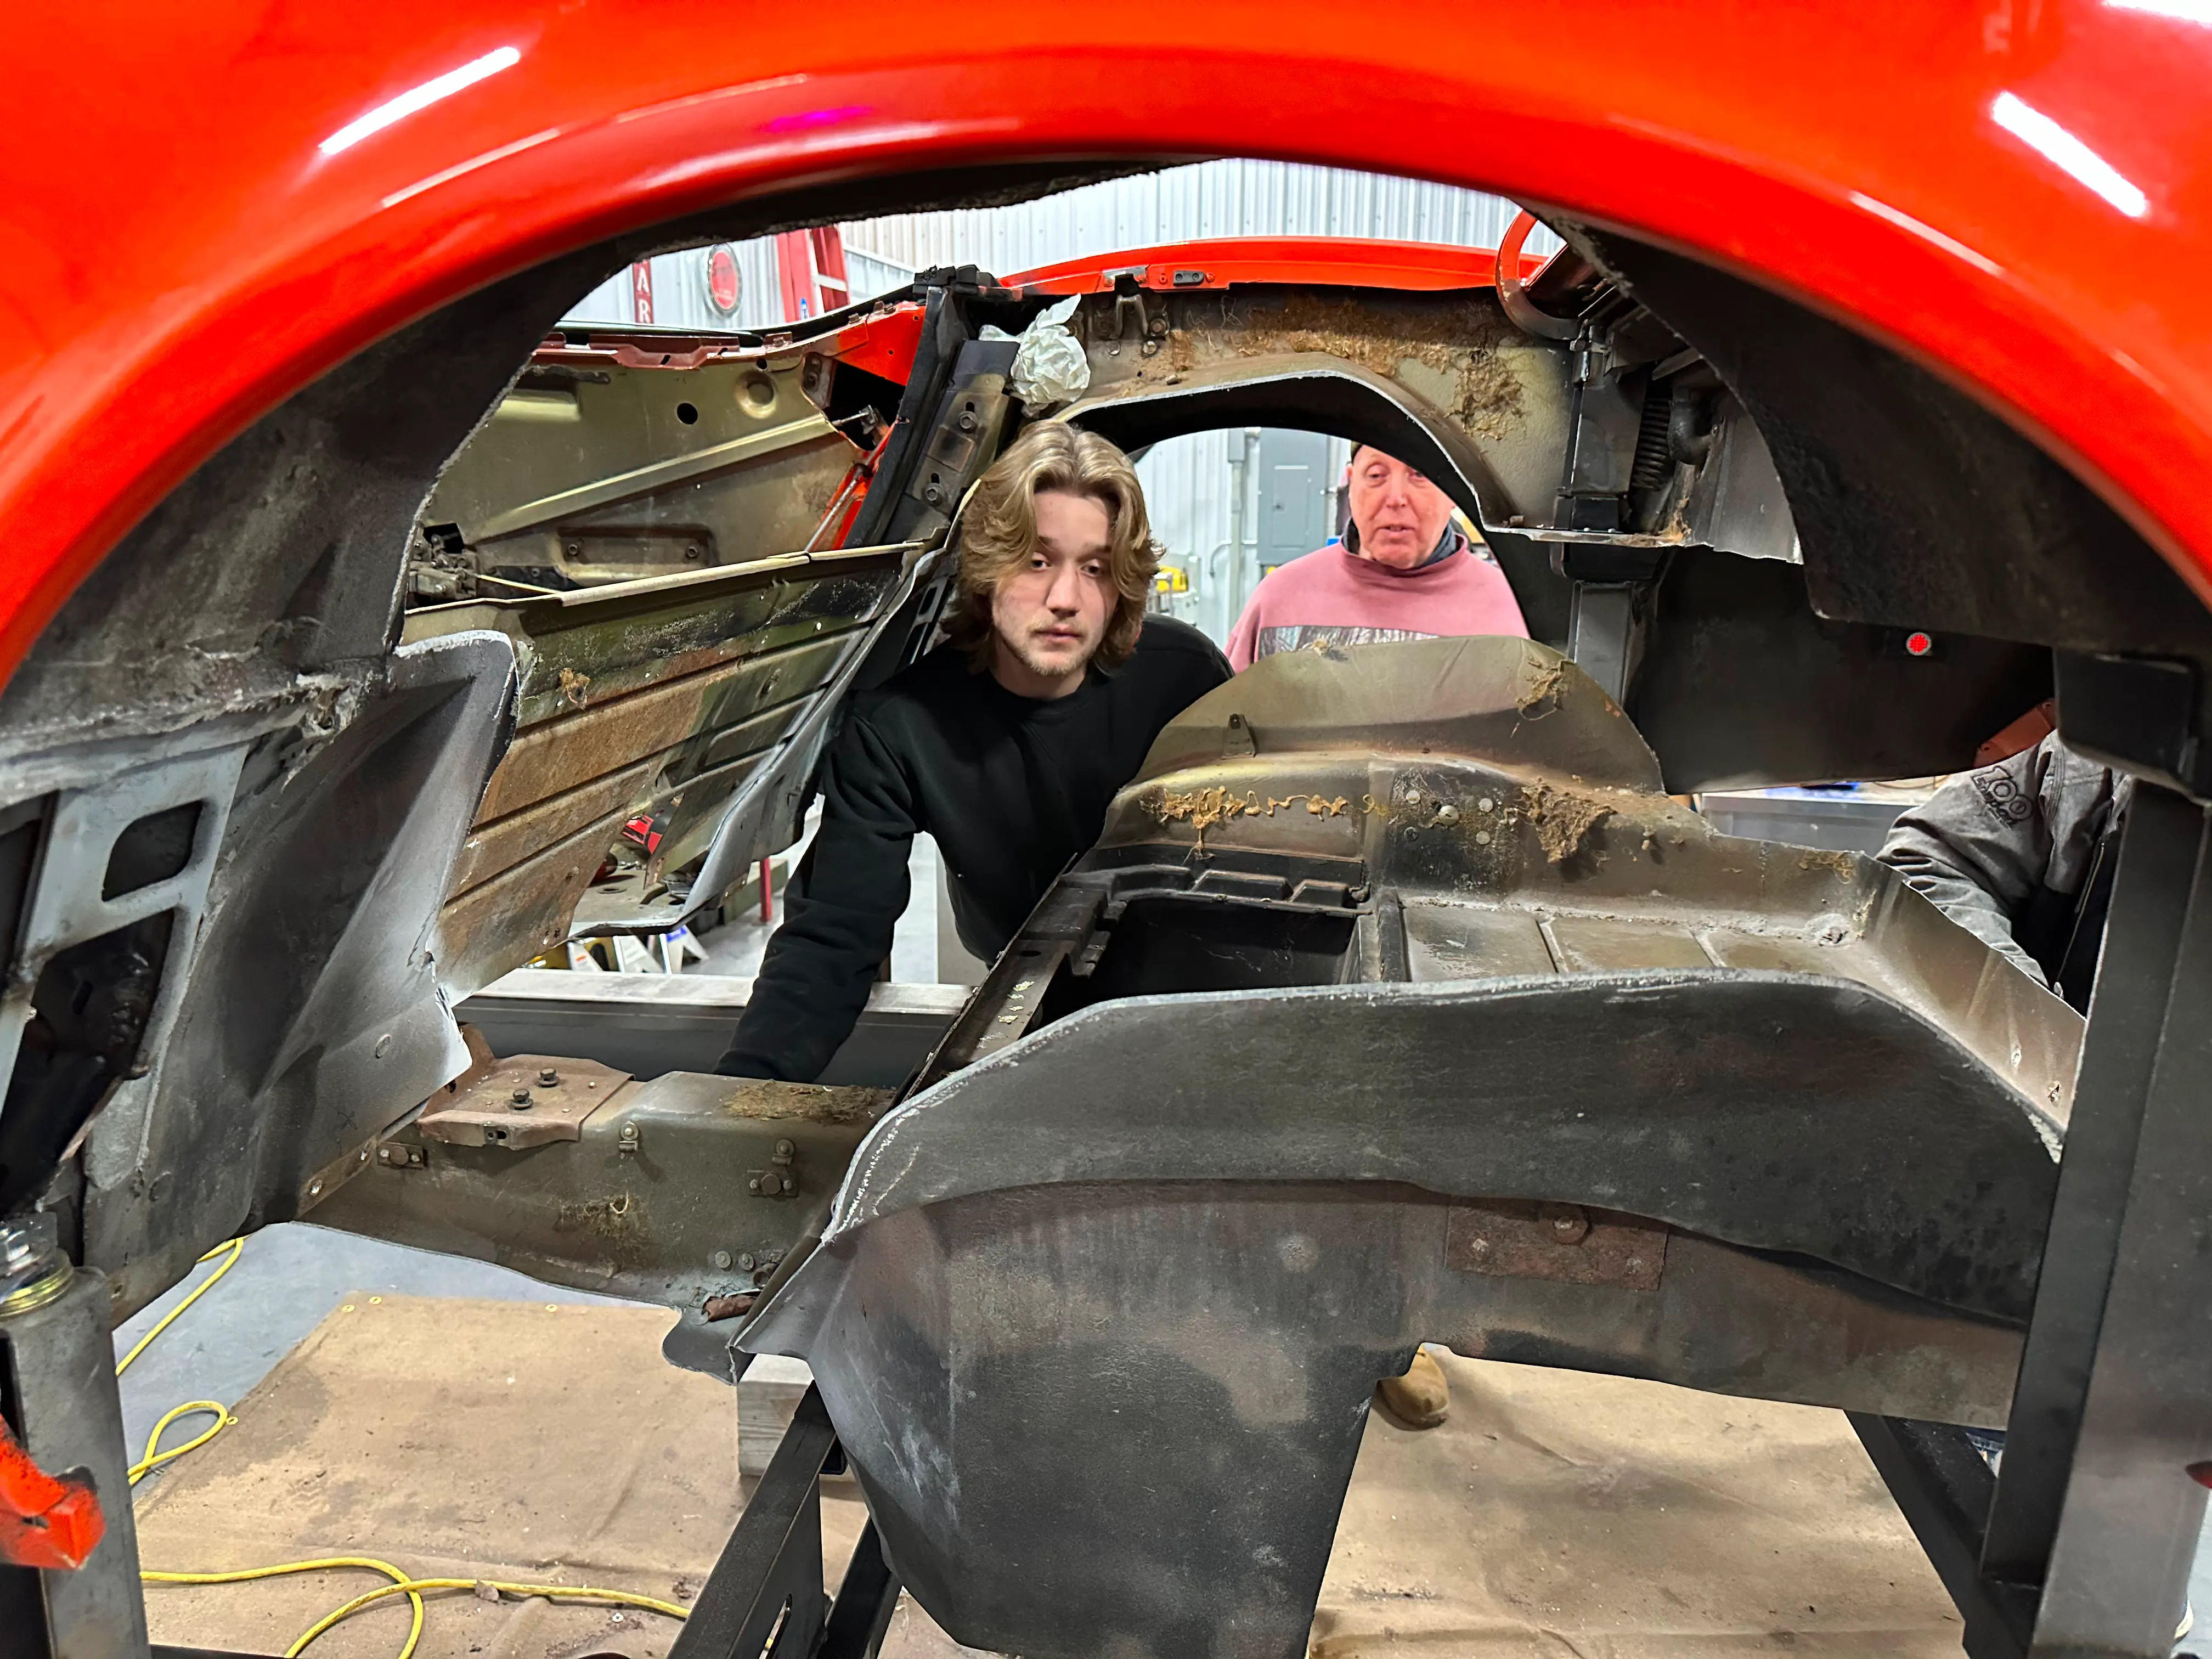
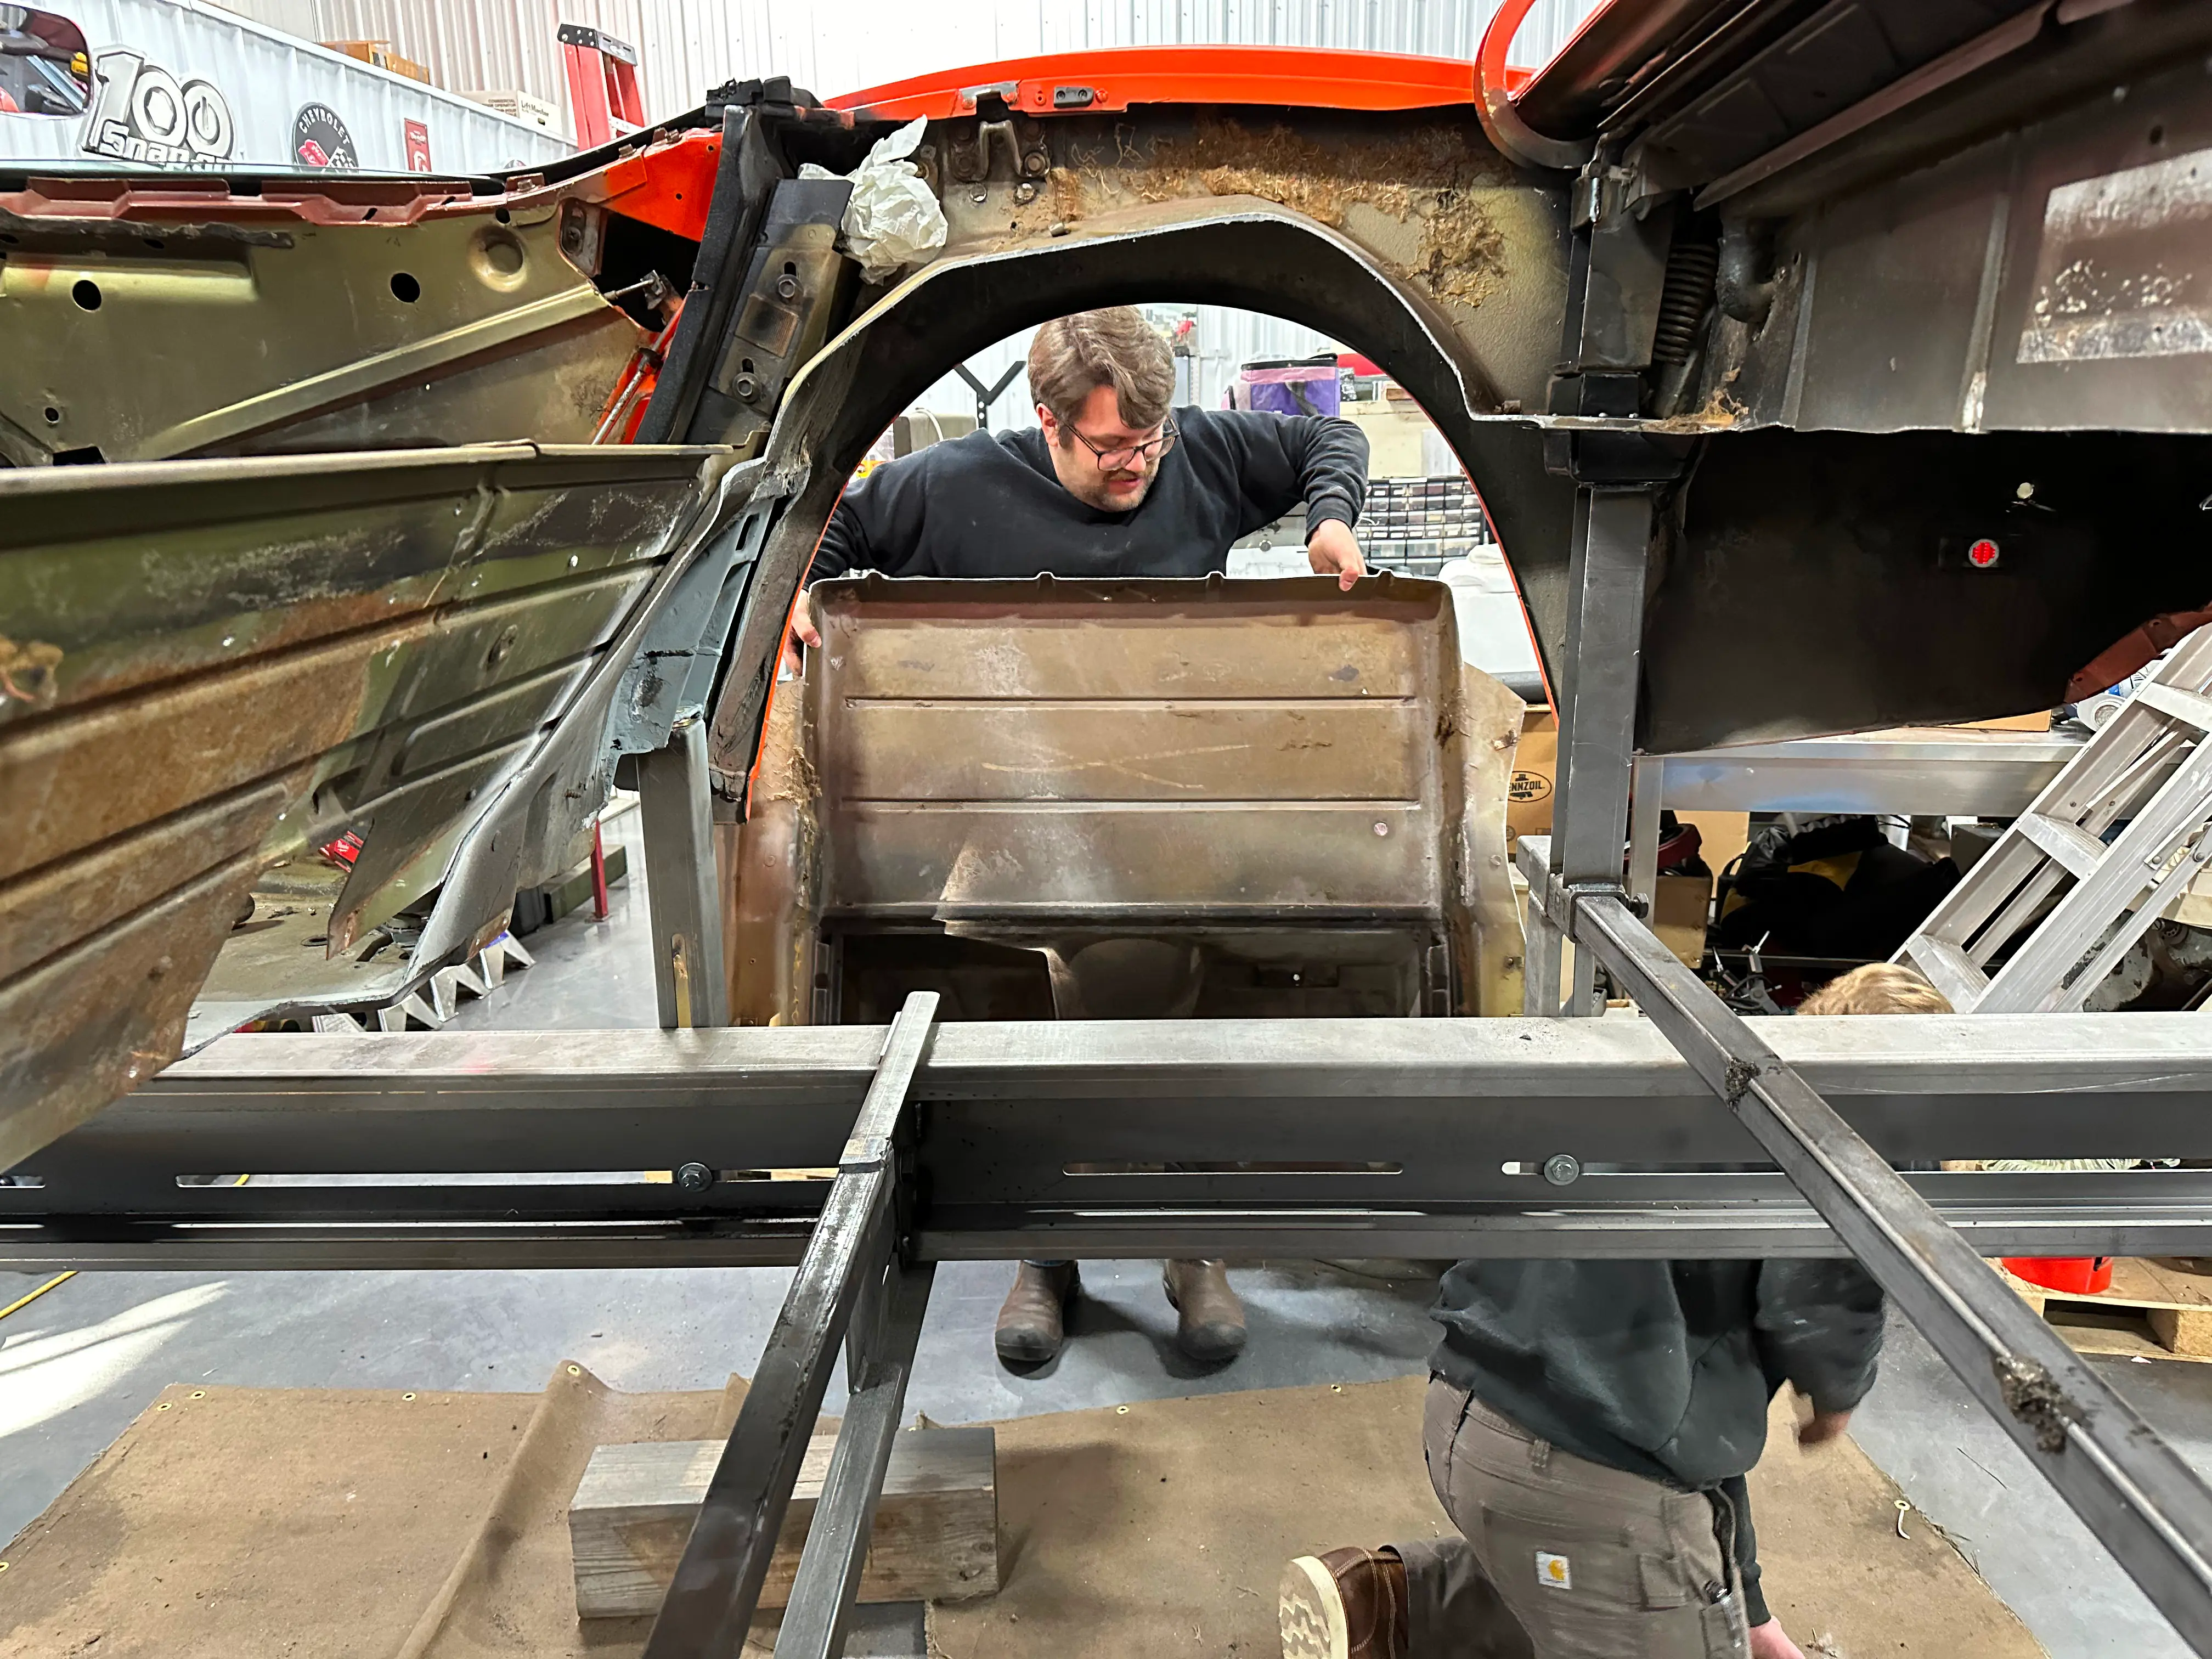
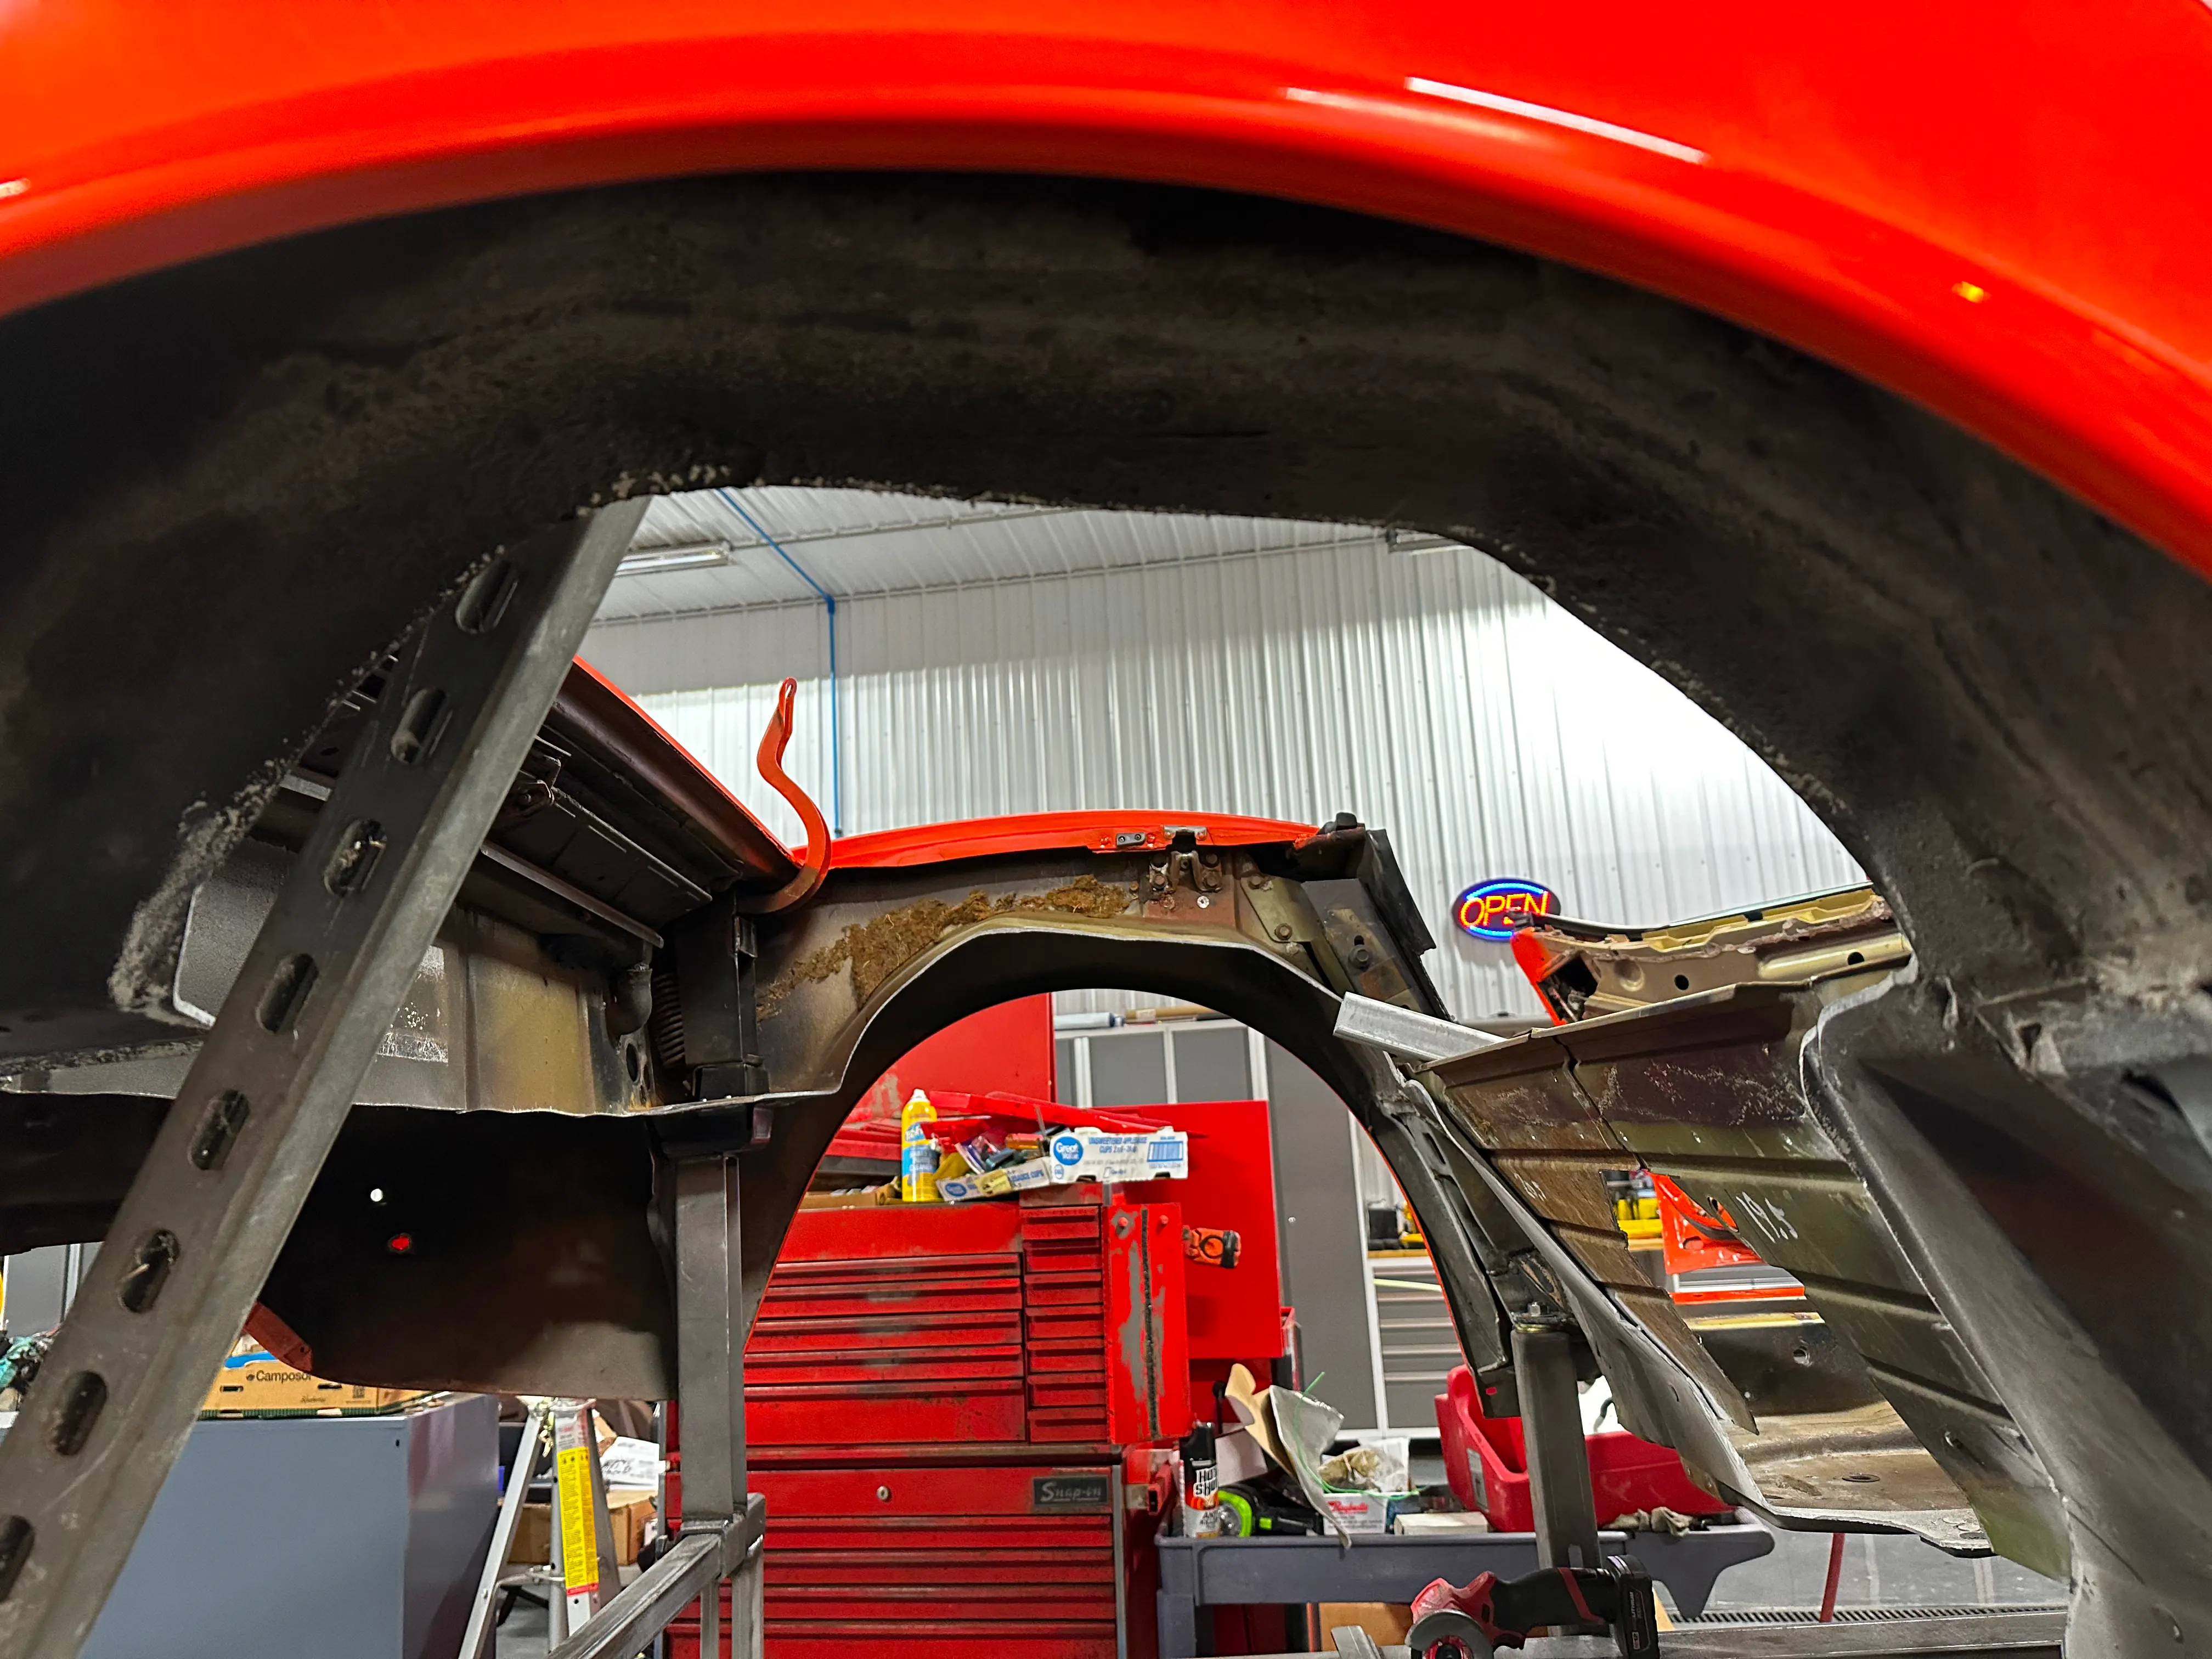
We also had to cut the floor and the rear wall of the birdcage. This area needed to be cut for the transmission since it is mounted in the rear.
Brace for Impact
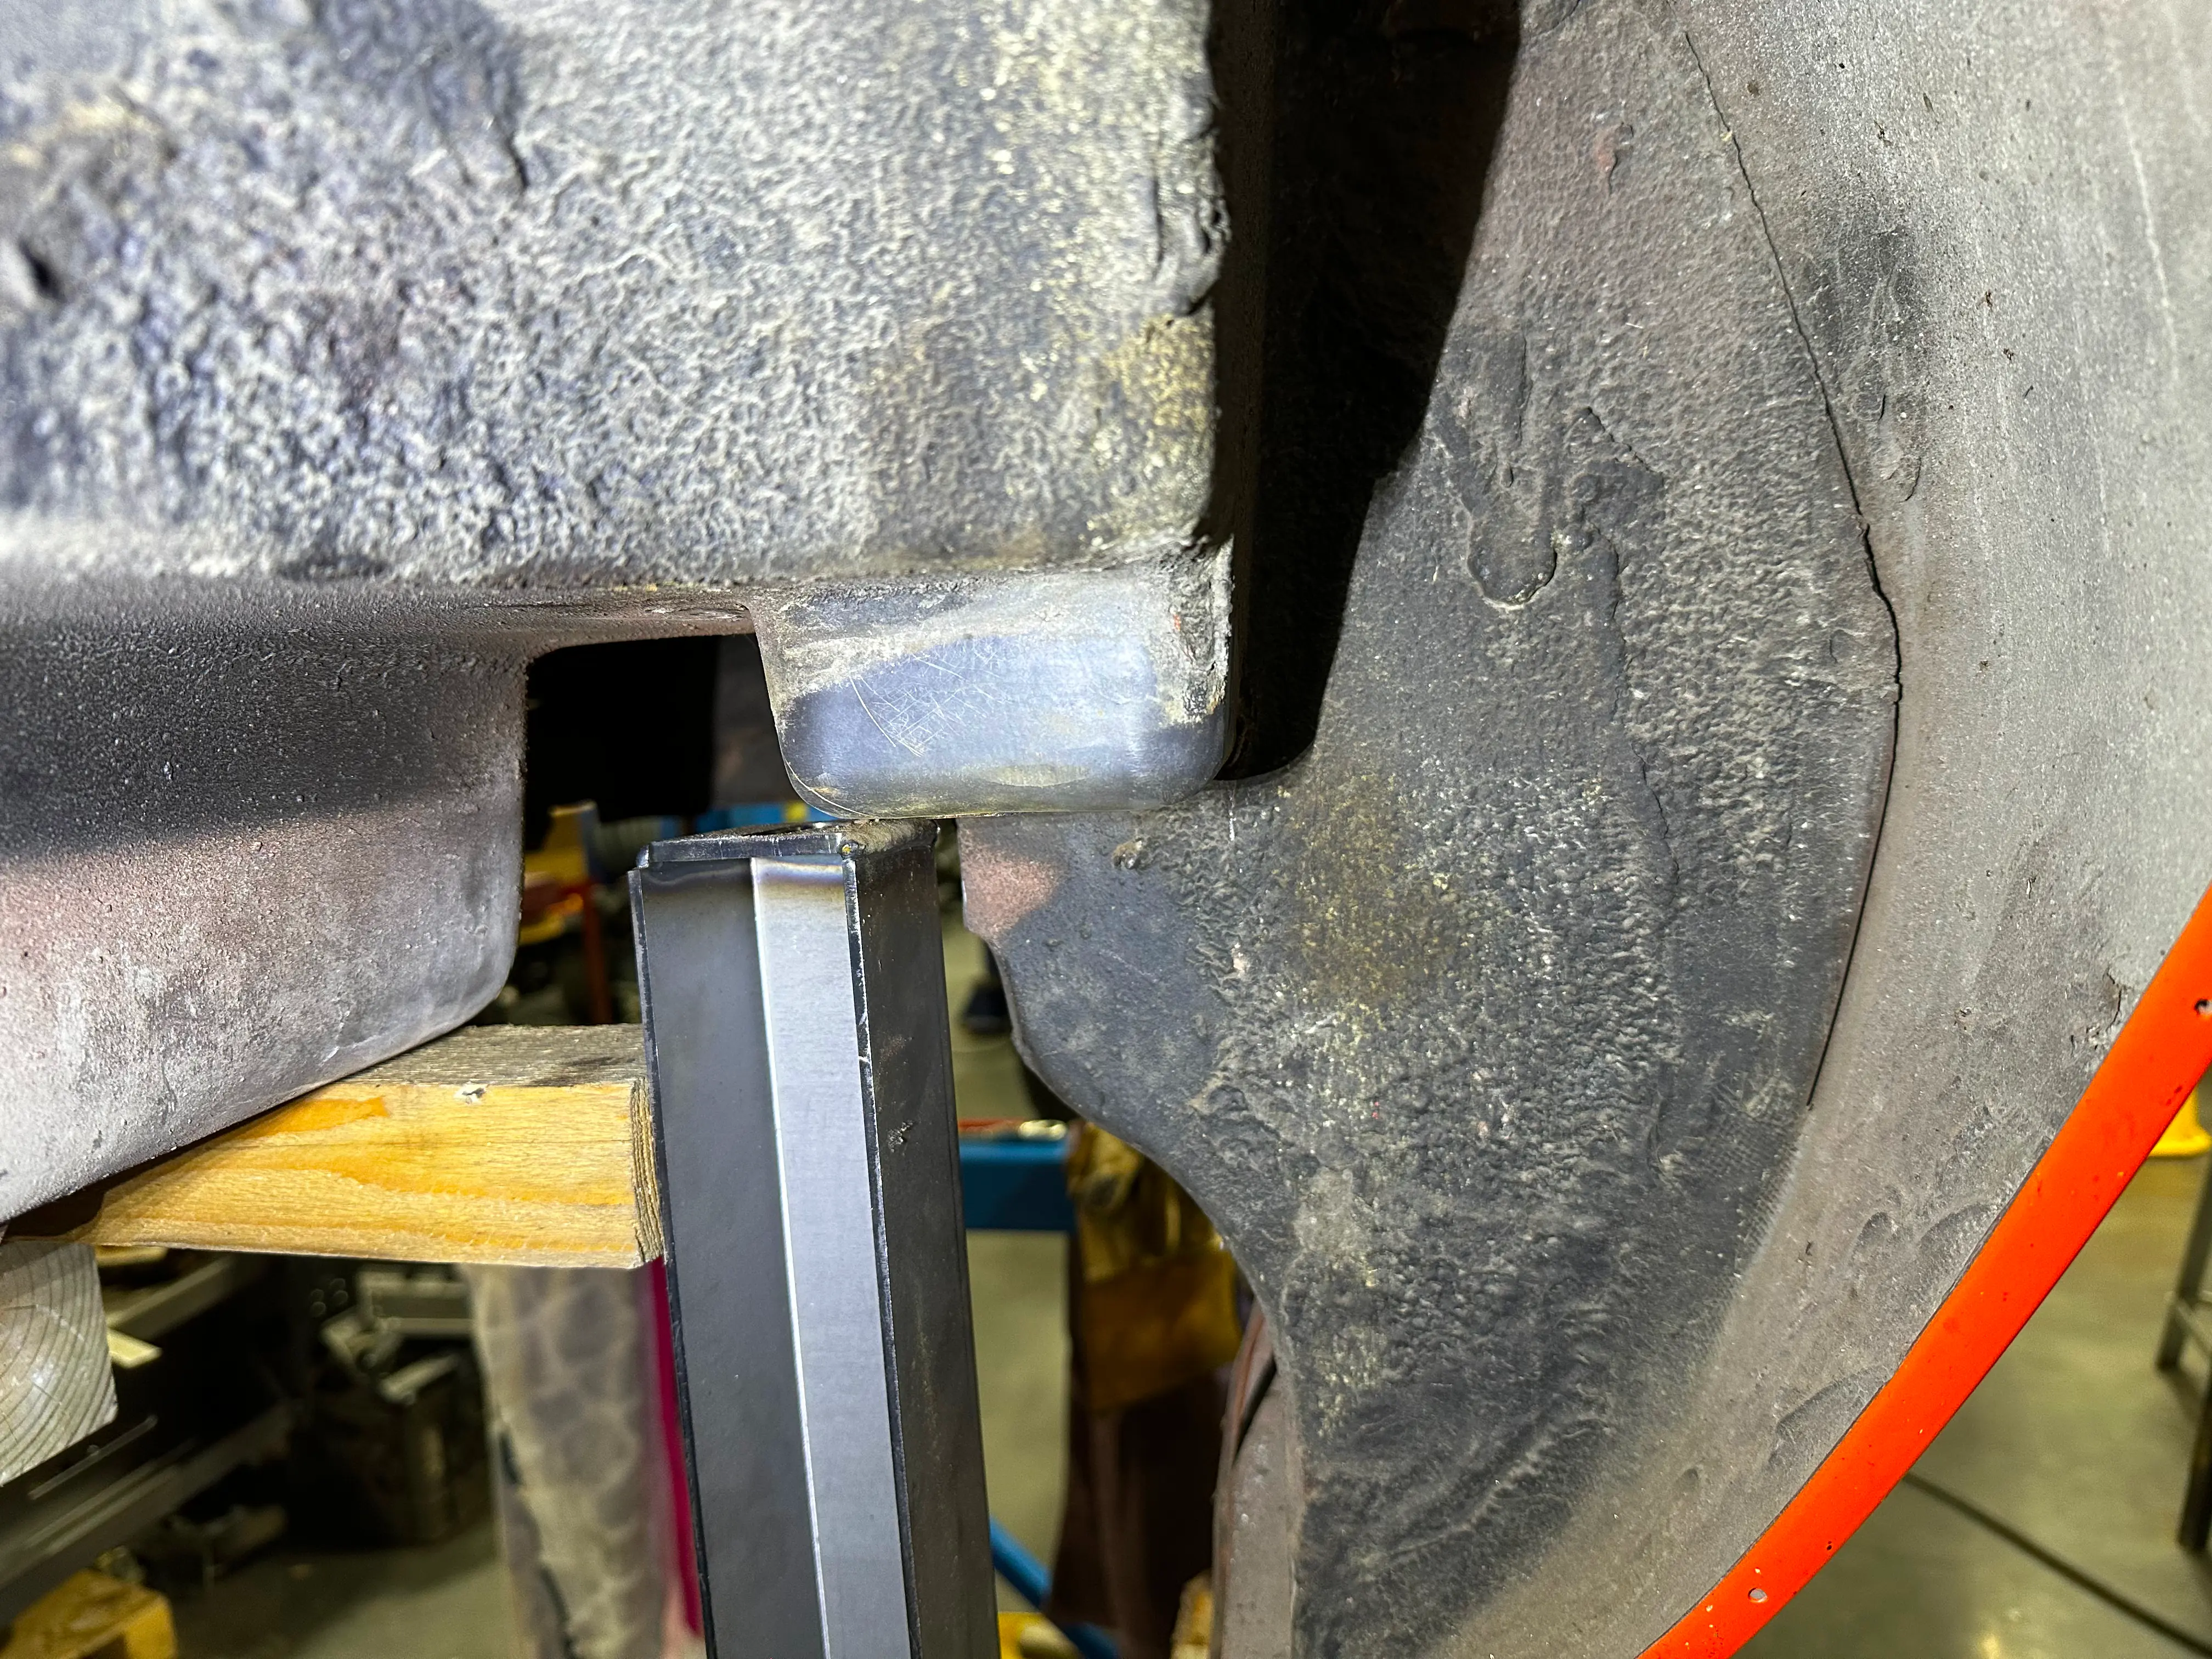
With large portions of the body removed, we needed a way to keep the body from folding on itself. We attached a c-channel to the rear decklid hinges, this kept the number 4 mounts in the same position and a bit more ridgid. Then we attached unistrut from that rear crossmember to the front birdcage behind the firewall/under the dash. Then we attached another piece of unistrut to the birdcage where the convertible top attaches to. Finally, we welded an x-brace out of unistrut and bolted it in the center and all 4 corners. The center bolt was a piece of threaded rod that extended to the birdcage wall and bolted to a tab welded there as well as the unistrut structure above.
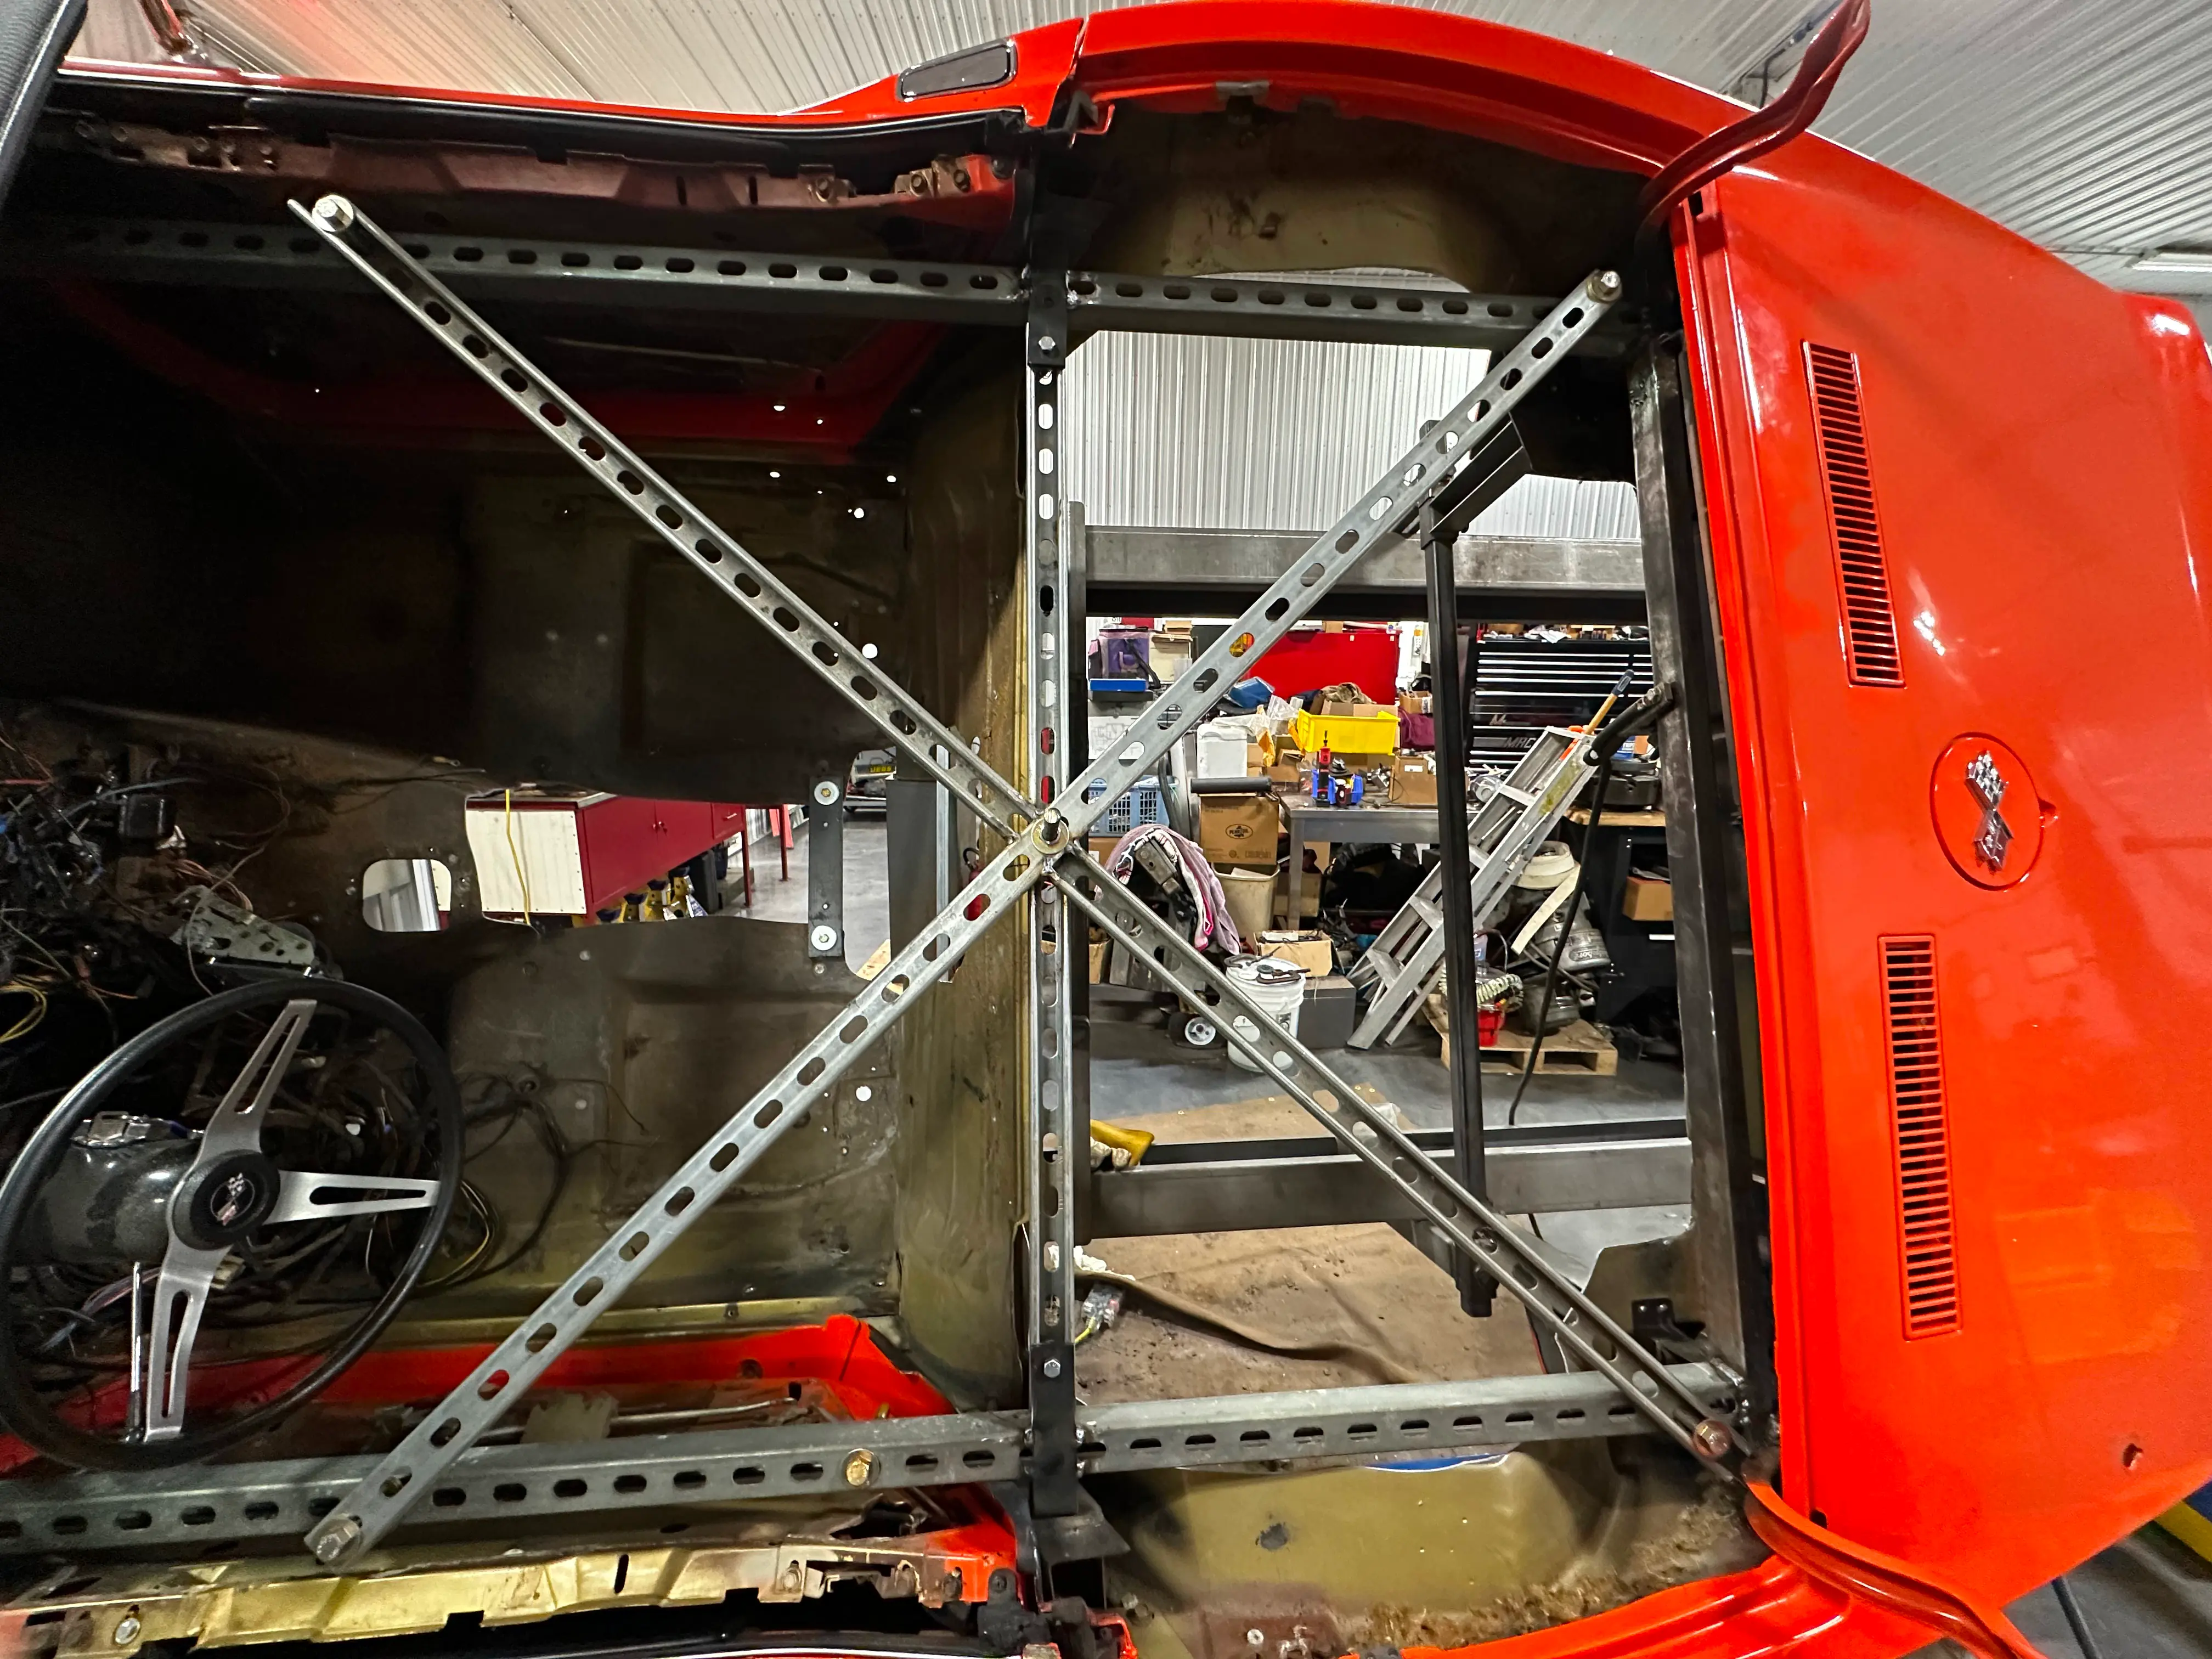
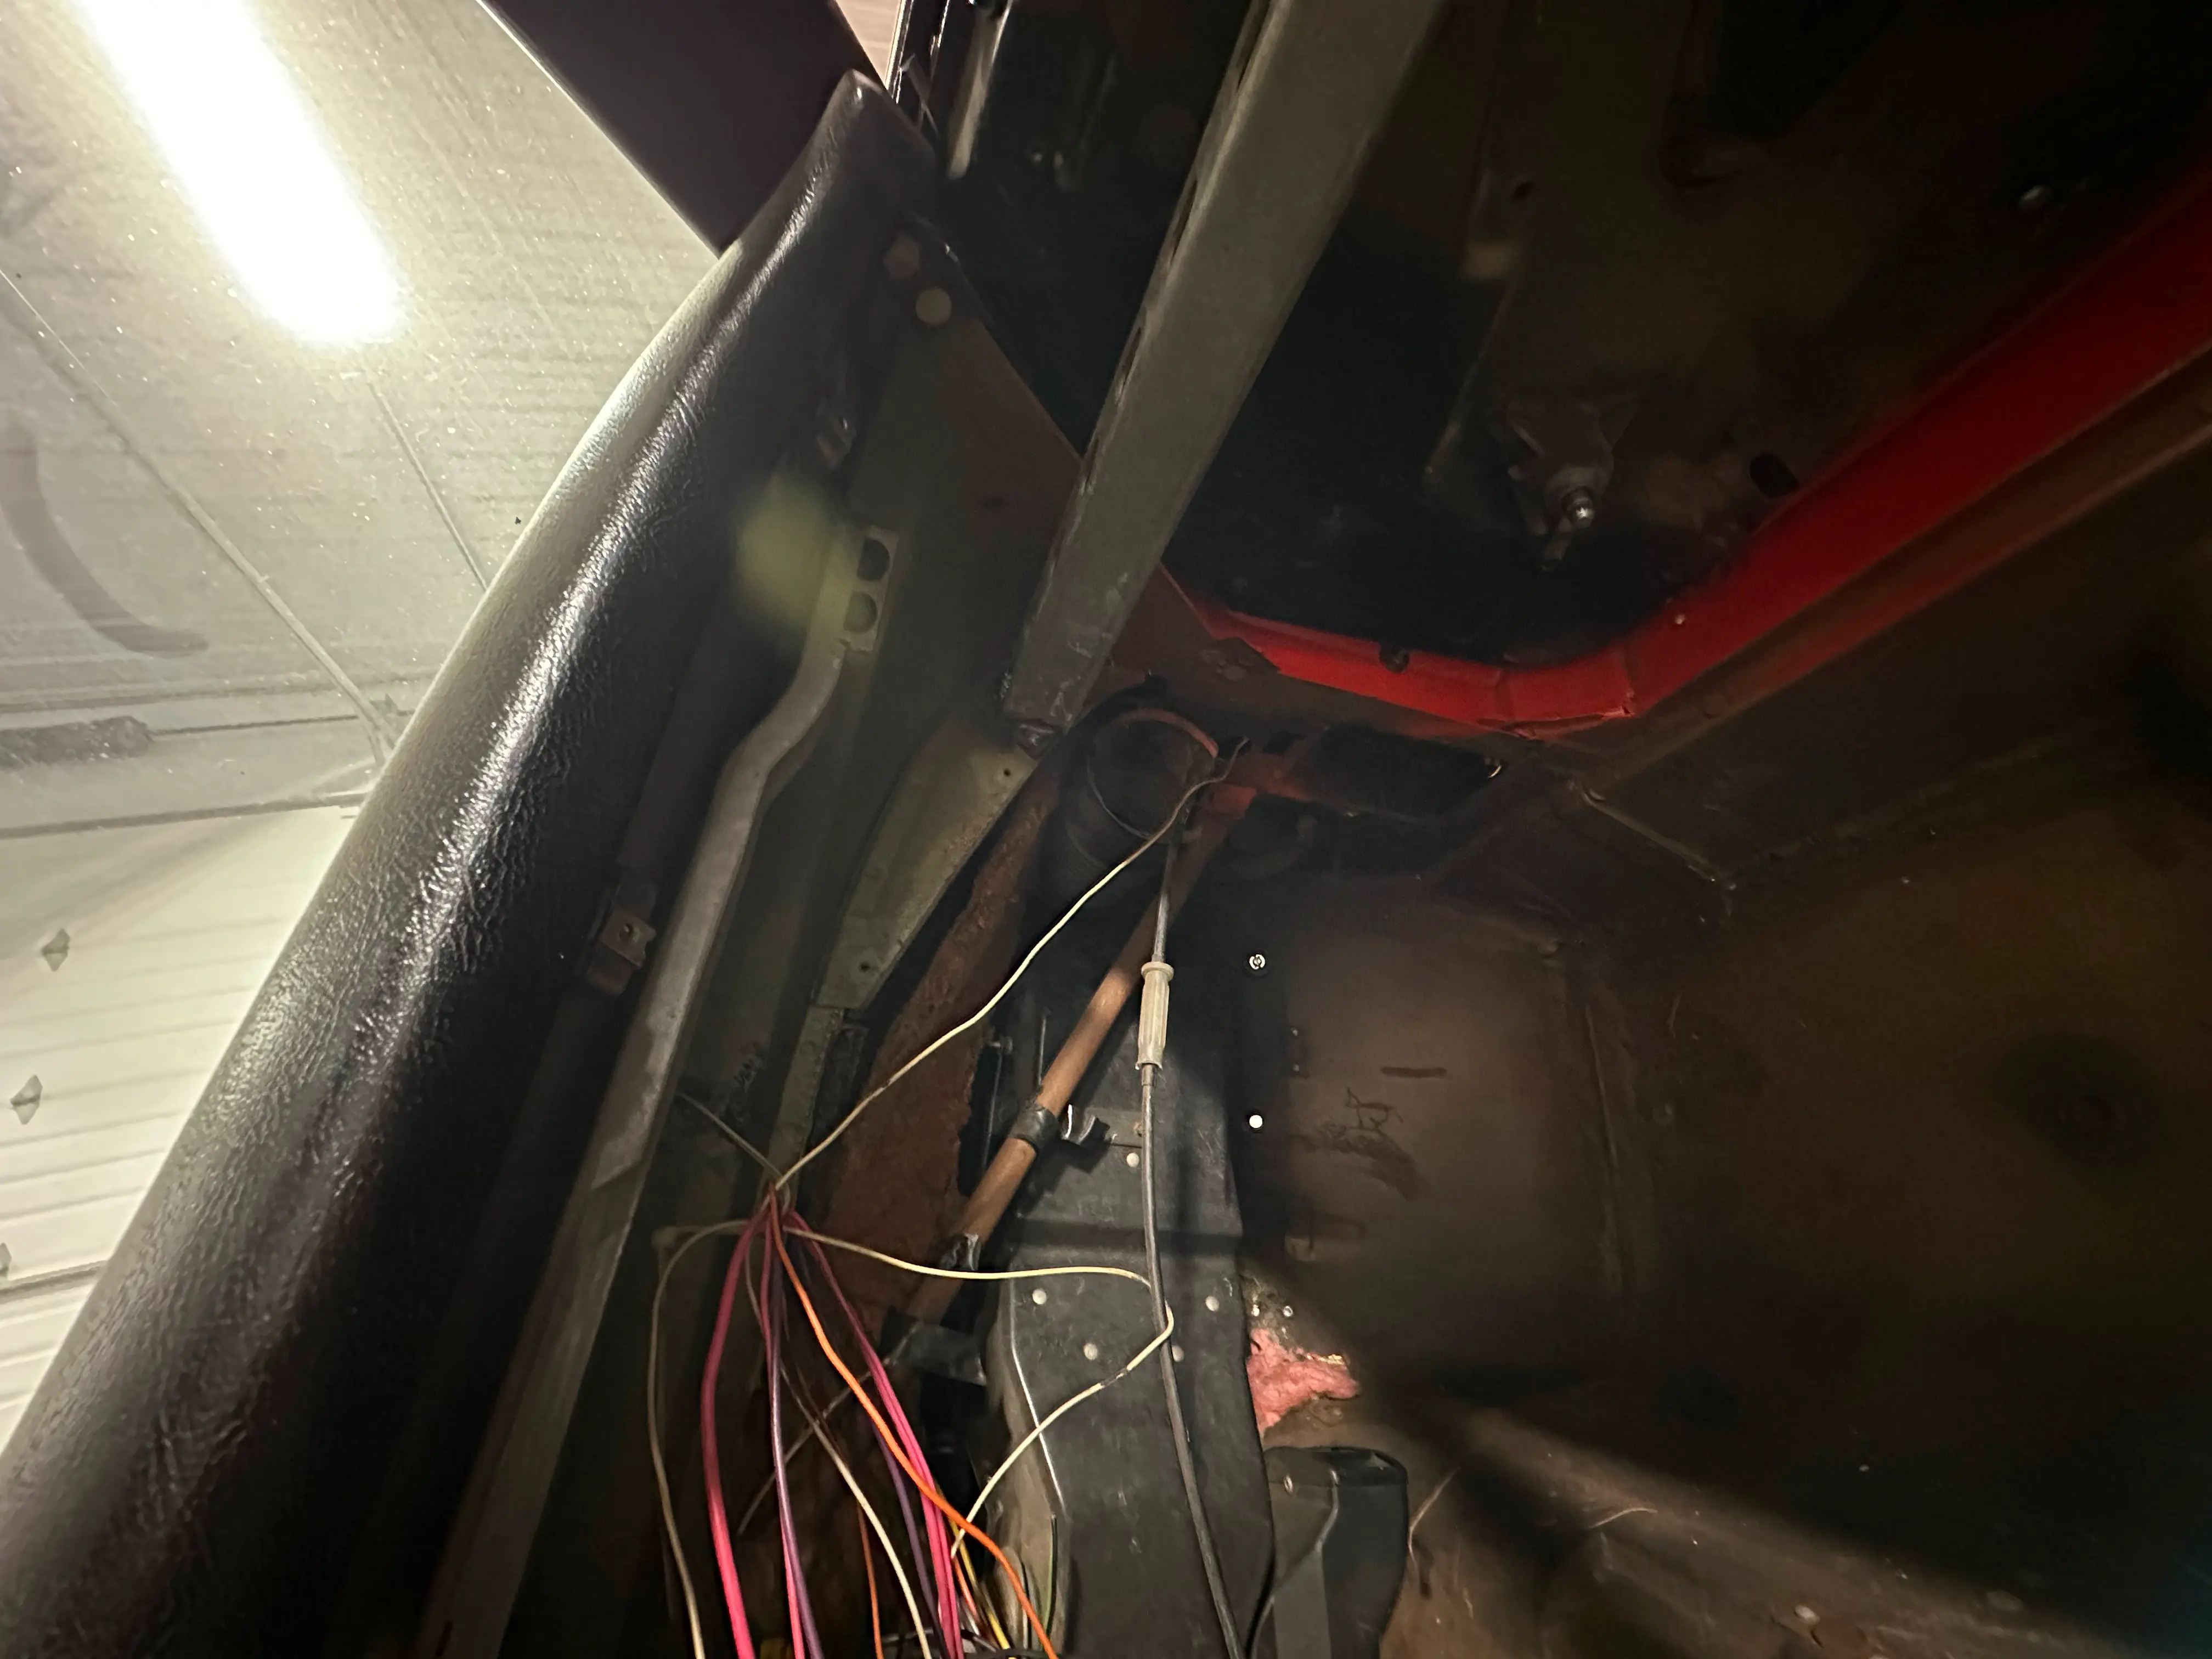
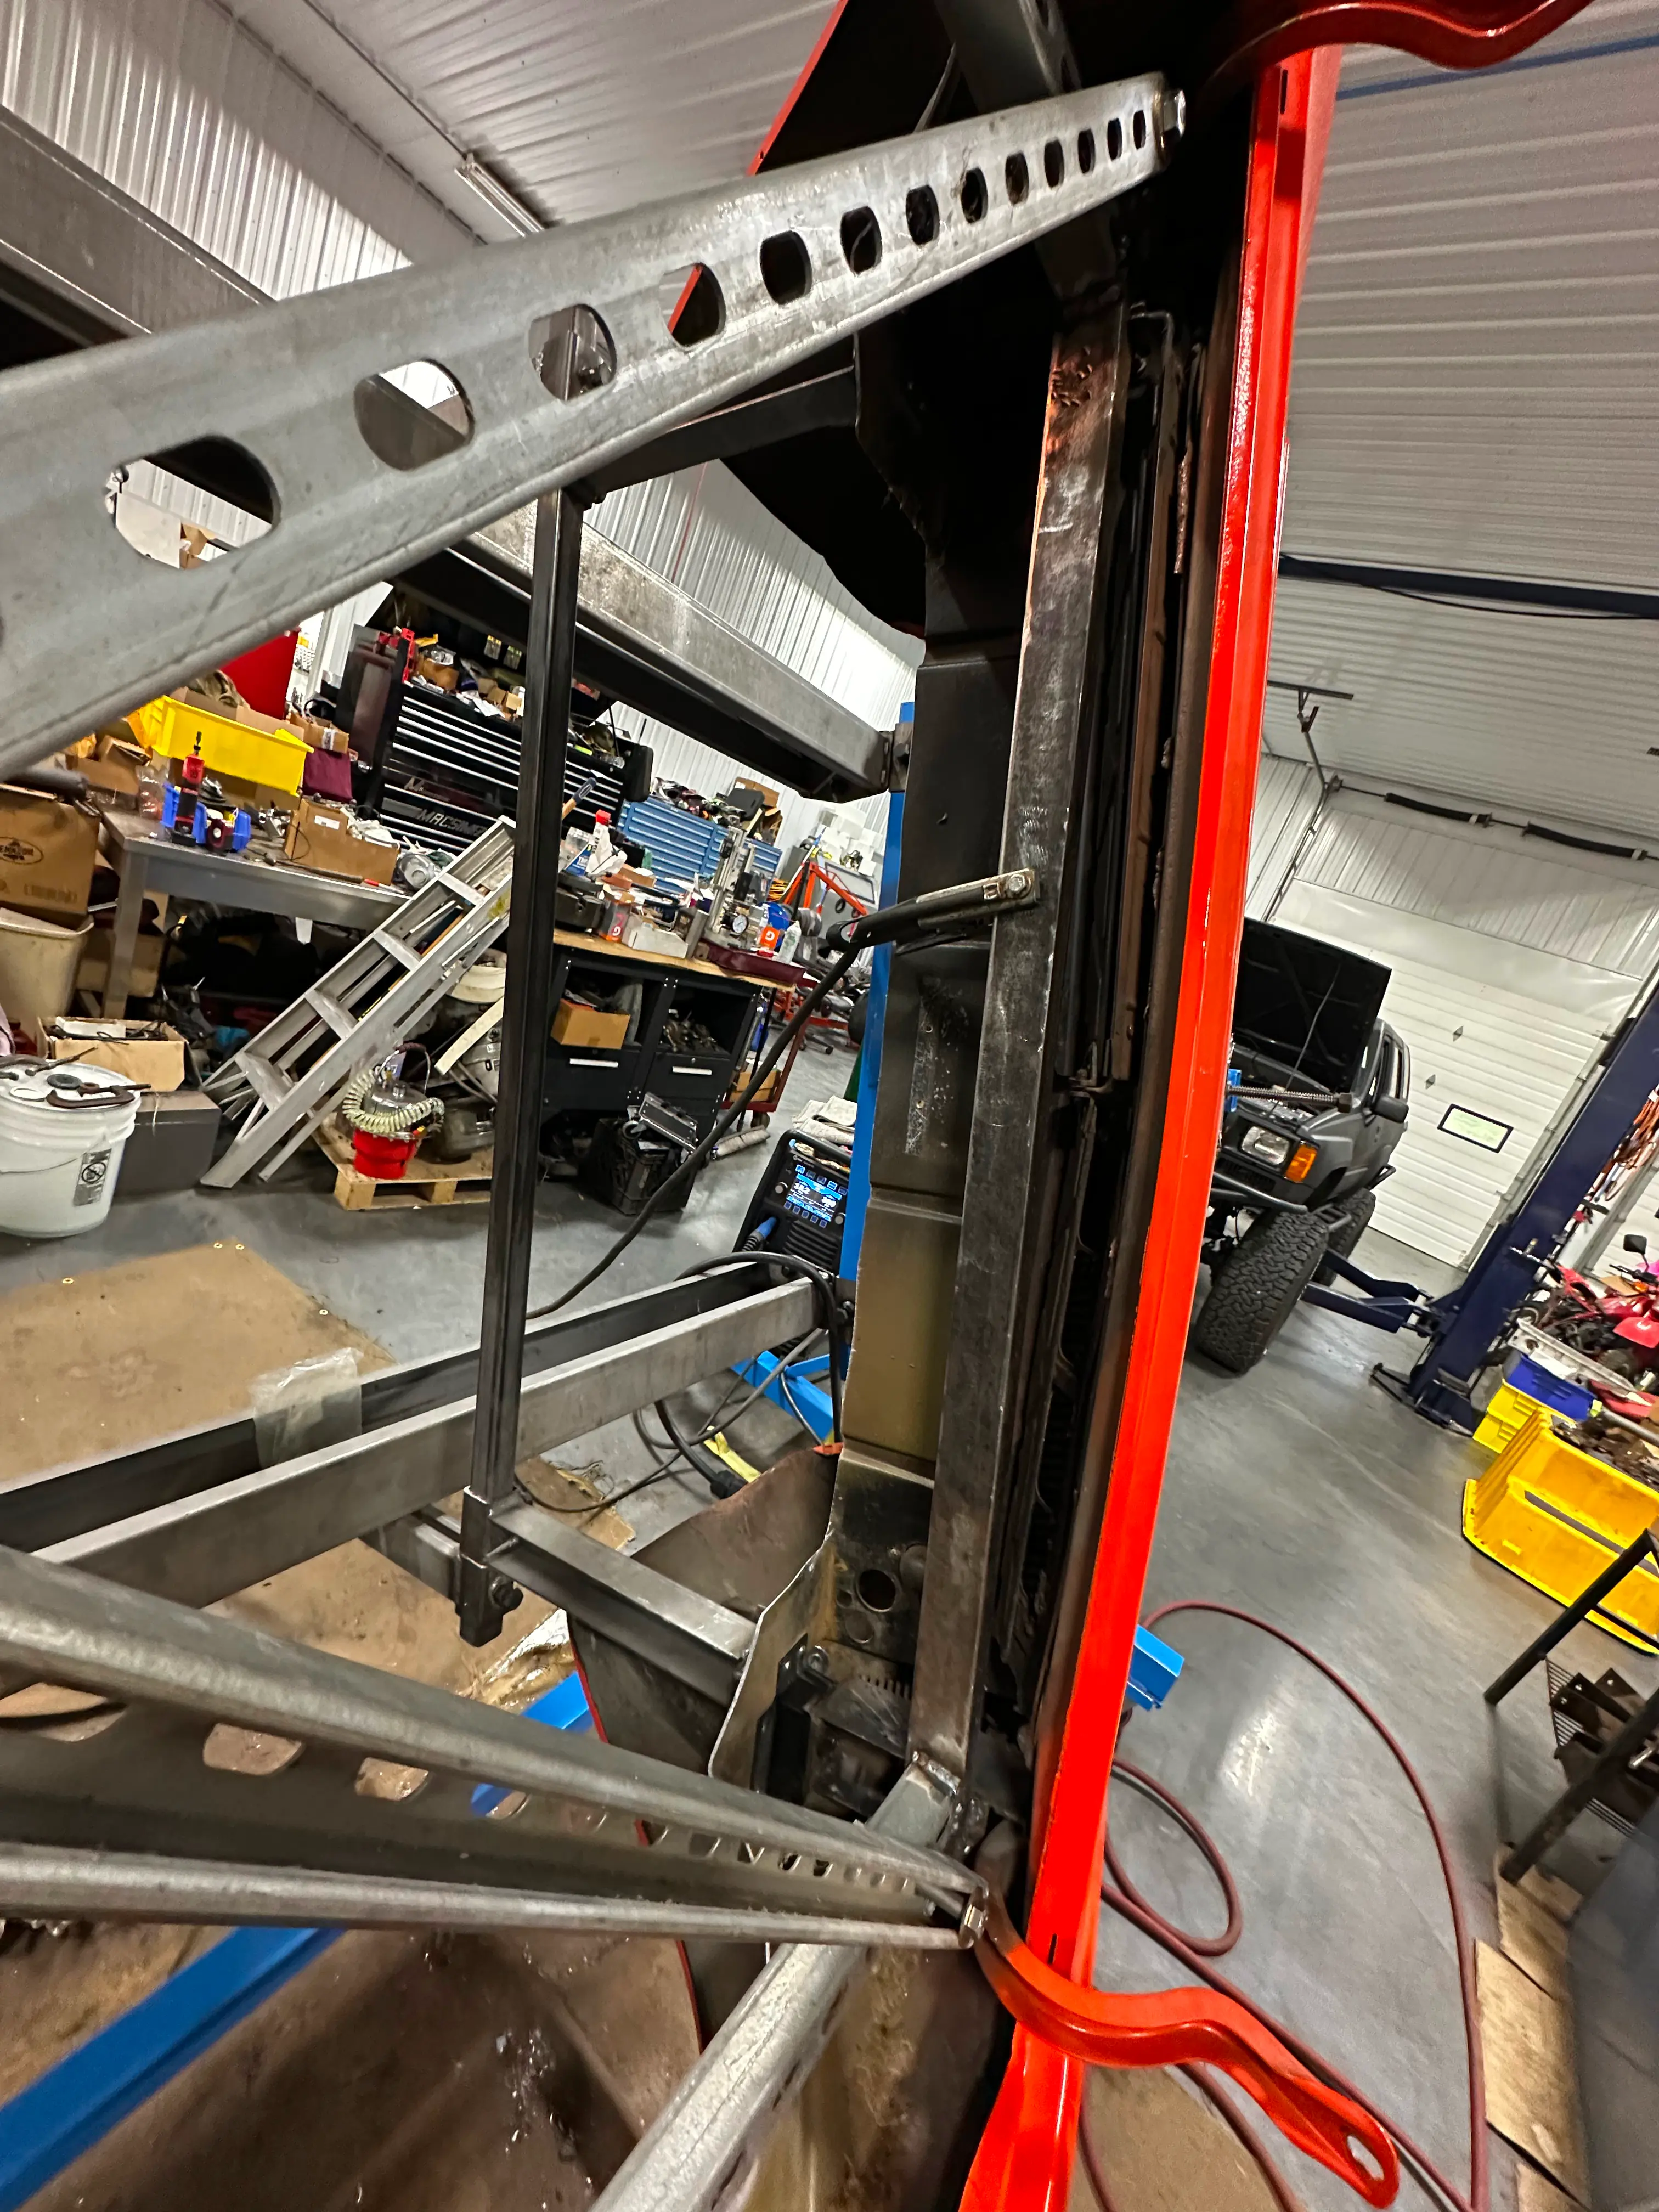
This new structure was very ridgid and gave us confidence that when we lifted the body from the rotisserie it would not bend, twist, or otherwise move out of place. Now we are ready to lift the body and place it on the new chassis for the first time.
Bonus Round
The idea of a resto mod/resto rod is to take something old and restore it and bring a modern feature/convenience to it. To that end, I wanted to do something with the last body mount spacers. Most of the spacers were so corroded, despite being aluminum, because they were sandwiched between painted steel that rusted and galvanized steel that also rusted. I cleaned the last 2 spacers as best as I could. I got the idea to make them into pieces for a shift knob. I turned them both on the lathe, and then opened the hole in the middle since it was corroded like the outside, and countersunk the hole to accept a countersunk stainless bolt. I then turned a mandrel and fixed the pieces to it one at a time. On the mandrel, I used a corner rounding endmill to make large rounded edges.
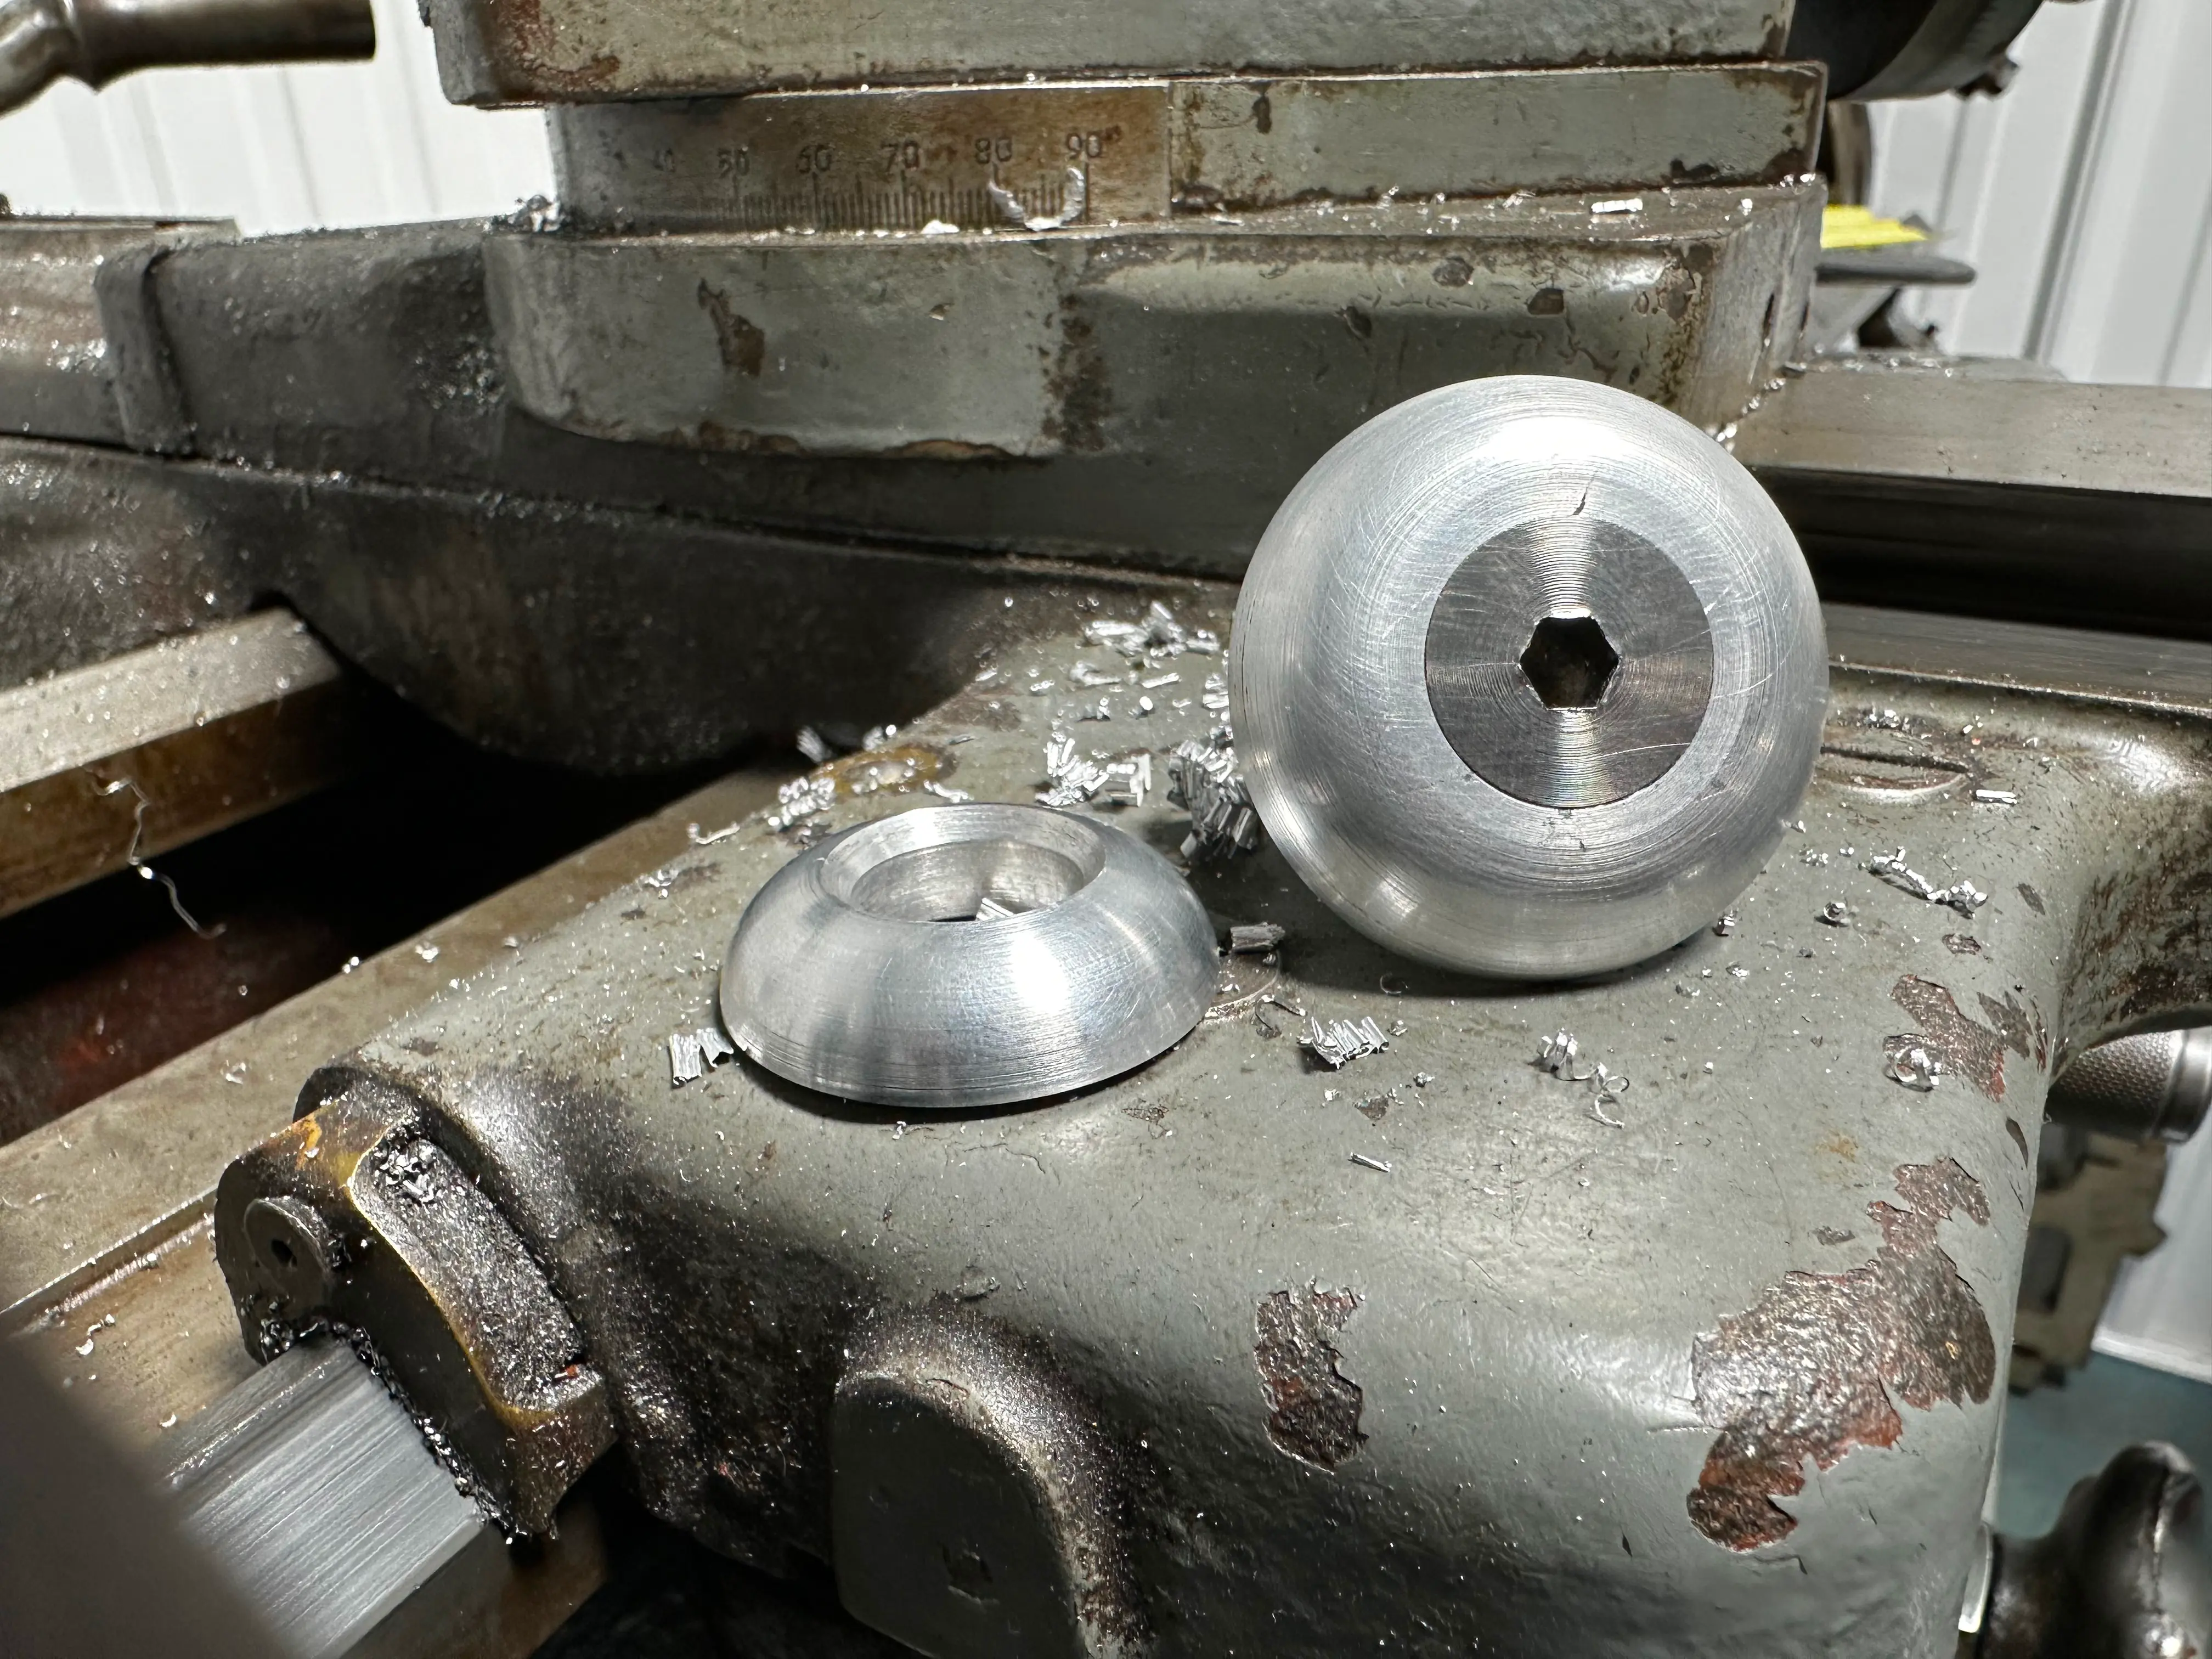
The plan is to add some sort of contrasting material between these two pieces, I am leaning towards a chopped carbon fiber piece. However, a shift knob is well into the future of this project, so these will be shelved for now.